
Hello everyone! Betsy here today showing you how to adhere tissue paper to
your projects easily and cleanly.

A short time ago I received an order from a supply company and it came wrapped with this lovely tissue paper. I couldn’t throw it away. I knew I had to come up with a way to use it
in a project! Let’s get started.
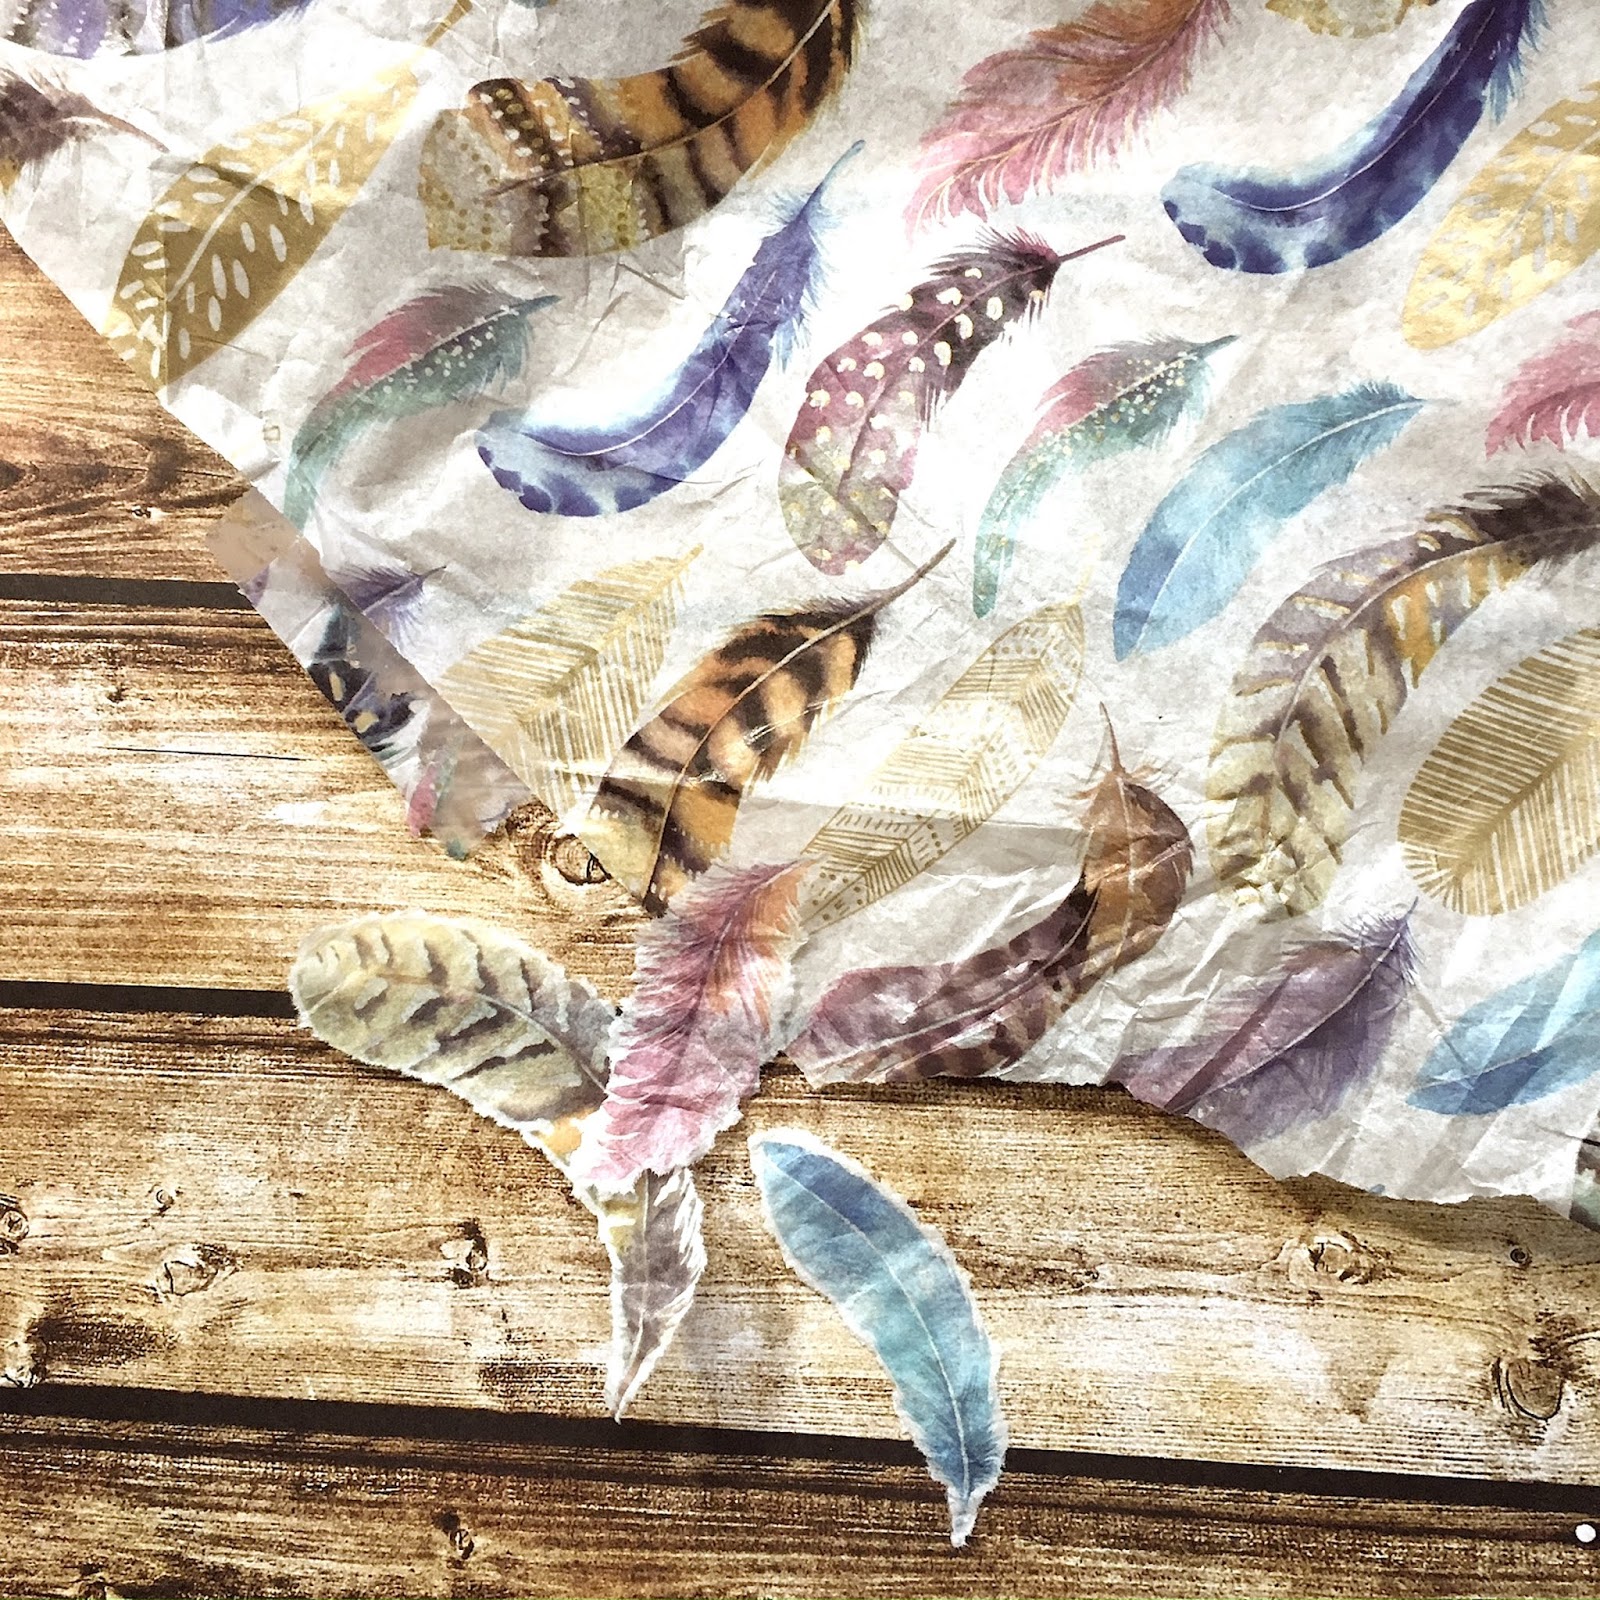
First, I needed to prepare my tissue paper. I chose feathers that had the entire image. With
a small paintbrush (size 2) I ran a bead of water around each feather.
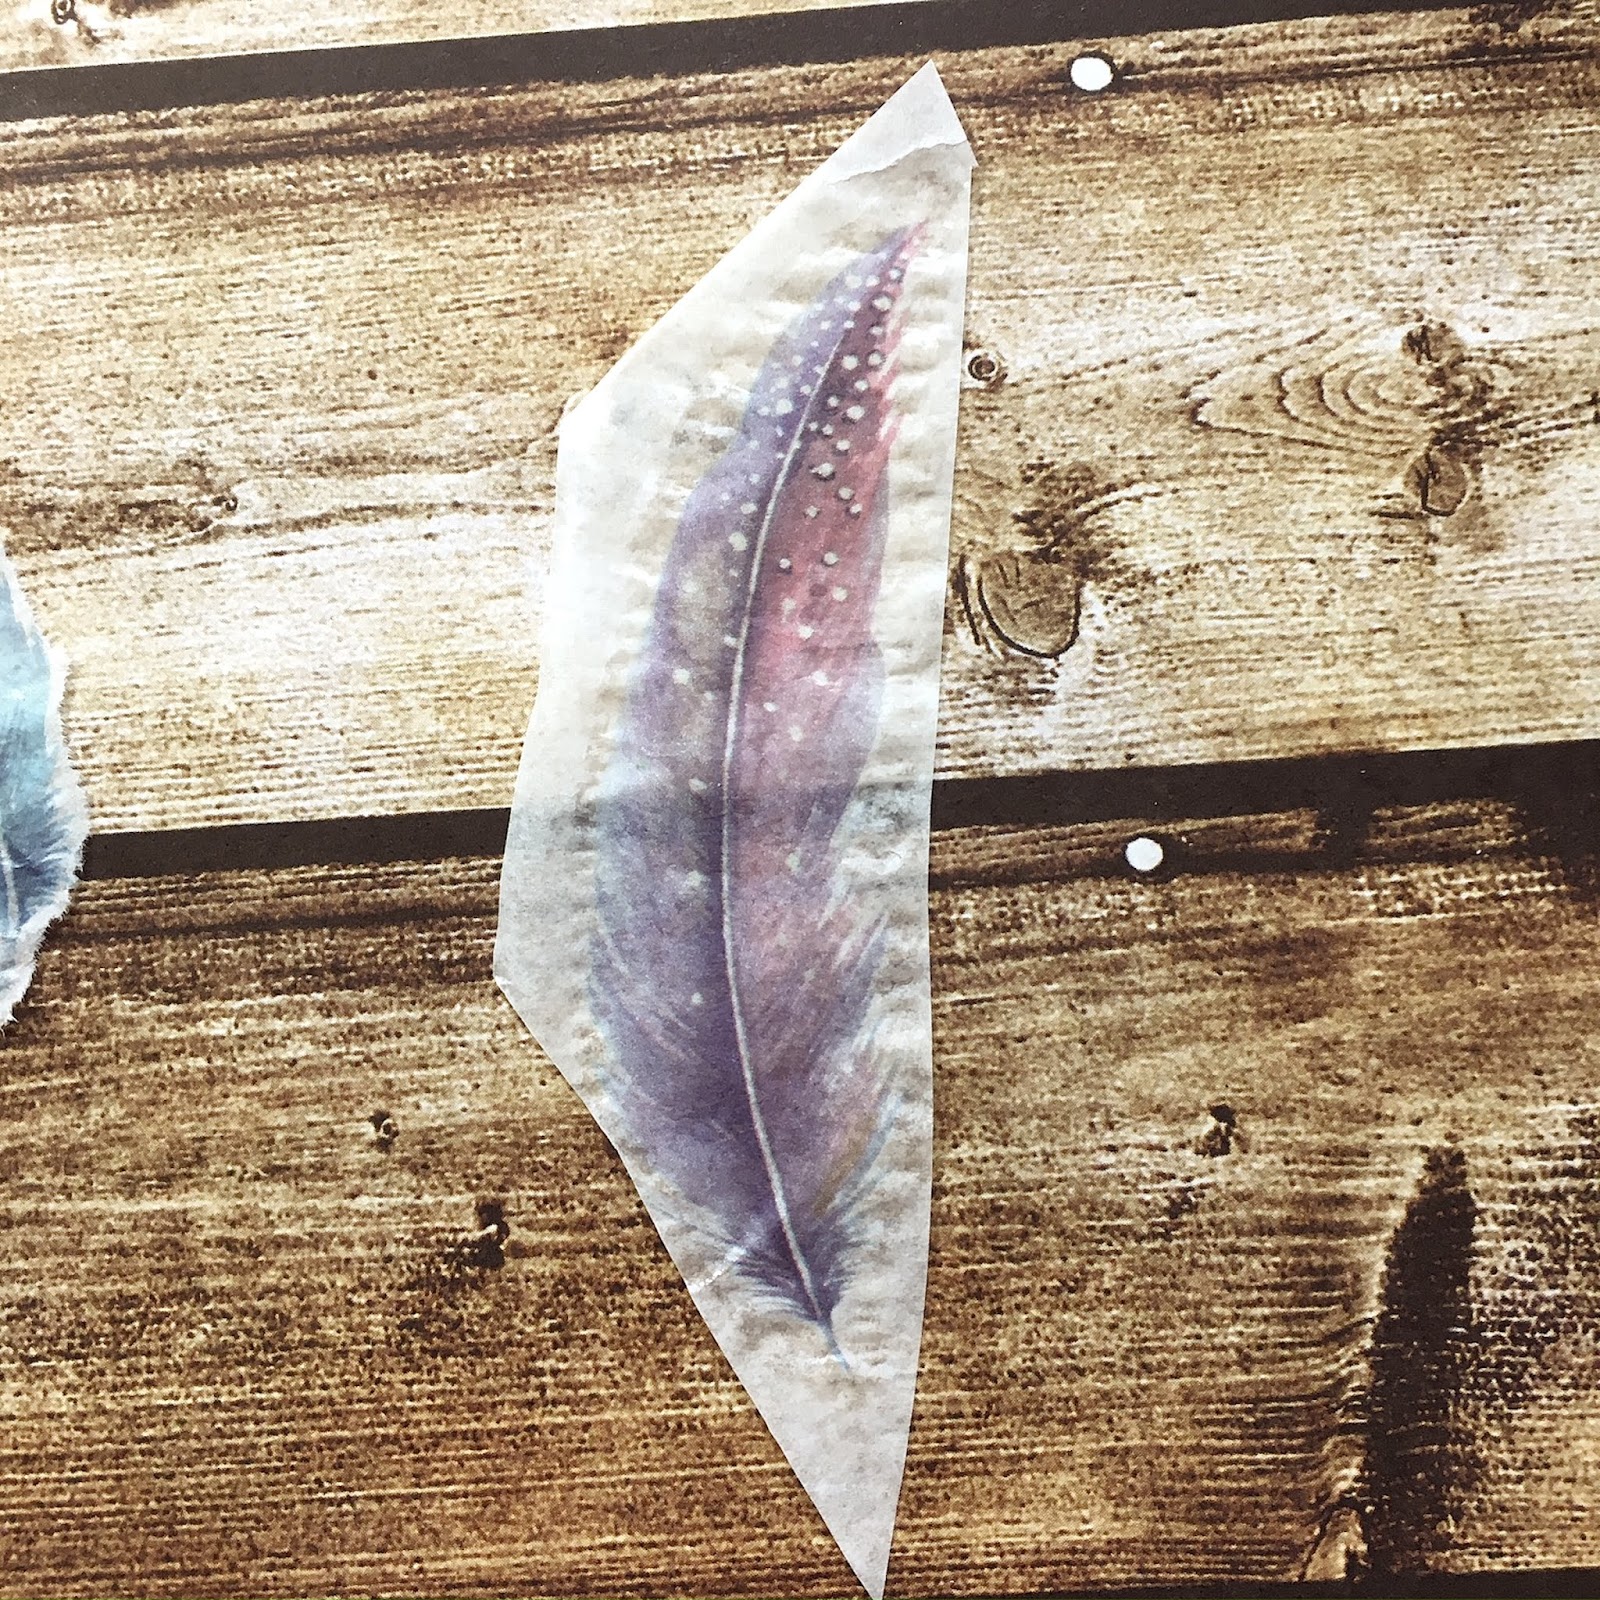
I went around the image 3 times carefully avoiding the image itself and making sure to get
the surrounding tissue paper wet. Then holding the image with my left hand, I
gently pulled along the water line with my right hand. This gives such a nice
soft tear. Then I put my piece aside to dry. They will not dry flat. I did put
them inside a pad of paper once they were dry to the touch to flatten them a bit, but
it’s not something that’s needed for this project. Next I gathered all
of my materials for my project.
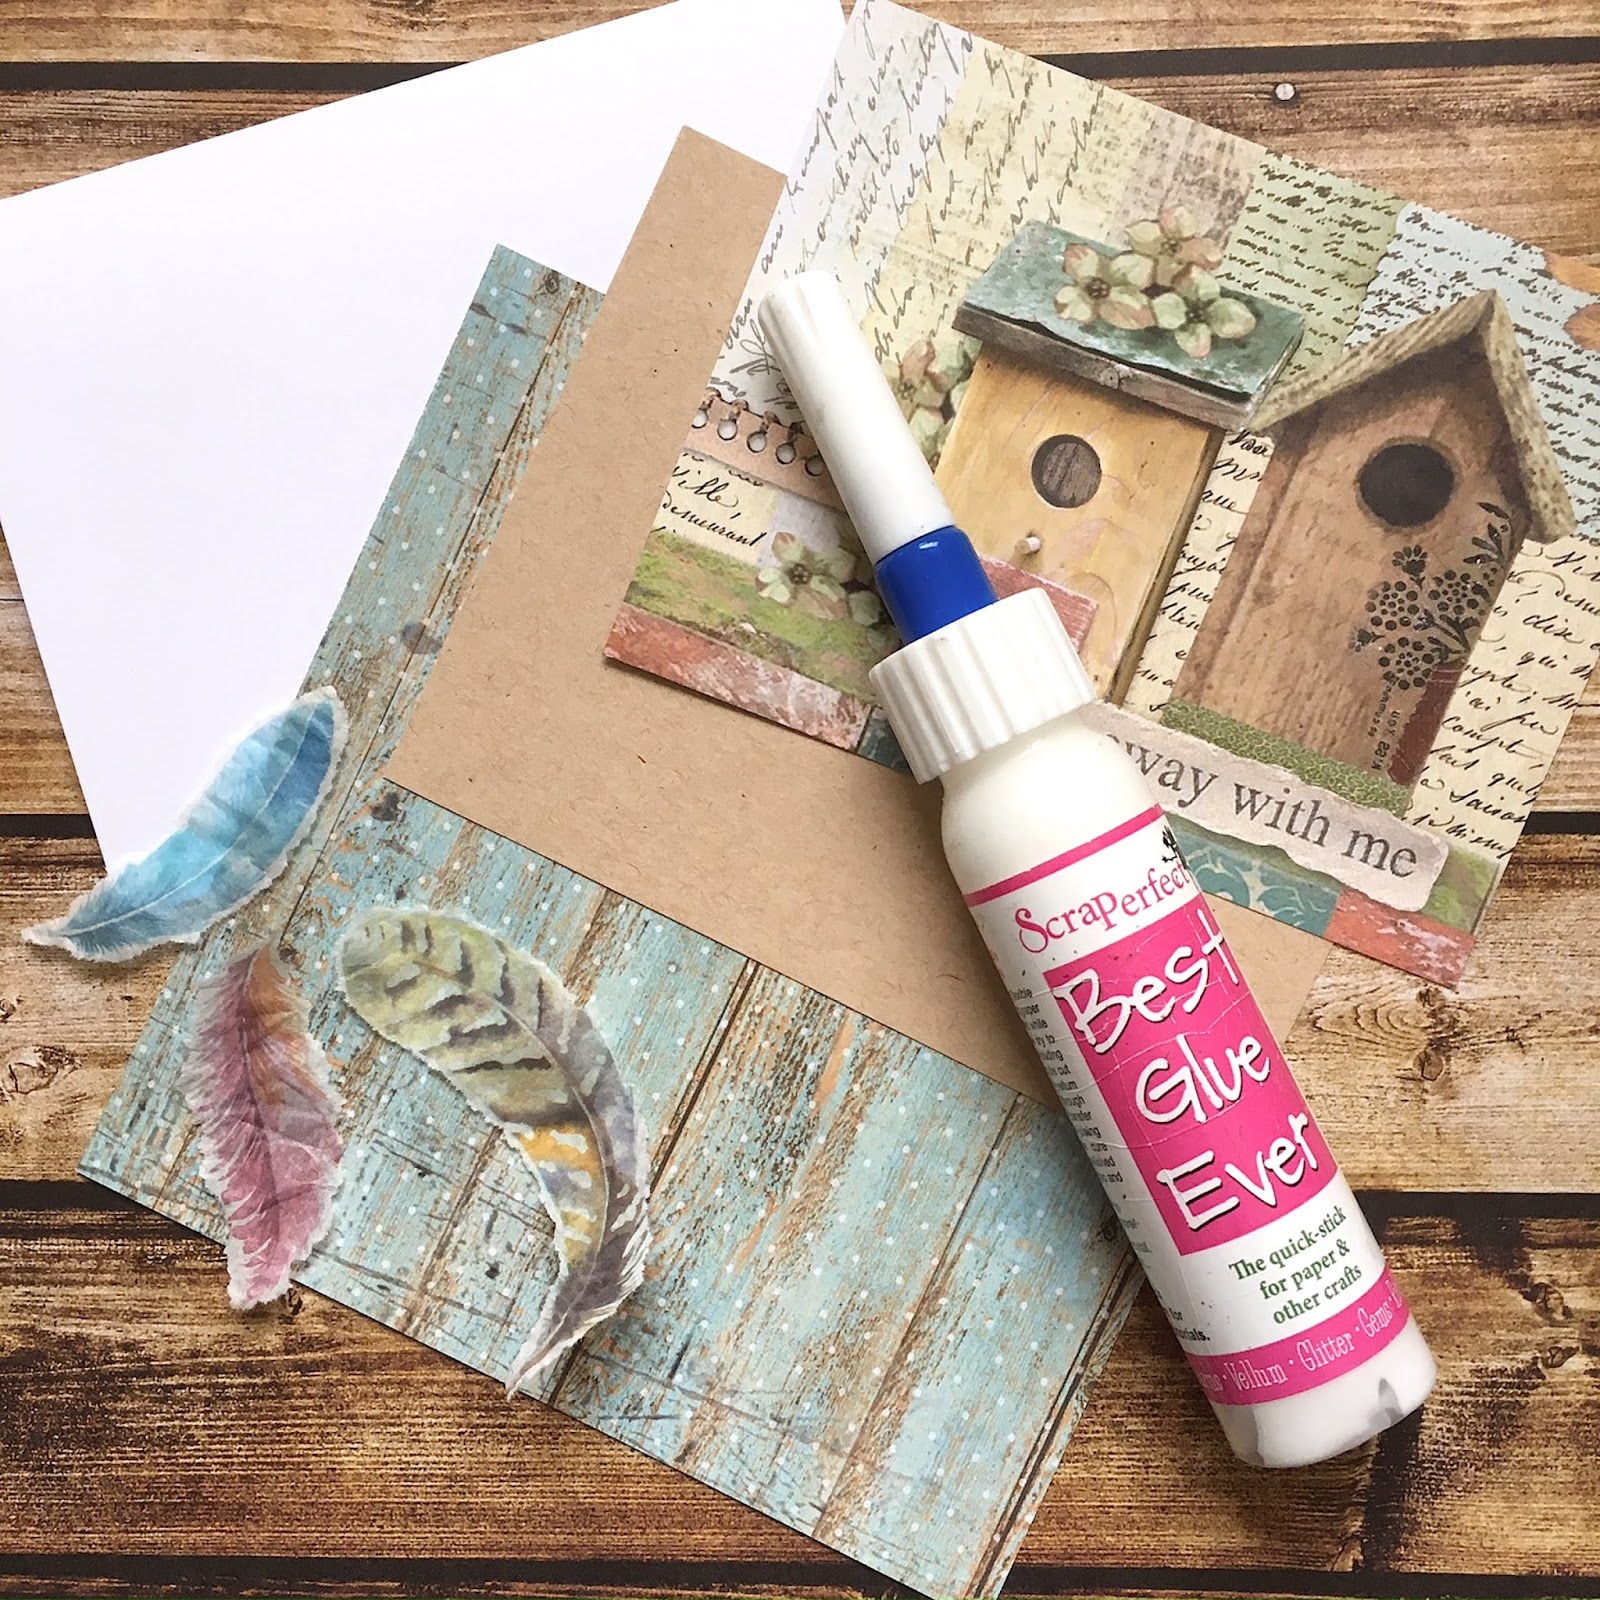
I started by making my actual card first. I took an A2 side side folding white card base
with the fold on top. I layered my 3 patterned papers on top of one another. I used
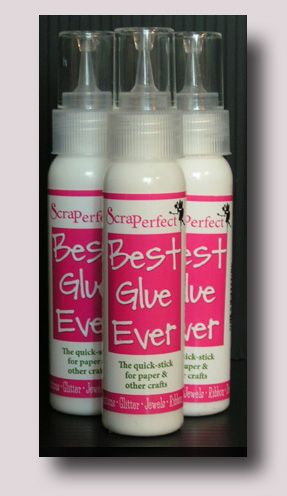
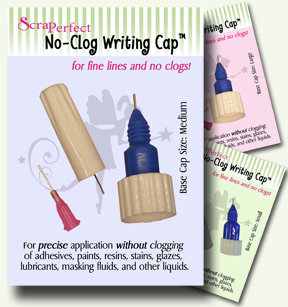
the Best Glue Ever with the No-Clog Writing Cap for this. It never lets me down!
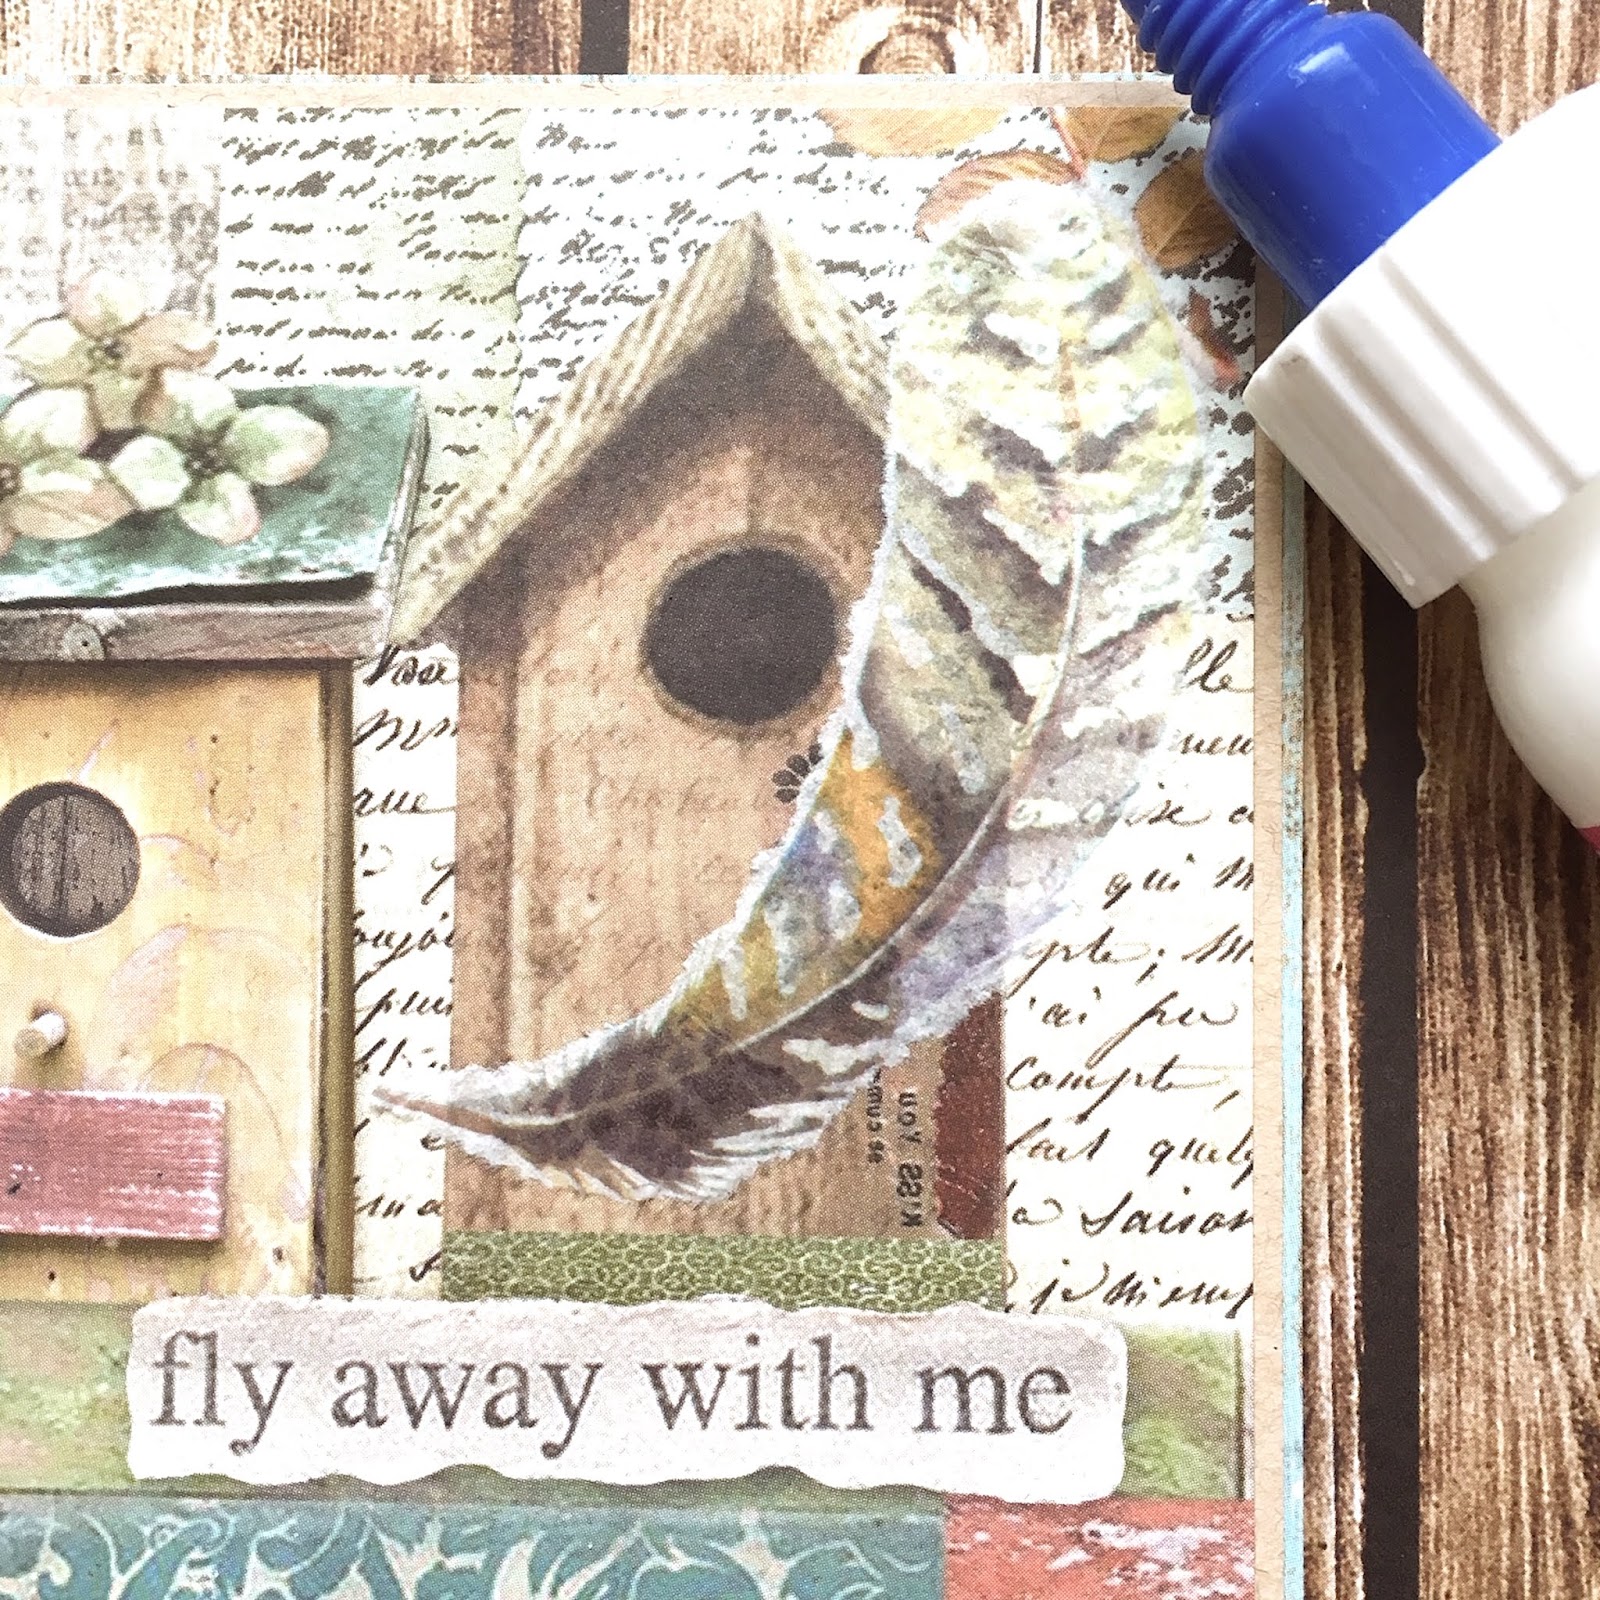
Next it was time to apply the tissue paper feathers. I ran a thin line of the
Best Glue Ever with the No-Clog Writing Cap down the center of the feather on the
back side. Then, I added a bit to each side as well.
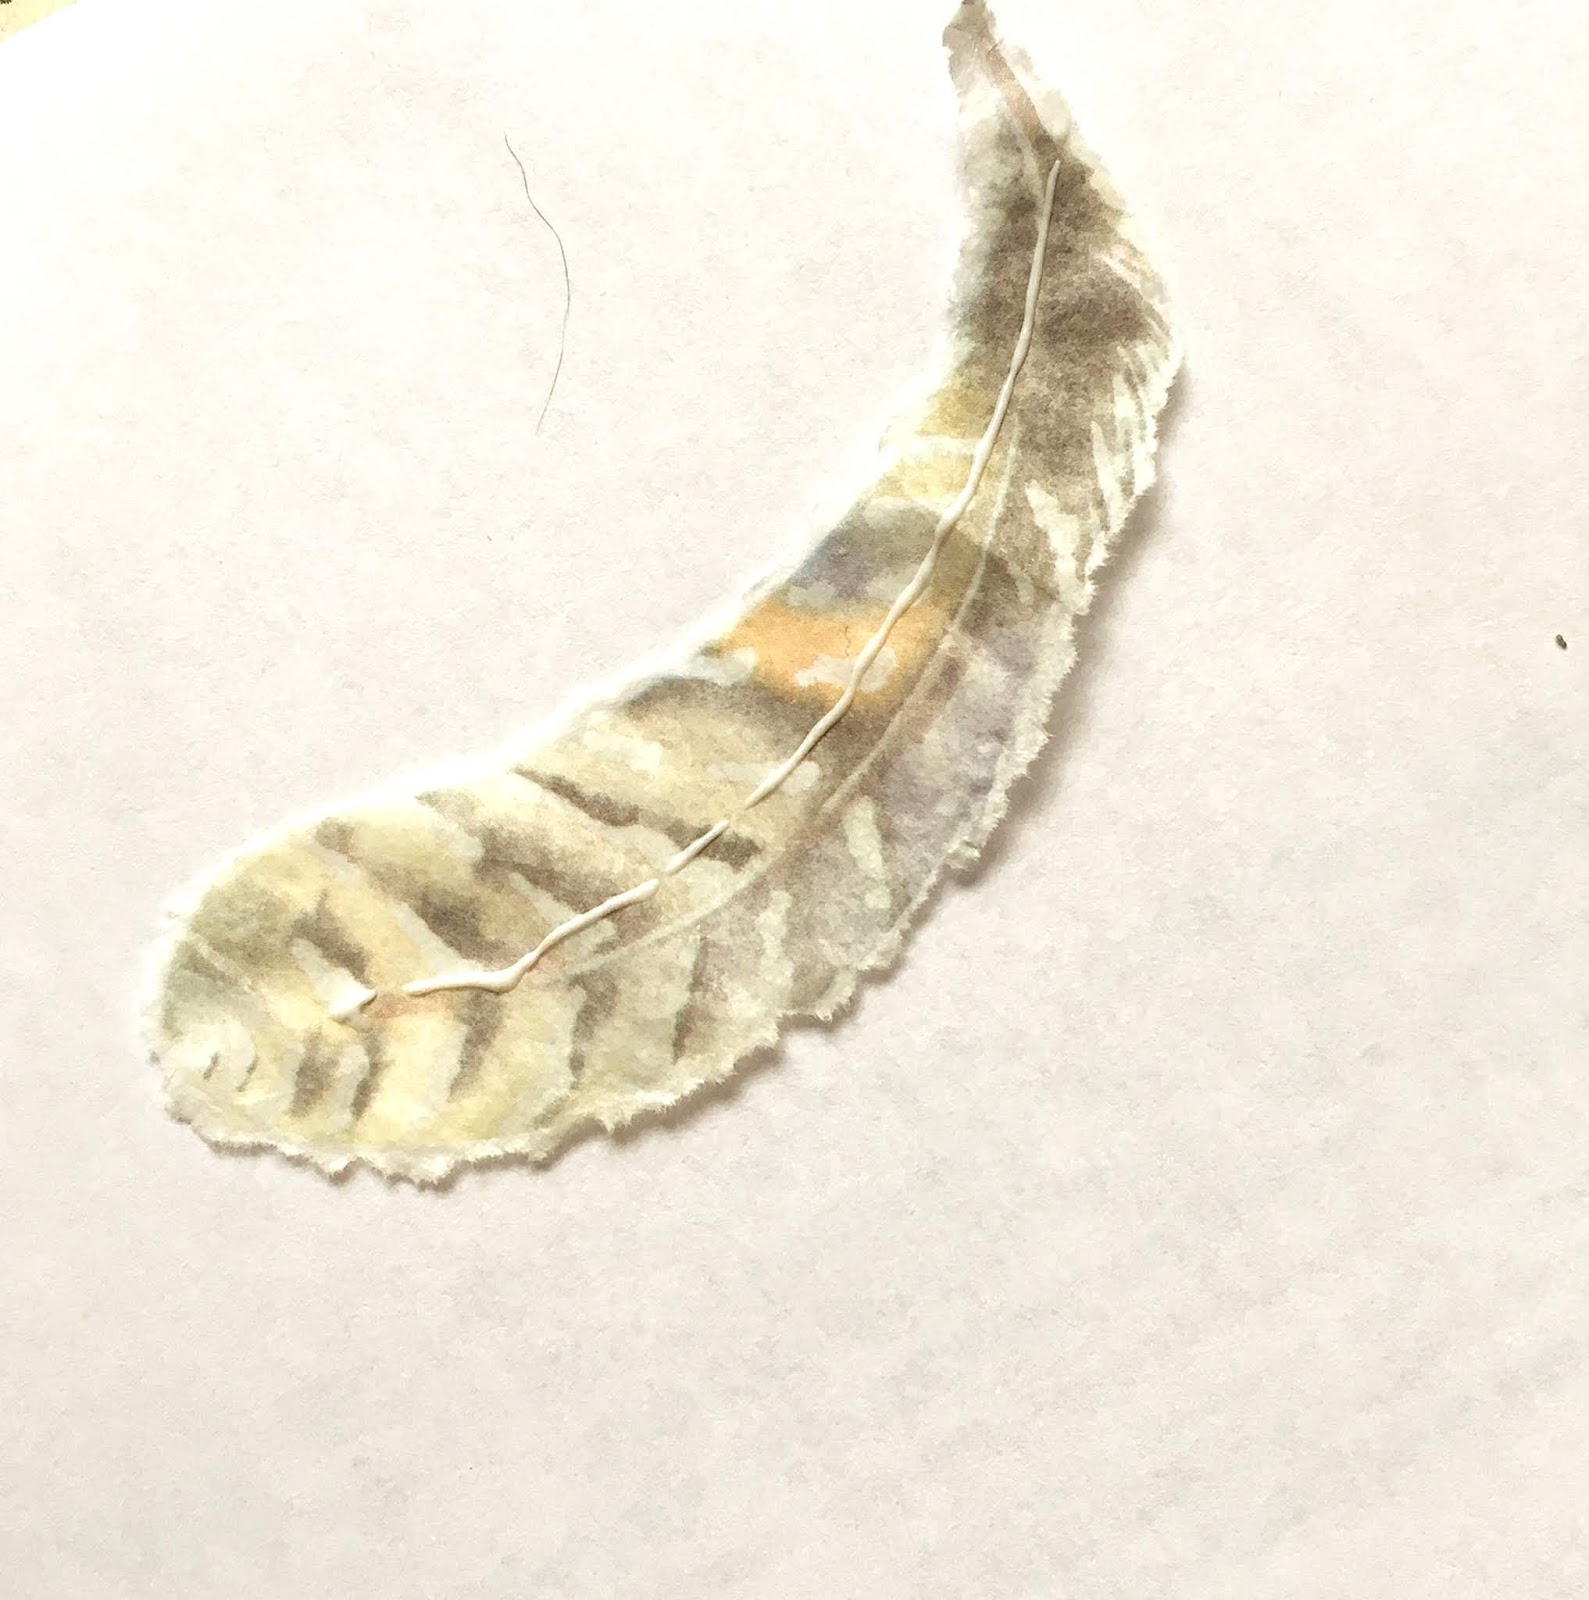
Quickly I ran my finger over the feather smearing the glue all over. When the glue
is this thin, it dries very quickly. I then placed it on my project and smoothed it
out. It laid flat, there was no buckling and no soaking through of the glue. It
just is amazing!
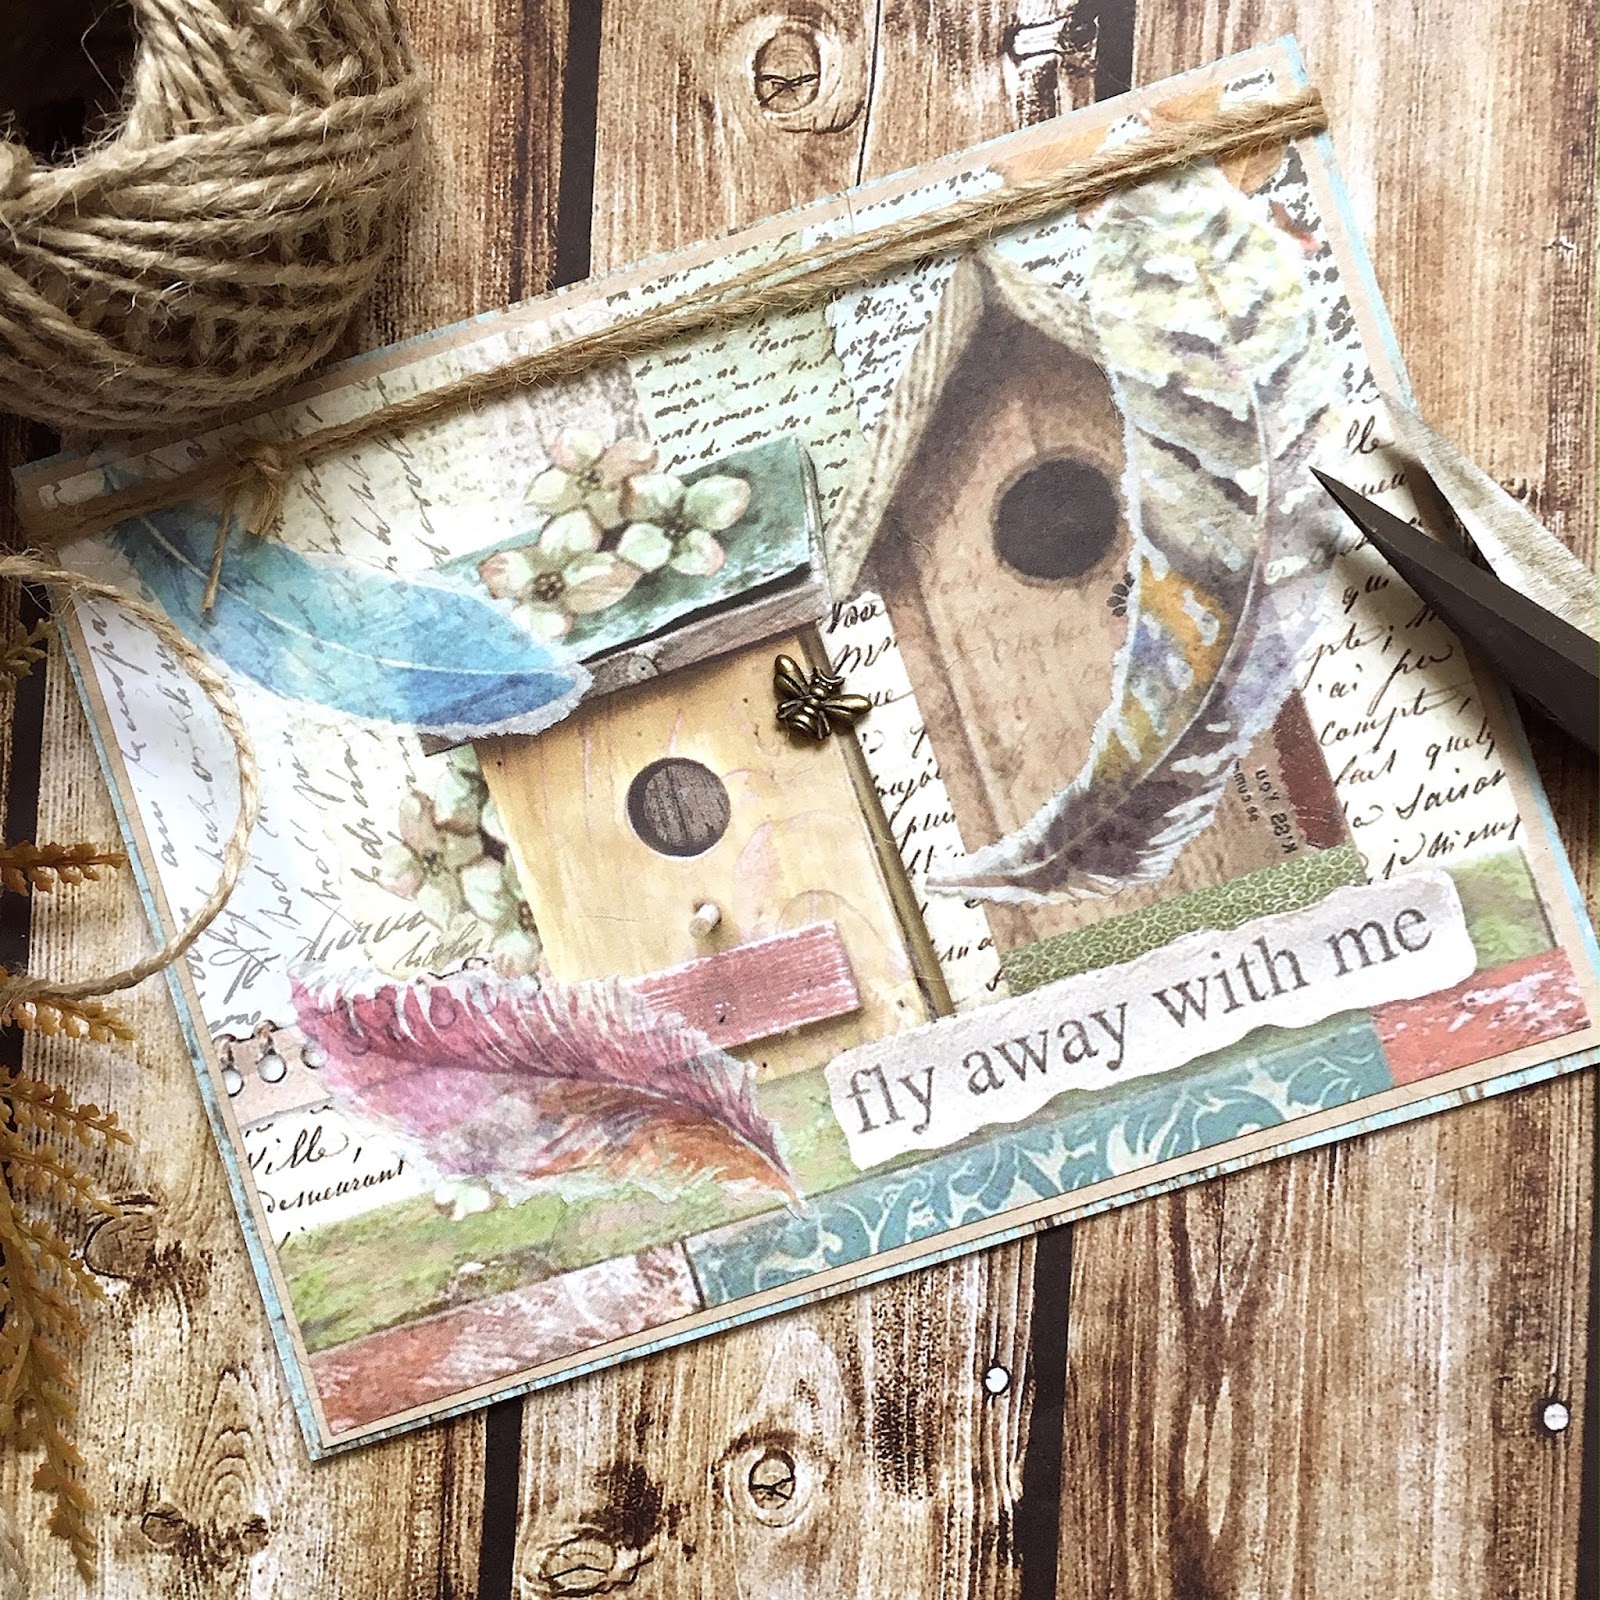
I adhered the other two feathers in the same manner. Each laid down and
adhered perfectly. I decided to add a tiny metal bee charm that I had in
my stash as a final embellishment. The Best Glue Ever with the No-Clog Writing Cap
works so great to adhere metal. One tiny drop and my bee wasn’t going
anywhere! I added some twine to the top placing just a small
drop of the glue behind the knot and my project was finished.
ScraPerfect Supplies Used:
Other Products Used:
Patterned Paper
White A2 Size card base
Tissue Paper
Metal Charm
Twine
Thank you for stopping by!
Betsy
In my capacity as a
design team member for SraPerfect, I do receive the products I use from them.
All opinions and creative decisions remain my own, and I only work with
companies/use products that I love.
design team member for SraPerfect, I do receive the products I use from them.
All opinions and creative decisions remain my own, and I only work with
companies/use products that I love.

