
Are you ready to learn how to stamp with ScraPerfect’s Best Glue Ever? I am here to show you how!
Hi, crafters! It’s so nice to meet you! I’m Ro (Toodle Noodle Ro), a brand-new member of the ScraPerfect Design Team and I’m so happy to get to play with these products along with you! I’m particularly excited today because I think I have a trick for you that you may not have thought about: Stamping with Glue! (Best Ever Glue to be exact!)
Now before you laugh me out of the room, hear me out. If you’ve used the amazing Transfer Foils, you know what a stunning accent this adds to your cards and scrapbook pages. Well, I wanted to use these foils with my stamps, so I came up with a simple and inexpensive way to do just that! Let me show you what I did to create this adorable card:
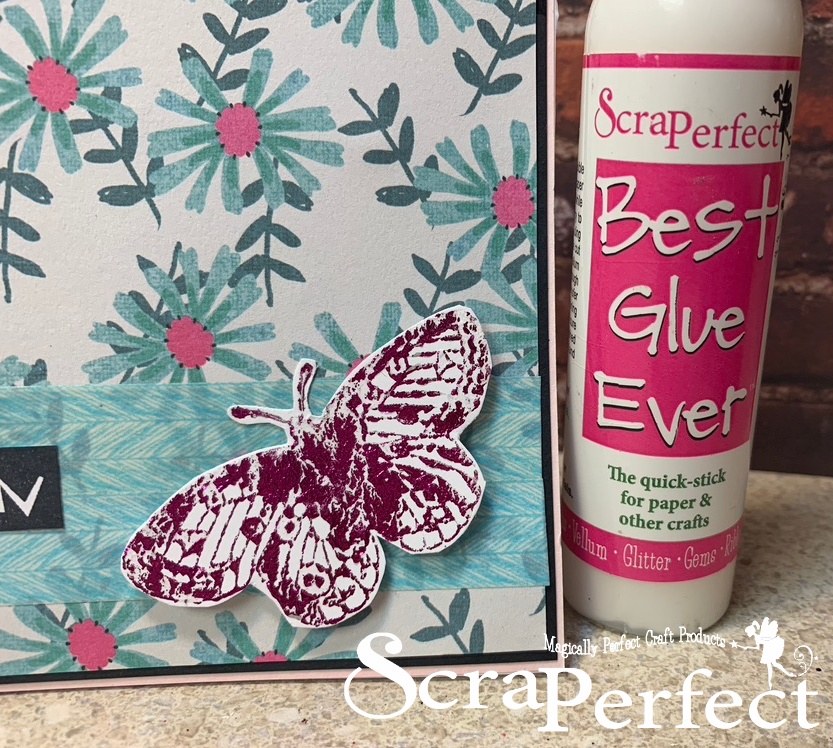
See that butterfly? Shiny foiled goodness right there! Here is the step-by-step lowdown on how it came about.

First, I headed to the dollar store and purchased a pack of sponges and an airtight container ($2 total). Then I proceeded to create my “special” stamp pad.

I took one of the sponges from the package and cut it apart. I selected this type of sponge because it had the smoothest surface. The scrubby part I’m cutting off can get tossed in my kitchen sink for further use. No waste here!

It fit perfectly in the small airtight container I purchased. I wanted an airtight container so that the sponge could be used multiple times. If you don’t have sponges, you can also use a piece of felt or (gasp!) panty liners work well too. I honestly don’t know how long I will be able to use the sponge, but I will be testing it frequently and will definitely share my results with you!
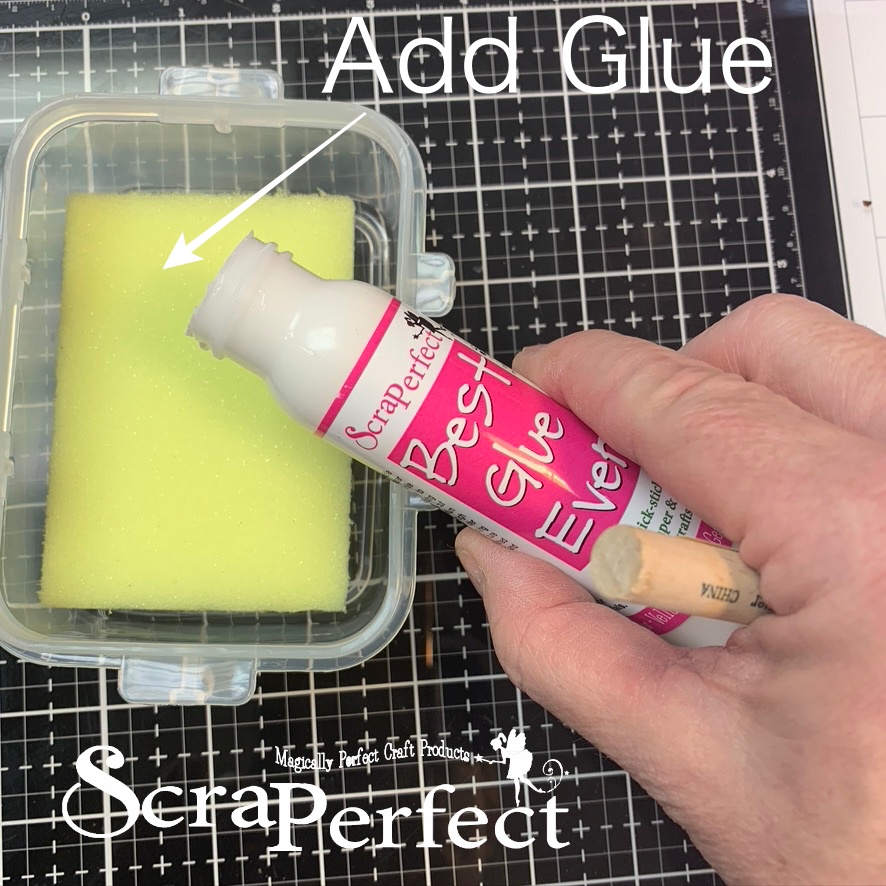
Now I added a generous dollop of the Best Glue Ever to the top of the sponge. (Gasp! – Don’t panic! We aren’t wasting any of this glue…you’ll see!)

Using a foam brush (or you could use your finger if you don’t mind getting a little sticky), I spread the glue across the top of the sponge. I had purchased so many of these brushes on sale one day, that I don’t mind using them. I just cut off the end after it hardens and can get three or four more uses out of them. I love being frugal!

I placed my desired stamp on the acrylic block and “inked” up the stamp generously, making sure not to press too hard so the glue didn’t get into all the nooks and crannies of the stamp.

I then stamped my image on a piece of cardstock, making sure I got good contact, but not pressing too hard so I didn’t blur the image.
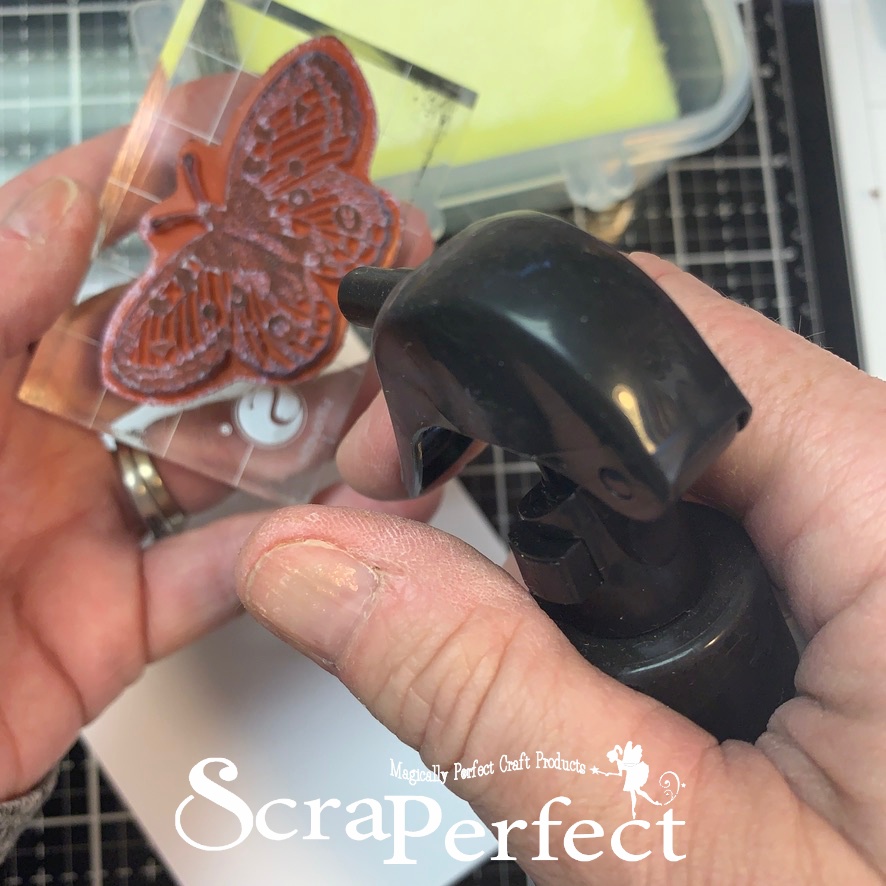
I immediately cleaned off my stamp with plain old water, and left my stamped image to dry a bit. If you do end up letting the glue dry on your stamp, the best way to clean that off is with our Best Cleaner Ever.

While my image was drying, I selected which piece of Transfer Foil I wanted to use. There are so many colors and designs to choose from! I was feeling the hot pink, though, so that’s what I went with. Since the stamp was fairly detailed, I didn’t want to lose anything with a busy foil.
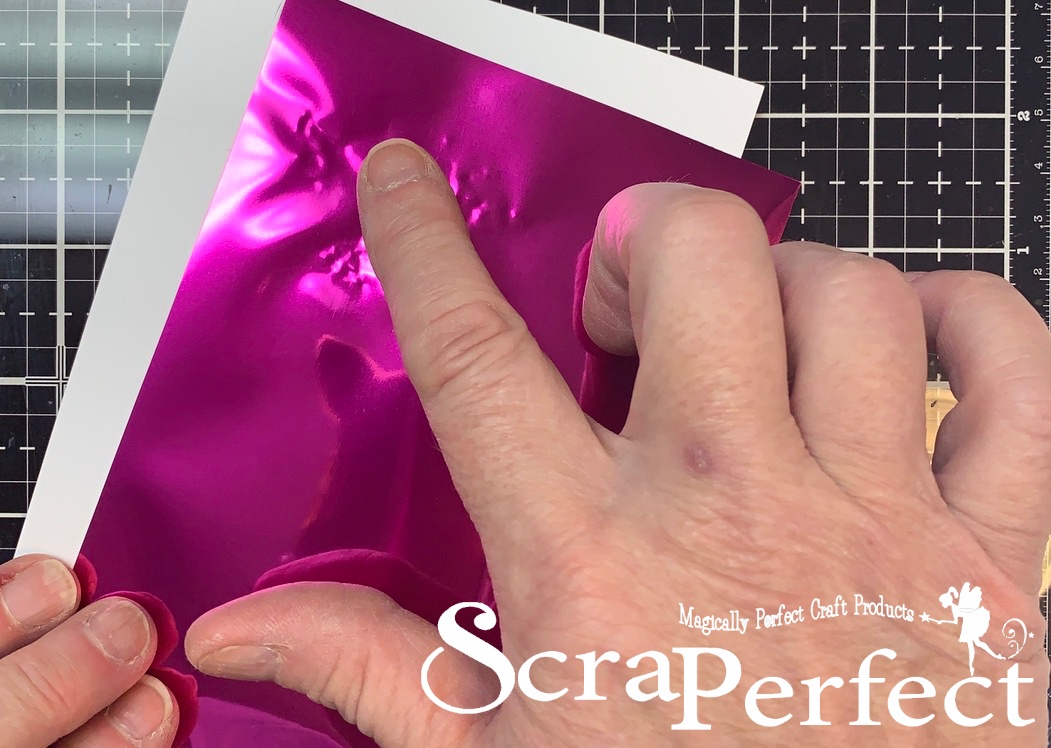
Once the stamped image reach the tacky stage (you can let air dry which doesn’t take very long, or add a little blast from your heat gun…I admit I have little patience so I sped it along with my gun), it is time to add the foil. Just lay the foil over the image and burnish it using your finger. You will see the image taking shape as the foil adheres to the tacky glue.

Gently remove the foil and POOF! Your image is foiled, shiny, and gorgeous!
Now the only thing left to do is assemble the card!
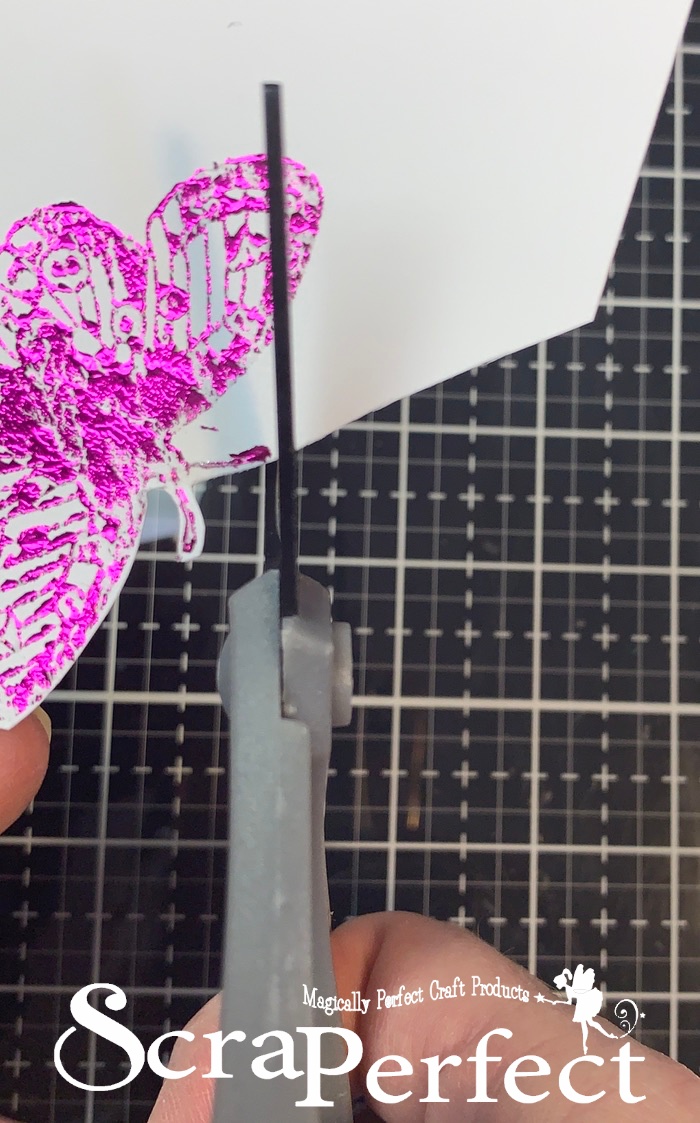
I fussy cut the butterfly.
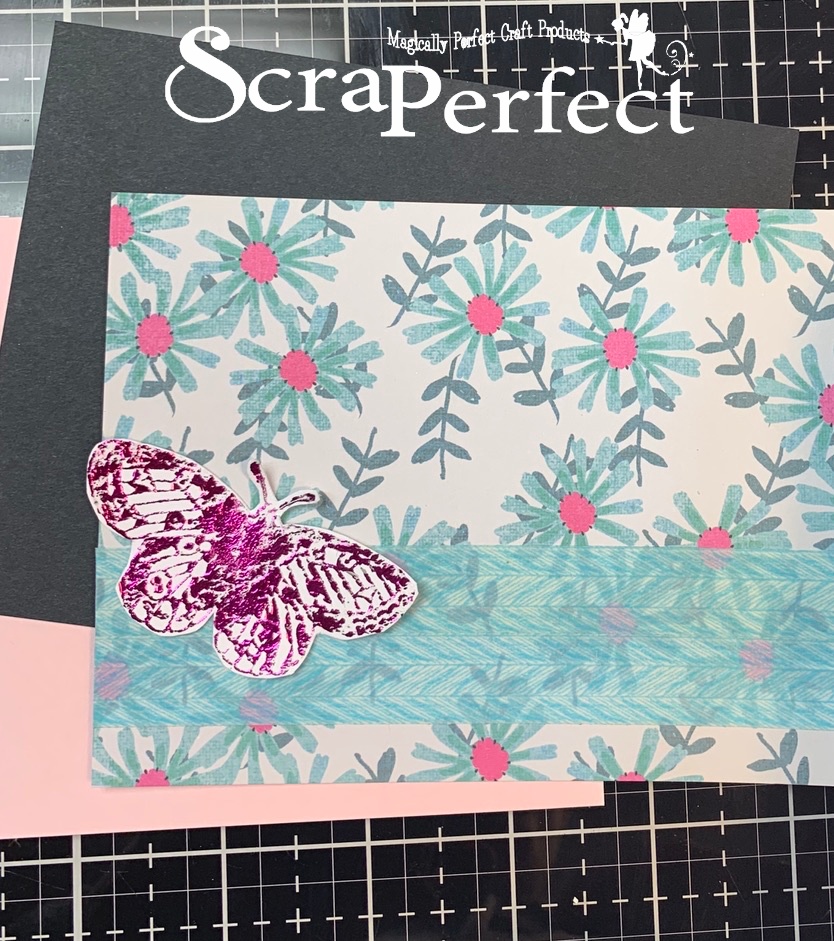
I assembled my card layers (I added a little washi tape to the patterned cardstock). I went with two matted panels, black and pink.

Using the Best Ever Glue, I adhered all my layers together and attached them to the card base. I love using the glue versus tape runners. If you use tape runners, you have to have perfect alignment the first time. With the glue, you have wiggle room and can move your layers around as needed to get perfect centering. And with the special No-Clog Writing Cap, you can be sure you won’t over-glue and your tip will never clog!
Now that my card is all assembled, all that’s left is to admire it until I send it on it’s way.

Thank you so much for stopping by today! I hope you found a little inspiration and gained some good ideas. Let me know what you think! See you soon!

