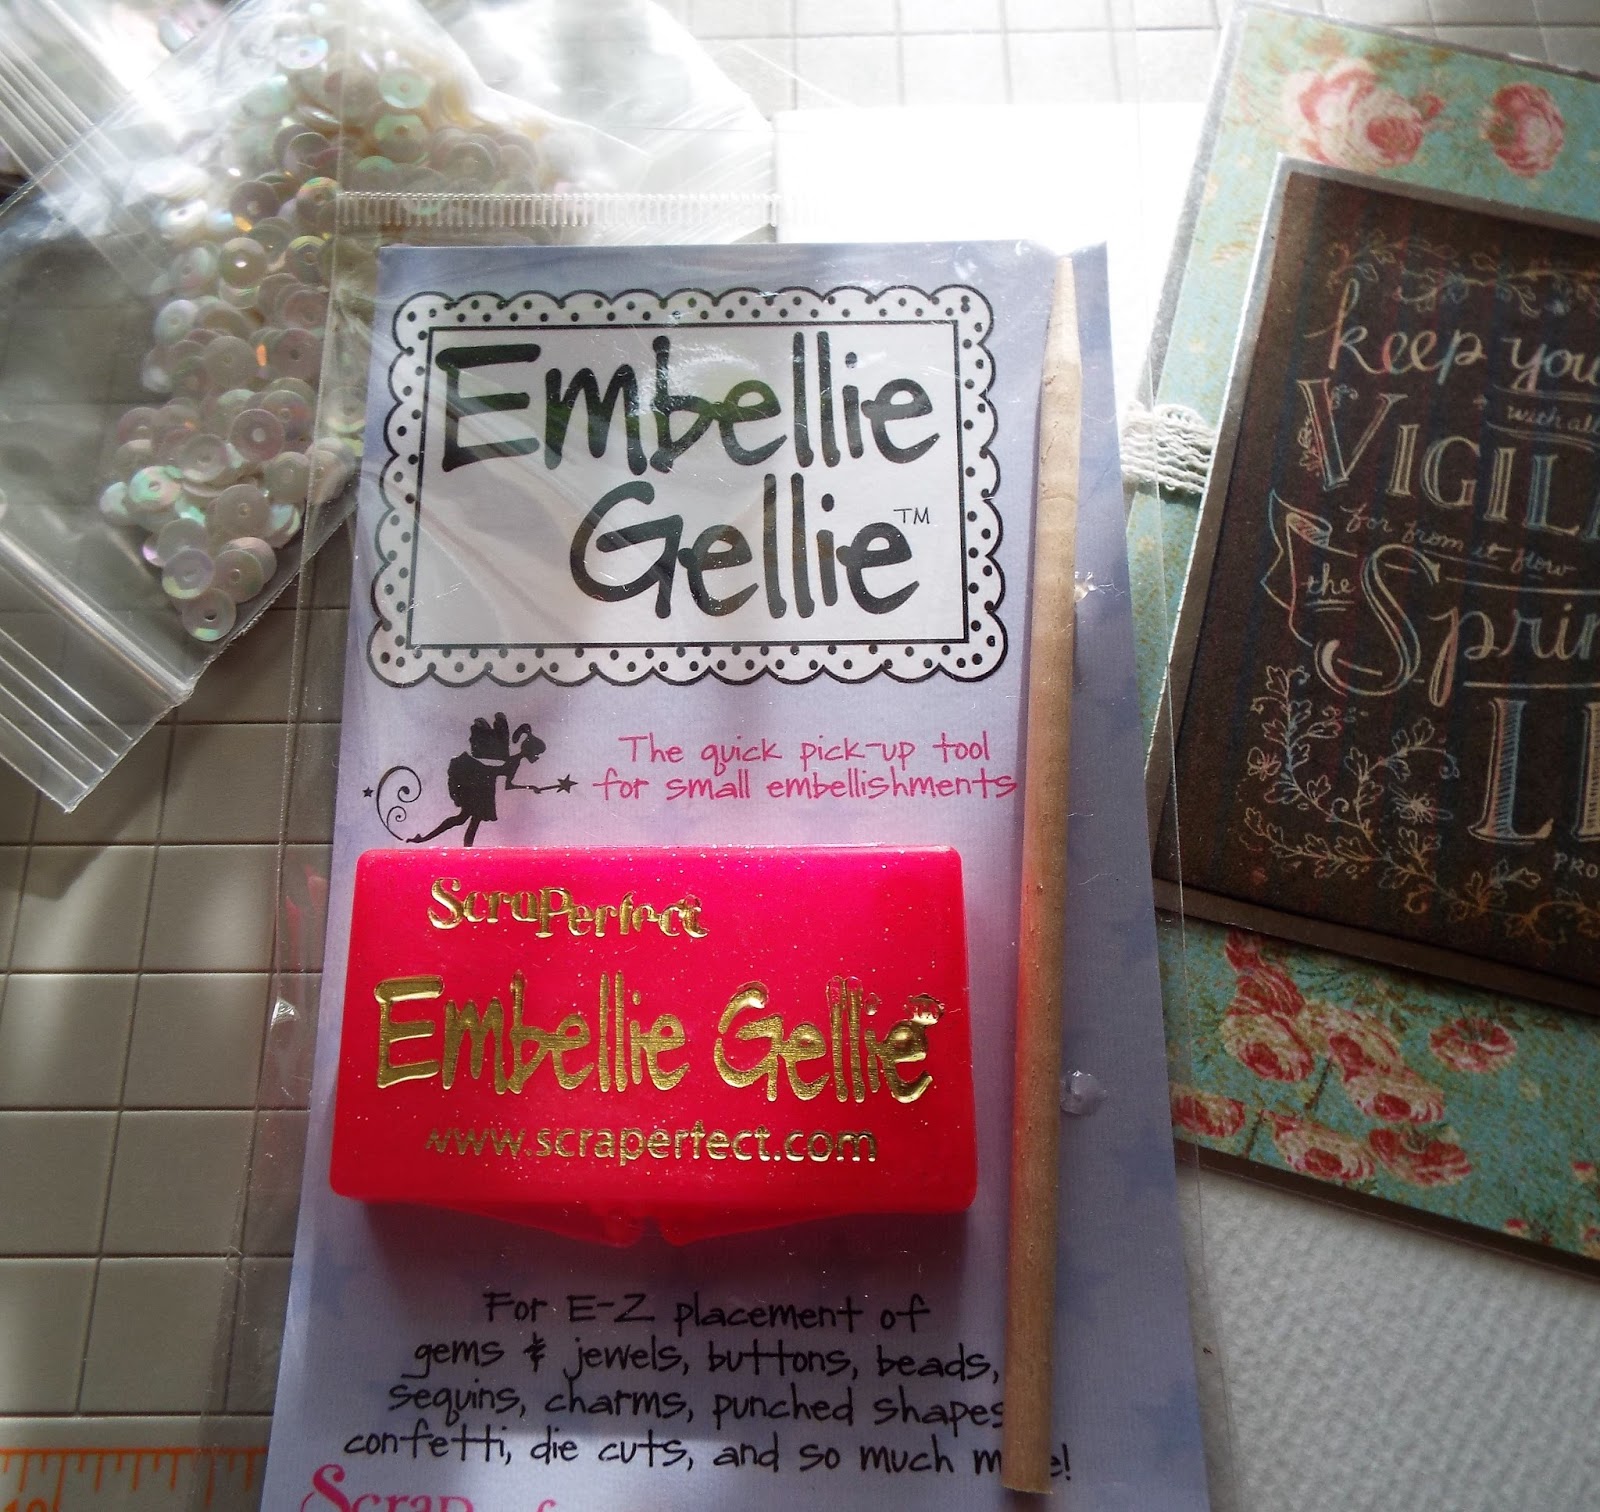
Hi everyone, Ginny M here, I wanted to show you a fun little tool to help you work with small it’s and embellishments, It’s called and Embellie Gellie, it is lots of fun and easy to use and very economical! Plus it is environment-friendly!
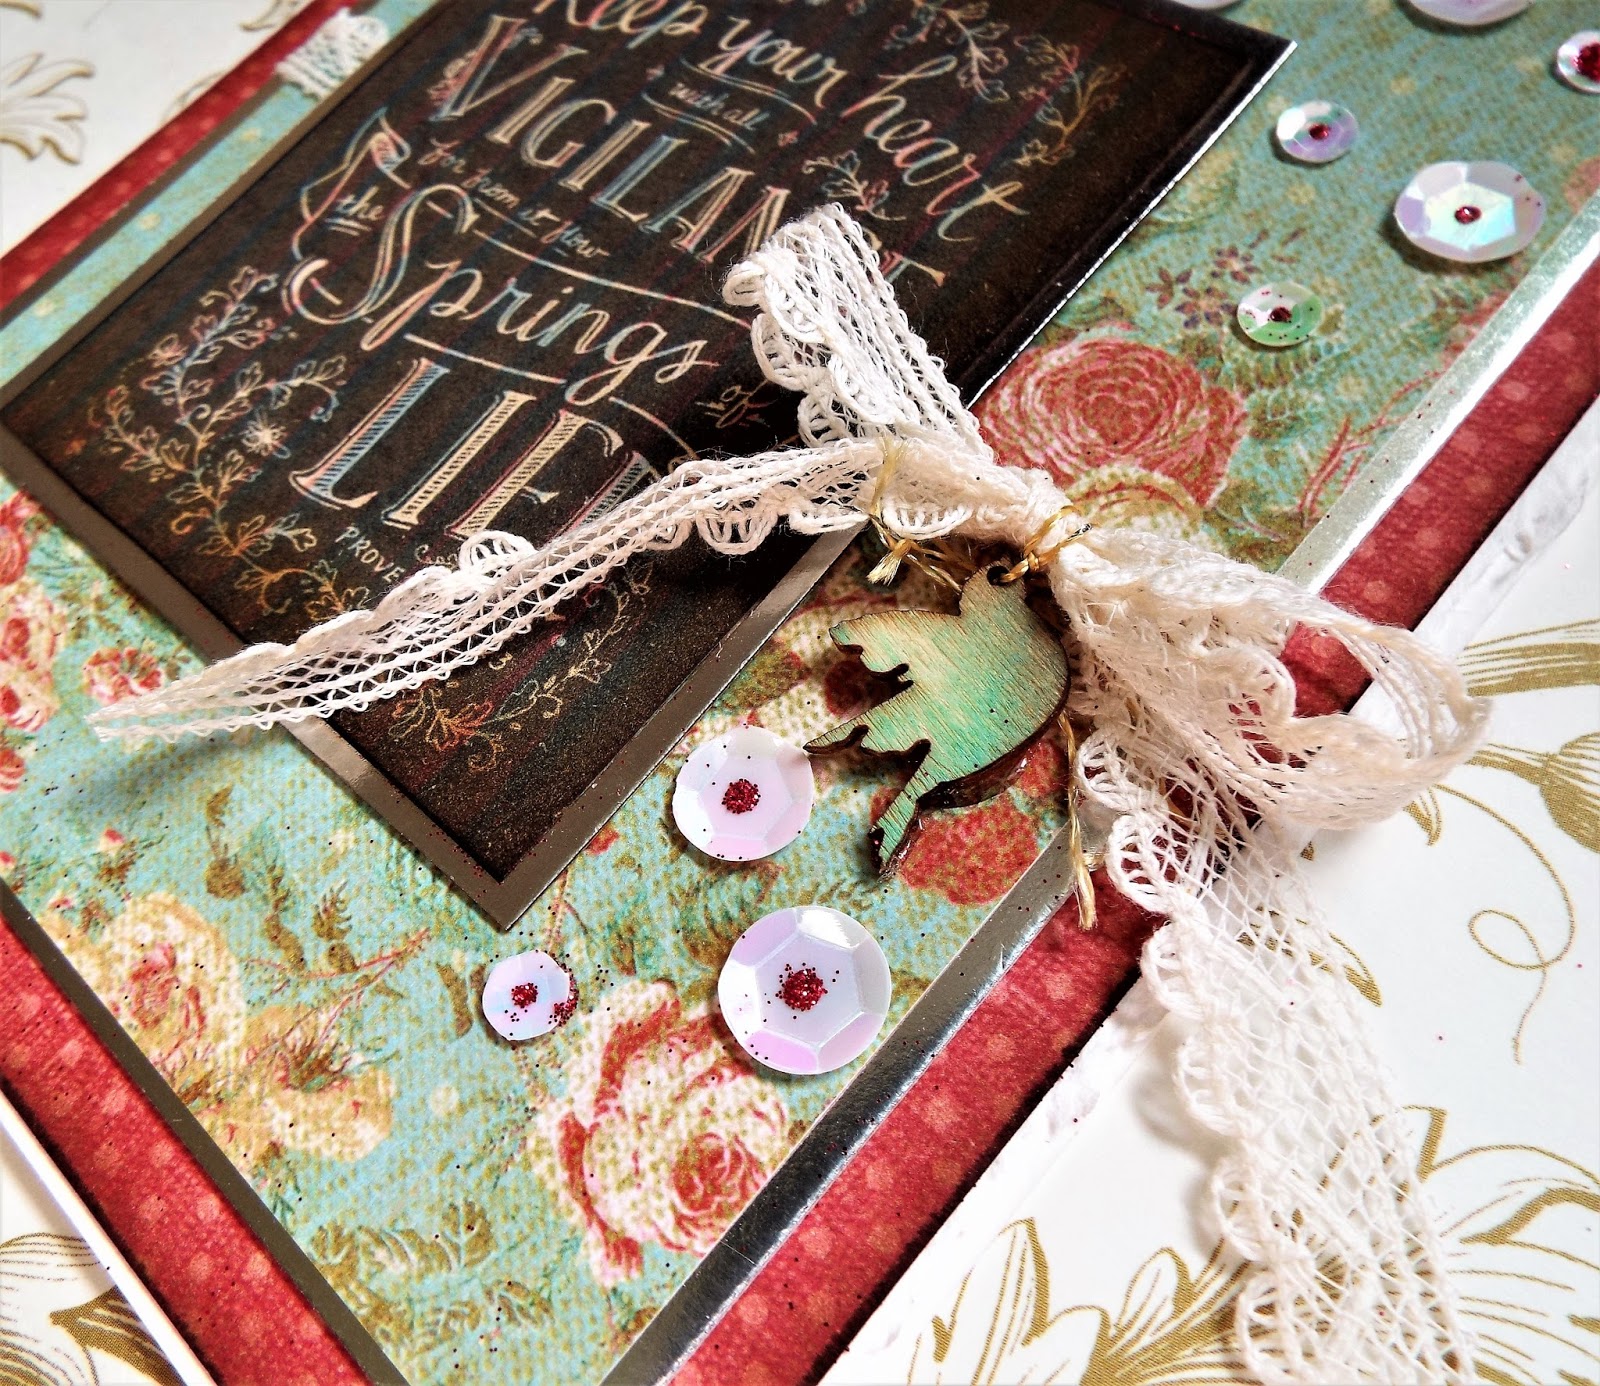
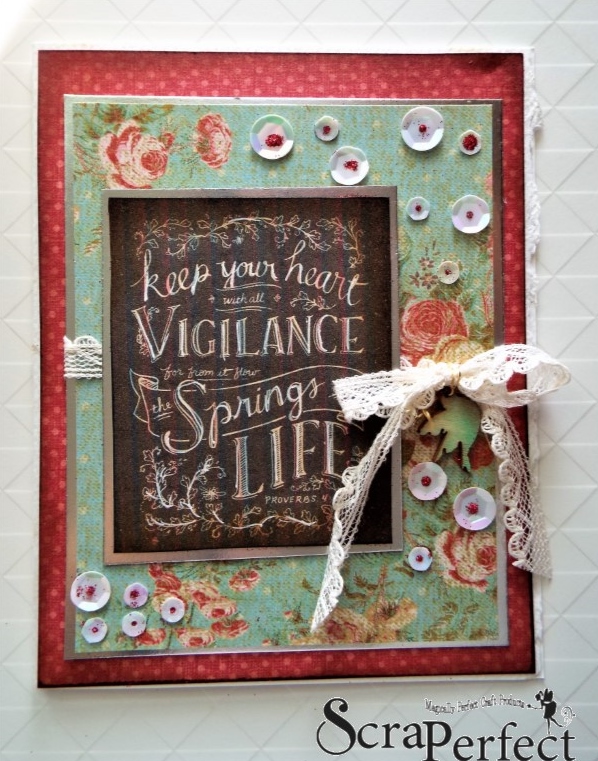
Here is the card I made with this low-tech, high-performance tool!
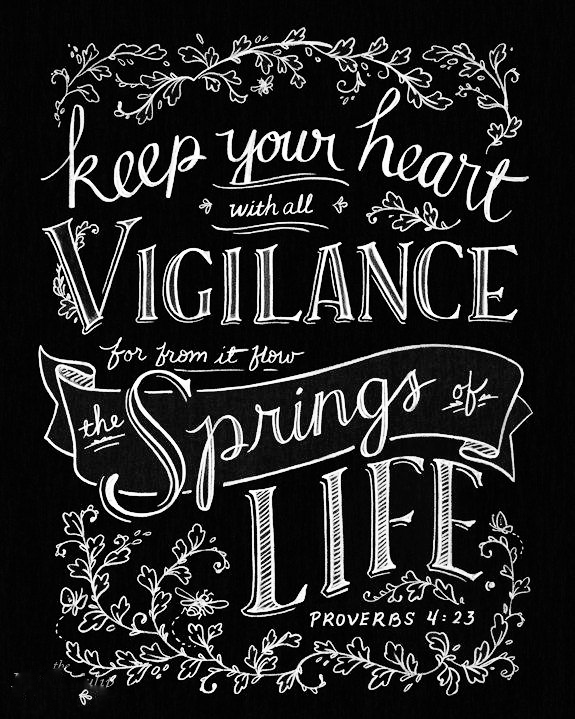
To help you make this card I have this freebie for you, it is not one of my originals, but I Know you will enjoy it!
For details, please read on!
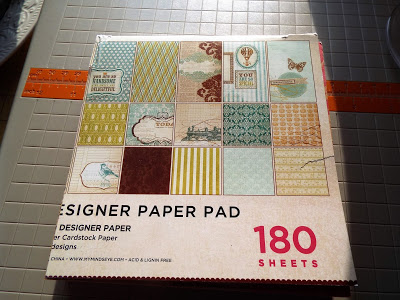
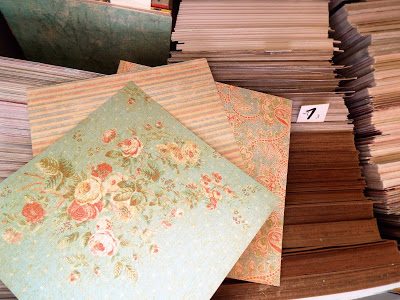
I simply pulled stash paper:
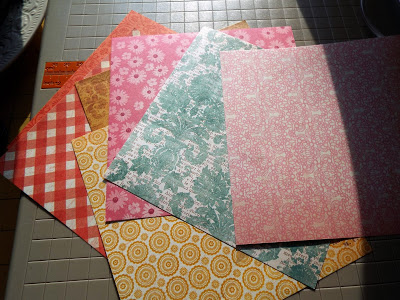
one of my chopped 6×6 pads (from a 12×12)
few colors to pick from
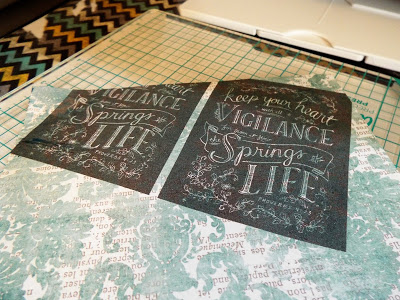
I selected and printed and oops, this didn’t work out too well!
Time to reevaluate my paper. This obviously didn’t work!
something a little heavier and less coated
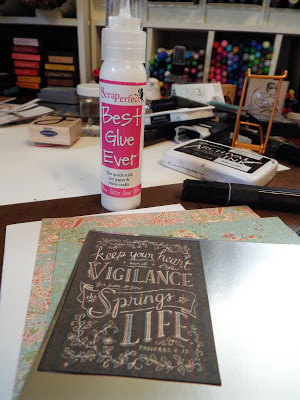
Holding it all together – Best Glue Ever!
Ater cutting and assembling, the fun part – embellishing with the Embelli Gelli!
This fun tool will last so long, you just take a like “dip” of the gel and place it on the tip of the wood stylist (or you can use one of your fav pointy tools)
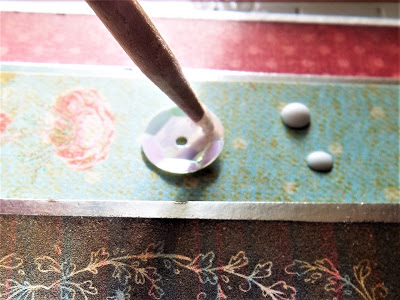
I place dots of the BGE on the paper where I want my embellishments, pick up the embellishment
and place it on the glue. simple and easy as can be!
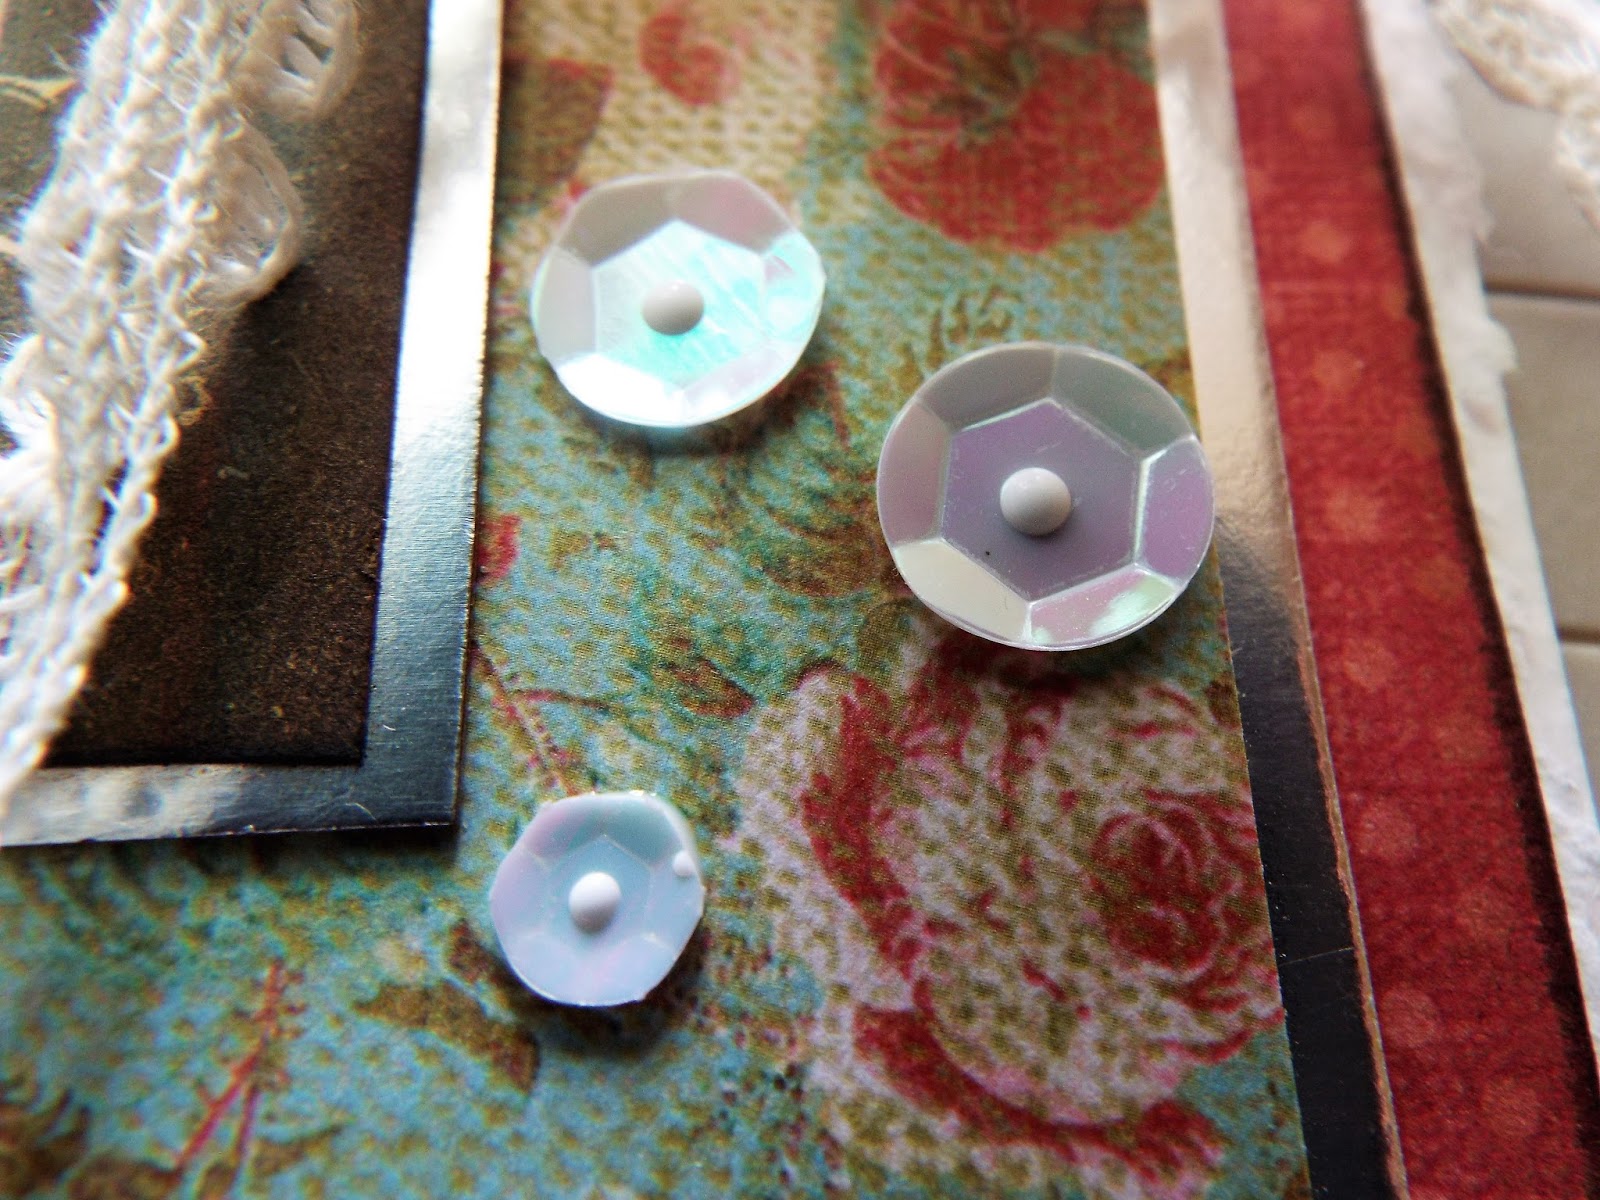
I purposely add a tiny bit extra to it will come up through the hole in the sequin
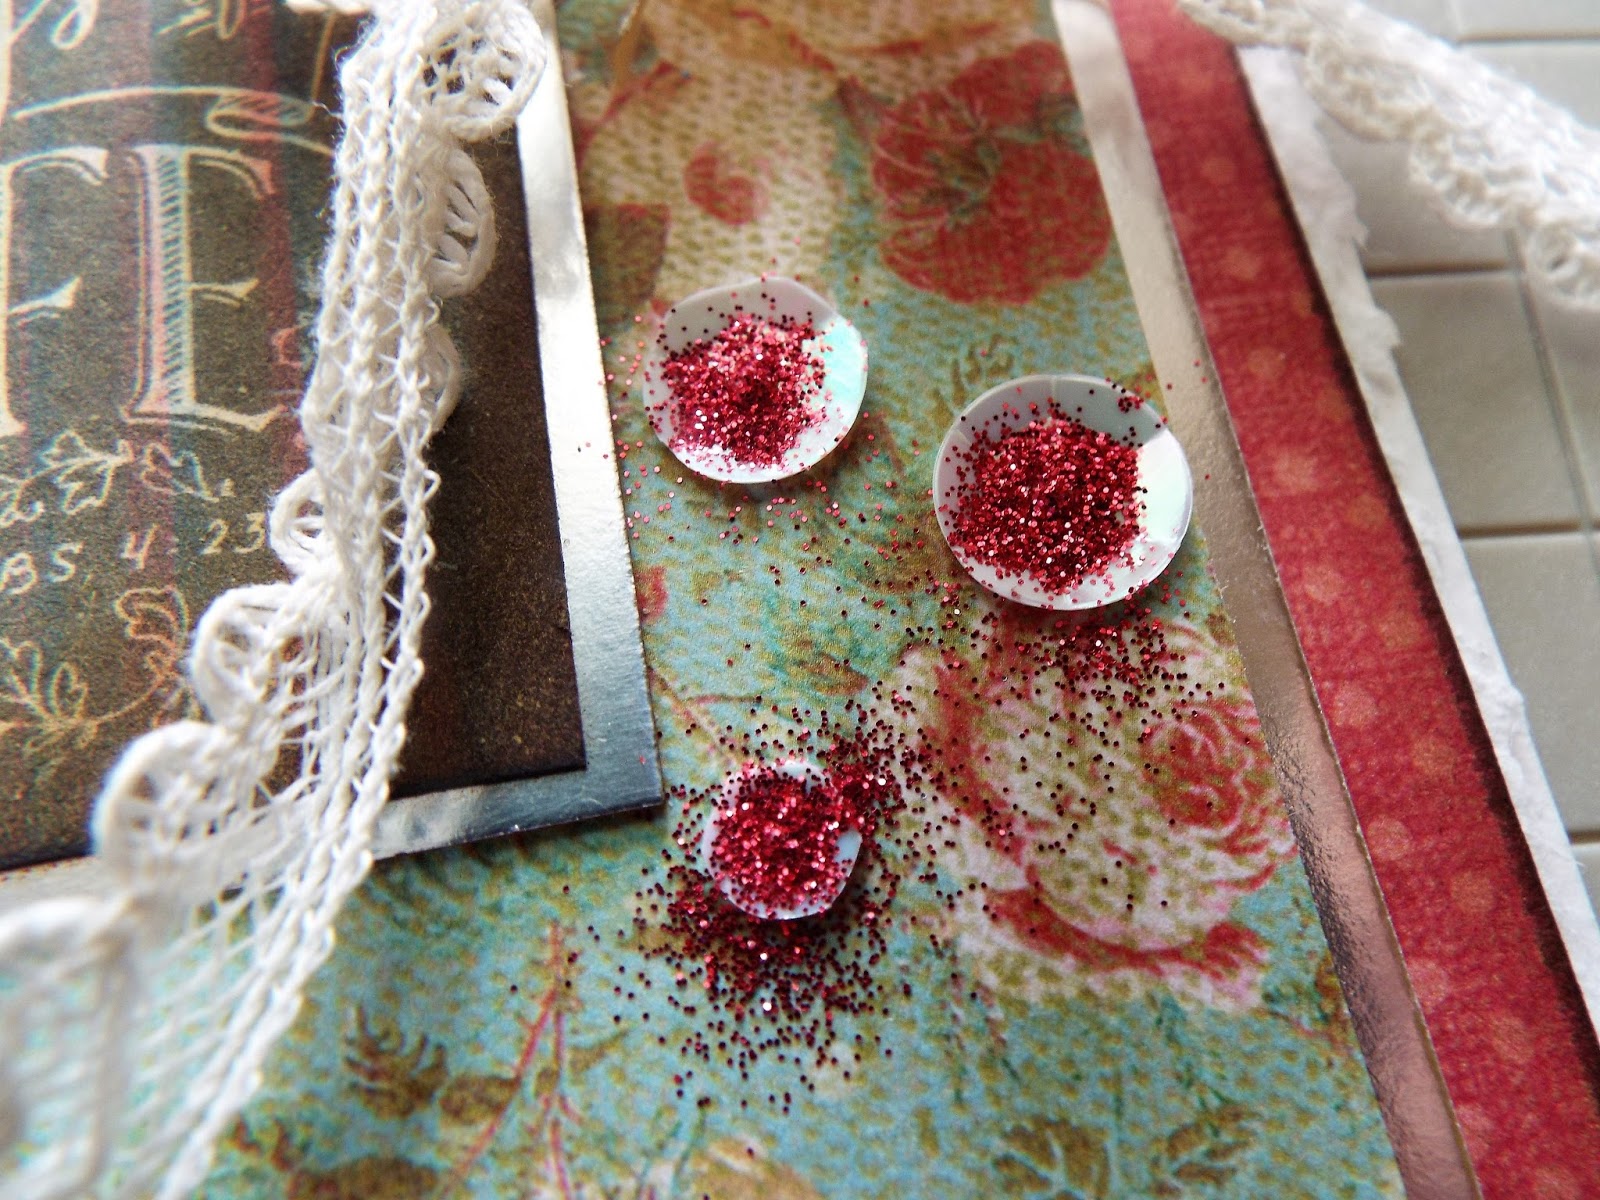
and then add glitter!!
wait a minute or two:
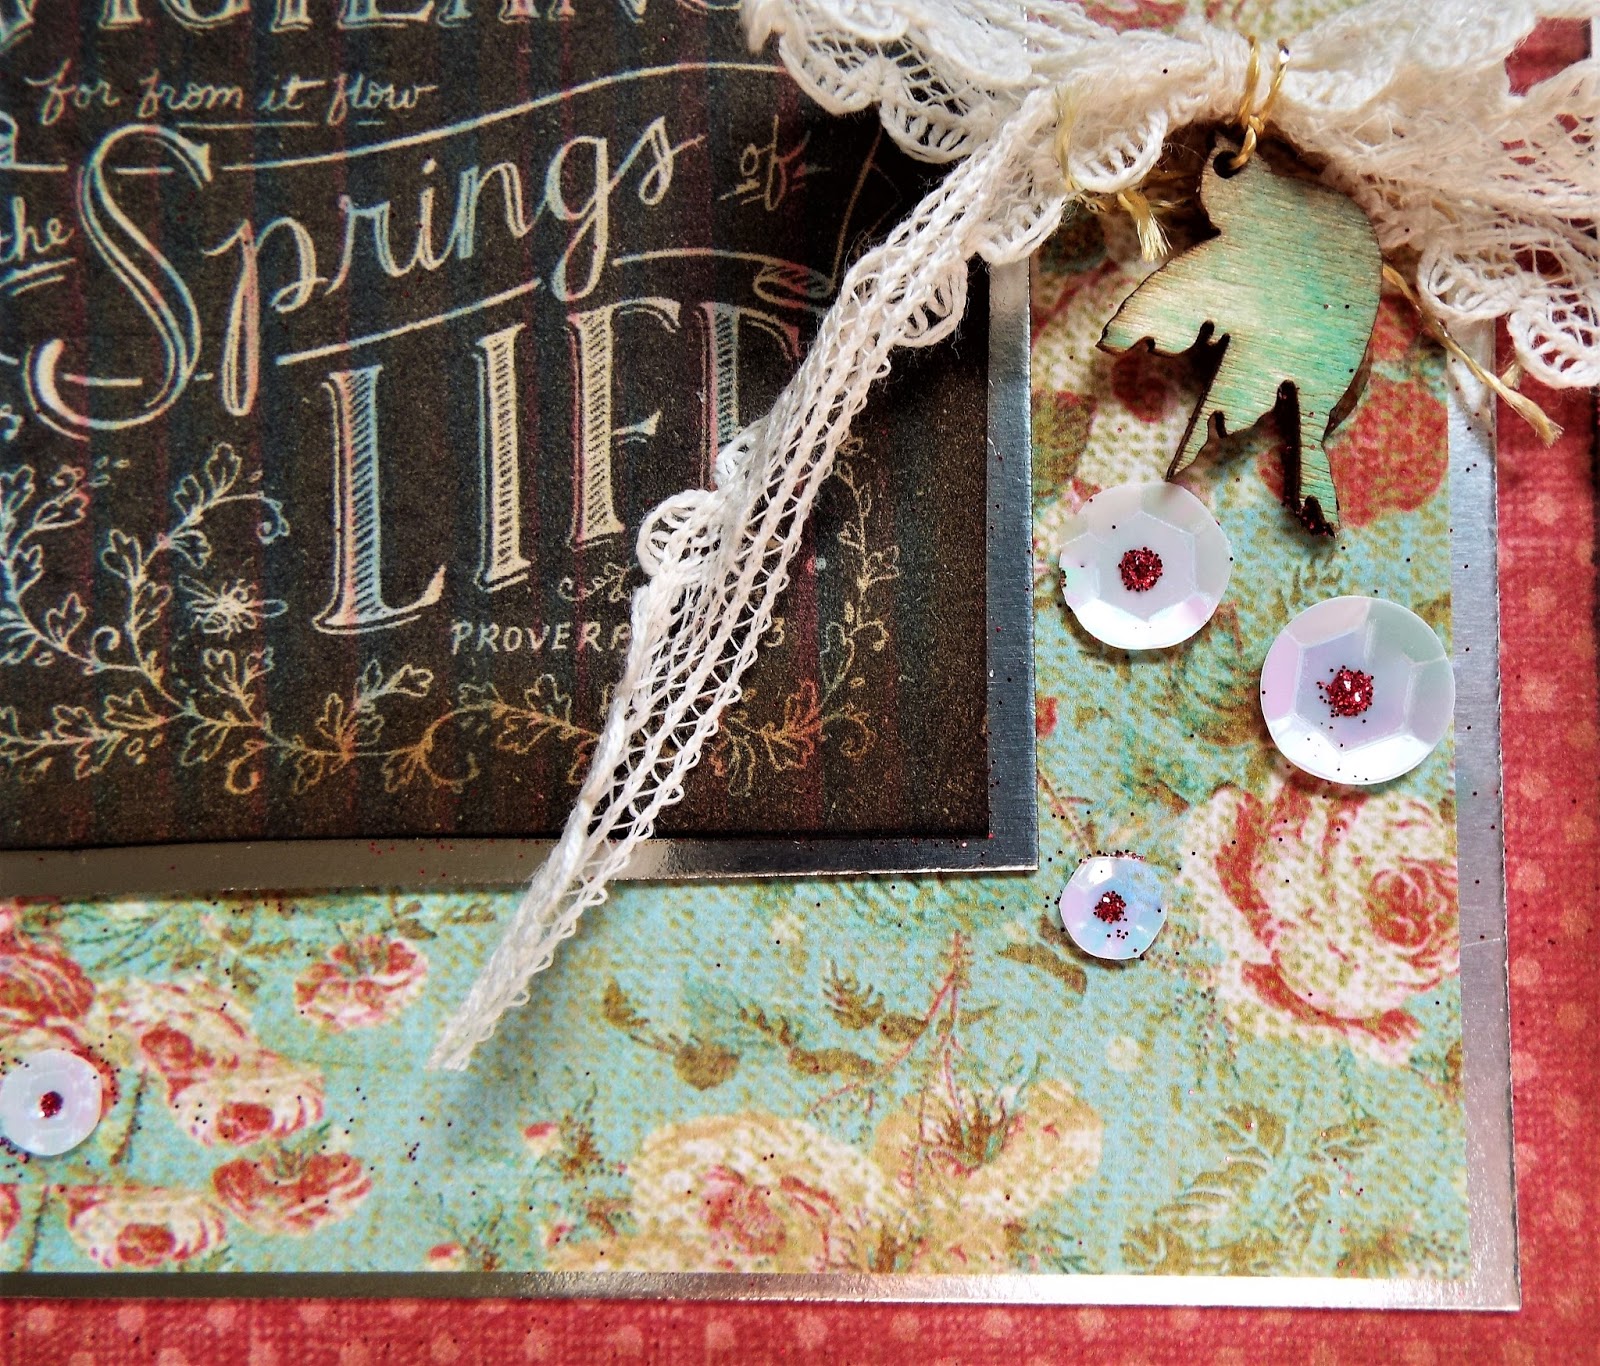
I hope you’ll have a few minutes to make your own vintage card, Using the Embellie Gellie sure makes it easier to add those tiny embellishments!
Thanks for stopping by!
Ginny M


