Good morning! Deborah here, with an “epic” idea for a mini book using gold leafing, the Best Glue Ever, and Eileen Hull’s hot new Journal die from Sizzix.
We already have a lot of geneaology information on my mom’s side of the family, thanks to my grandmother’s cousin who spent many years compiling information. And now, one of my cousins has been bit by the bug and managed to improve on the research. In the process he’s discovered some really interesting people with which we’re directly related. I’ve been wanting to put together a project for awhile now with this information, and have been thinking long and hard on the best format to achieve this.
I used Eileen Hull’s journal die as the base for the book. This die lets you construct a midori-style journal where you can slip pages in and out. I’ve attached the covers only with elastic, for now, as I work on filling up the inside with photos, charts and stories. From doubling-up the elastic I have six strands on the inside to hold signatures. When I’ve finished, I’m thinking I may remove the elastic and bind the signatures to the cover (depending on how much I stuff the book)!
For today, however, I’m going to share how I put together the cover for this project.
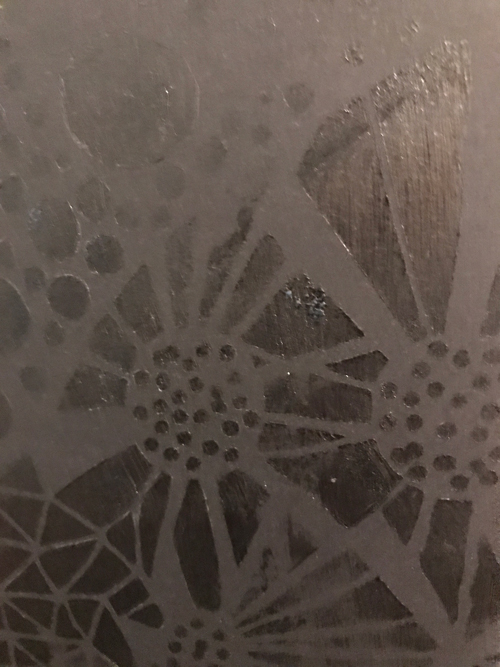
I started with black mat board from Sizzix, the Best Glue Ever, Stencil Girl stencil, and a cheap foam brush. I deliberately chose a stencil that was larger than my cover, which allowed me to fill the entire space without having to reposition it multiple times. I used a foam brush to lightly dab the glue onto the mat board, then gently brush the excess away.
When you are using the Best Glue Ever with a stencil, you want to take your time and use a light hand. You don’t need much glue and you want to ensure you don’t push glue under the stencil. I used a foam brush for this project, but I’ve also used a brayer with this method as well.
The glue with dry quickly and stay tacky. So once you’re finished you can take all the time you need to clean the glue off your stencil with the Best Cleaner Ever.
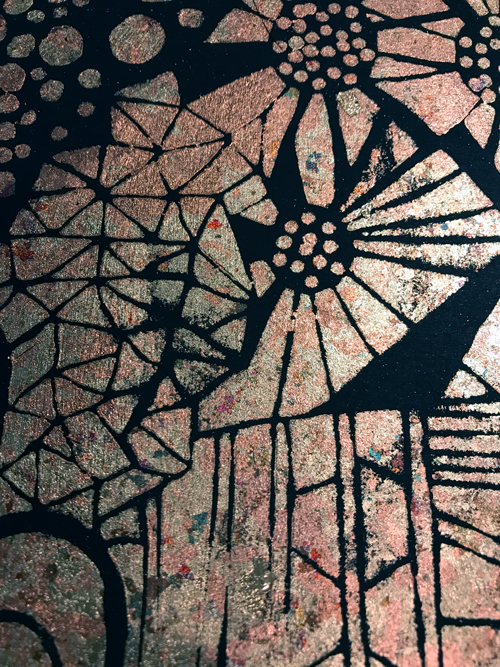
For this cover I decided to use loose gold leafing, but I could have easily using foil or flocking. Gold leaf comes in sheets or chopped up loose pieces. You can easily find Speedball’s metal flakes at your local craft store. What I like about the flakes is that there’s less waste — any extra gets recycled back into the package for next time. You can see all the colors in the close-up below:
To apply the leafing, place a good-sized pinch of leafing onto the dried Best Glue Ever (remember, it’s tacky!) and using a stiff firm brush spread the leafing over your surface. Once it’s covered, use the same brush to burnish the leafing and remove excess leaf off the project. Don’t be afraid to brush hard. You need to keep brushing until all the glue is covered and all excess leaf is removed.
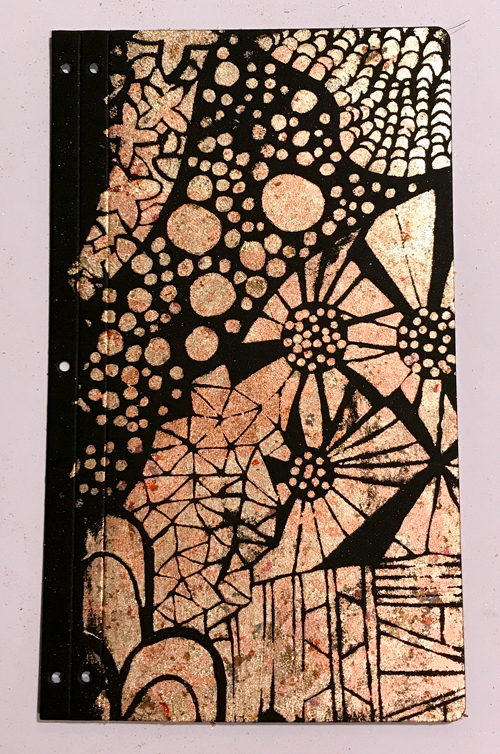
And once again, here’s the finished cover. I added only a few more embellishments. I loved the look of the leafing and really hated to covet any of it up.


