How to Create An Elegant And Shabby Chic Dream Catcher with ScraPerfect

Hello Crafters, Kim L. here today to share with you an elegant, shabby chic dream catcher that I created for a swap.  I am highlighting my favorite combination of ScraPerfect products used in this project,the Best Glue Ever and Embellie Gellie.  What I love about using these two products together is that I don’t get any glue on my hands when placing and adhering embellishments!  As you can see, I also have the No Clog Writing Cap on my bottle of the Best Glue Ever to ensure precise placement and not using too much glue.
Here is how I started my dream catcher:

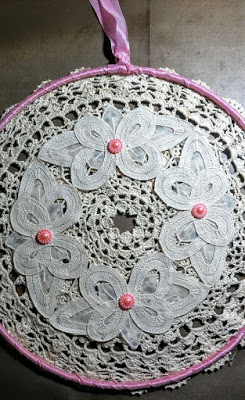
I started with a metal ring, placed a dot of the Best Glue Ever on the top of the ring, and then wrapped pink seam binding around the entire ring and glued the bottom down as well.  I left a loop at the top for hanging. Perfect way to camouflage the ring, you could also use ribbon or a long piece of fabric for this.

Next, I got a large crocheted doily, cut out the center so the dreams could get through, and the used the
Best Glue Ever to secure the doily to the back side of the ring. I also cut the center out of a battenburg doily band used the Best Glue Ever to adhere it to the top of the crocheted doily and then added pink pearls.

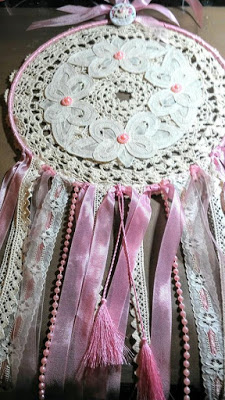
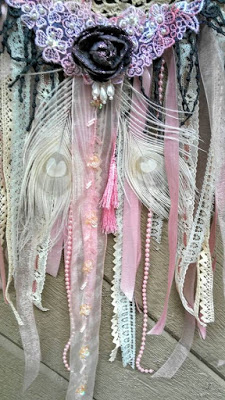
Next, I started working on the tails for the bottom of  the dream catcher.  I used pieces of seam binding, ribbon, laces, pearl trim, and tassels for this.  I adhered them all to the bottom of the ring with glue dots of the Best Glue Ever.
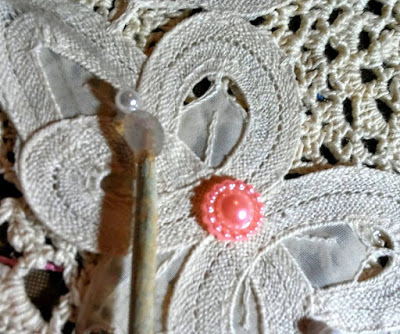
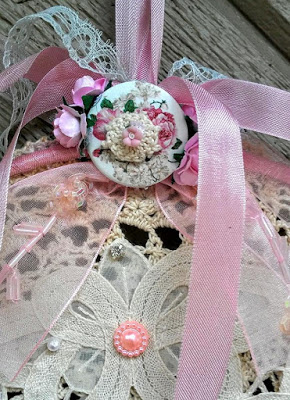
Now it is time to get out the Embellie Gellie and start embellishing. I added teeny tiny pearls around the battenburg doily. On the top of my dream catcher, I added a decorative wood button and perfectly placed a tiny flower on top of it.  I would not have been able to get that placement without Embellie Gellie!

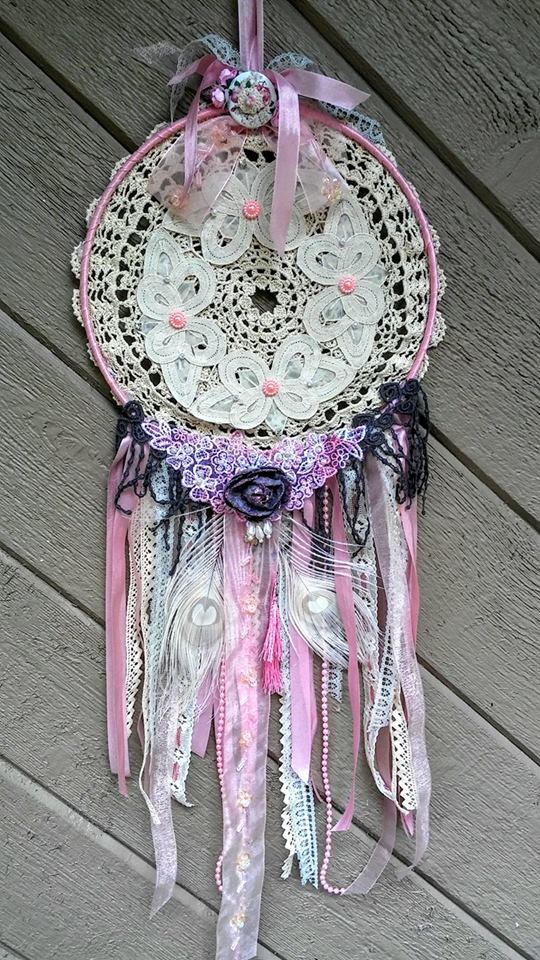
Here are some photos of the finished dream catcher, I hope you like it!
I decided to add a couple of ivory peacock feathers to the bottom of my dream catcher as well as an applique I sprayed pink and a grey flower.  All were adhered with glue dots of the Best Glue Ever.
Thank you so much for stopping by today, please be sure to check back for new projects by this talented design team daily.  You can find the entire line of fabulous products, helpful videos, and the blog at ScraPerfect.  Please leave a comment to let us know you stopped by and I look forward to seeing you again later in the month.
Until Next Time,
Kim Lippincott

Designer

Sign up for important notifications by email for Coupons, Events, Special Offers, plus ScraPerfect's tips, ideas and news!

Your information will *never* be shared or sold to a 3rd party.

Sign up for important notifications by email for Coupons, Events, Special Offers, plus ScraPerfect's tips, ideas and news!

Your information will *never* be shared or sold to a 3rd party.