Charity here from Scrappin’ Chaos with a tutorial on how to make a unique die display for convenience. I like to display my craft supplies so I remember to use them. Dies are such thin bits of metal that it is easy to damage or lose them if they aren’t stored securely. That means I tend to forget about the variety I own. I came up with this handy holder to help me out.
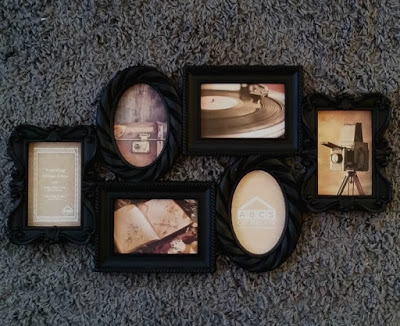
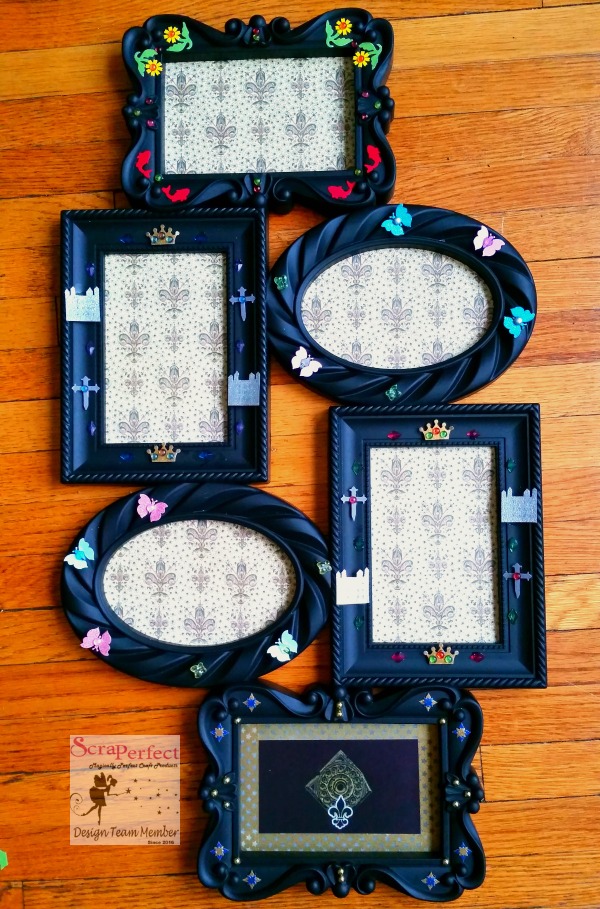
At Christmas my wonderful cousin gifted me this gallery frame for 4×6 photos. It arrived the same day I received new paper dies. It didn’t take long for me to decide to combine the two.
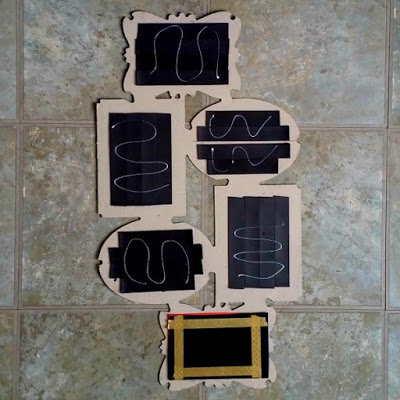
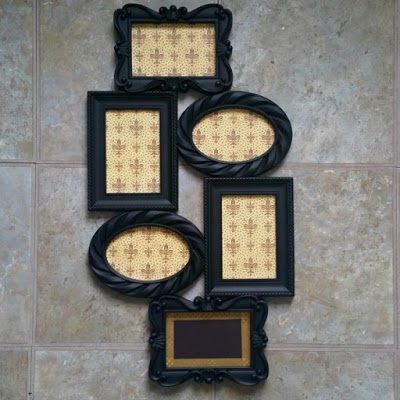
My first step was to remove the paper blanks and trace the inner edge of the frames onto the card board backing. I cut adhesive backed magnetic strips to fit these outlines. Finally I cut a thin, patterned paper from The Robin’s Nest, to cover the magnets.
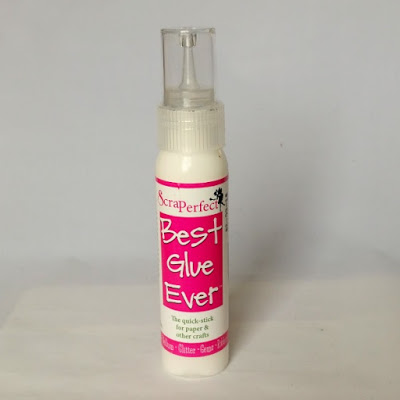
Just a thin line of ScraPerfect’s Best Glue Ever was enough to hold the paper firmly to the magnets without ripples.

Just a thin line of ScraPerfect’s Best Glue Ever was enough to hold the paper firmly to the magnets without ripples.
I only had enough paper for 5 of the frames so I added gold washi tape to the last one.
The thick, black frames needed sprucing up so I pulled out my scraps of Robin’s Nest paper and dew drops.
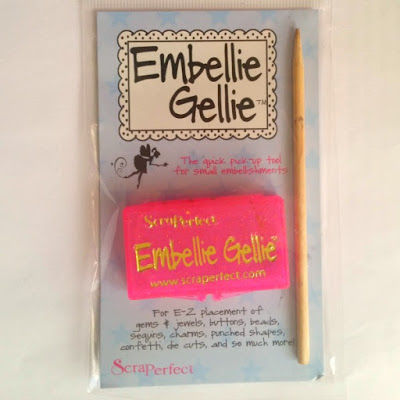
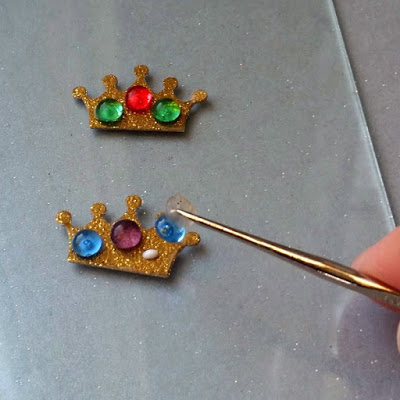
To add details to my tiny bits of cardstock I used Embellie Gellie.
It ensures I place things exactly where I want them.
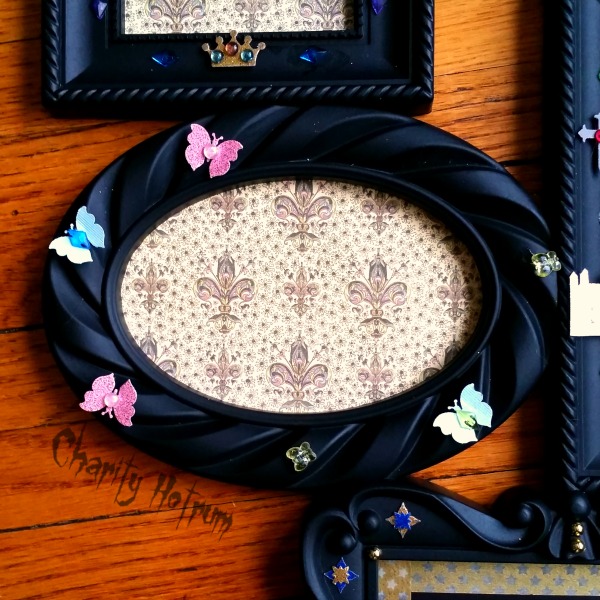
Using the Best Glue Ever I stacked Glitter Chipboard shapes and centered dew drops on the butterflies. I also added butterfly dew drops to the frame.
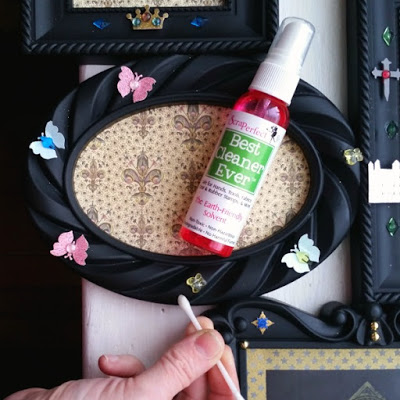
I mopped up the little bits of glue smears with the Best Cleaner Ever. A dab on a Q-tip and a swirl of my fingers was all I needed.
Now I can display my dies with ease. I also have a secure place to put them if I need to set them aside for using again on the same project.
Stop by my blog Scrappin’ Chaos for a list of supplies.
Scrap On!
~charity~


