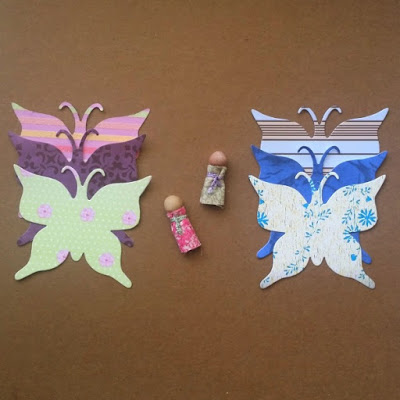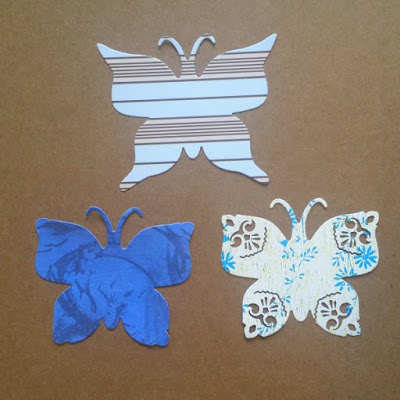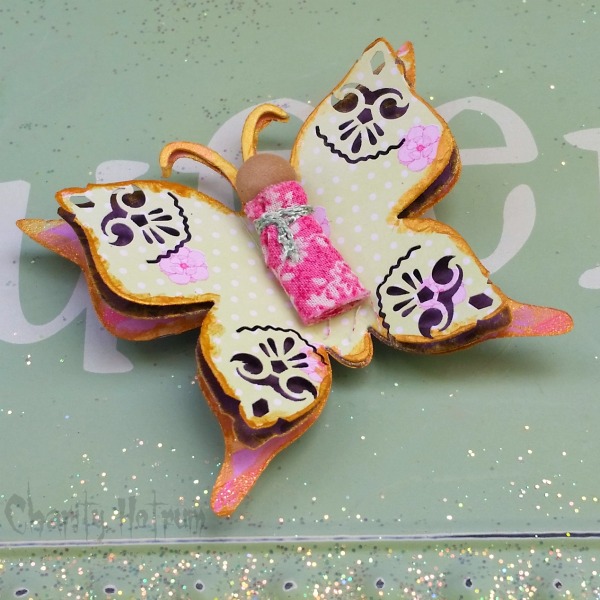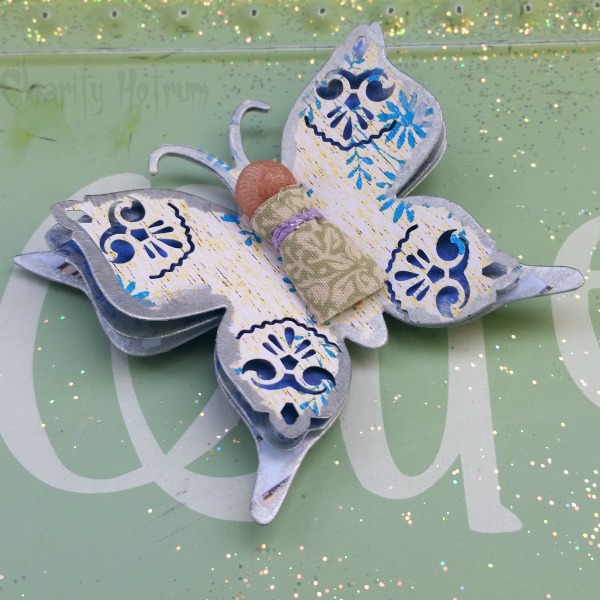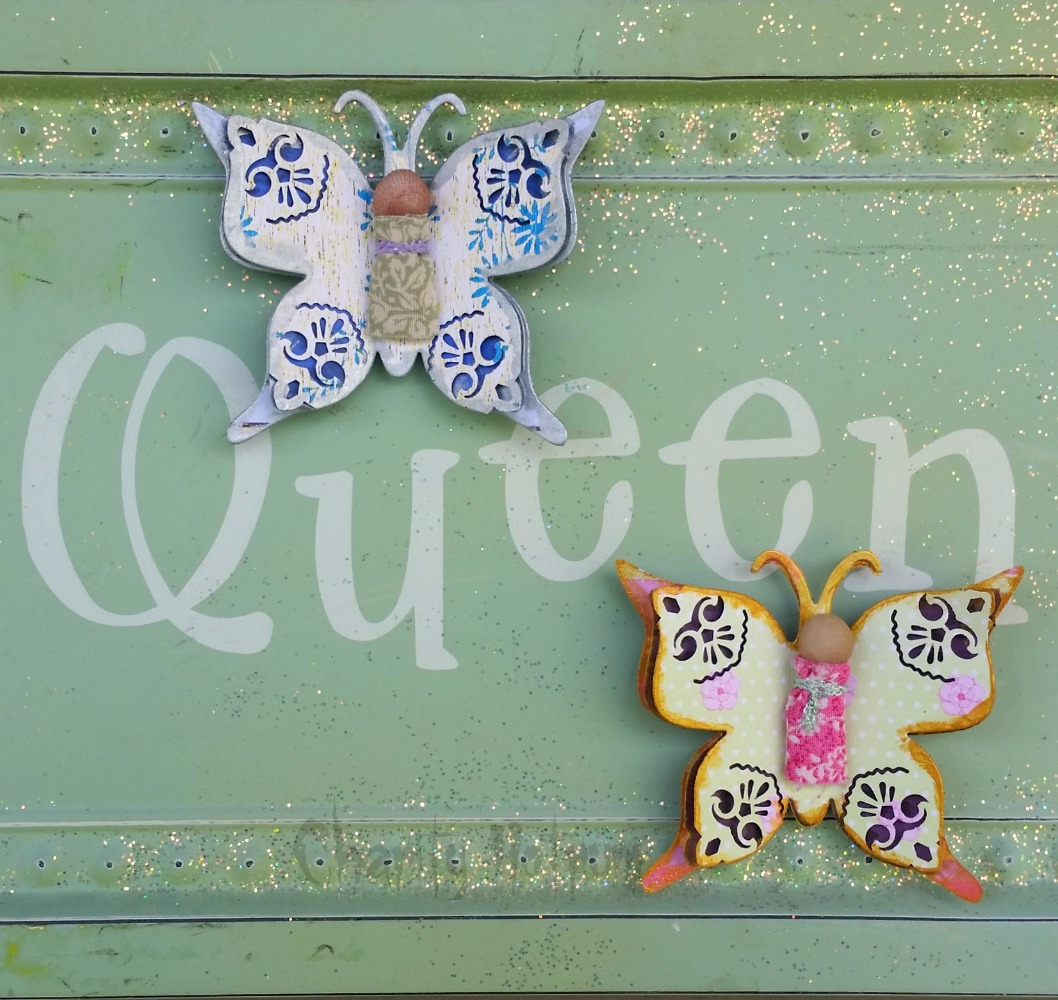
The first step in making these butterflies is to choose coordinating papers. My supplies came from The Robin’s Nest Store. Stop by to see the variety of colors and patterns of paper or types of Little Friends for crafting with.
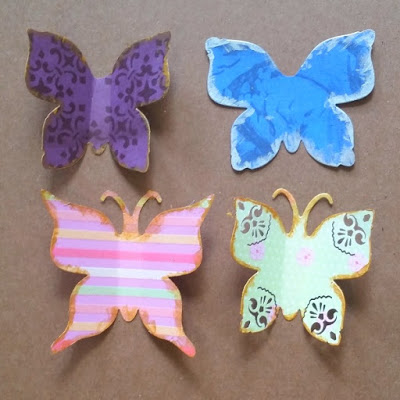
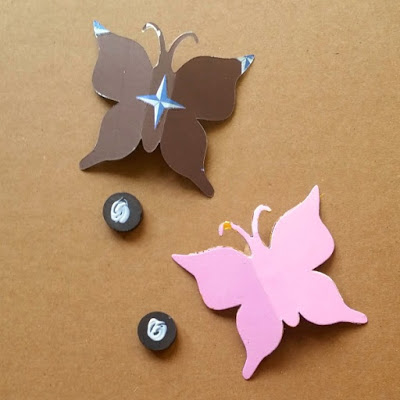
I die cut two layers of paper butterflies at a time. I used a corner punch on the tips of the floral butterfly. I trimmed the tips of the center butterfly to match the floral one.
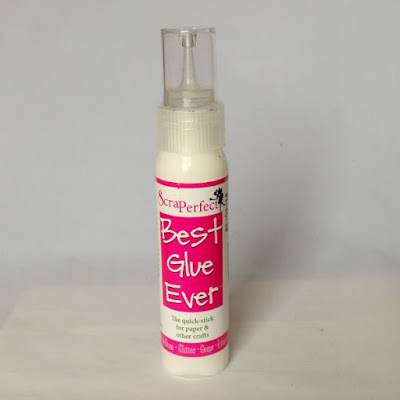
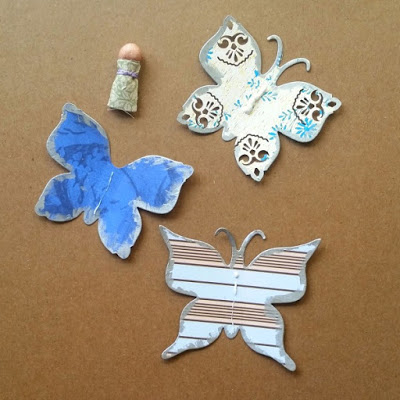
A thin strip of glue on the striped and center butterflies is sufficient to hold the paper together. A thicker strip of glue attaches the soft body of the Little Friend to the top butterfly.
A circular smear of the same glue attaches the butterfly to a magnet. Without my ScraPerfect products I would have had to use three types of glue. With BGE I am guaranteed a strong, flexible hold that dries quickly.
After the glue had dried adjust the wings of the butterfly so each layer can be seen. Curl the tips of the wings around a pencil to mimic movement.
Slip two or three butterflies in a gift bag and let your child enjoy making their teacher smile!
Check my blog Scrappin’ Chaos for a list of supplies.

