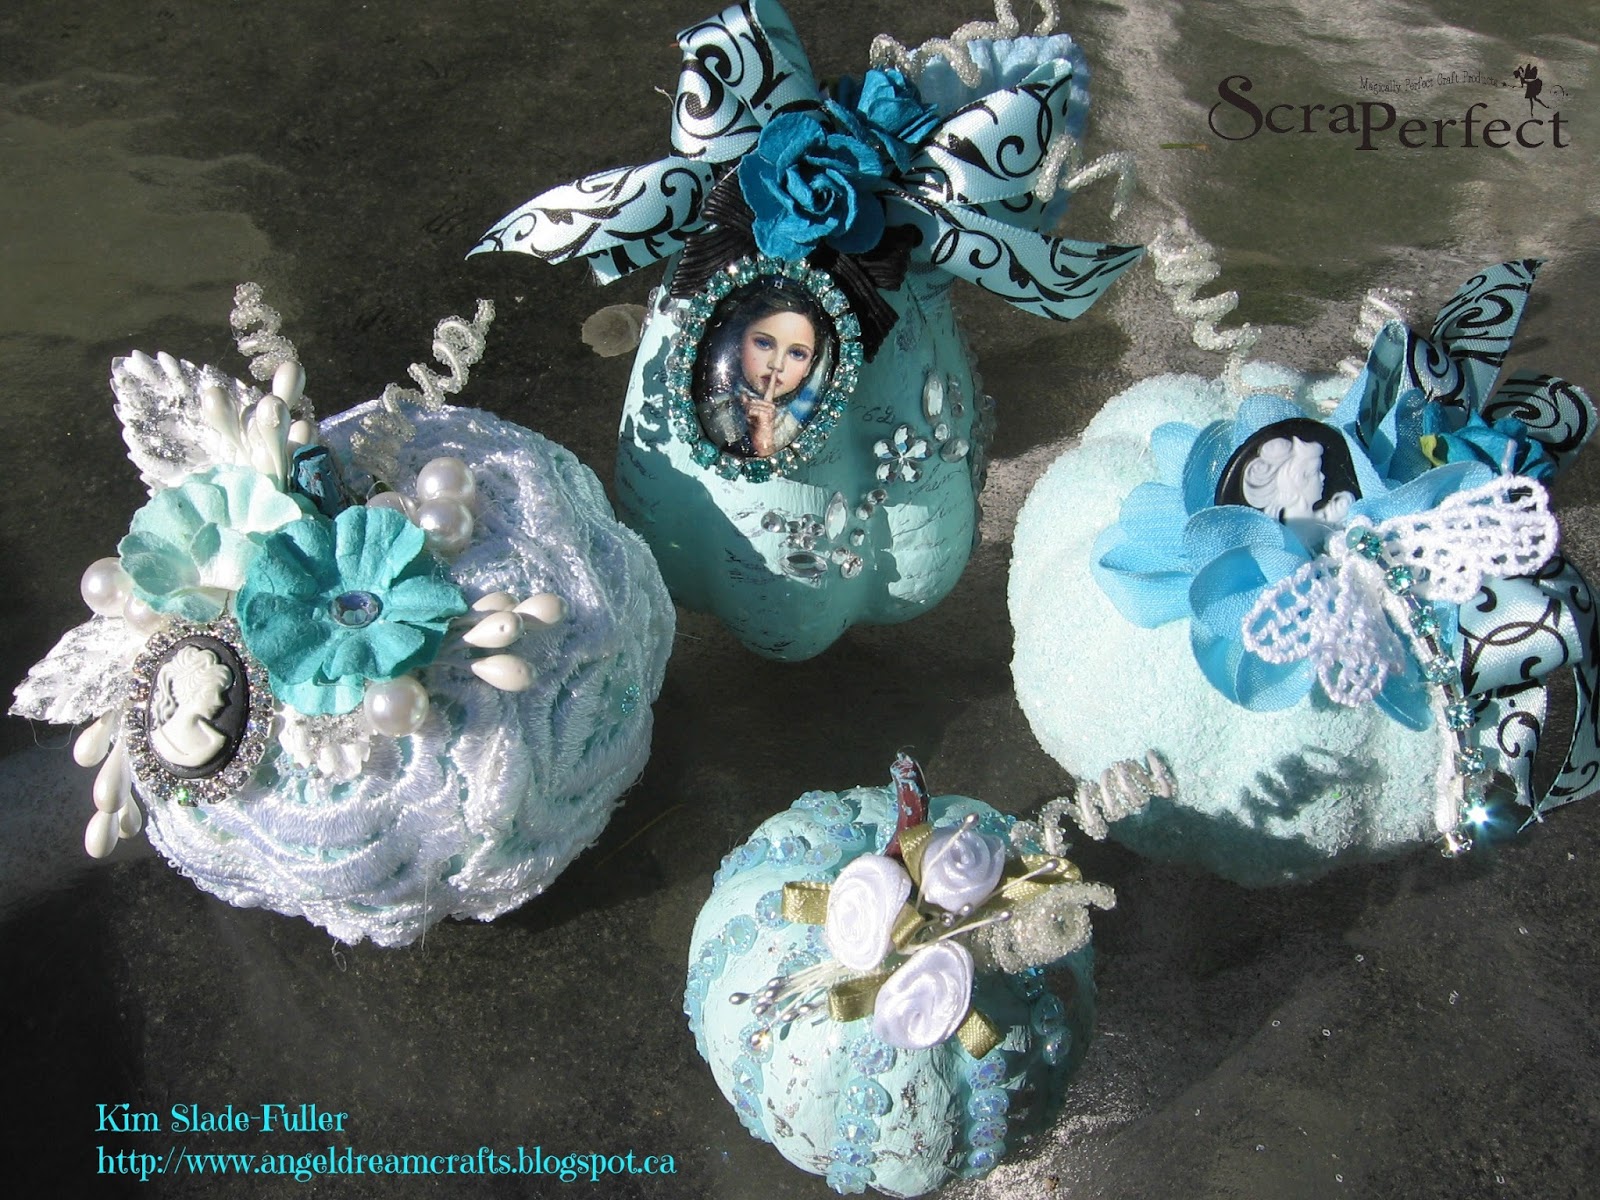
Good morning ScraPerfect fans! I have a fun project for you today featuring some perfect little pumpkins!
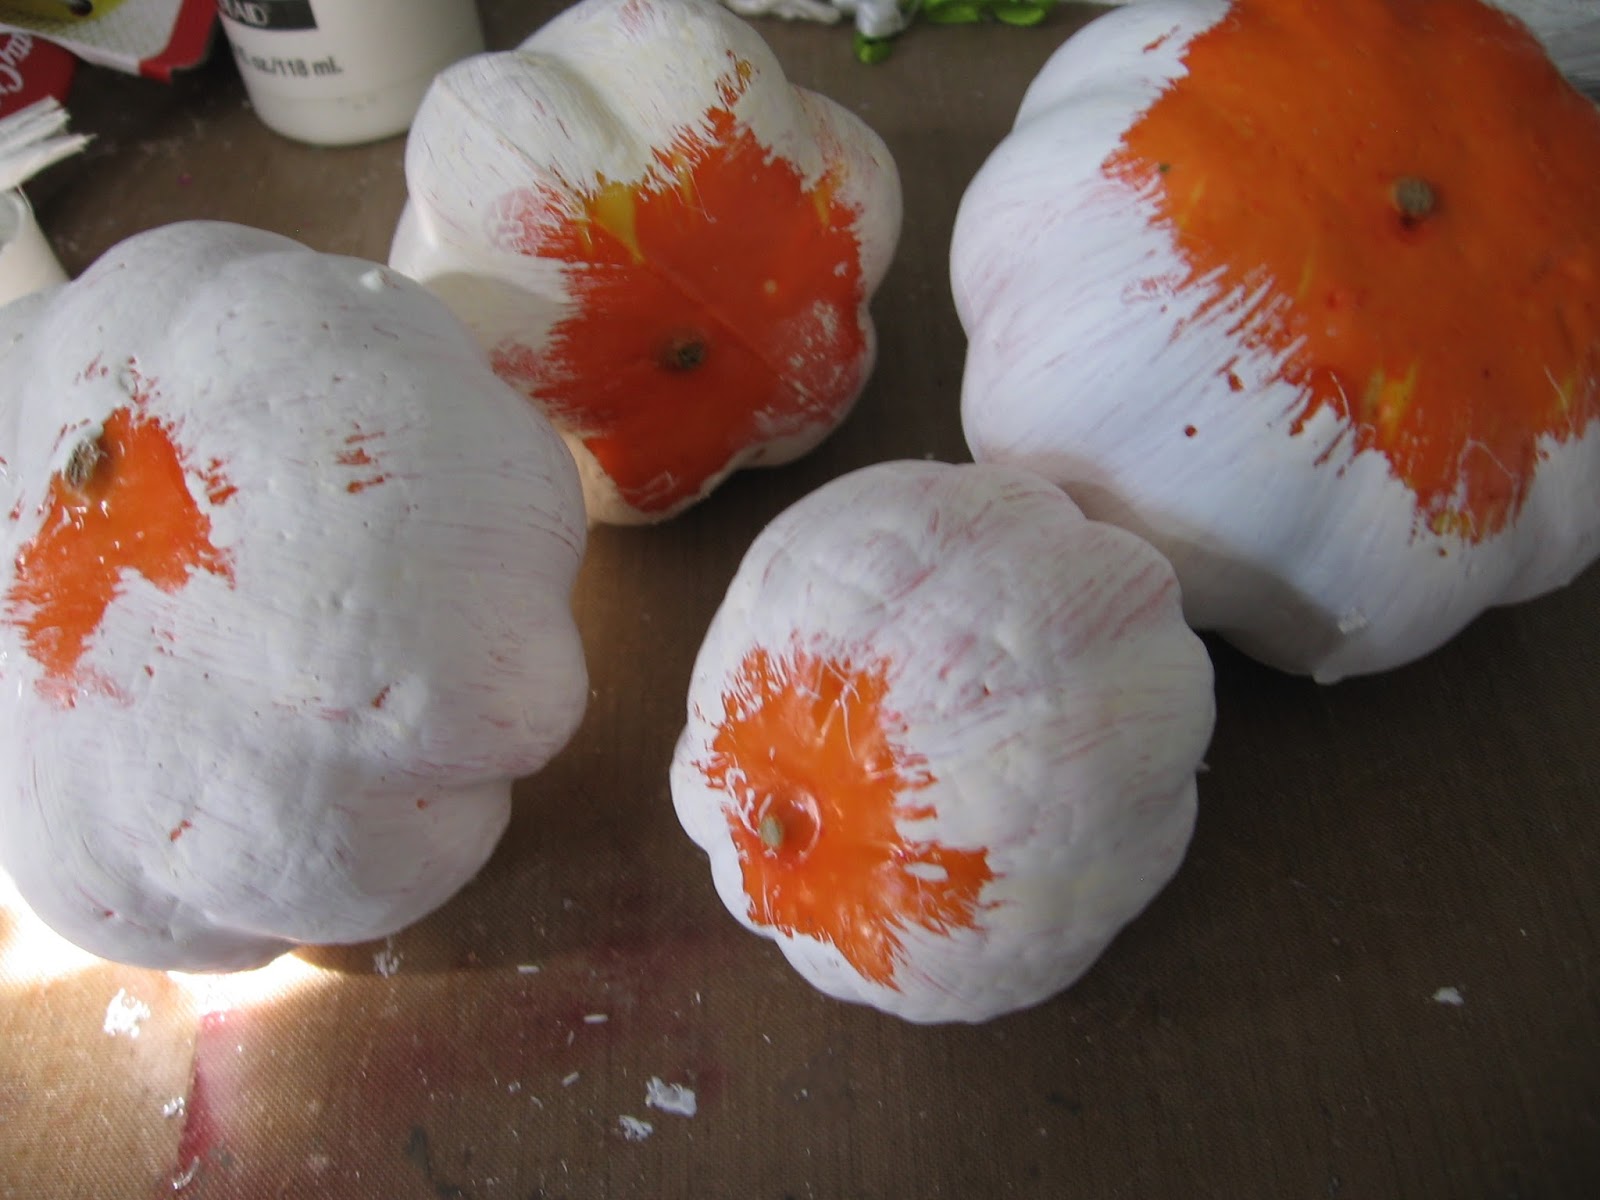
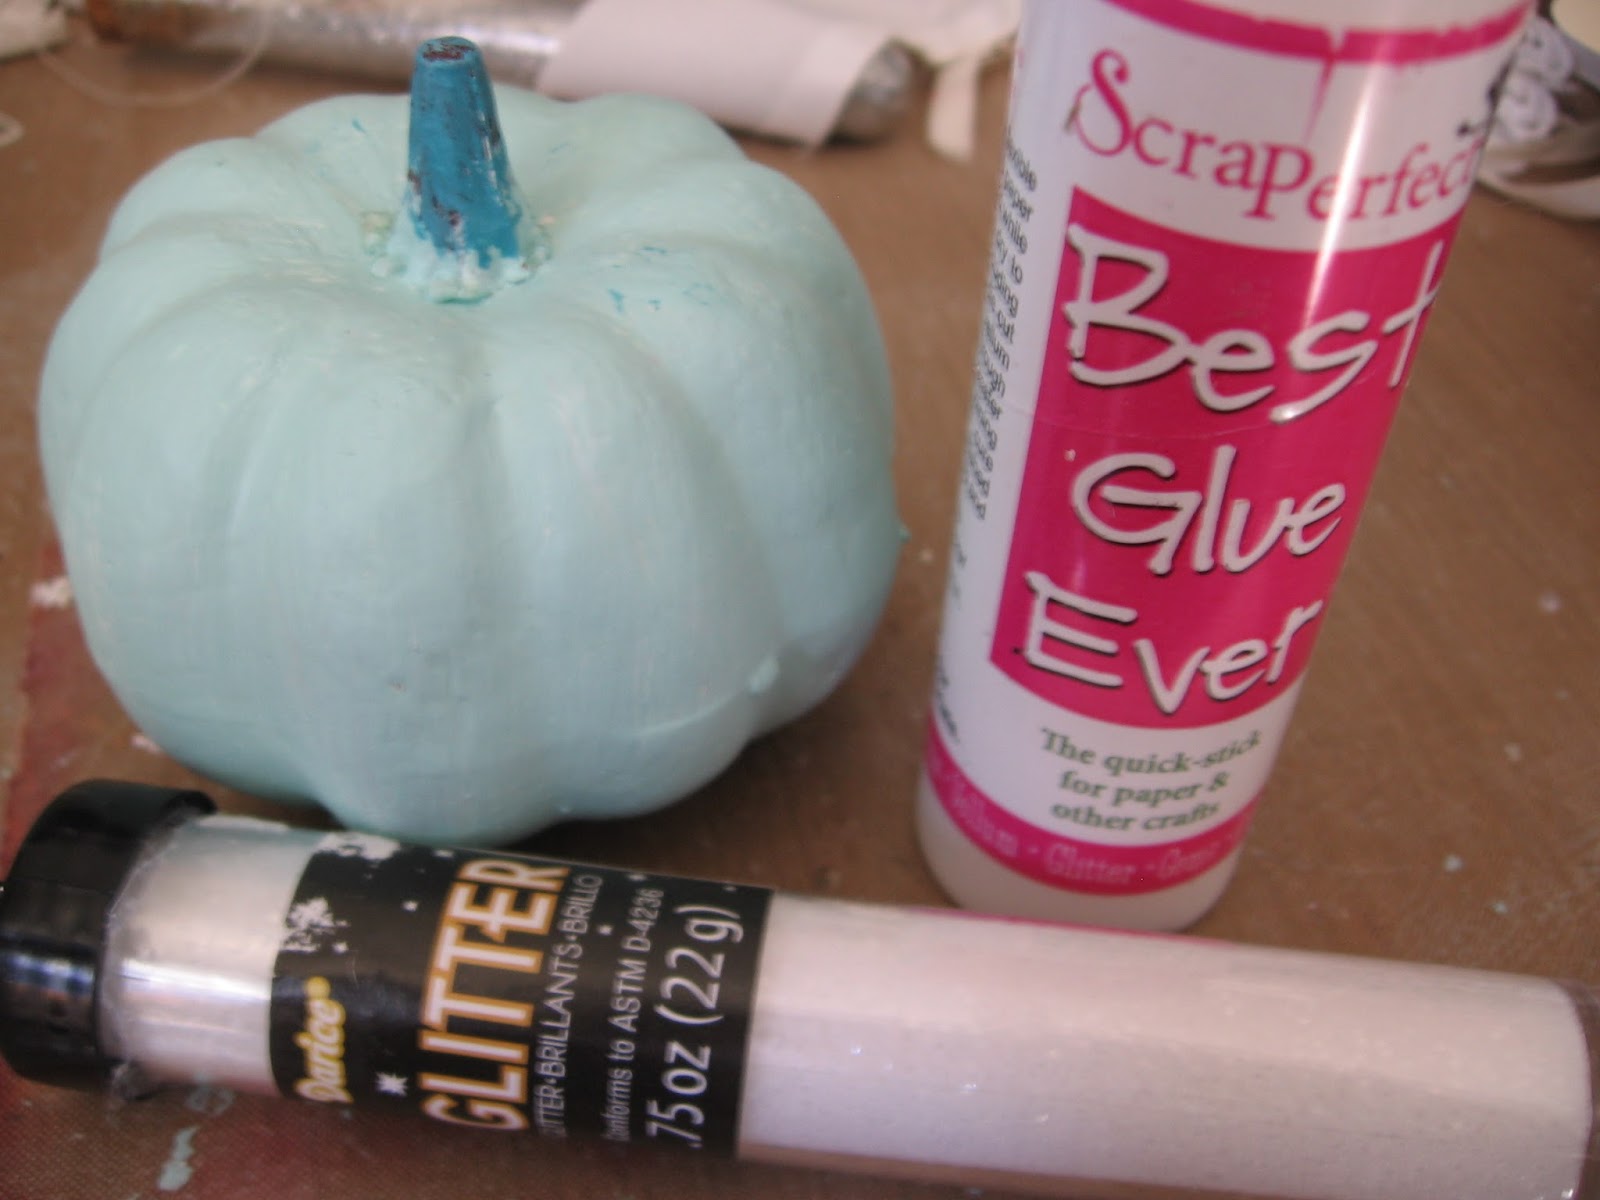
I purchased these Styrofoam mini pumpkins at my local dollar store and decided not to make them in the normal Halloween fashion, but into something I could have out in my home year round. I first applied a coat of gesso to cover up the orange and make way for the shabby blue!
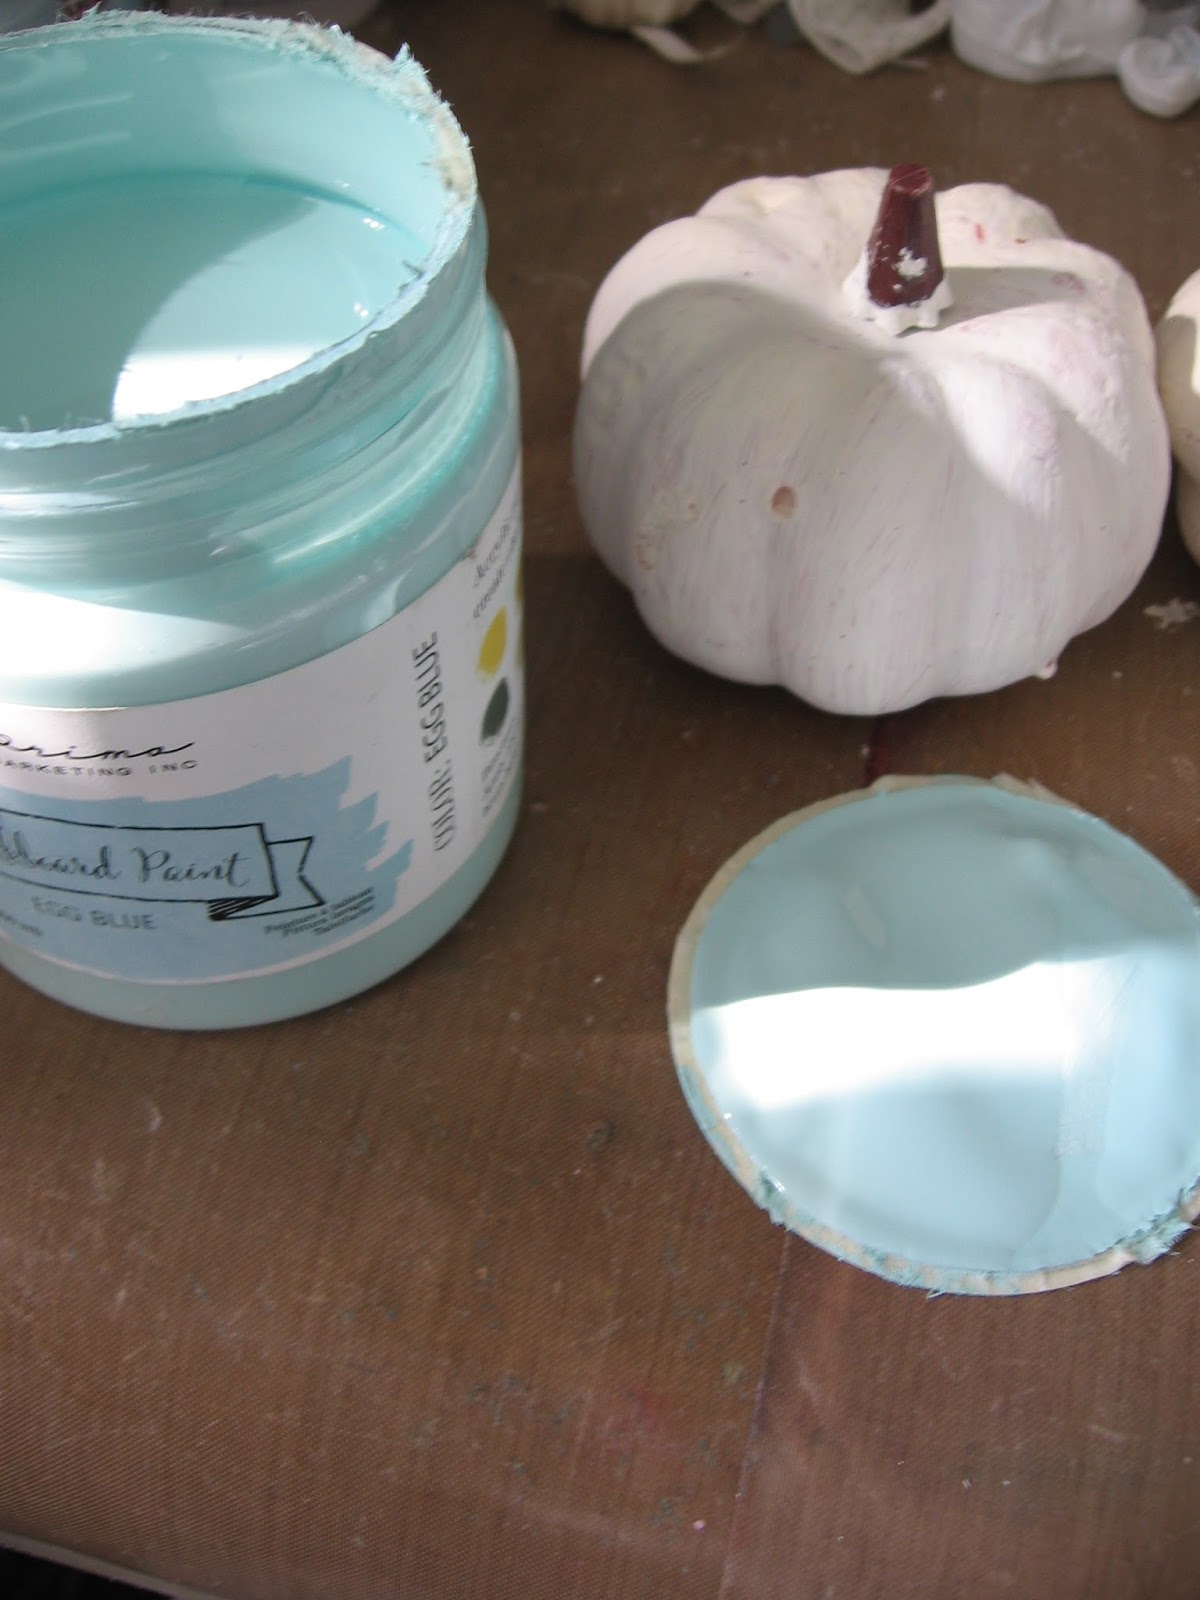
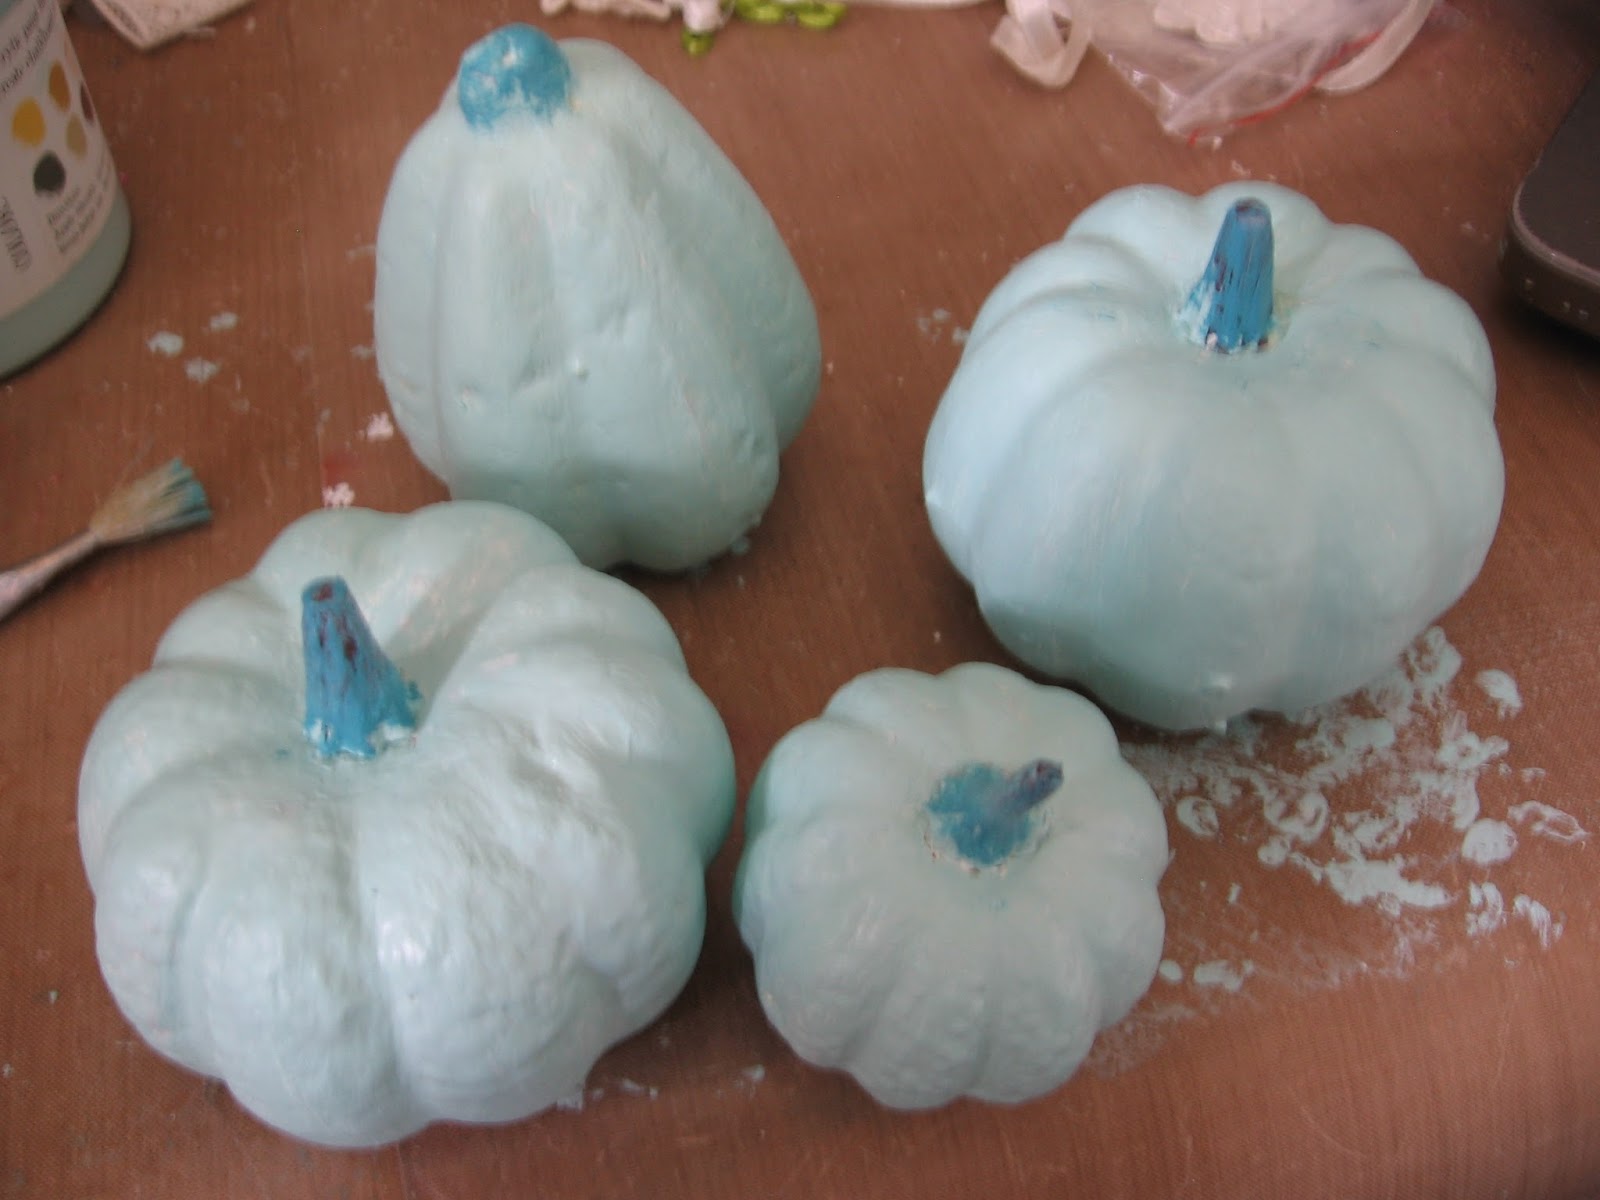
Once the gesso had dried, I used some Prima Chalk Paint on each of the little pumpkins. This is my favorite colour of blue and also is a good match for the colour I have on my walls in my kitchen.
Once the blue paint was dry, I added a darker colour of chalk paint to the stems to cover up the brown.
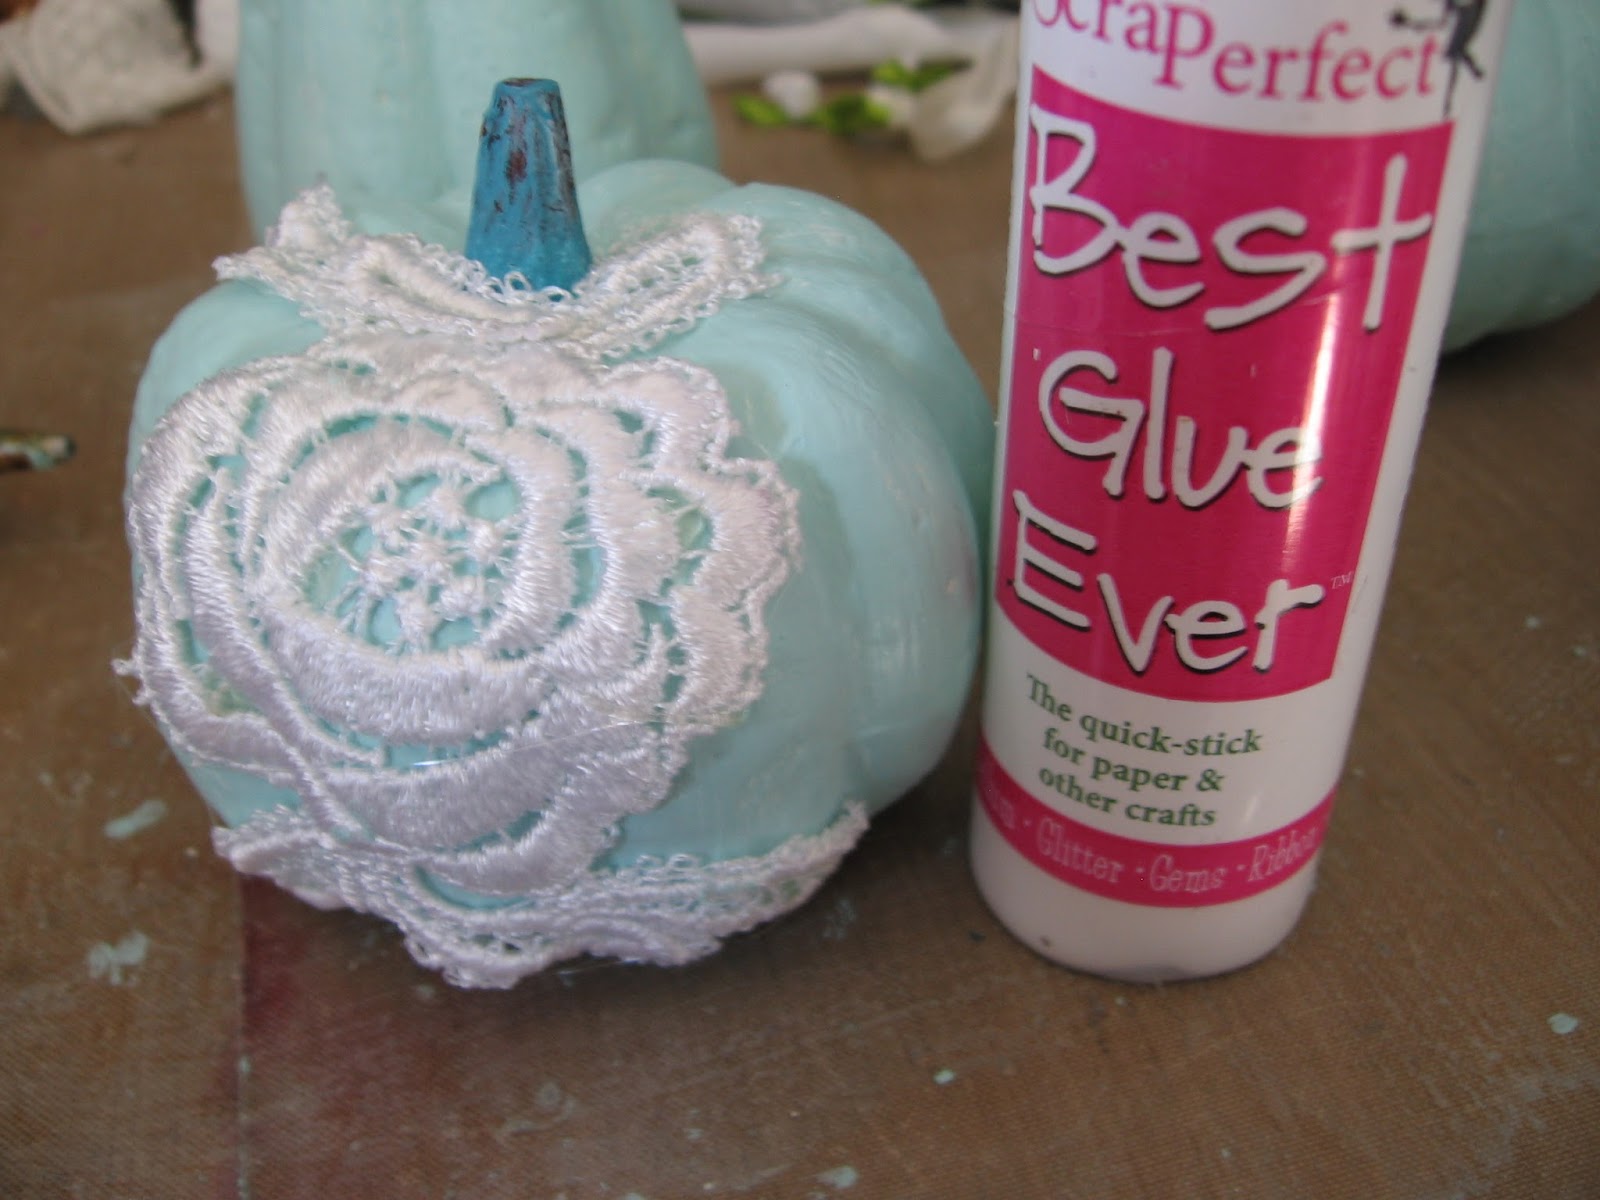
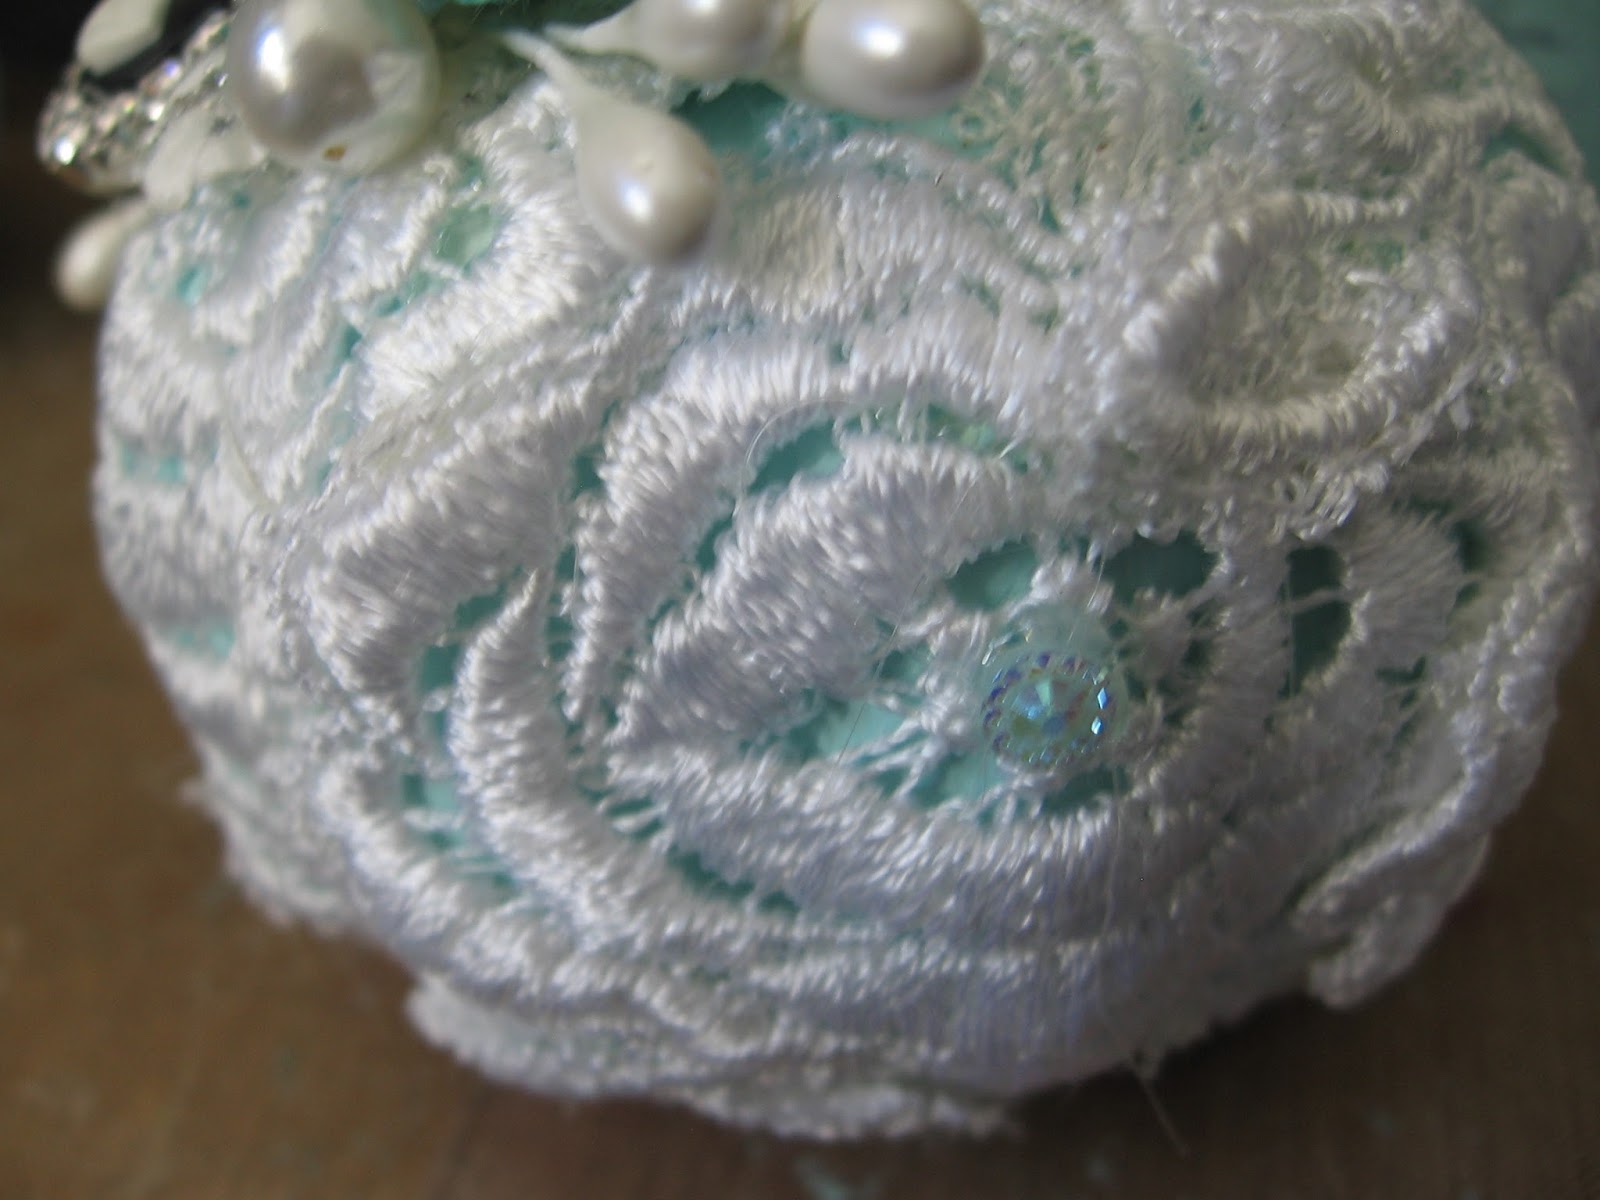
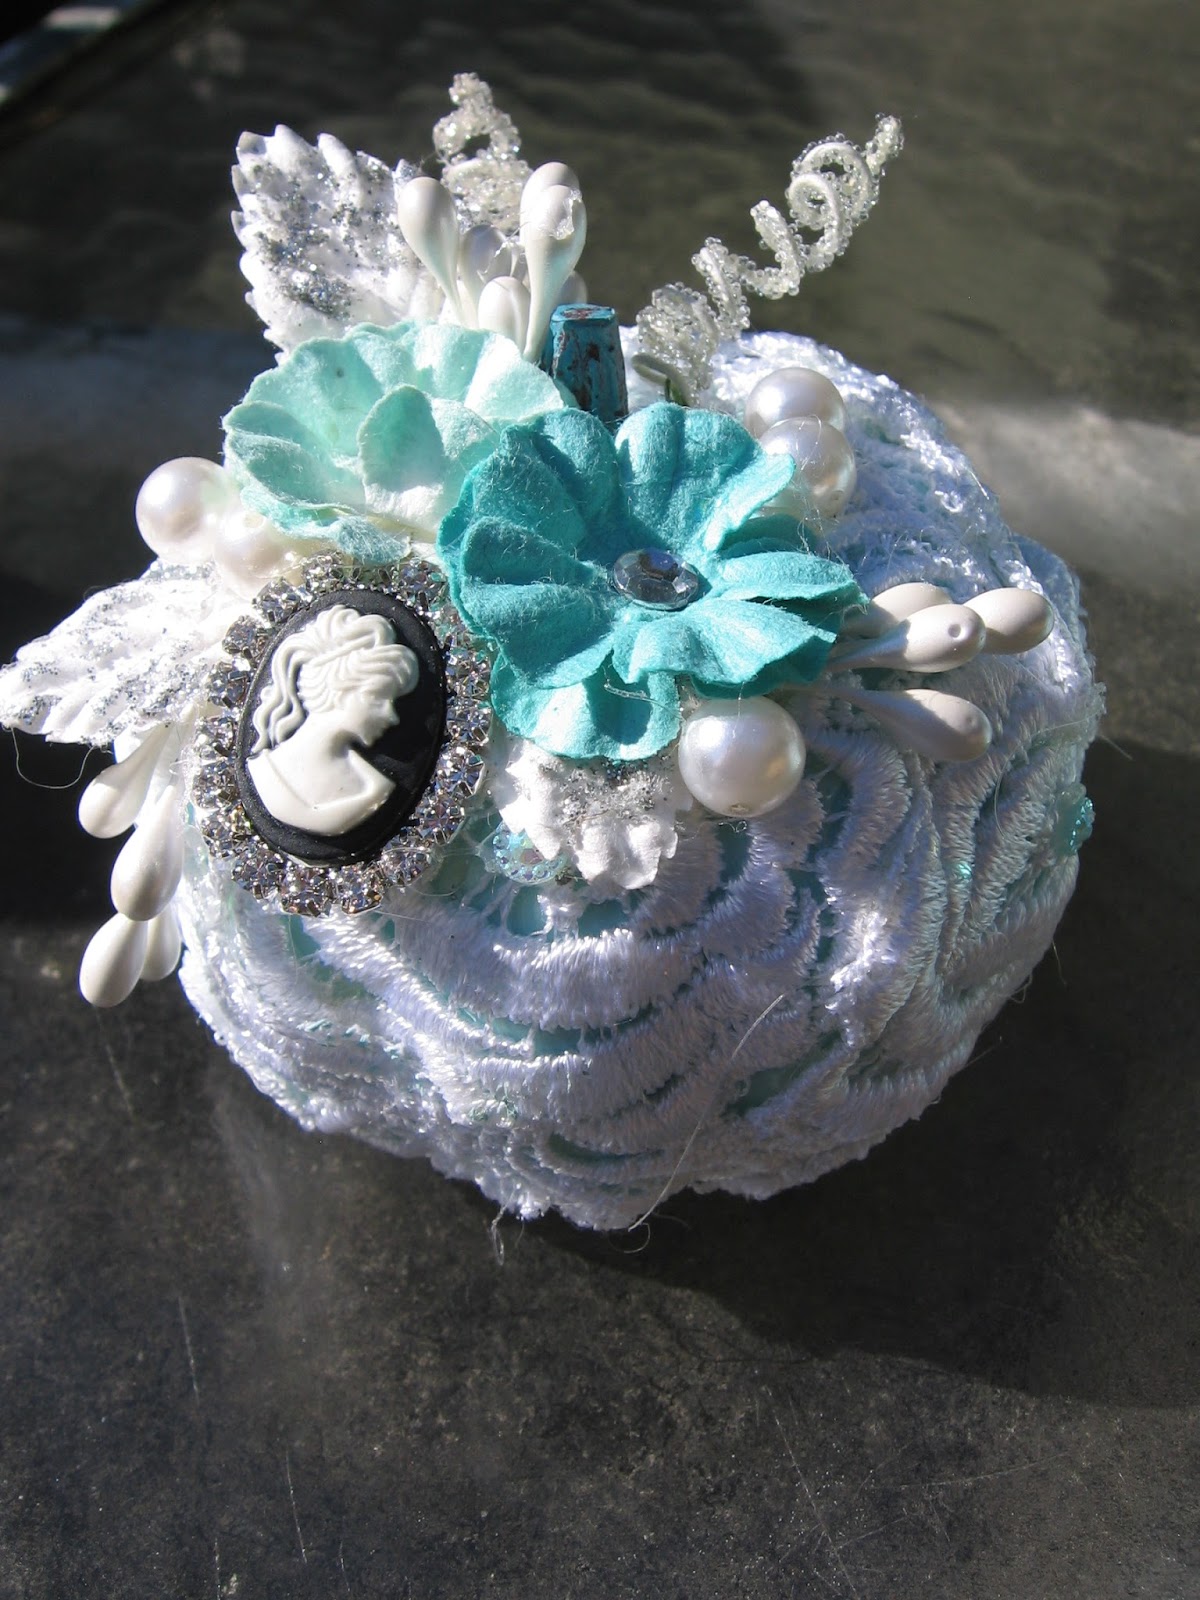
Now it was time to get out The Best Glue Ever and start to alter my pumpkins. The first one I covered in lace from my stash in a lovely rose pattern. I glued it all over the pumpkin covering it completely.
Once the glue was dry on the lace, I added a very tiny little blue bling to the centre of each of the roses.
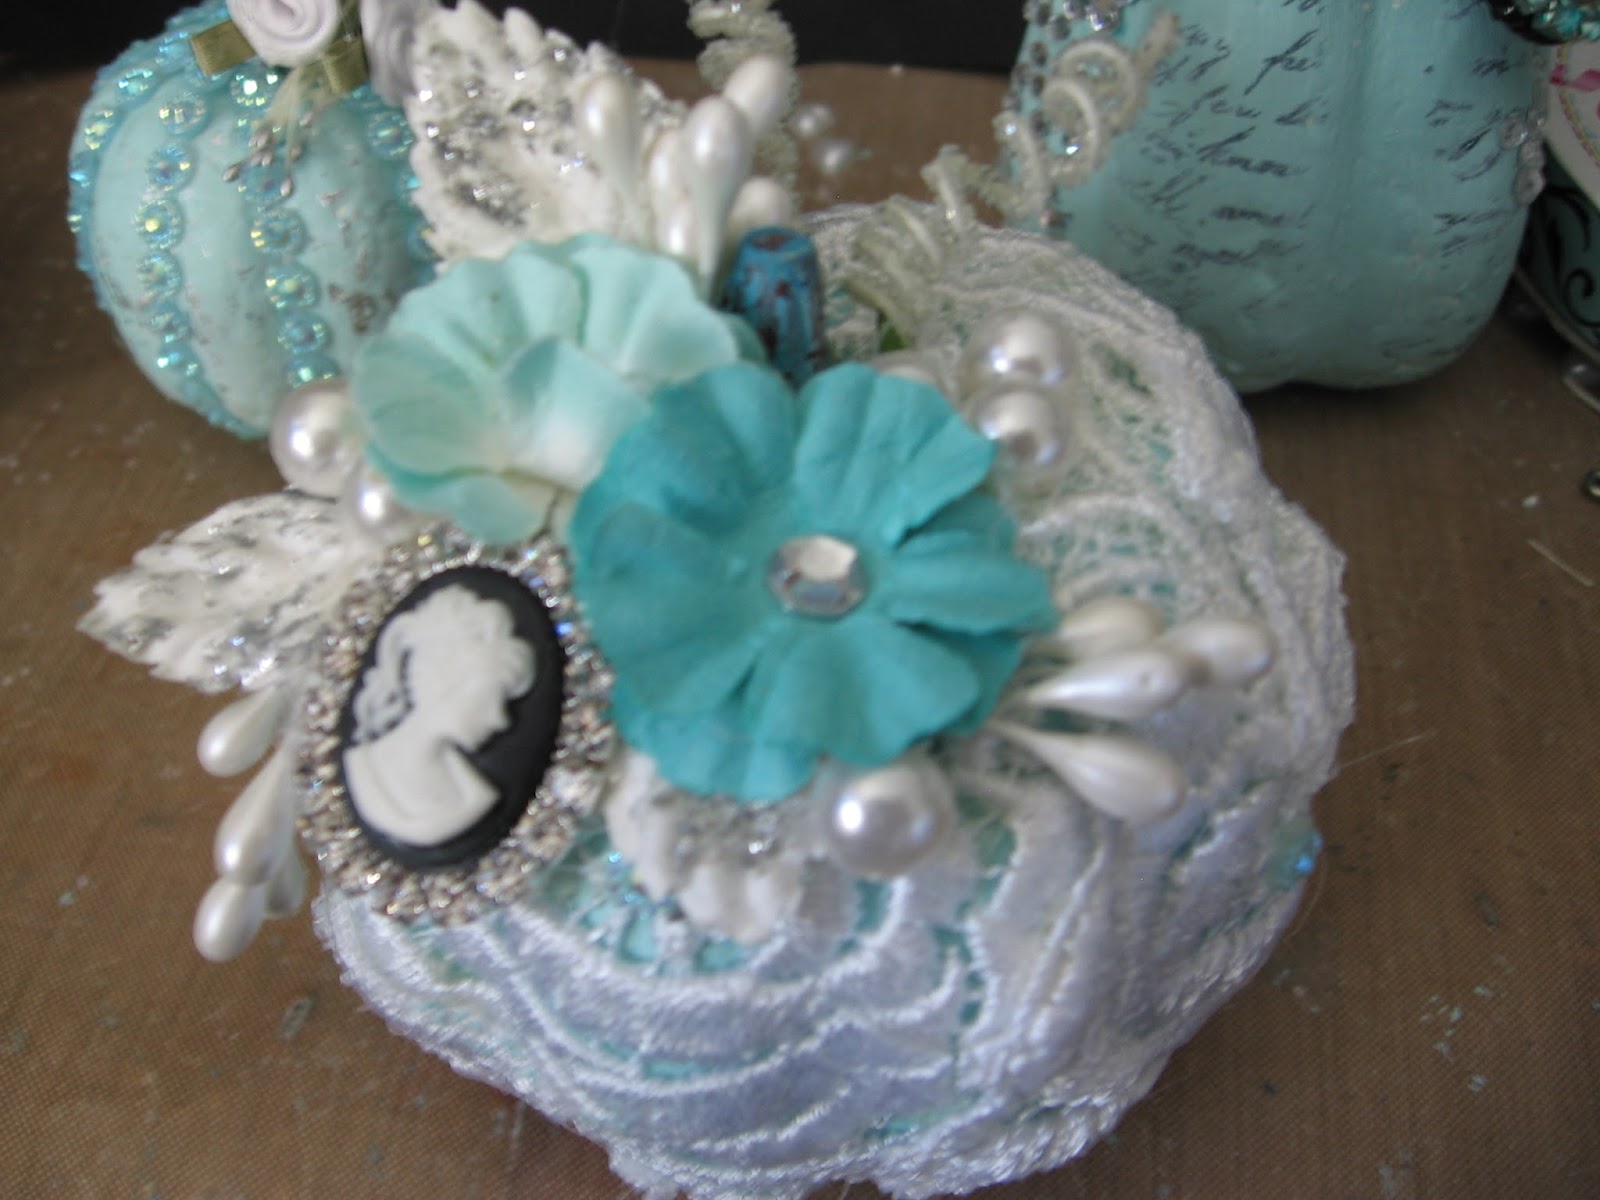
I decorated this one with some flowers, stamens and a lovely blingy cameo from Shabby is Chic Boutique which finished it off nicely.
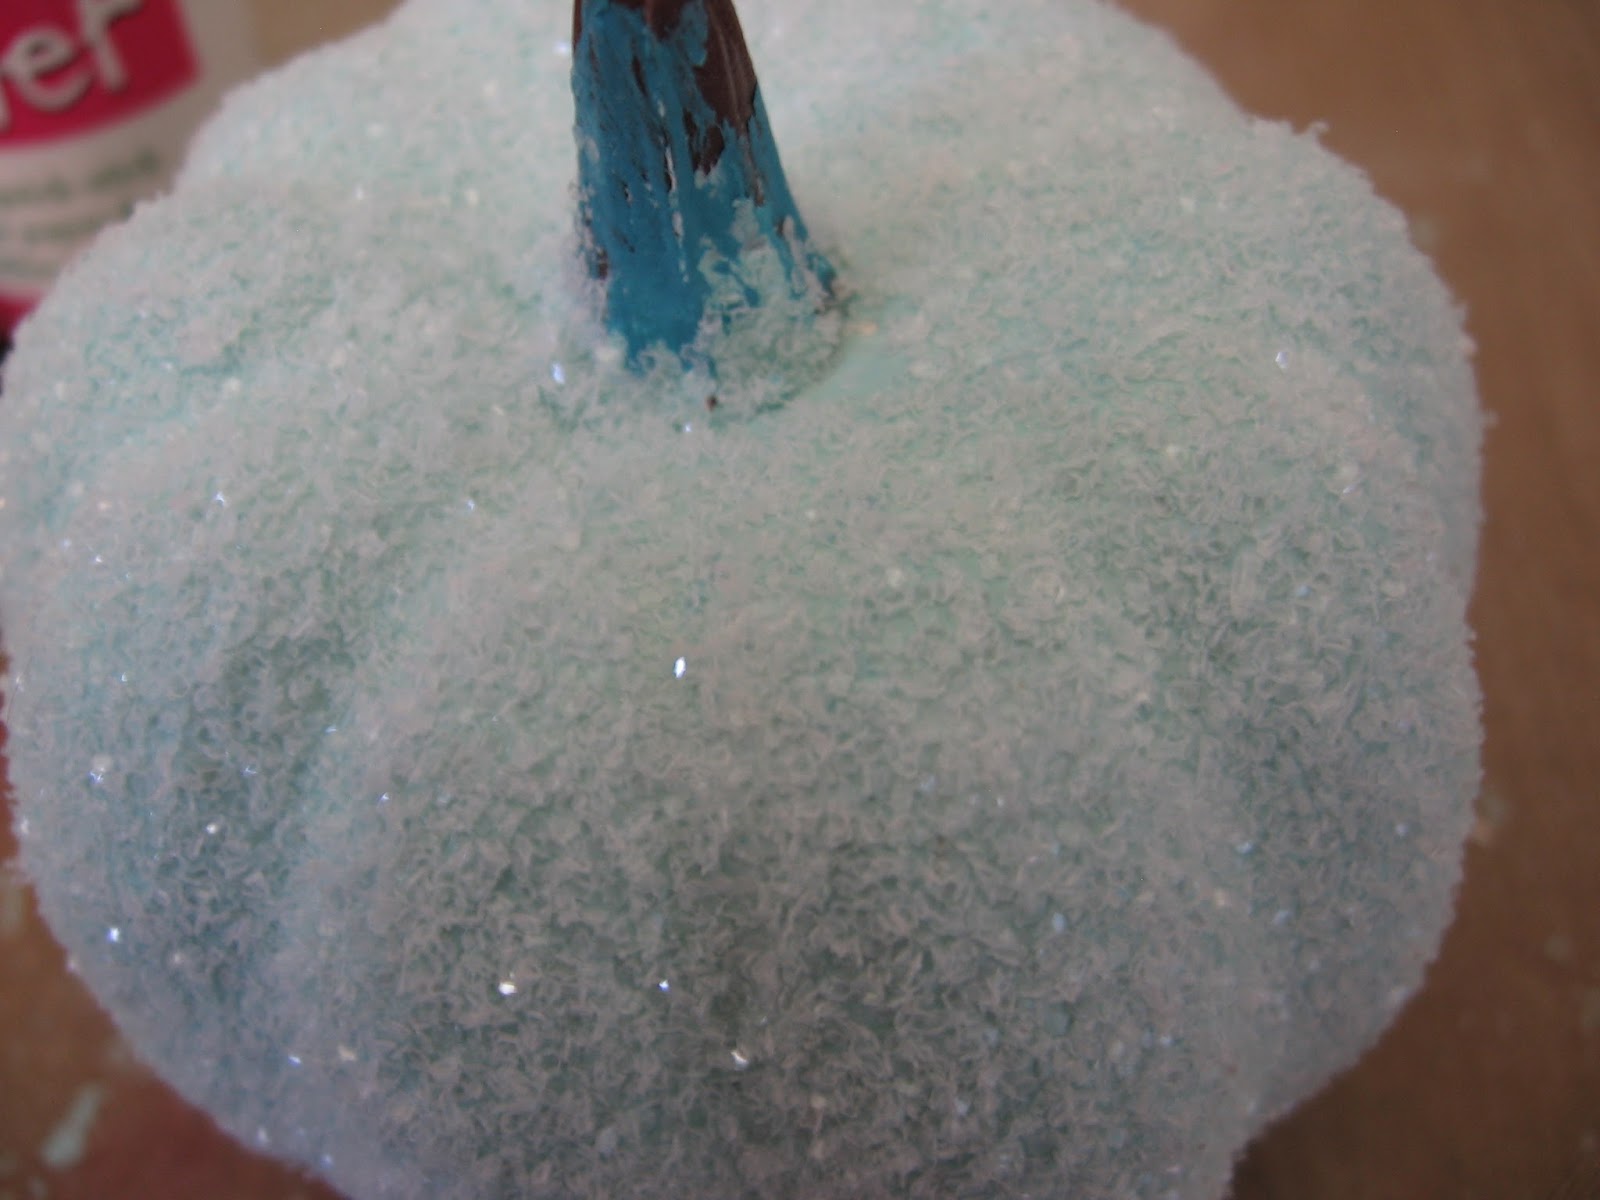
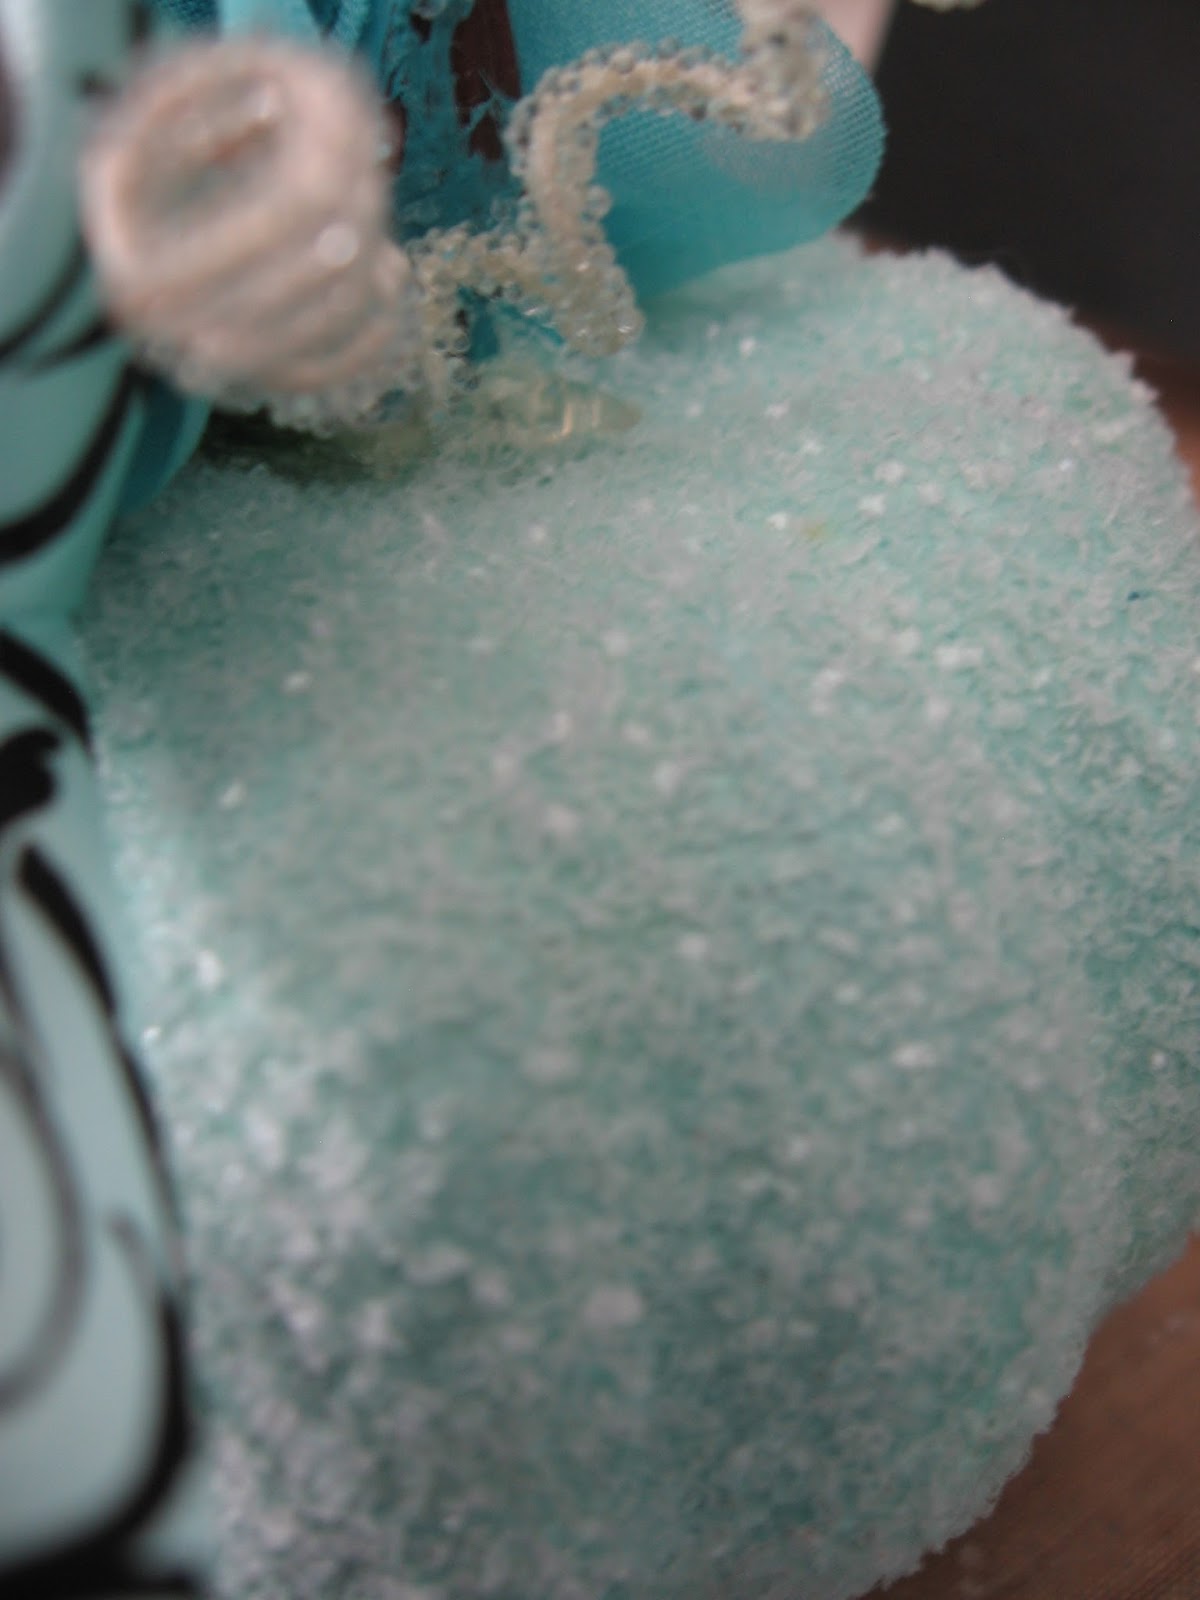
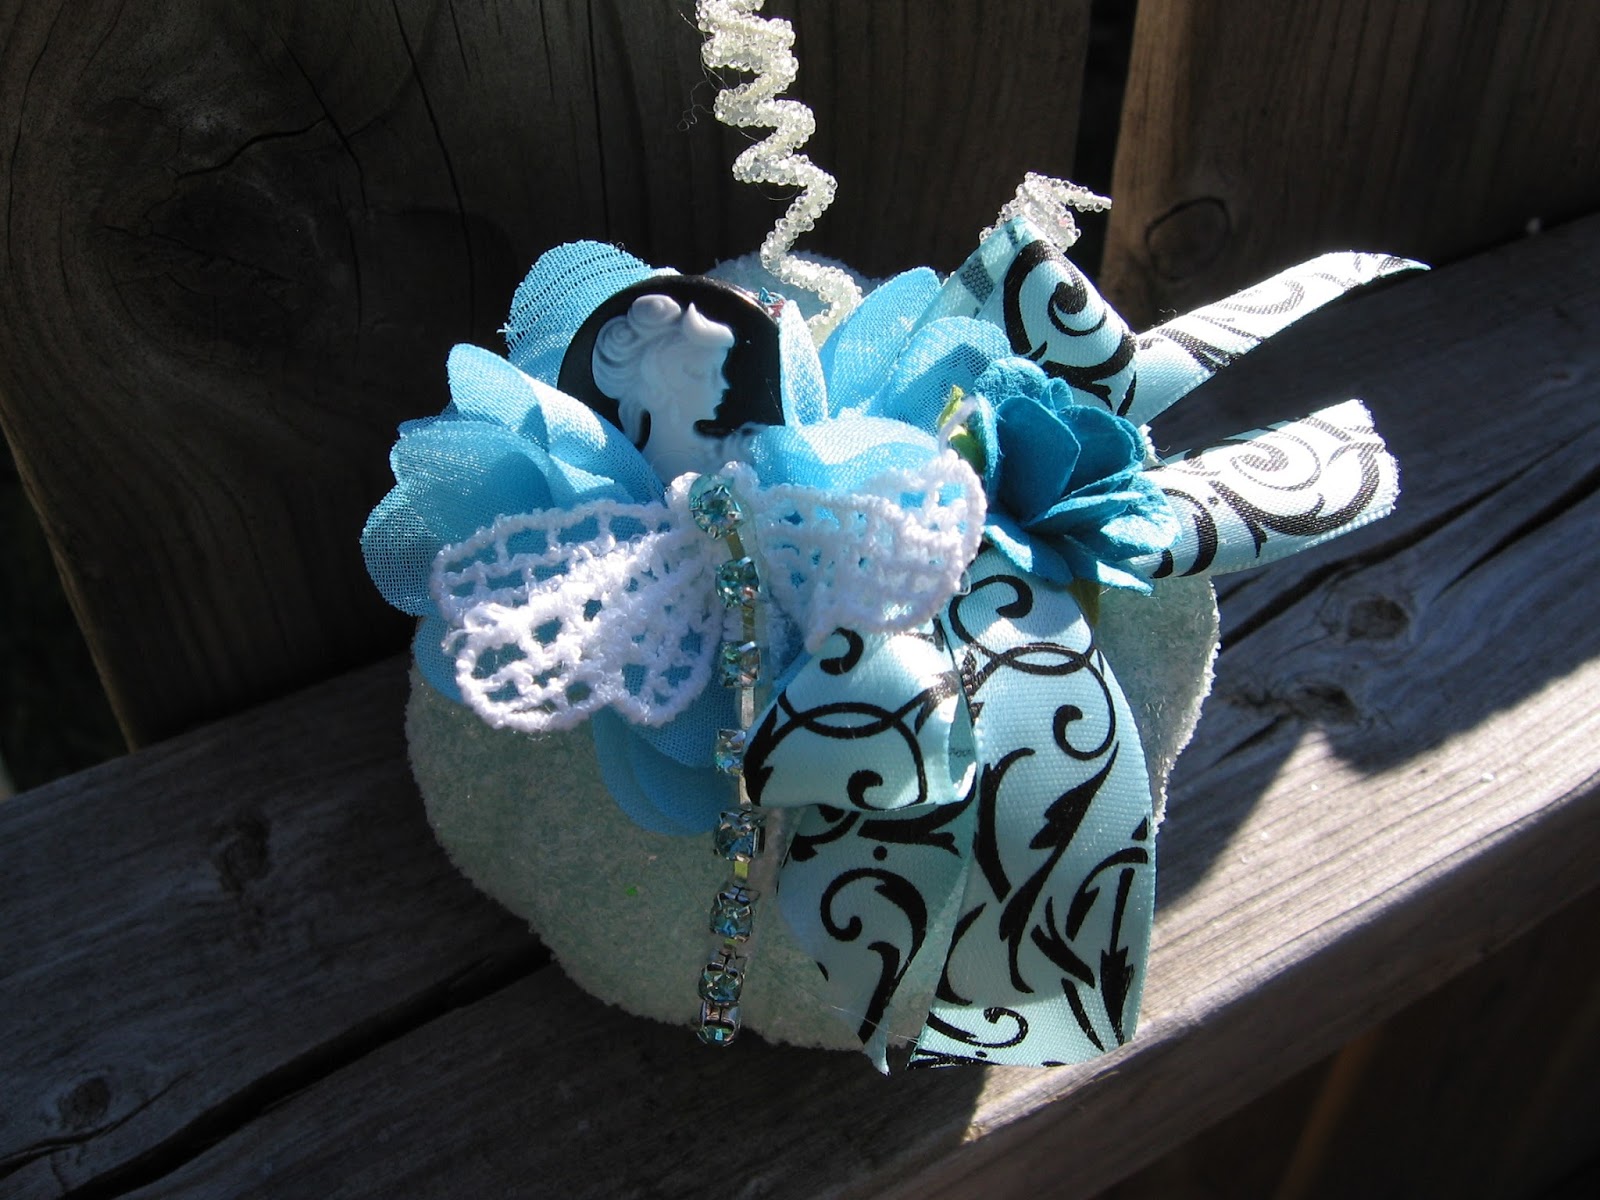
For the second pumpkin I got out the glue again and a paint brush, and gave the pumpkin an all over coat of glue. Once the glue was tacky, I sprinkled white glitter all over it, I love the effect this gave it!
This actually looks like snow, I love it!
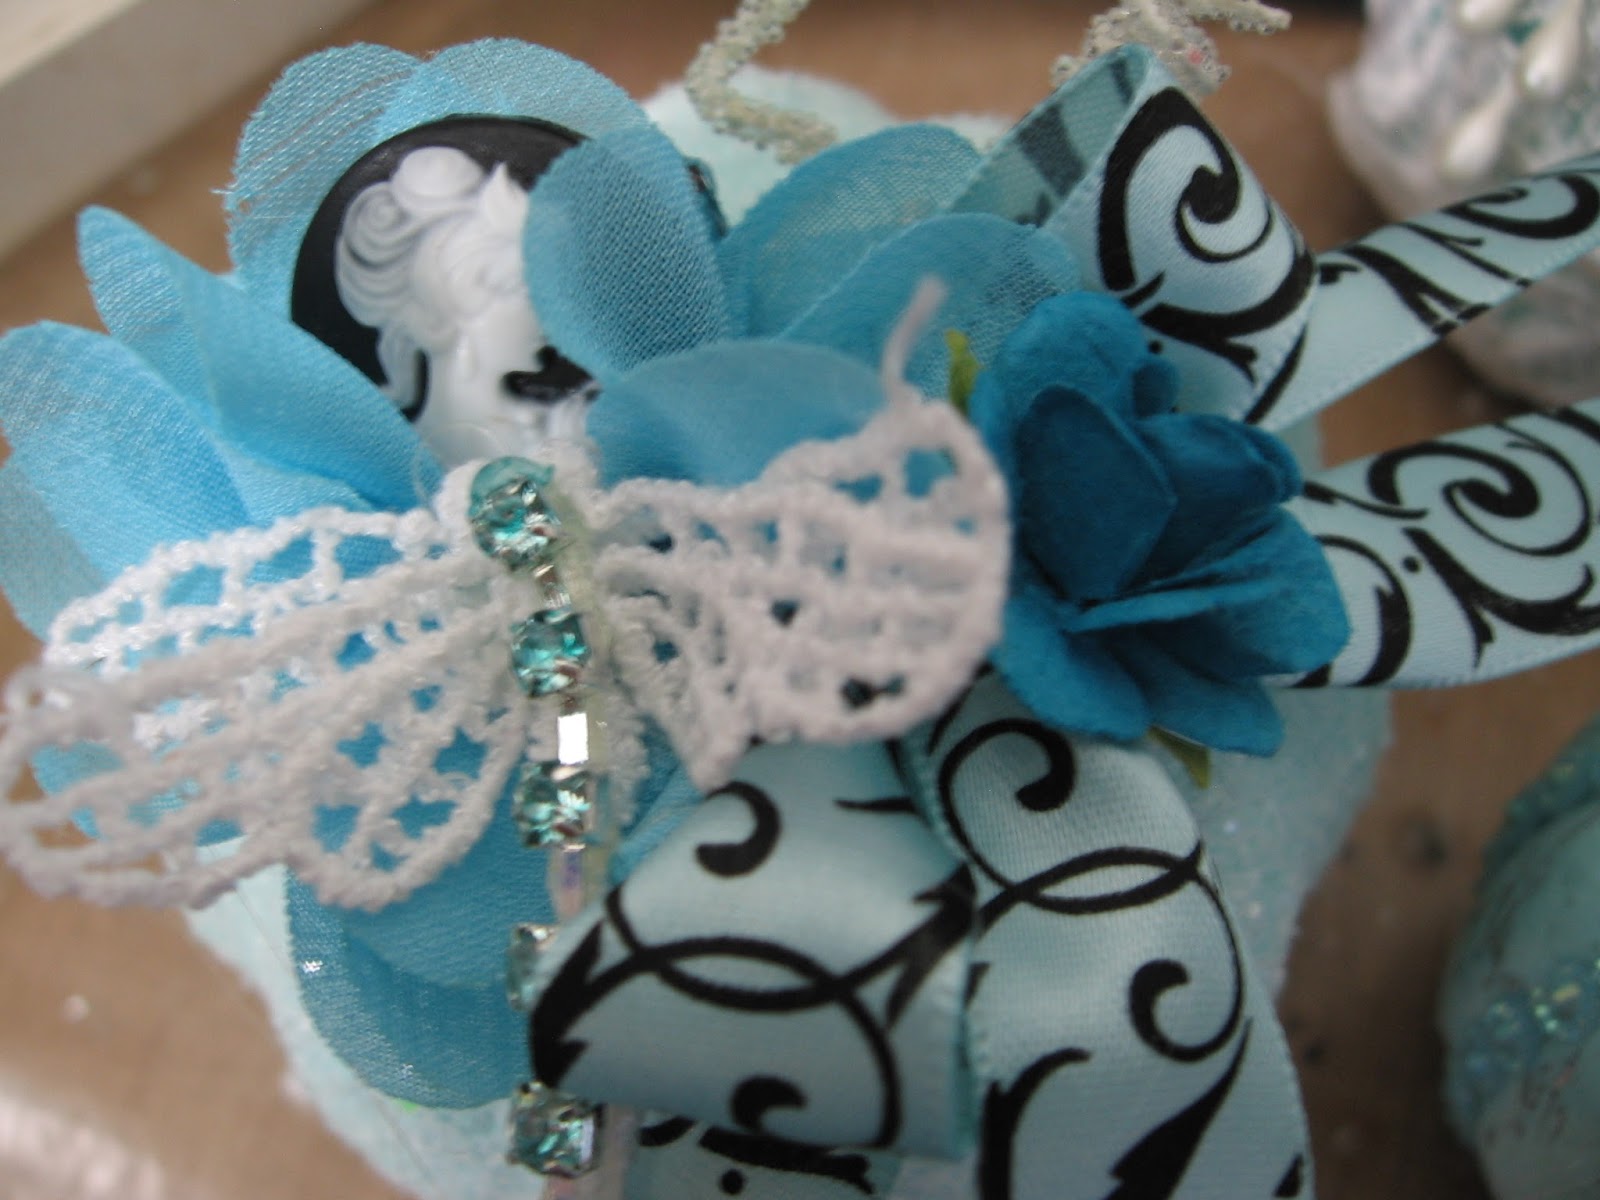
I topped this pumpkin off with some matching ribbon, some flowers, a small cameo, and a lacey dragonfly with some bling.
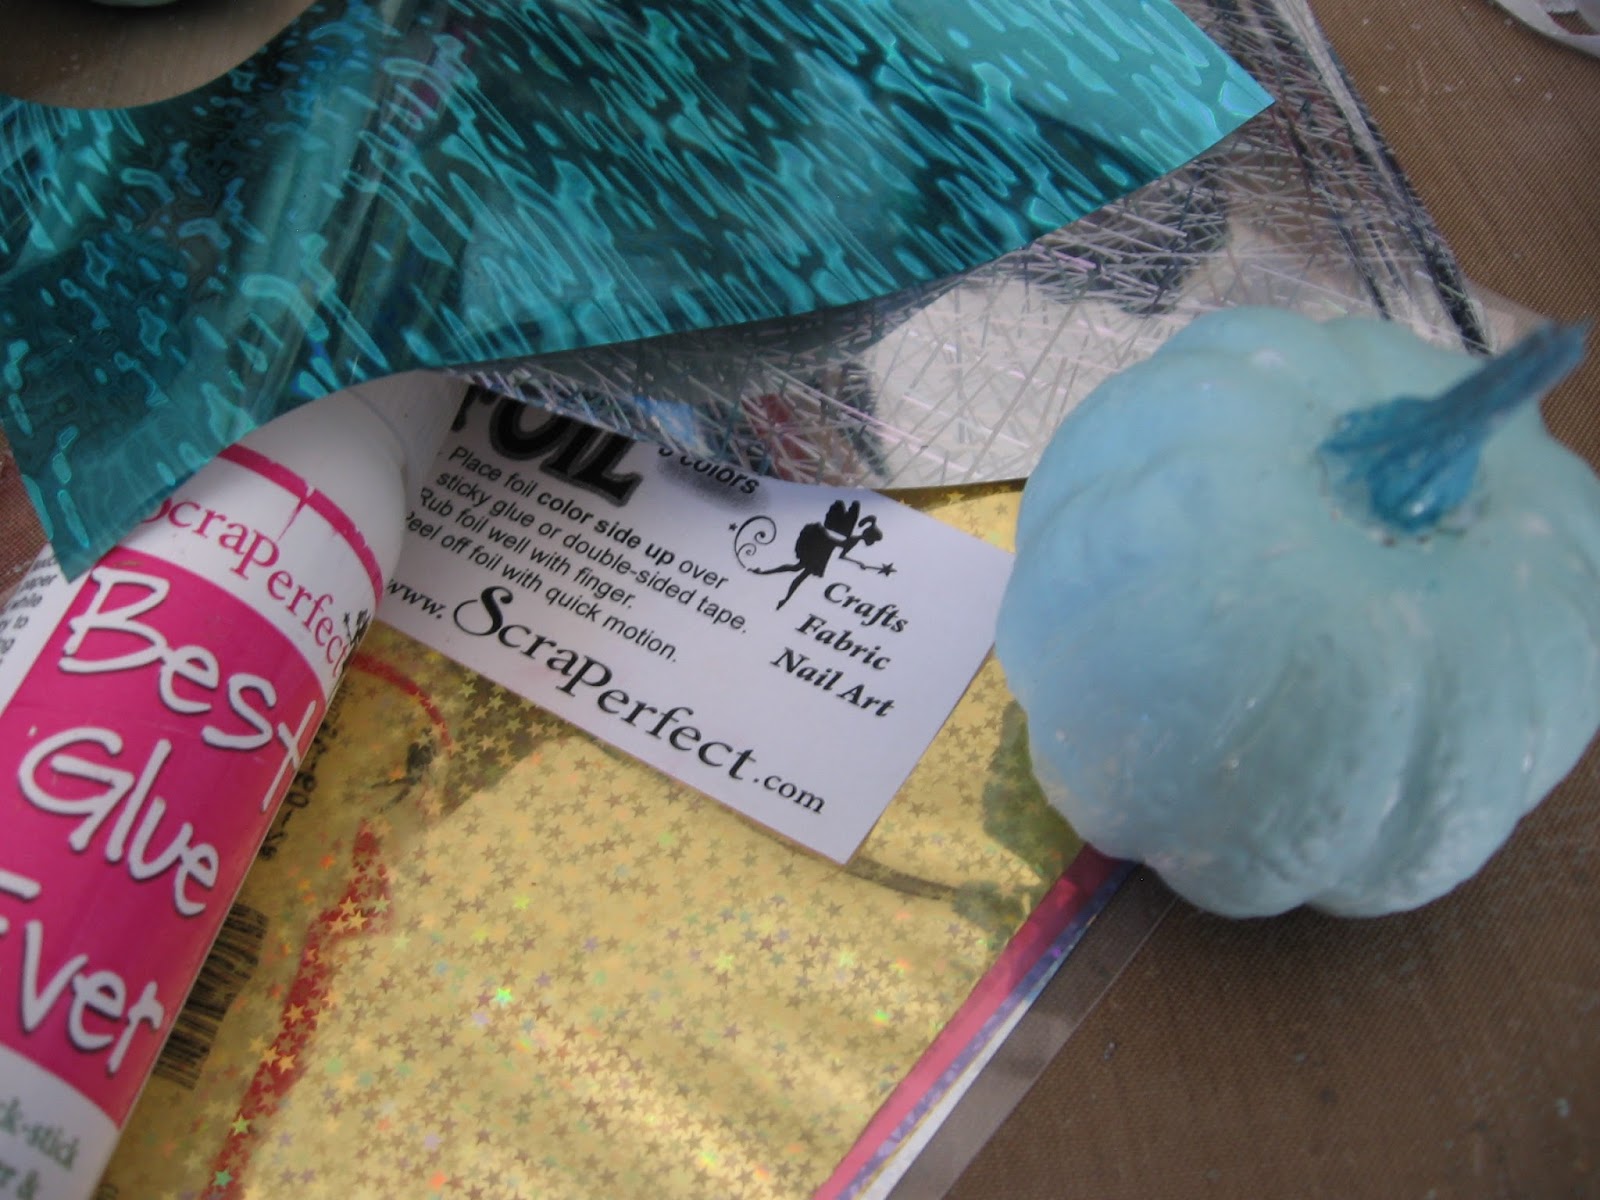
The next pumpkin was the smallest of the bunch, and I decided it was time to get out the ScraPerfect Transfer foils. I love to foil and this was the perfect project for me to use them.
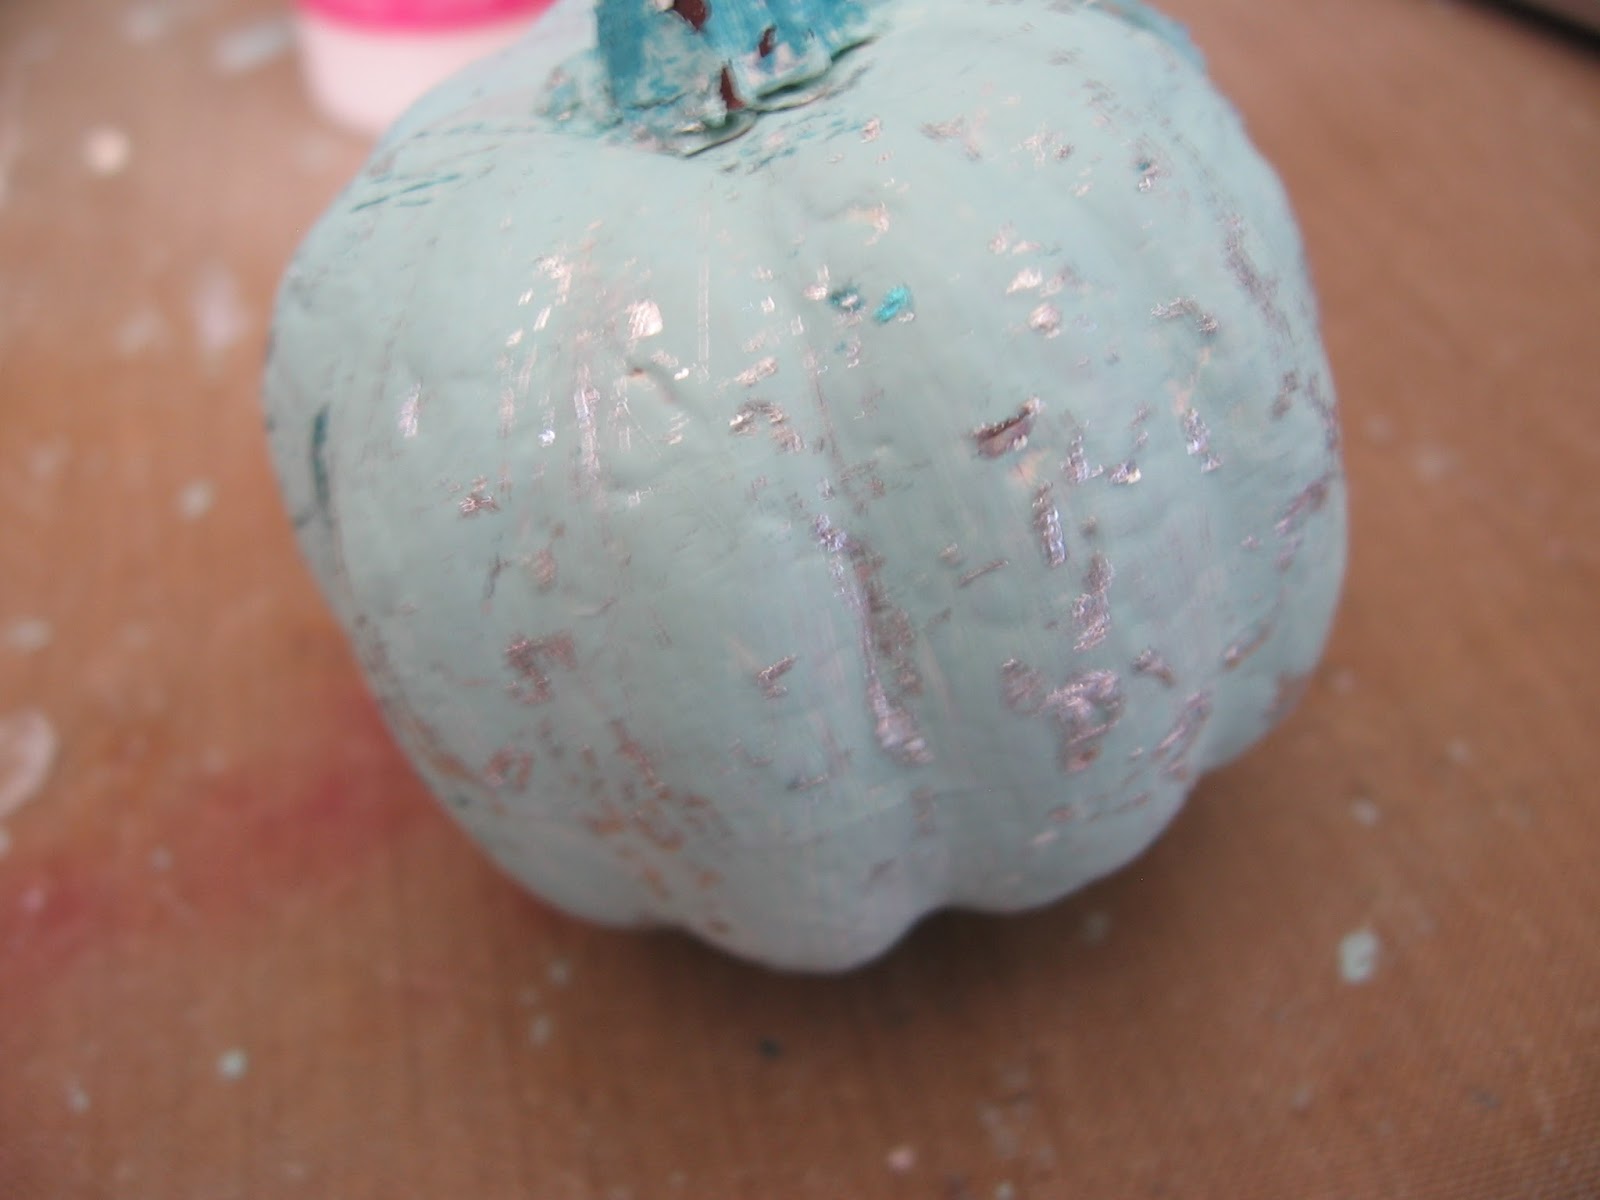
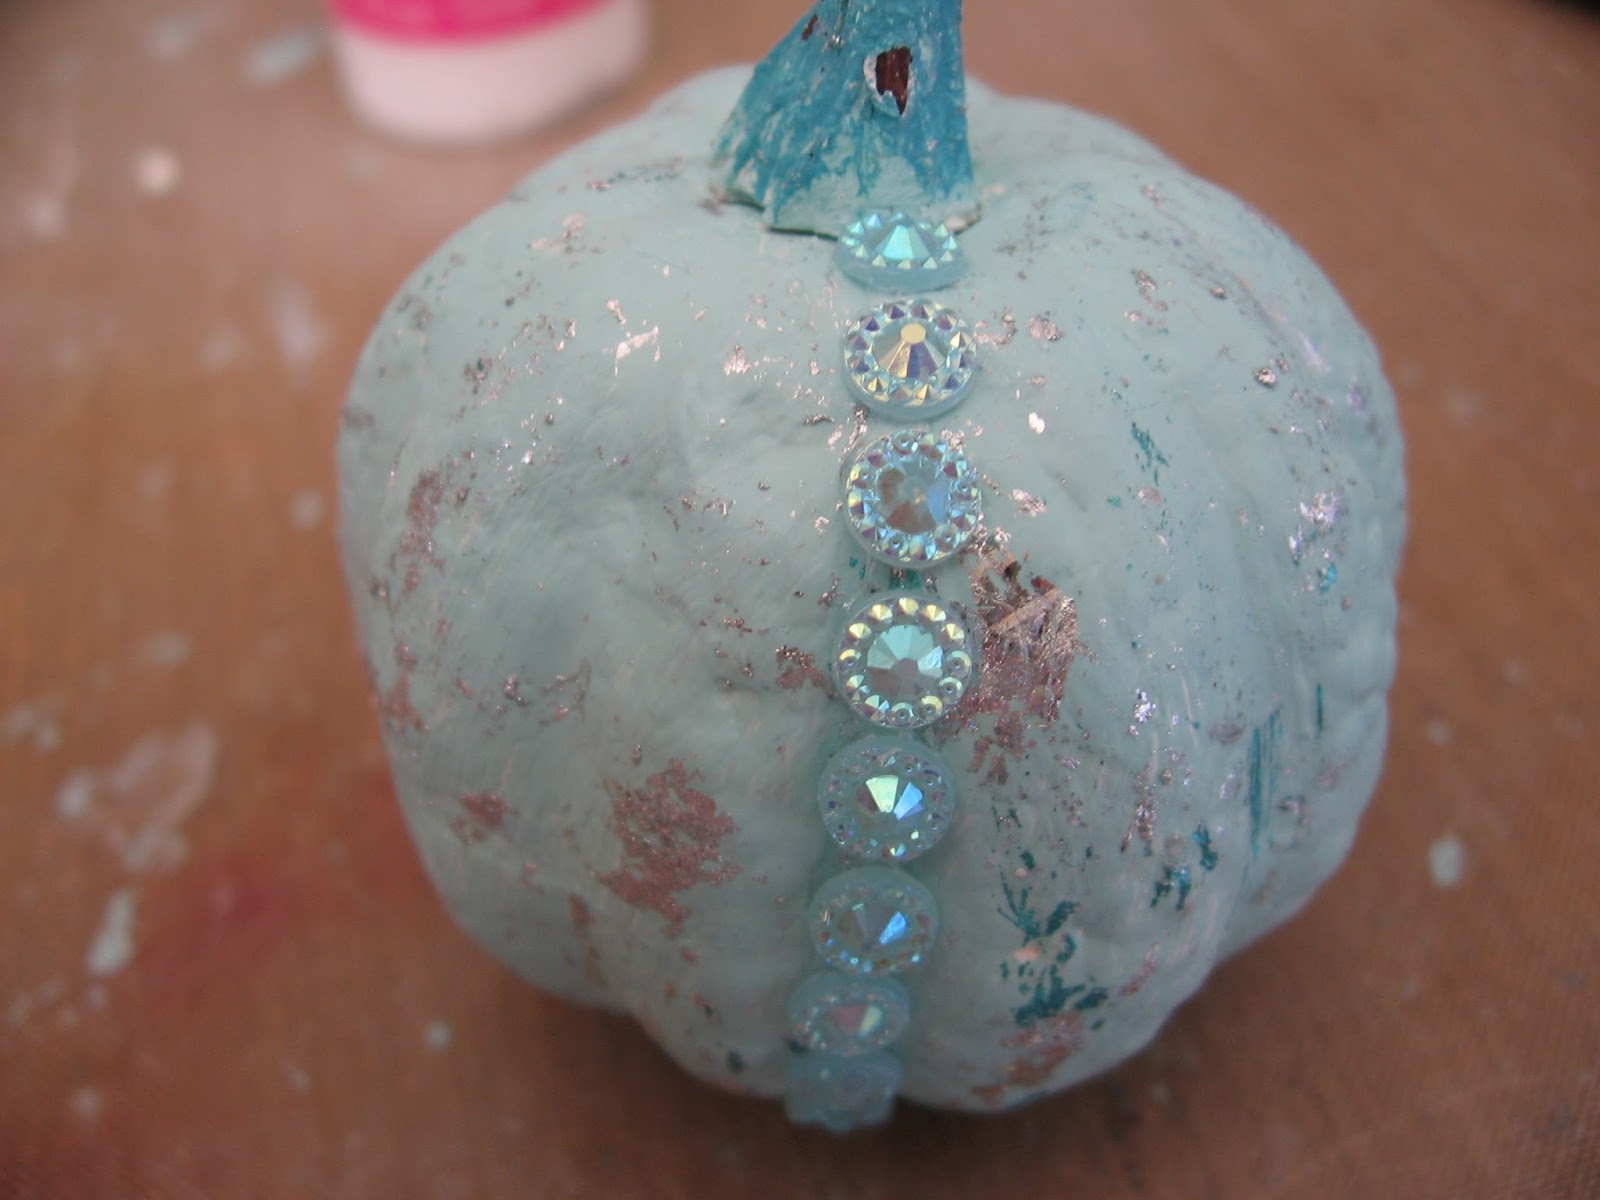
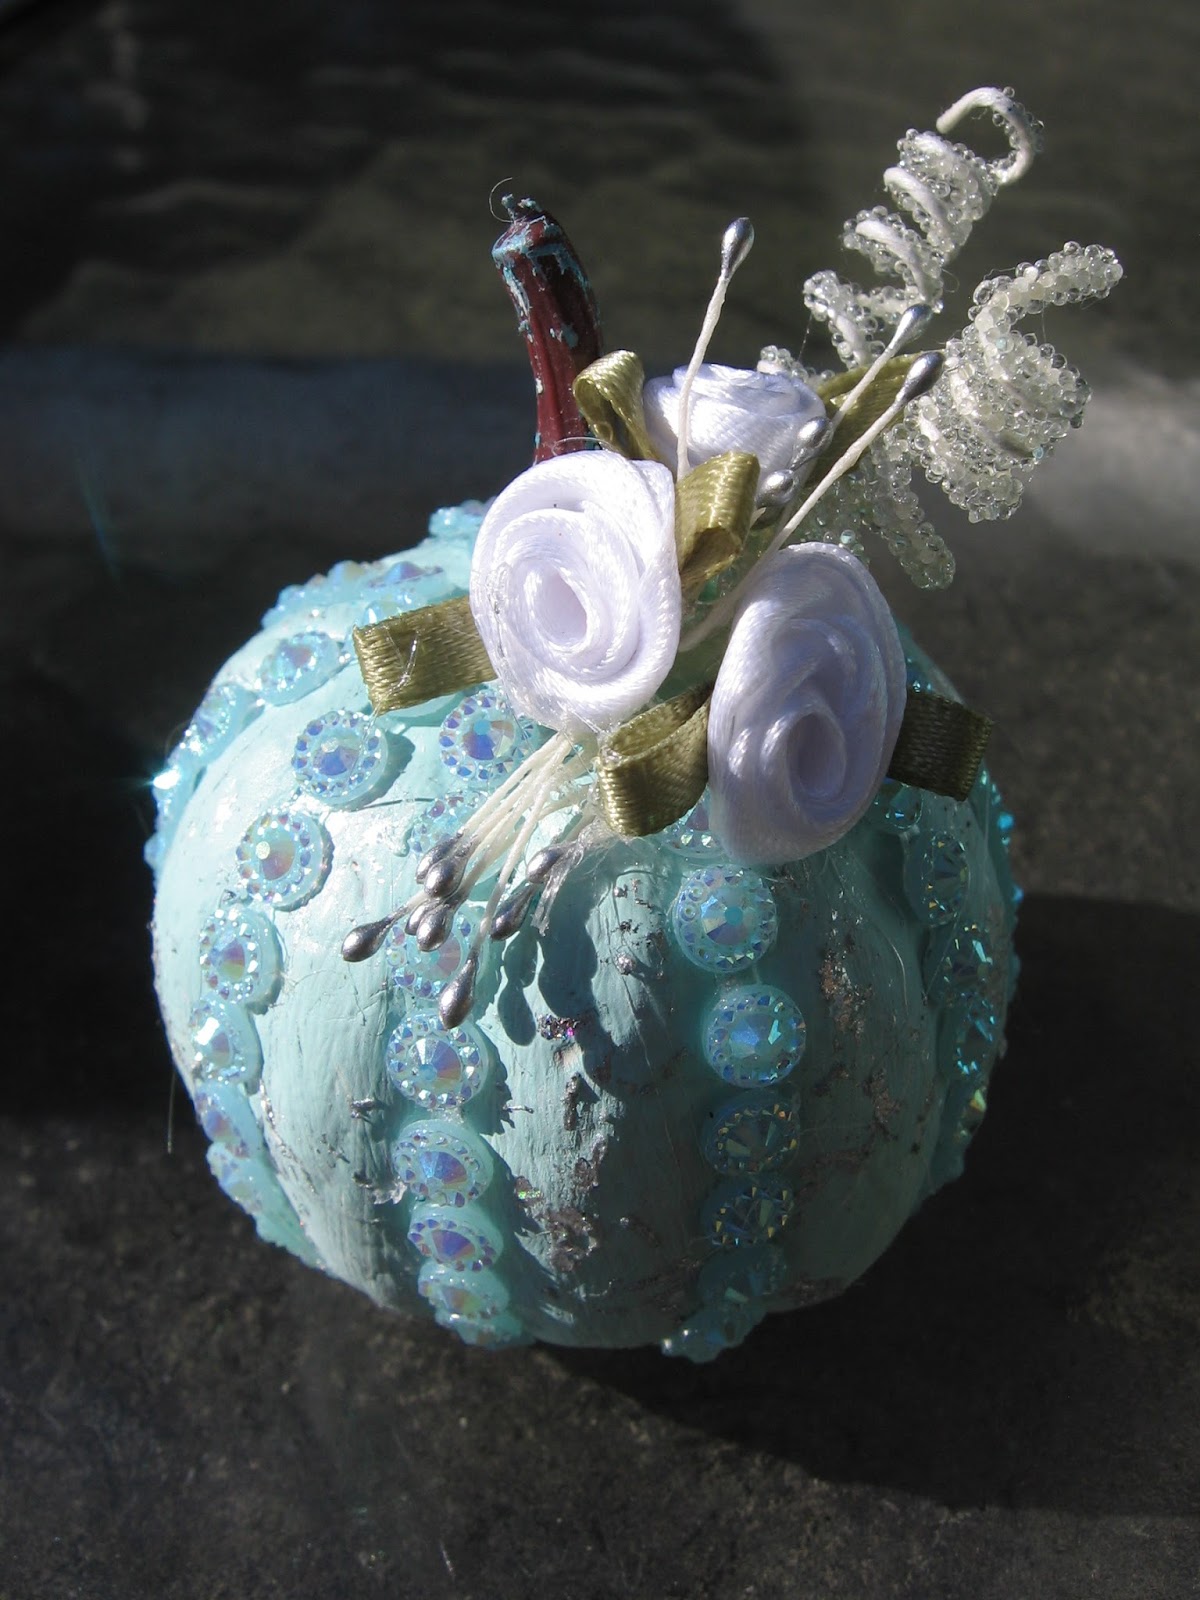
I applied some glue to various places on the pumpkin, and waited for it to dry to a tacky texture. Once it was tacky, I added some of the silver and blue foils. Below you can see the result of the foils, I love it!
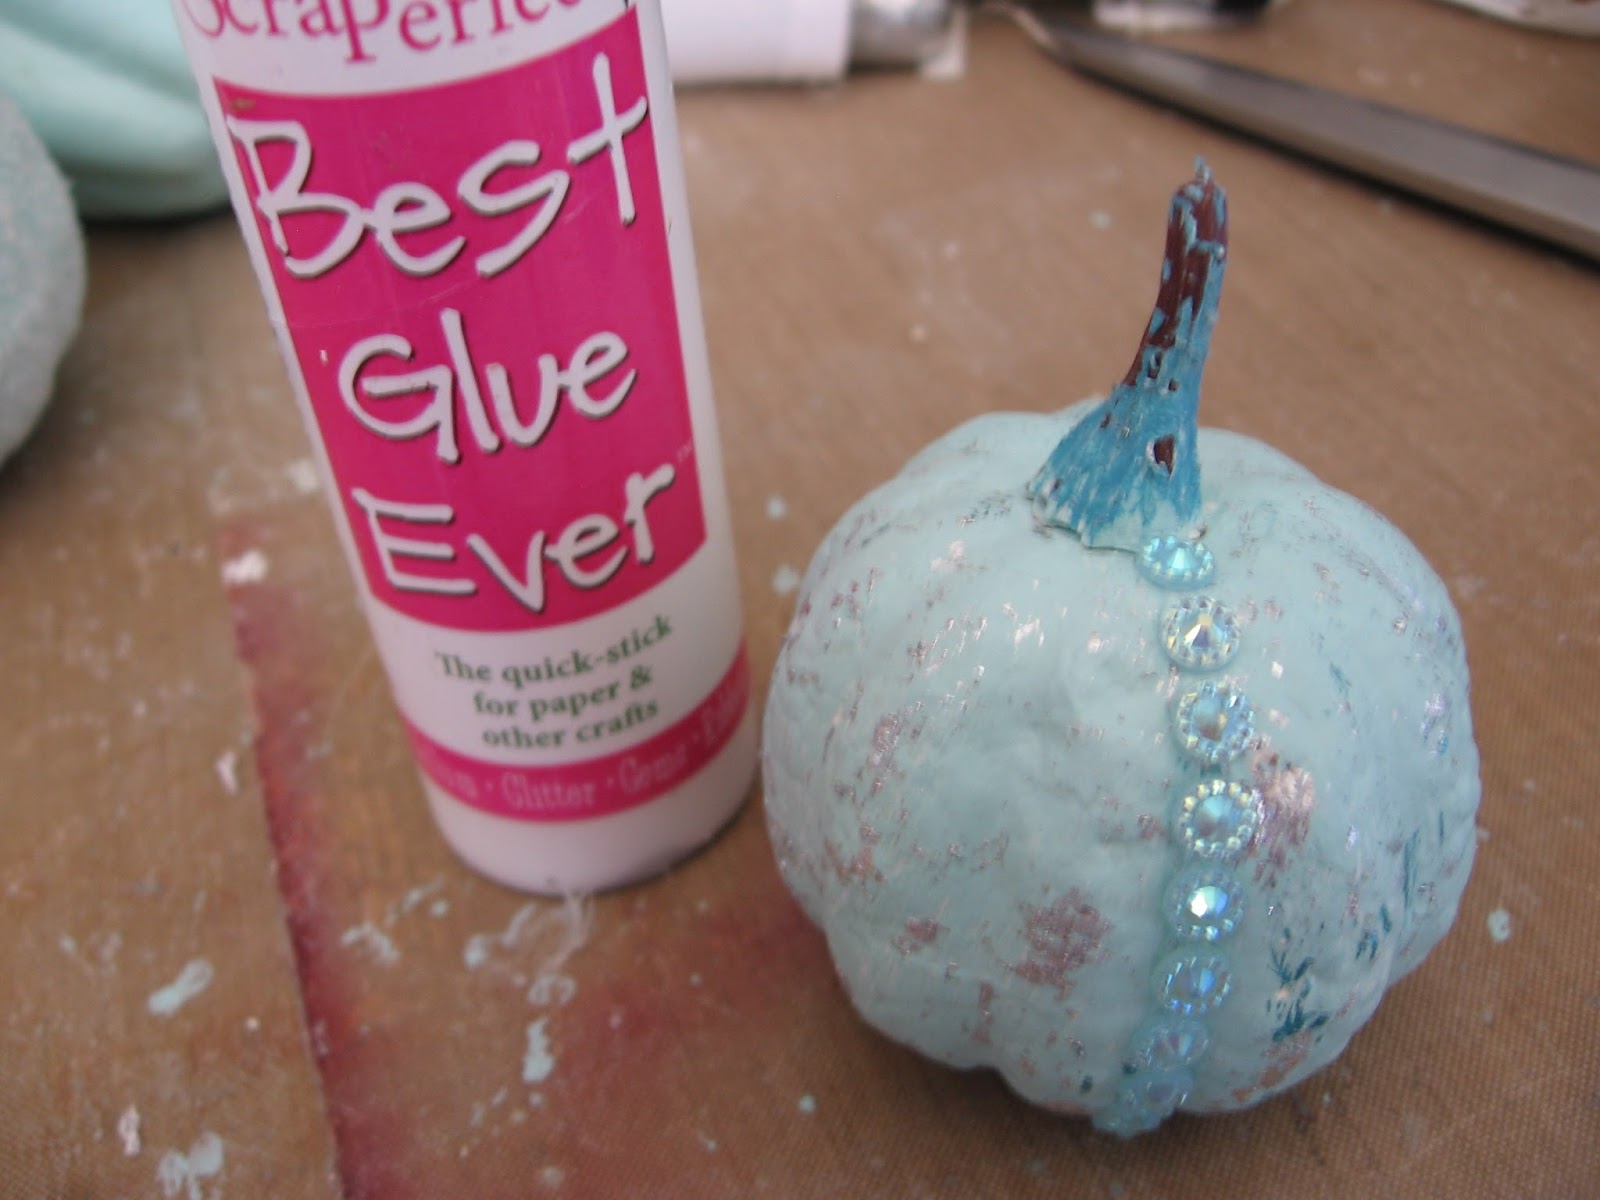
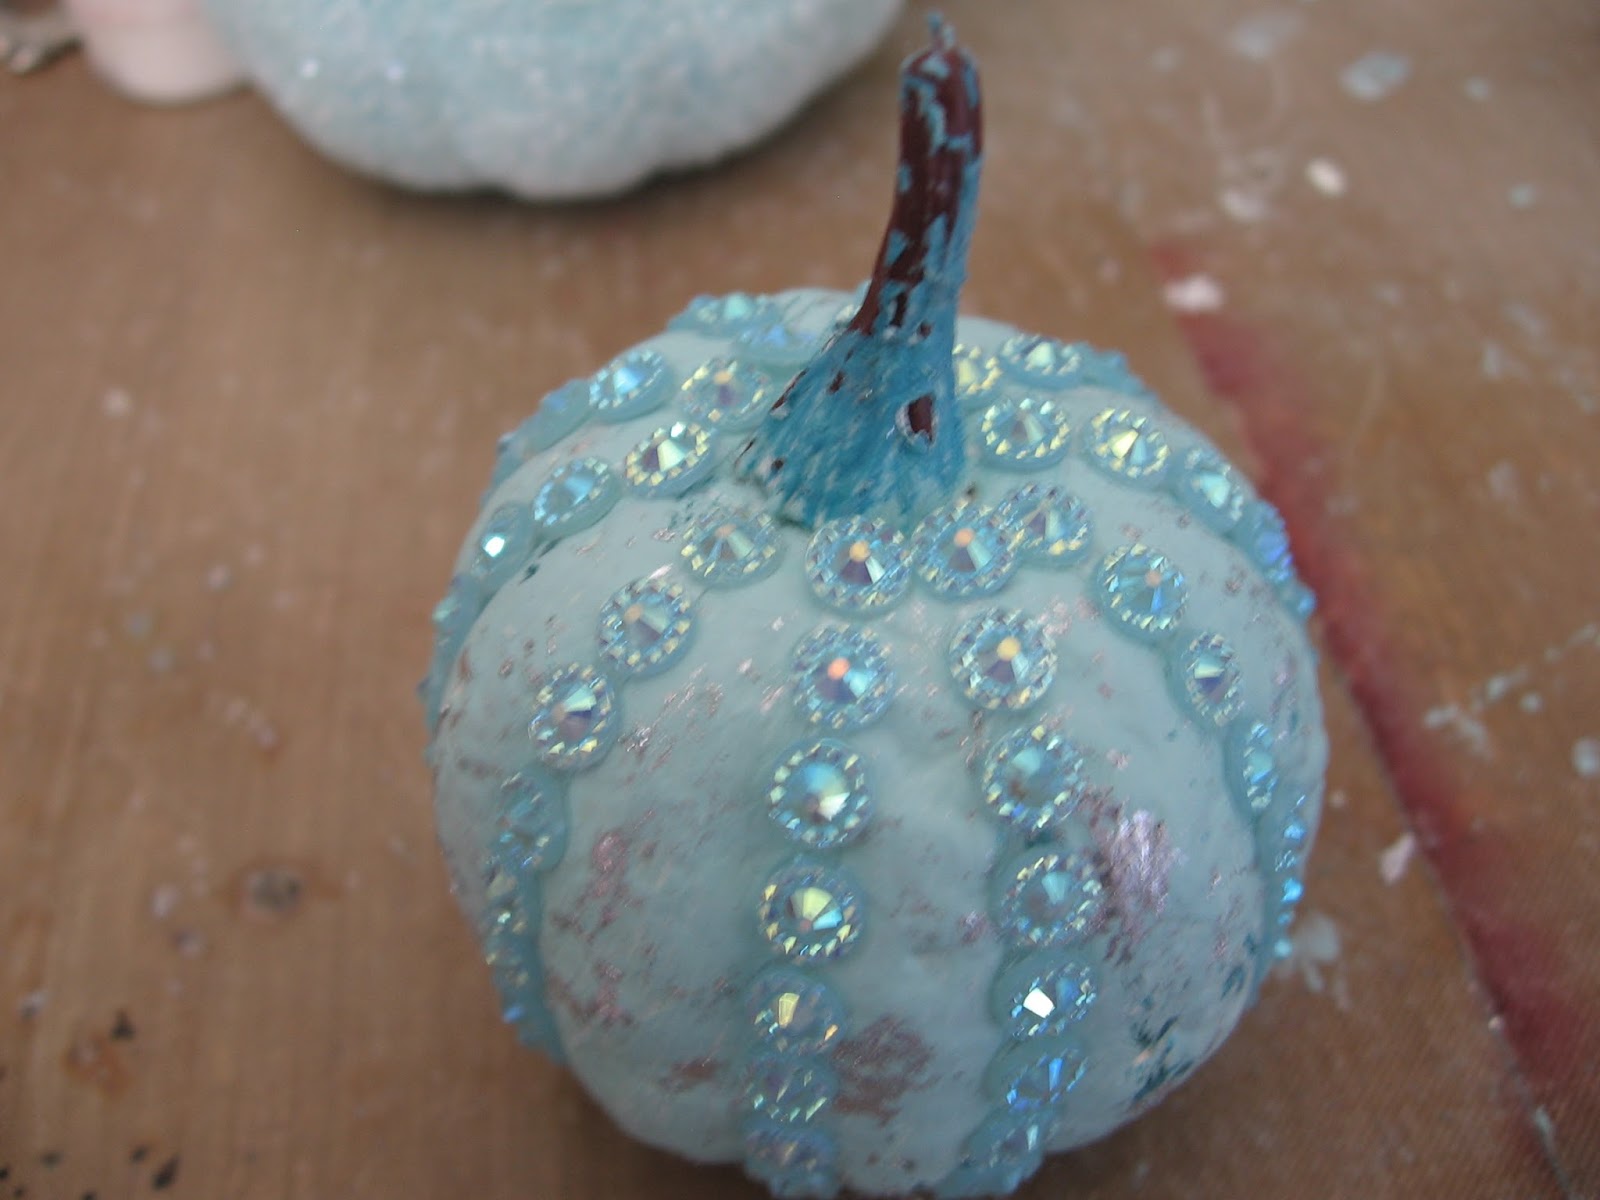
After using the foils, I got out some bling and ran it down each of the grooves of the pumpkin.
I of course used The Best Glue Ever to glue it down!
Here is what it looks like at this point with the foils and the bling on it.
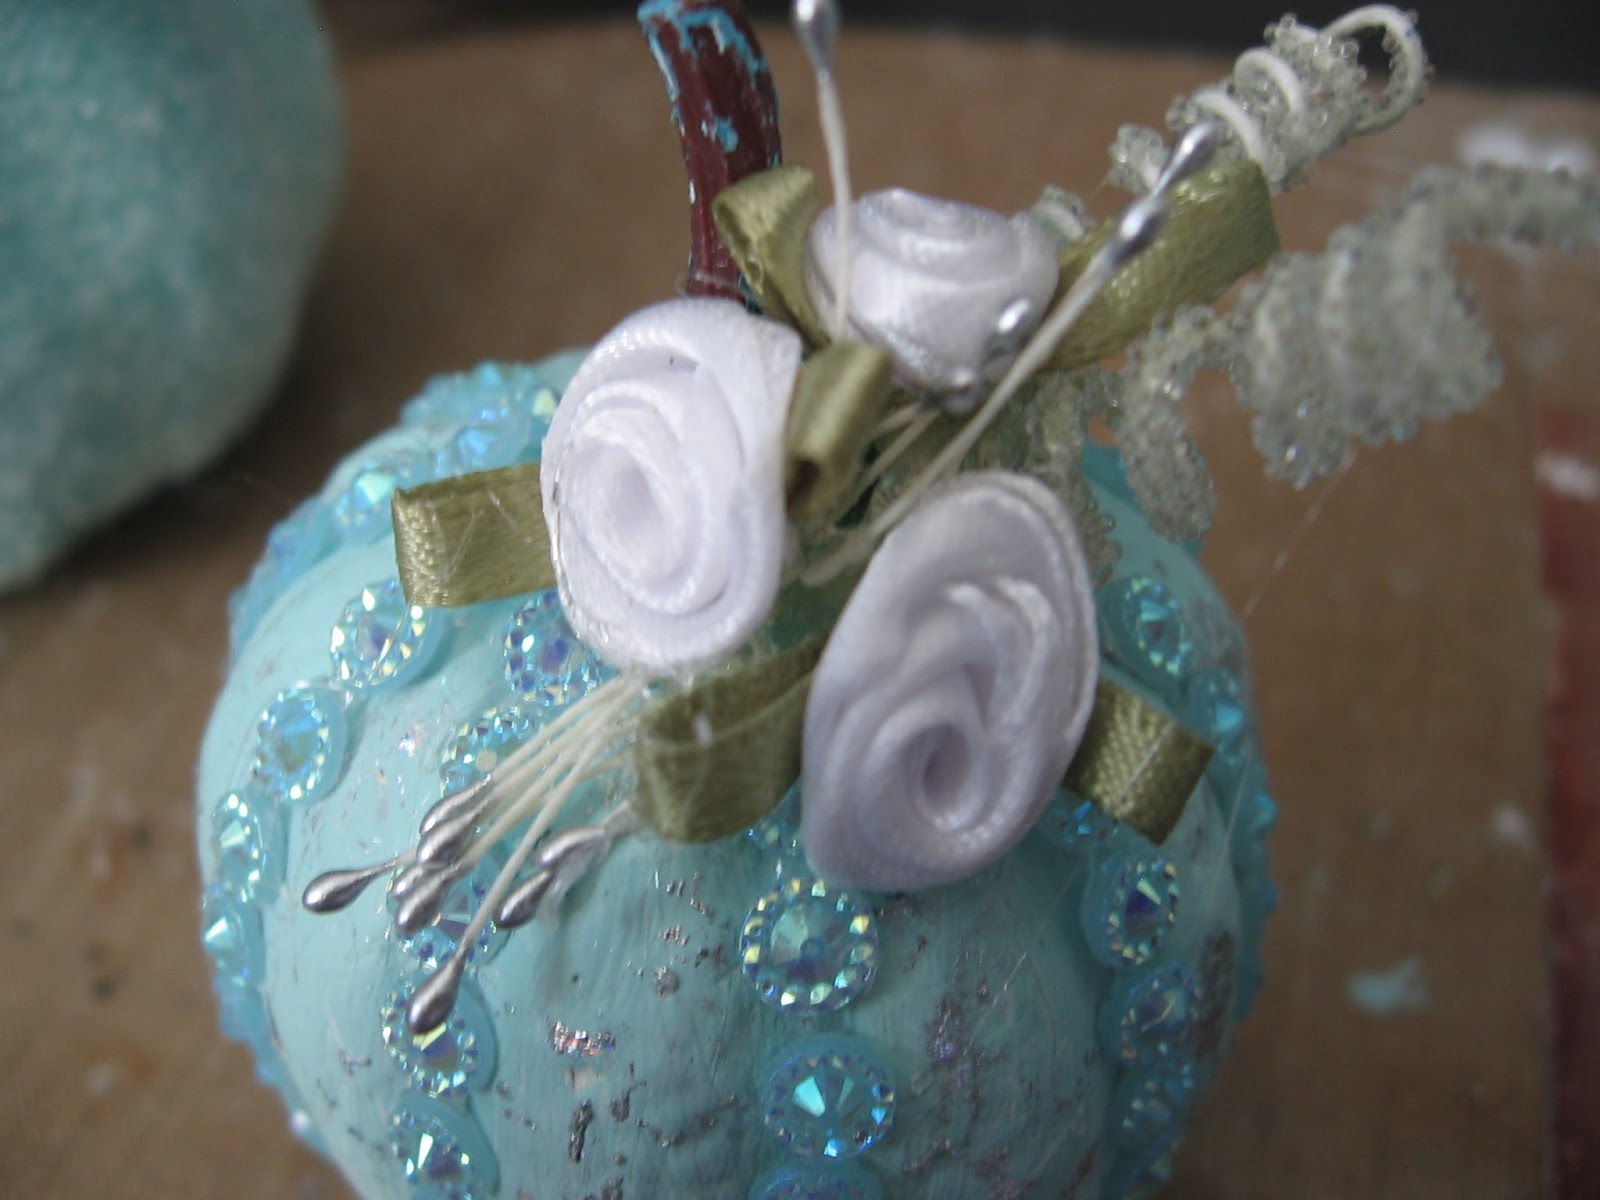
I topped the pumpkin off with some more fun embellishments to match the other two pumpkins.
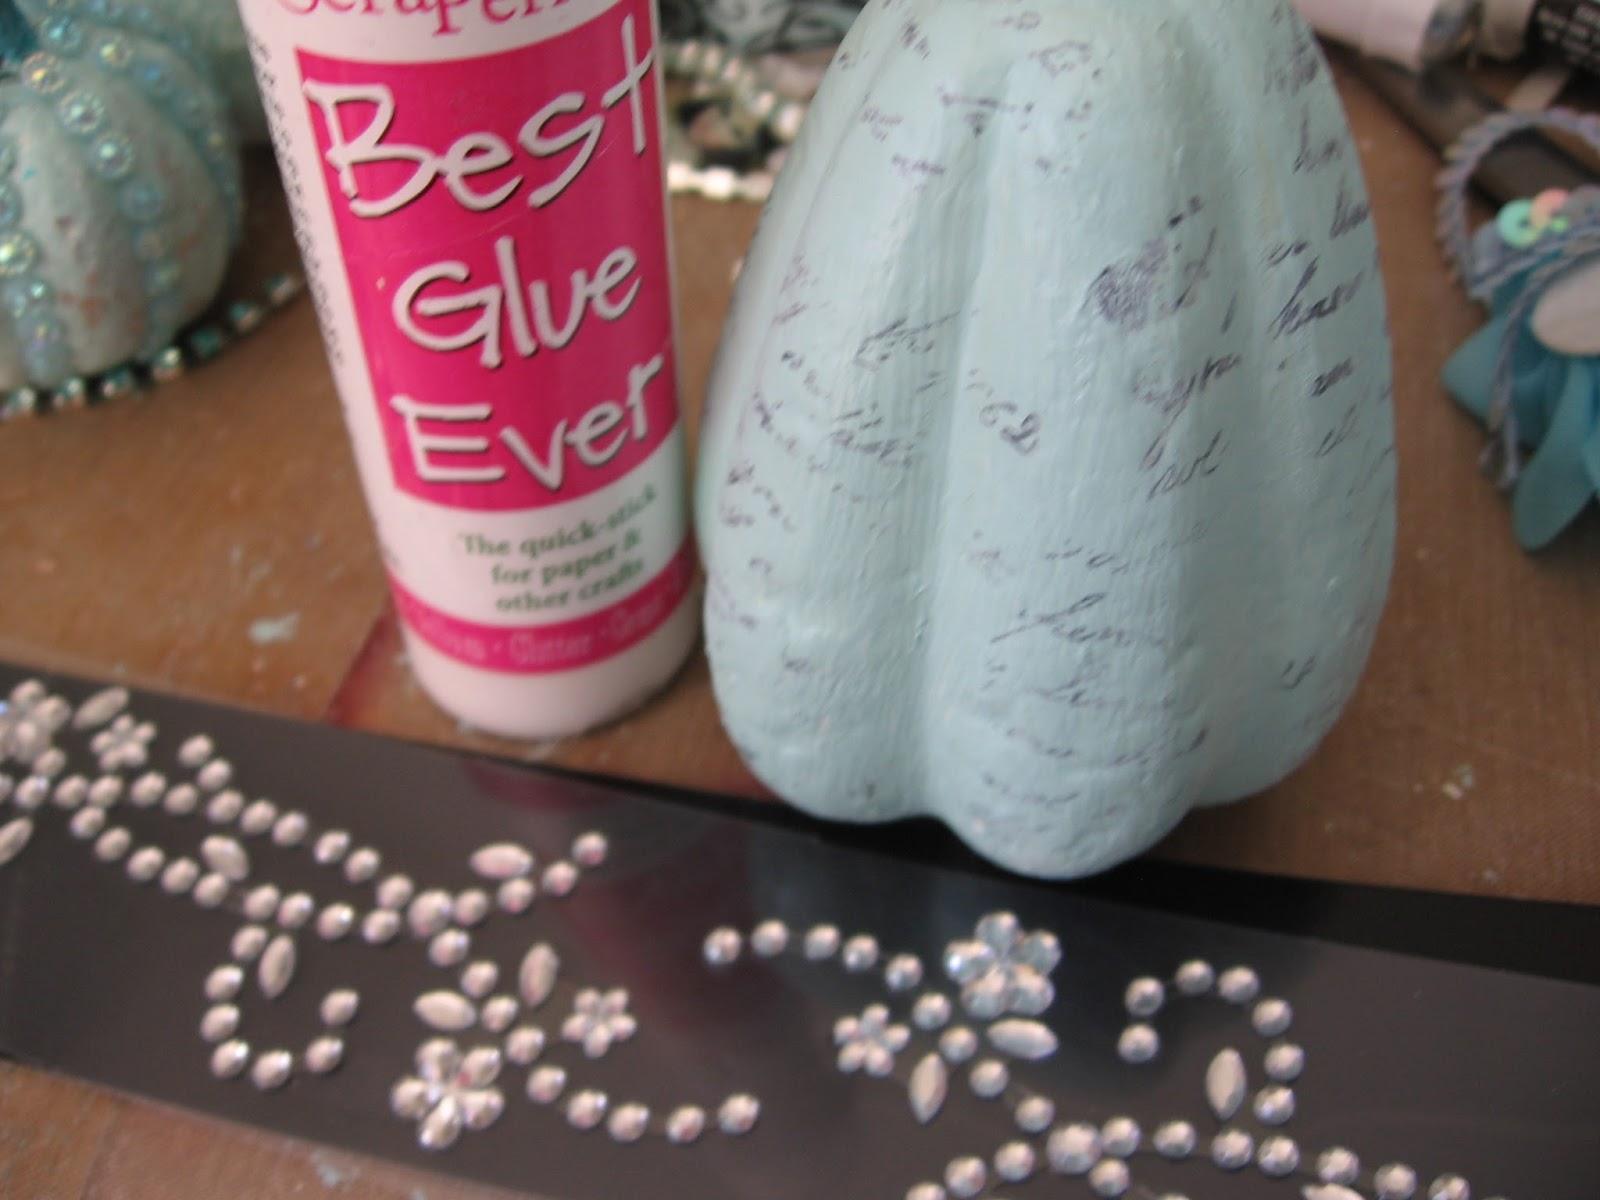
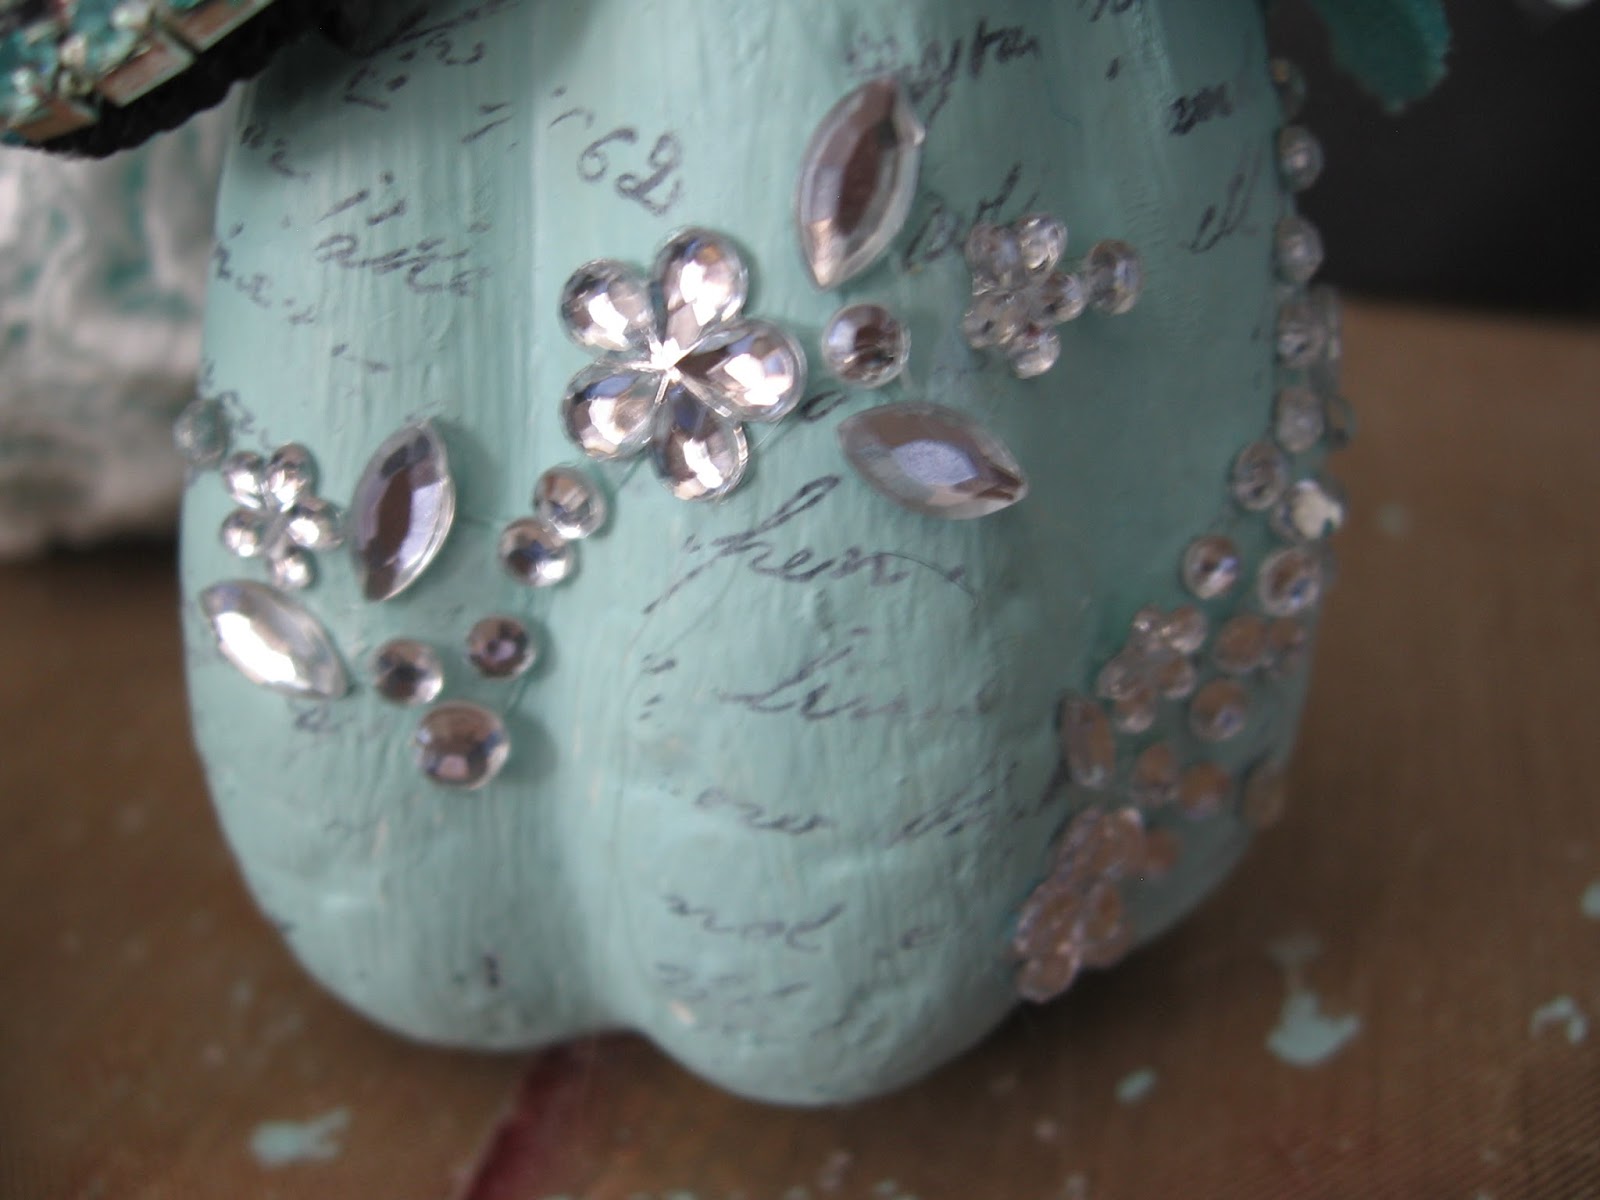
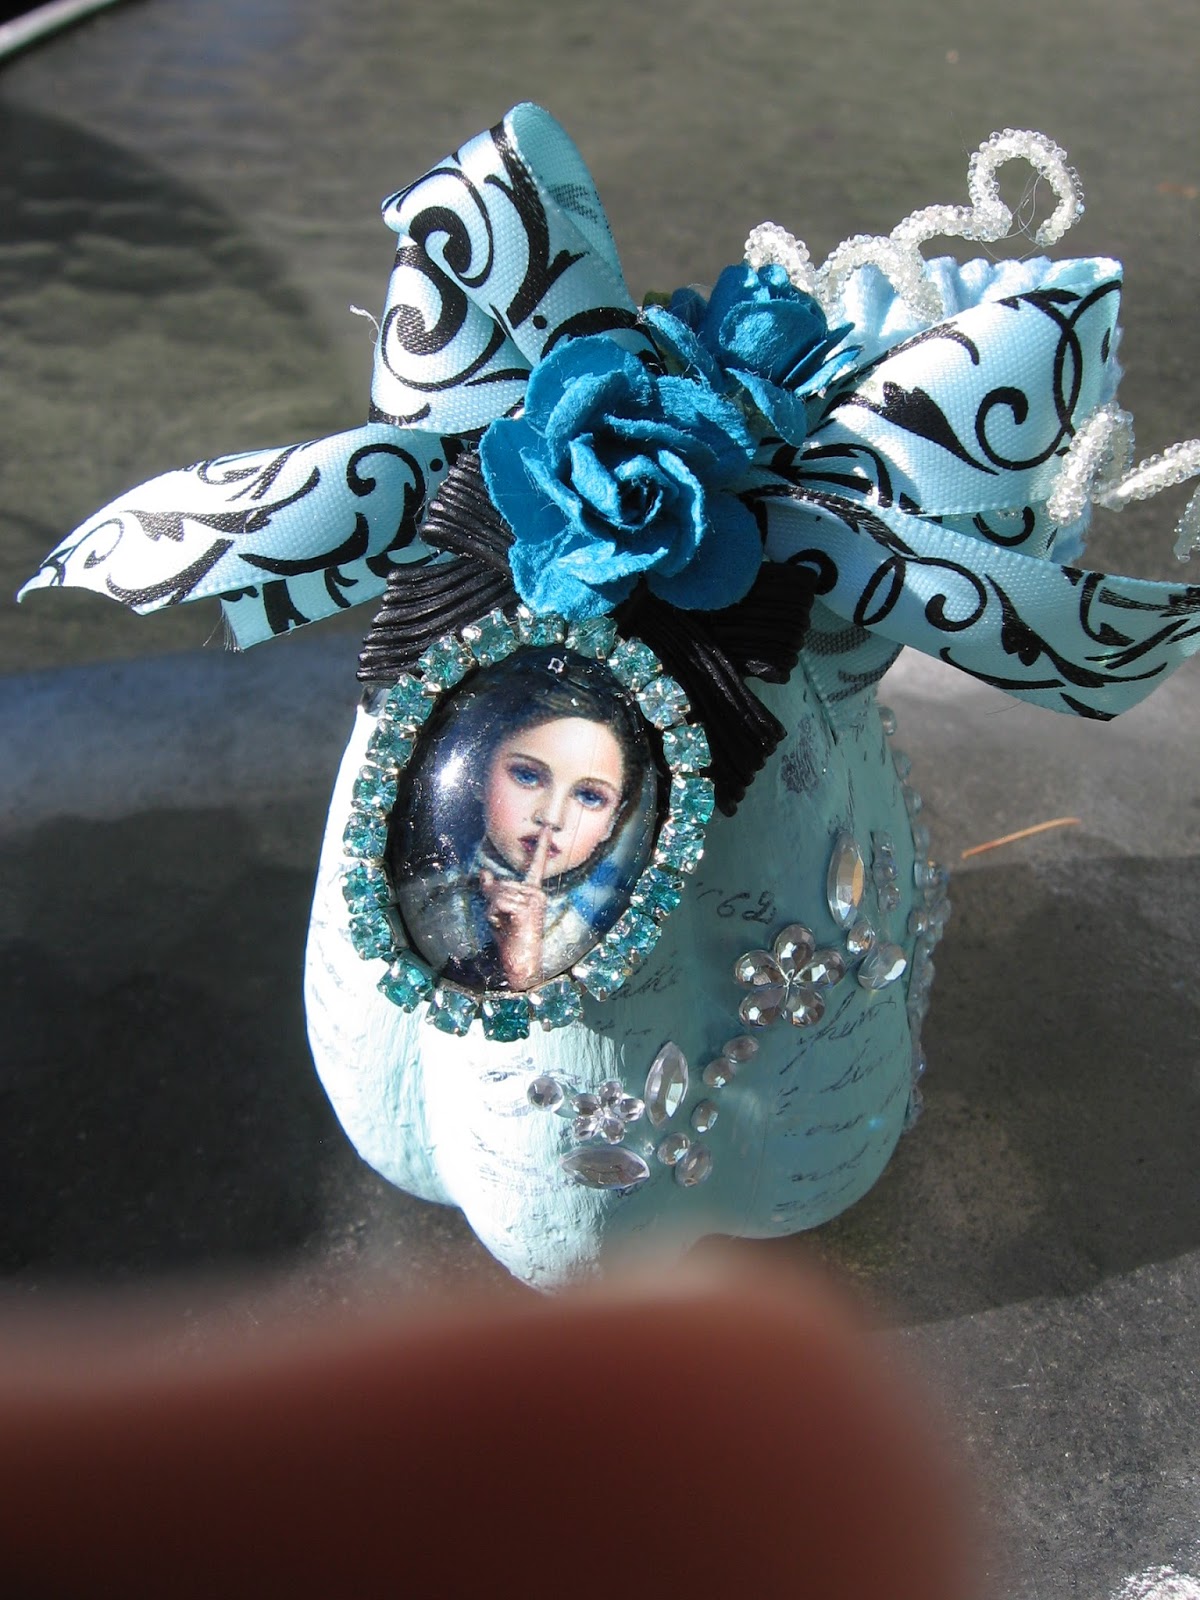
For the final pumpkin, I used some black StaZon Ink and a Prima script stamp giving it a random pattern all over. I used the Best Glue Ever again here to glue down some pretty silver bling as well.
I love how these little pumpkins came out, and the products from ScraPerfect really made the difference with this project. I am going to make a few more of these mini pumpkins for some friends as well, they are super fun and I hope you will also try to make some for yourself.
Thanks so much for stopping by today!


