

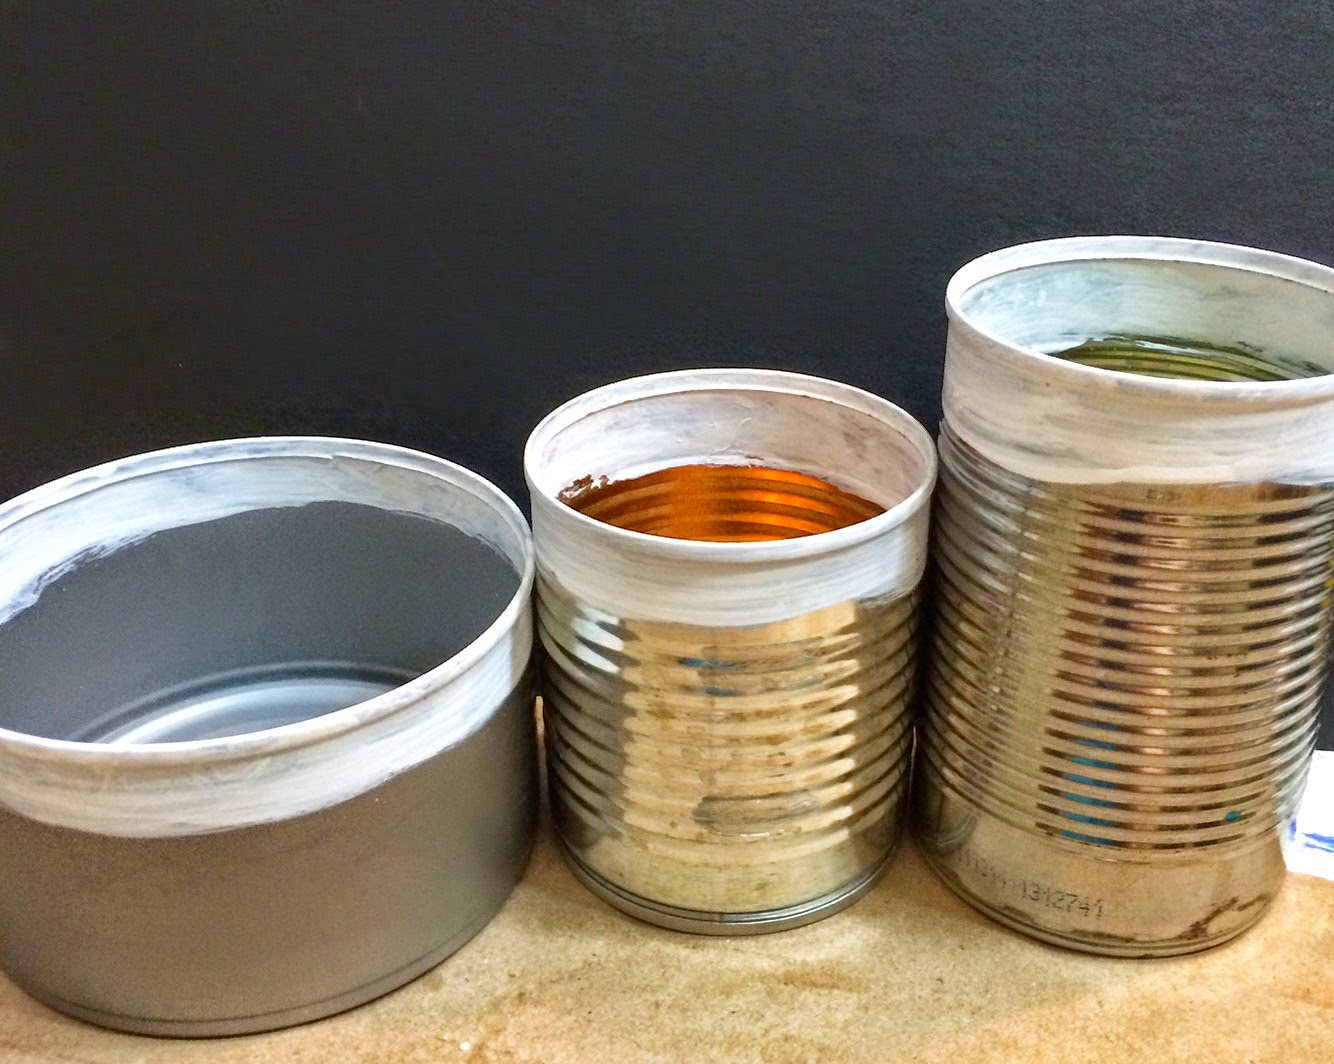
2. Then I applied two coats of white gesso to the top edges of the can as shown below.
3. While the gesso was drying I cut my papers to fit the cans. I measured each one with a sewing tape measure to get the circumference then I cut the papers with my paper cutters.
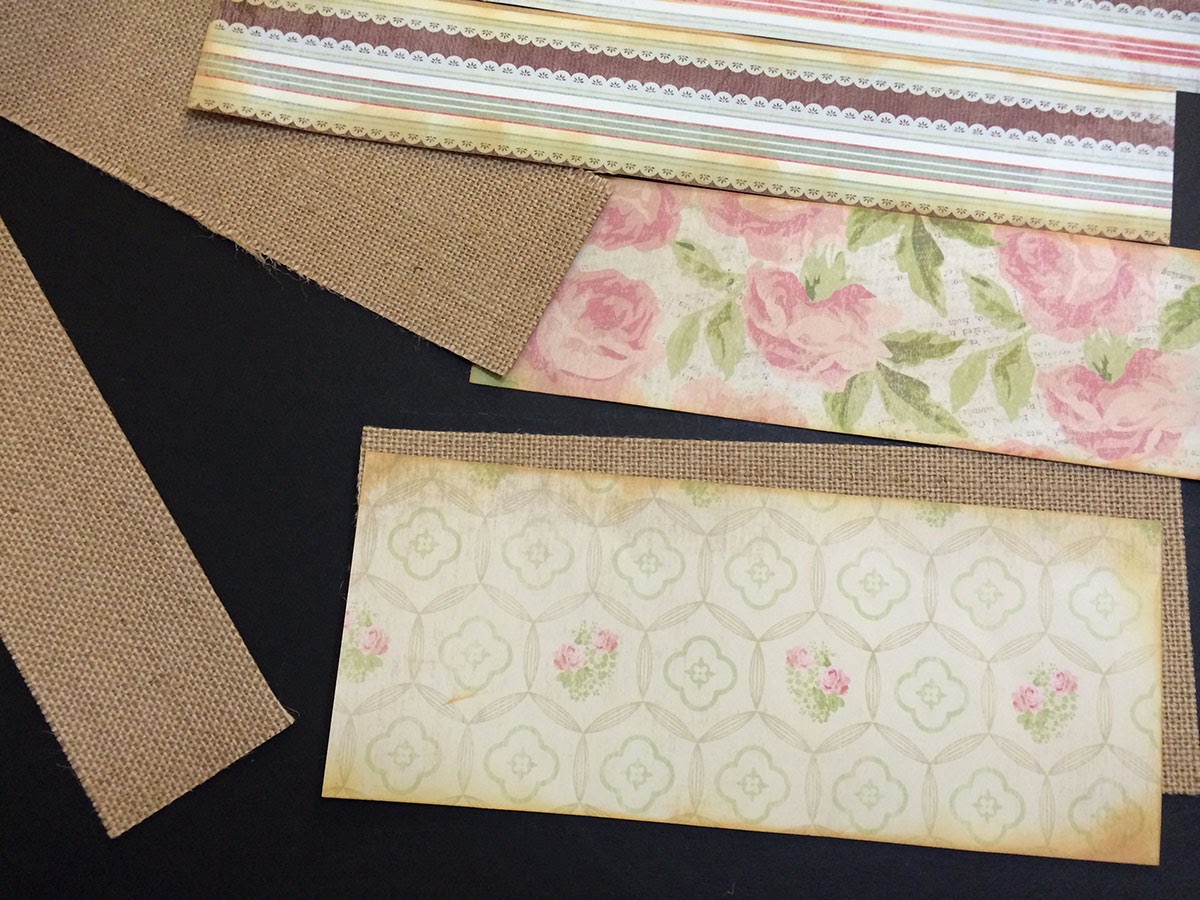
Then I distressed them with Tea dye stain.
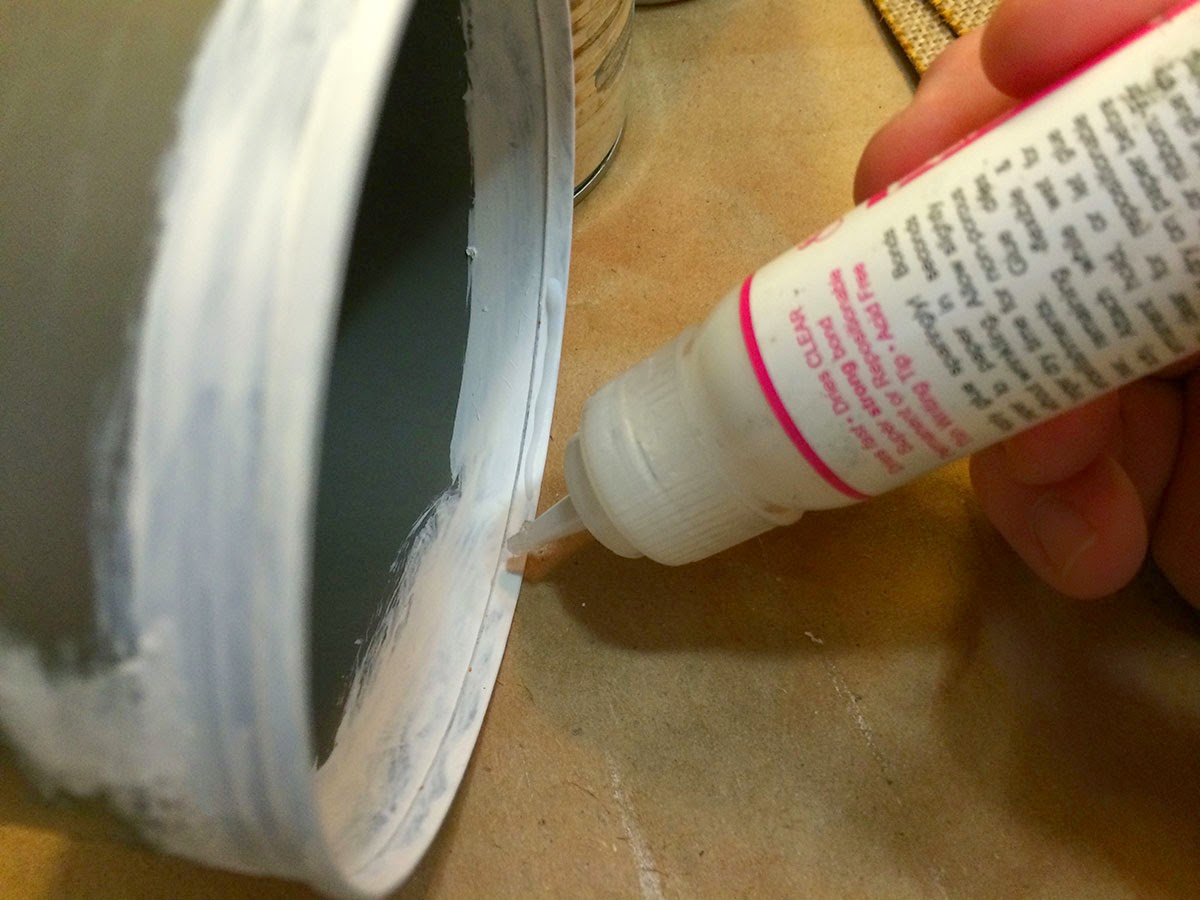
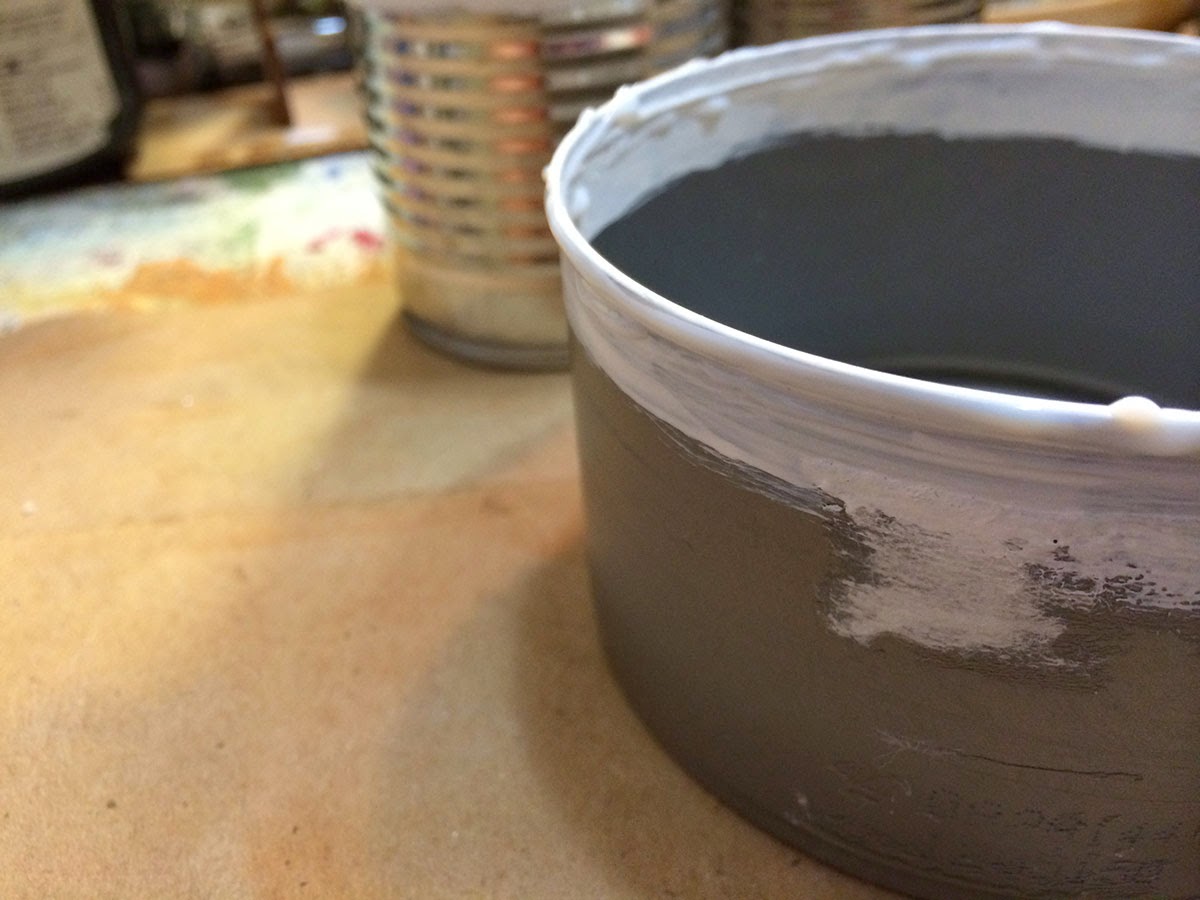
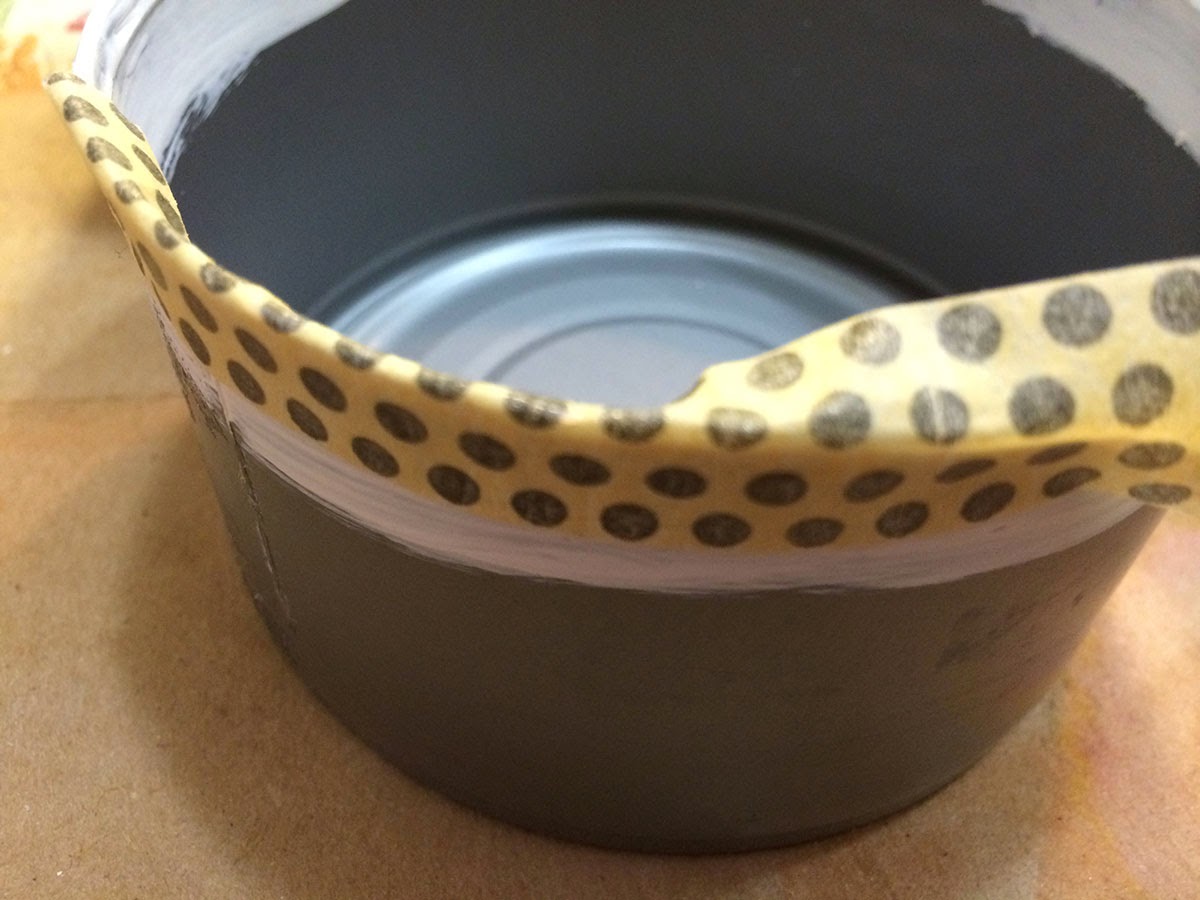
4. The cans were dry and then I was able to use washi tape on the the edges. Now washi tape doesn’t stick so well so I use my Best Glue Ever to make sure it adheres on to the can properly. I did this by using a small amount of Best Glue Ever on the lip and outter edge and inner edge and then make sure tape is in the middle of the lip and fold down on both sides as shown below.
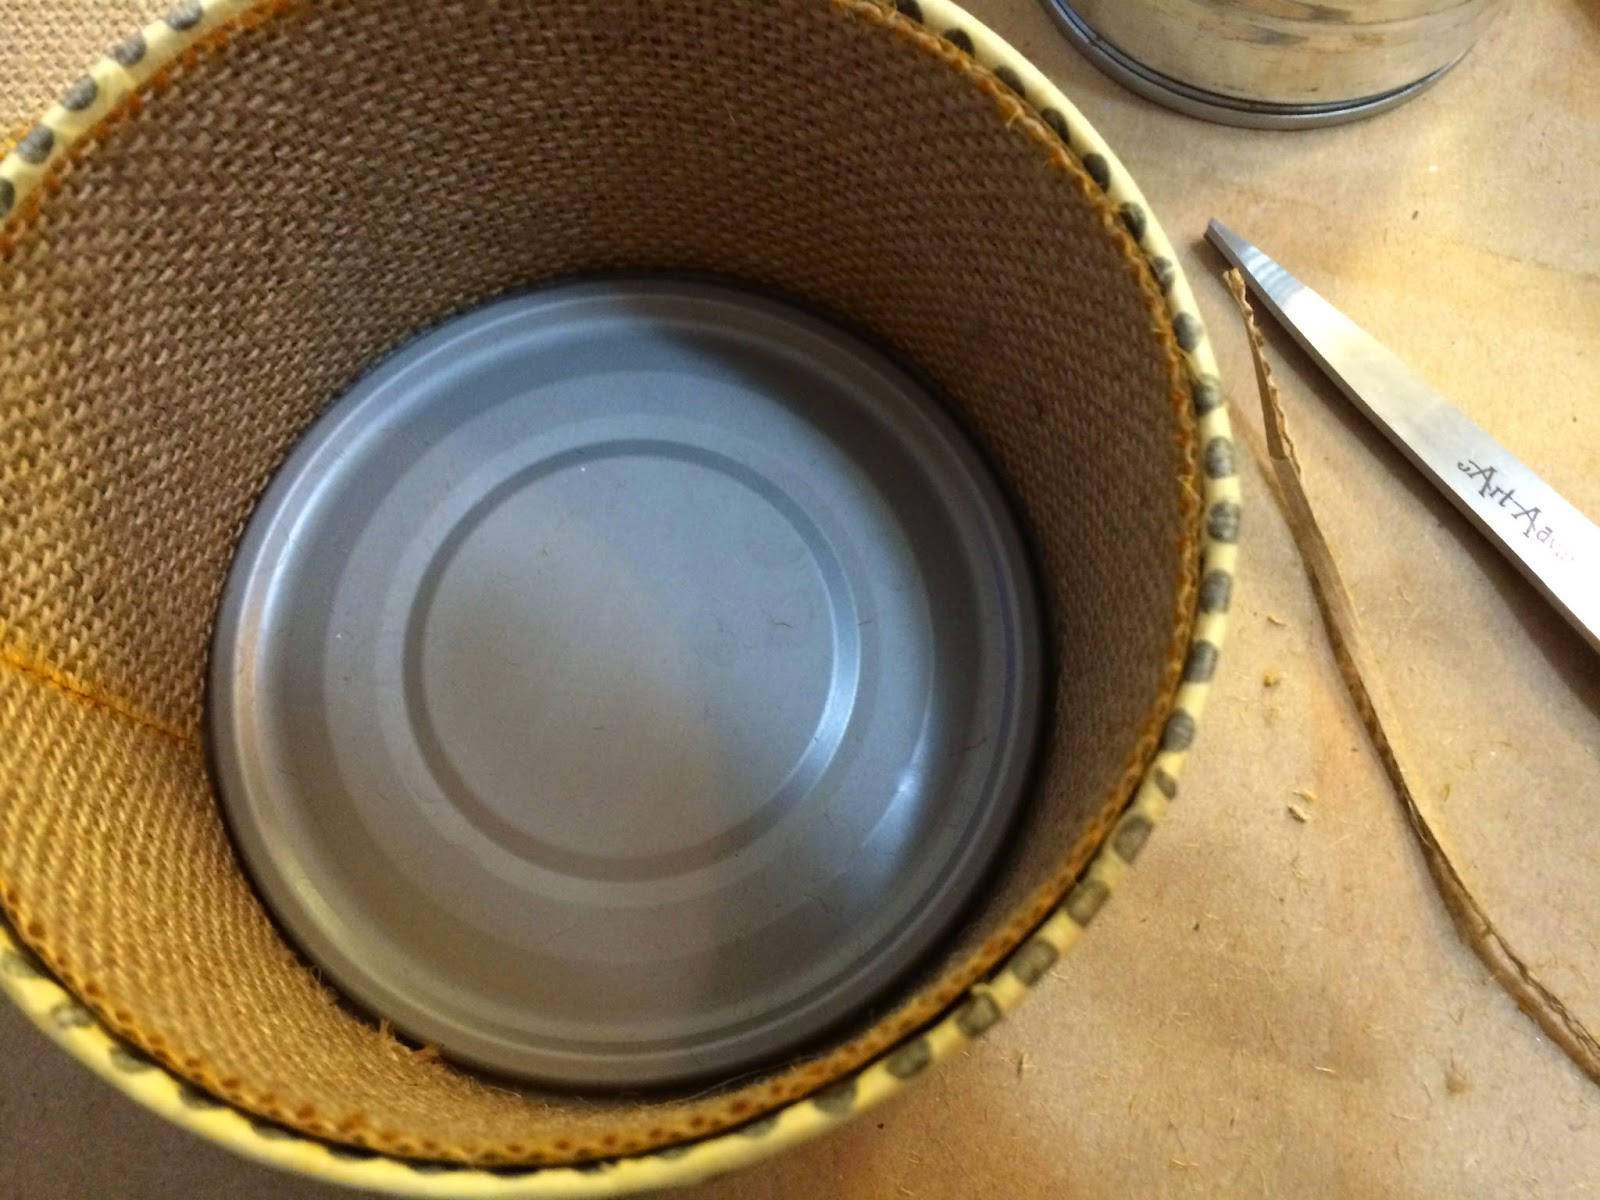
5. For the final steps add Best Glue Ever on the inside and align the canvas paper on the inside and then hold down and mold it into place. Then on the outside again place the Best Glue ever on the outside and then lay paper down and smooth with your hands or bone folder. Then add on your embellishments.
6. I almost forgot, the most important part, I added Best glue ever to the inside of the ribbon on the darkest part, not the sheer part or it will bleed through. I made small tiny glue dropplets all on the top and bottom pink silky part of the ribbon, wait 5 to 10 min to dry clear and then I tied it on and used my bone folder to get it into the corners. Then Voila!! Its all done!
Thank you for letting me share my project with you. I hope to see yours too if you decide to make one of your own. Have a wonderful crafty week! Huggles. If you would like to see my other projects please check out my youtube and other social media sites 🙂
Also, please feel free to offer any suggestions or comments I love hearing from you!!!
Supply list:
ScraPerfect Best Cleaner Ever
ScraPerfect Best Glue Ever
Assortment of Tin cans
Washi Tape
Burlap Paper
Decorative papers
Assortment of Embellishments
Website/Blog: www.fattypaddyscrapper.com
Youtube:https://www.youtube.com/user/fattypaddyscrapper
Twitter: https://twitter.com/fattypaddyscra1
Pinterest: https://www.pinterest.com/FPSDesigns/fattypaddyscrapper-designs/

