Shaker elements are really fun, but can be tricky to make. I used some left over foam board and the Best Glue Ever to put together a shaker element for my Christmas card — in a snap!
Here’s what you need: some paper, foam board, Best Glue Ever, sequins, and a piece of clear plastic (I used a piece of a page protector). Any die that has an opening will work, however for the thin wafer dies you’ll have to cut your foam board by hand. Since the steel ruled dies will also cut through foam board it saves you quite a bit of time and energy.
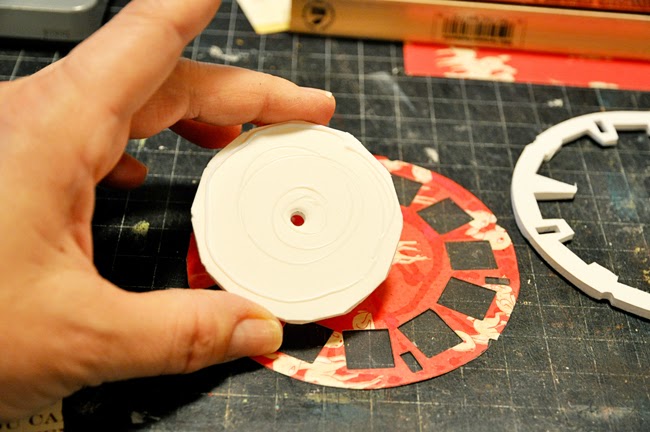
First, I used a Tim Holtz steel ruled die to cut my pieces out of paper and then the foam board. For the back paper I used the paper scrap from the die cut to trace the exterior shape onto my paper and then cut out.
Assembling is a breeze! The order is: (1) top paper, (2) plastic, (3) foam board.
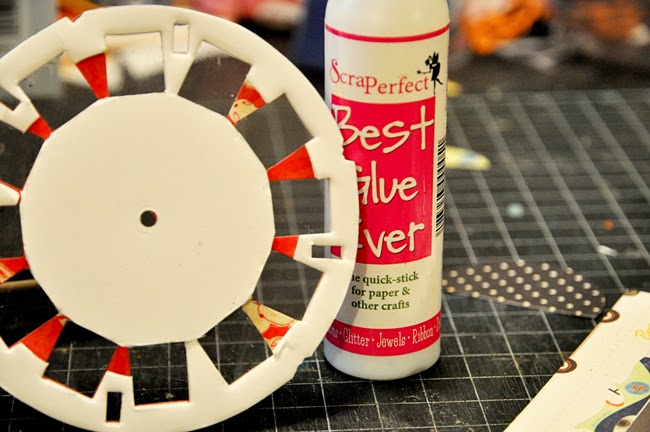
Use the Best Glue Ever to glue your plastic onto the back of your top paper. I made sure I ran a line of glue all around the exterior so no sequins would escape. Next, glue your piece of foam board to the plastic, making sure to line it up so that it doesn’t show through the front.
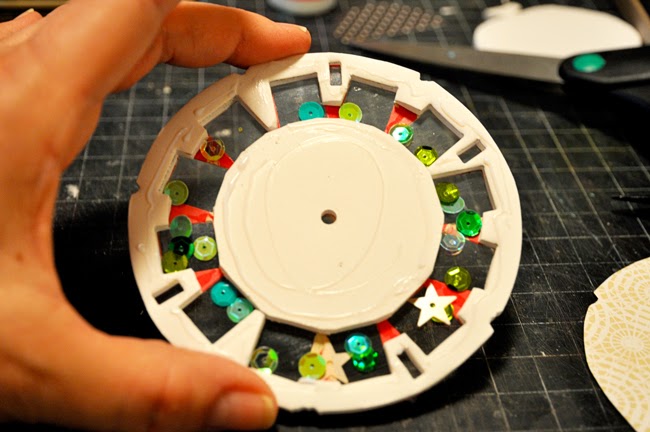
I went one additional step here. Because the window openings were small I choose to cut the center piece out and snip most of the connections so that my sequins could flow throughout the card. Here it is after gluing both sections of the foam.
The next step is to fill your shaker. Use sequins, beads, glitter, or just the paper waste from your hole punch. Then add a line of glue around the entire edge(s) of your shaker box to contain the material inside the shaker and add your back paper.
Finally, you’re ready to add this to your project!


