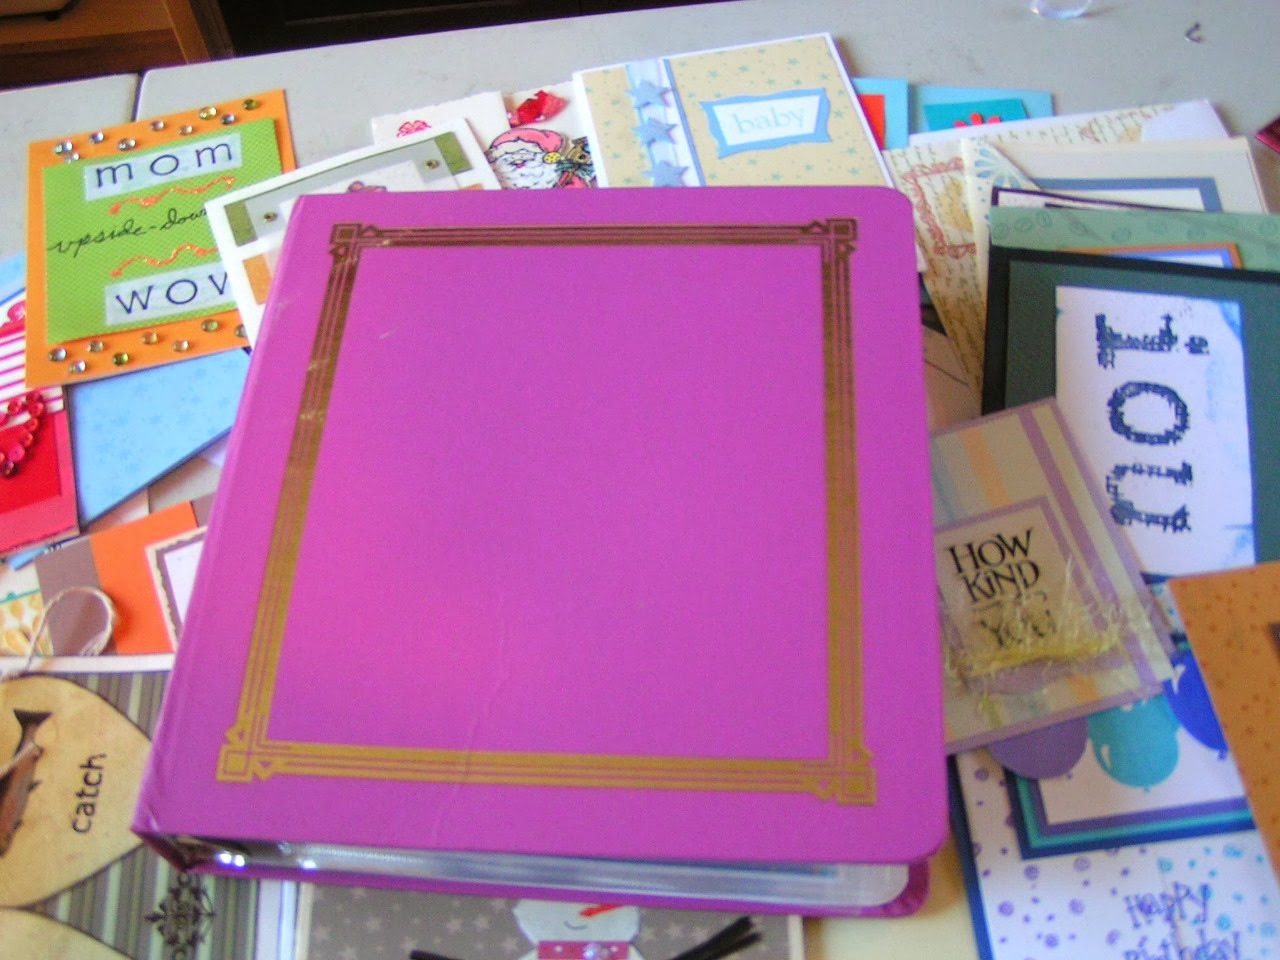
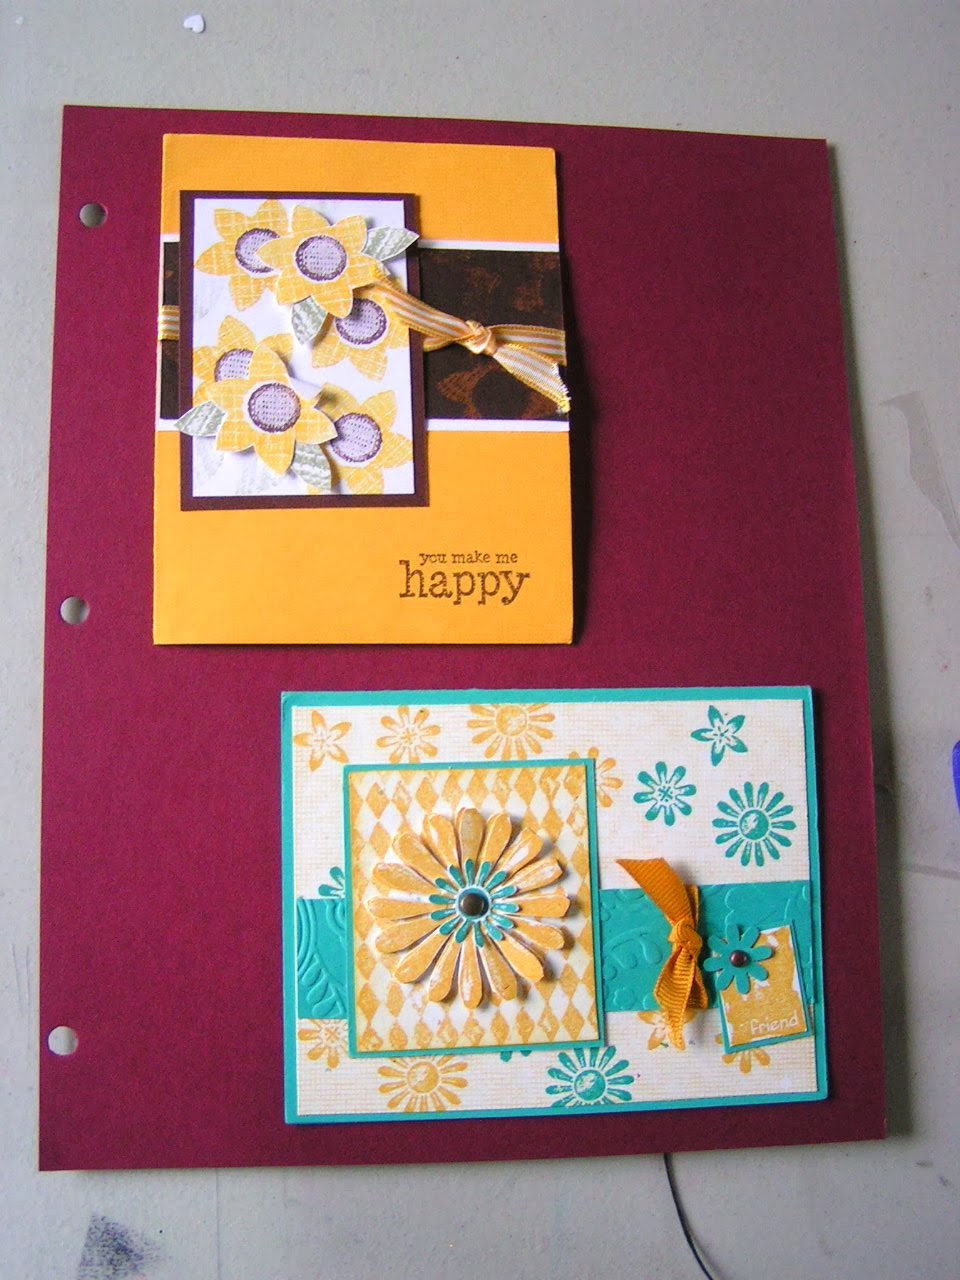
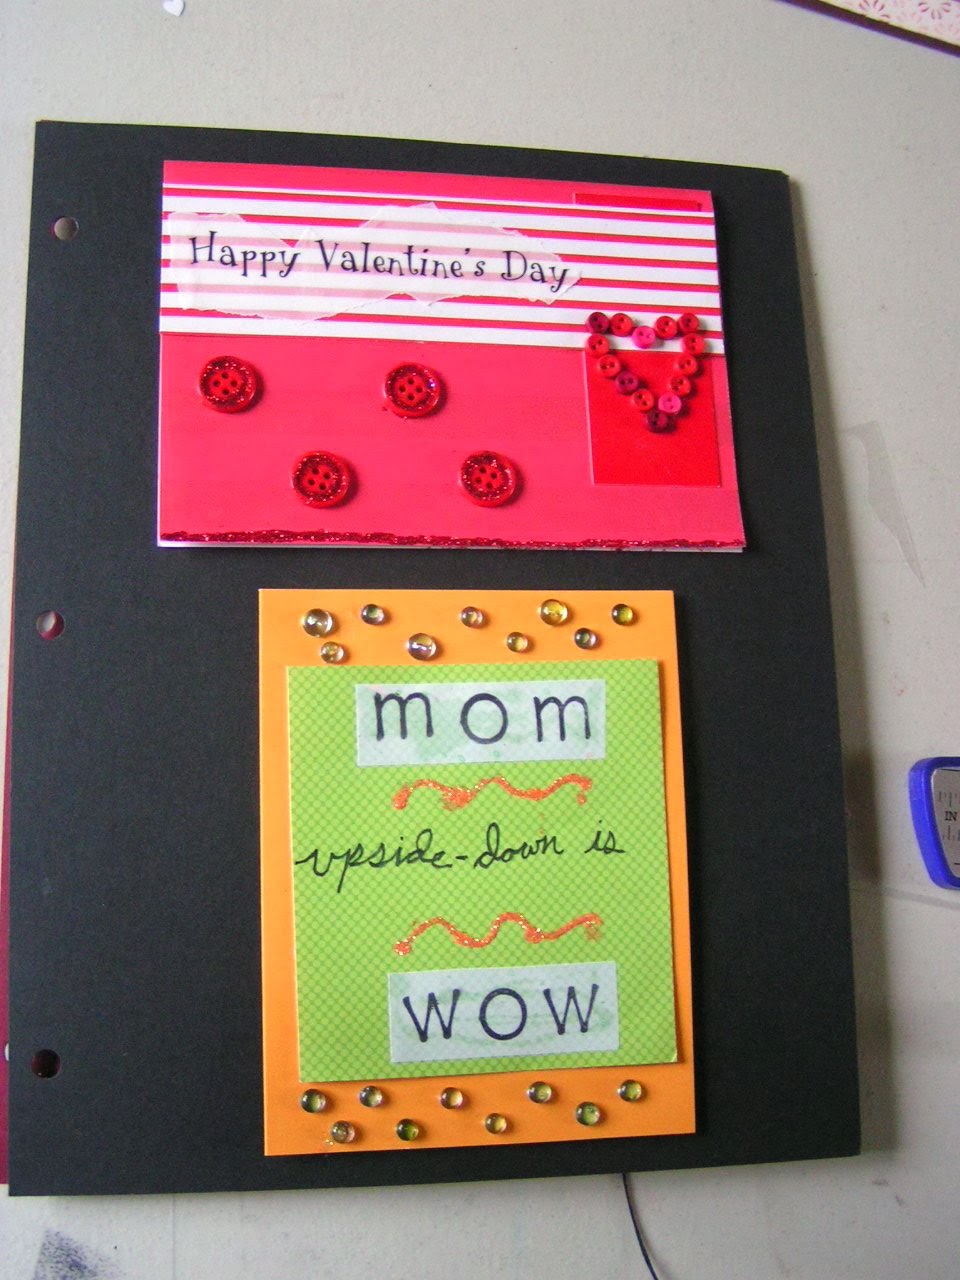
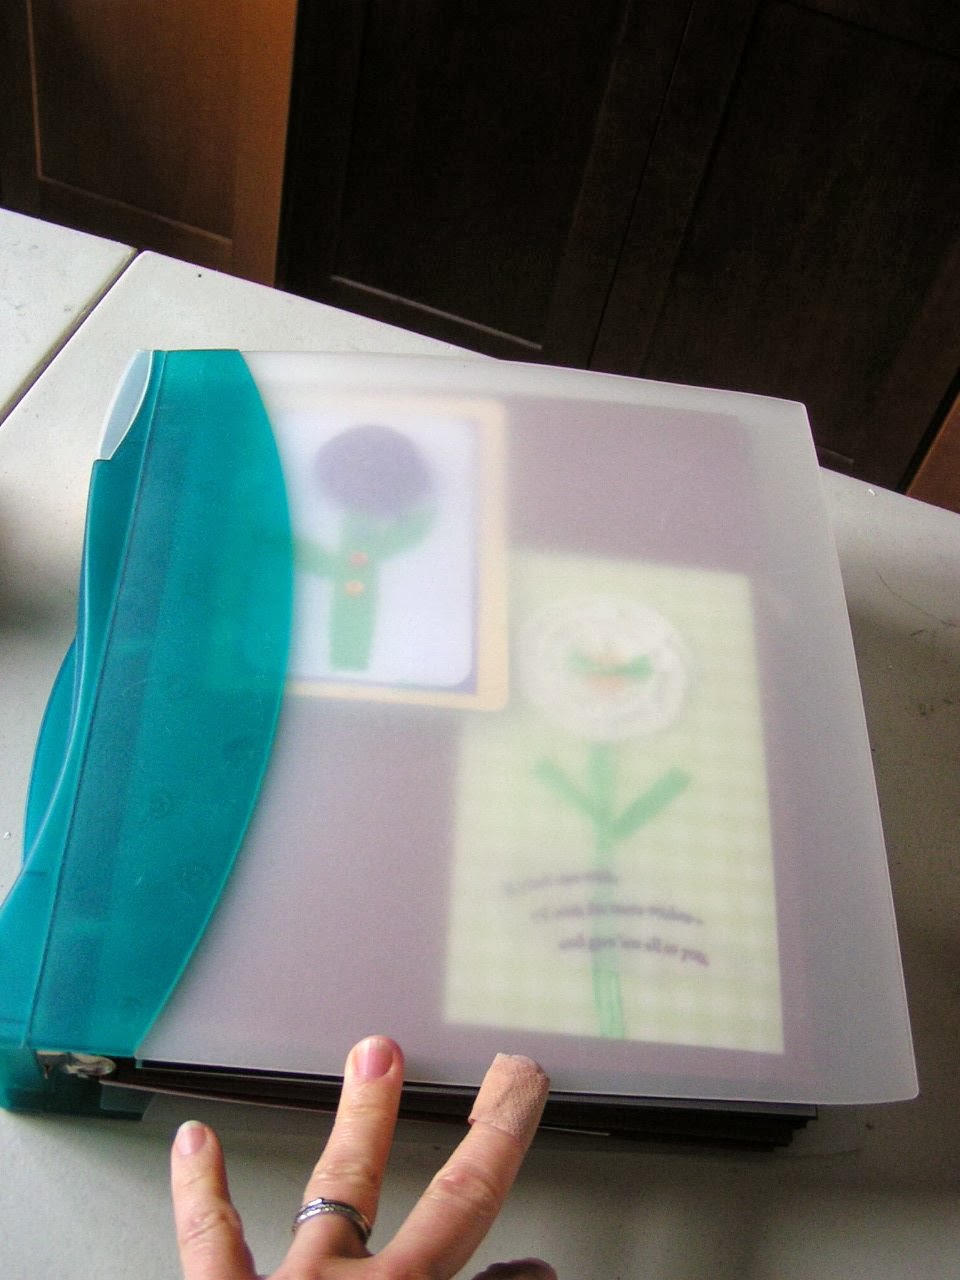
 Amy here to talk about saving and organizing greeting cards.
My desire to organize my cards did not so much stem from the fact that I’m a scrap-booker and sentimental (tho’ I am…), as much as I thought they would be inspirations when I needed to make a card and felt inspirationless.
How to best keep them organized was my problem of the week…
For a while, I’ve used a small, 3-ring notebook with 5” x7” plastic page protectors and I’d simply stow the cards inside the pages.
Quick, cheap and as long as the book was held upright, it was okay–but the cards definitely moved all around inside the protector and “wanted” to fall out if the book was tipped upside-down. I also found the back-to-back cards got distracting. Putting blank sheets between the cards probably would have helped the visual issue, but it wouldn’t have kept the cards from moving all around or falling out. It just wasn’t working for me anymore.
I could have just kept them into a plastic bin or shoebox-like
photo storage box–even collaging and altering the outside of the box, and maybe making little subject dividers. That might look cool on a shelf in my craft room, but it wouldn’t be easy to scan through the cards when searching for ideas. This wasn’t the solution for me.
Next I tried a “magnetic” photo album… I know it’s terrible for photos as the de-gassing destroys and discolors photographs. But I really wasn’t concerned about being archivally safe as the purpose of this book would be a working album, not a memory book. FAIL! The plastic cover sheets simply could not hold the bulky cards in place.
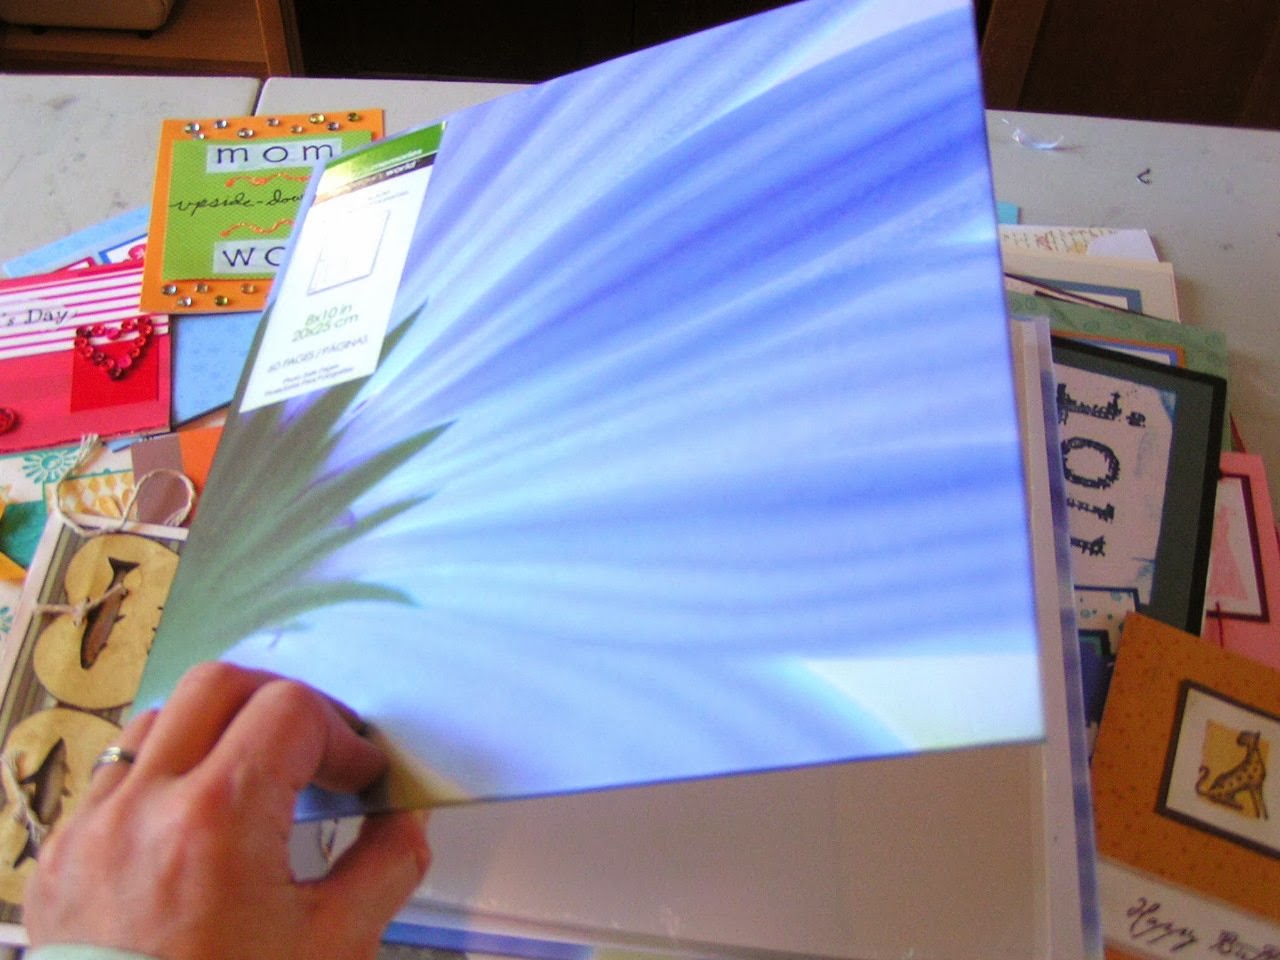
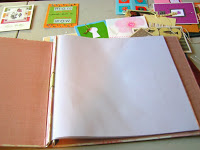 The next thing I tried was a 12″ x 12” scrapbook. It came with the page protectors, each with a white sheet of paper inside. I thought I could adhere the cards to the white pages and slice the end of the page protector to make access to the cards easier..
I thought I was on to something until EPIC FAIL!!! (I should have seen this coming,
but what I discovered was that when I cut the side of the page
protector, the white paper would just fall out–and if I didn’t cut the
side the cards were too hard to access. I could have slit the page
protector for each card but decided that was too much work. Plus– the
white papers that came with the book were simply too thin to hold up the
weight of the cards
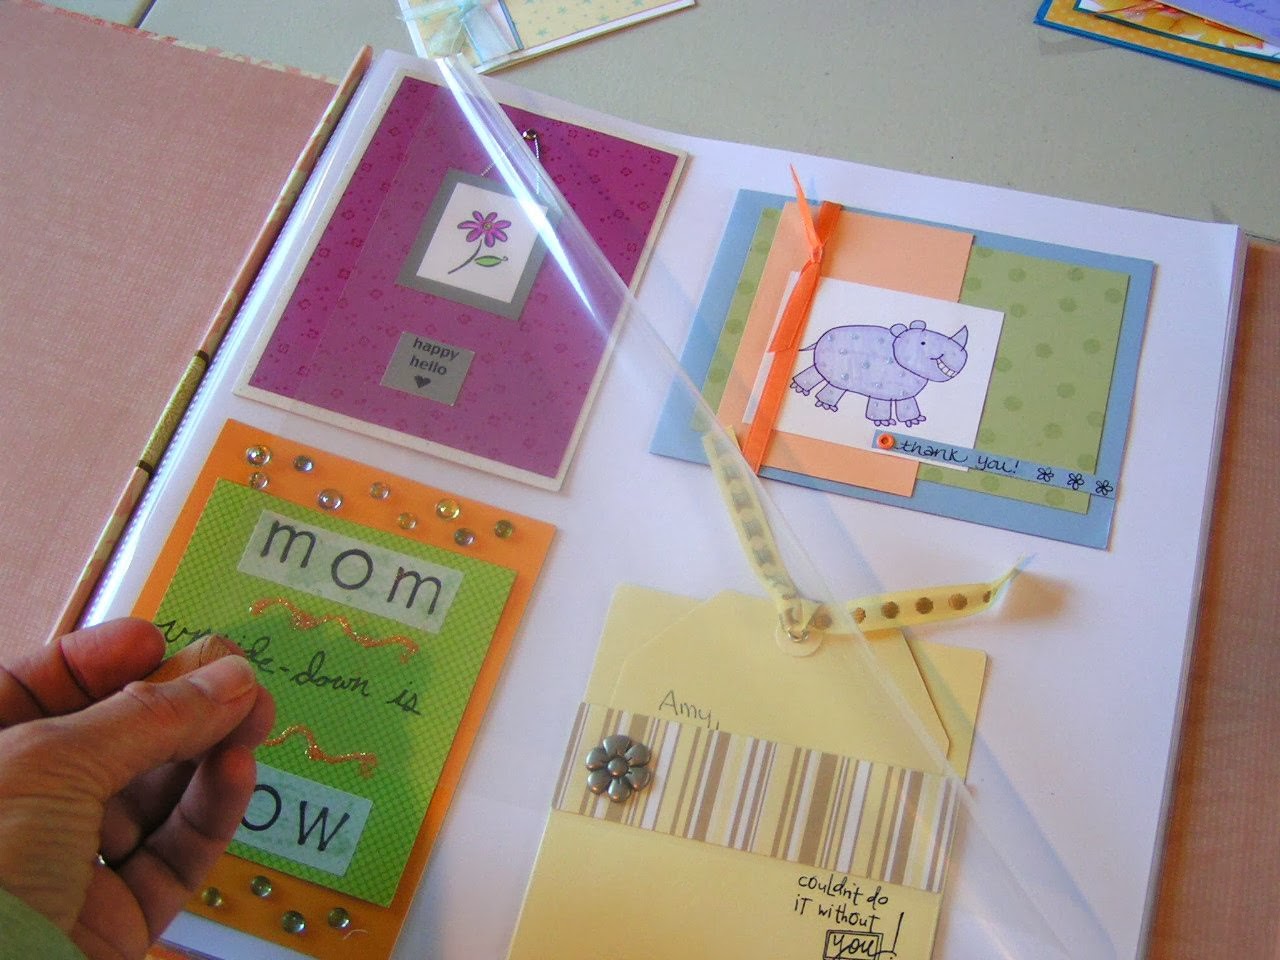
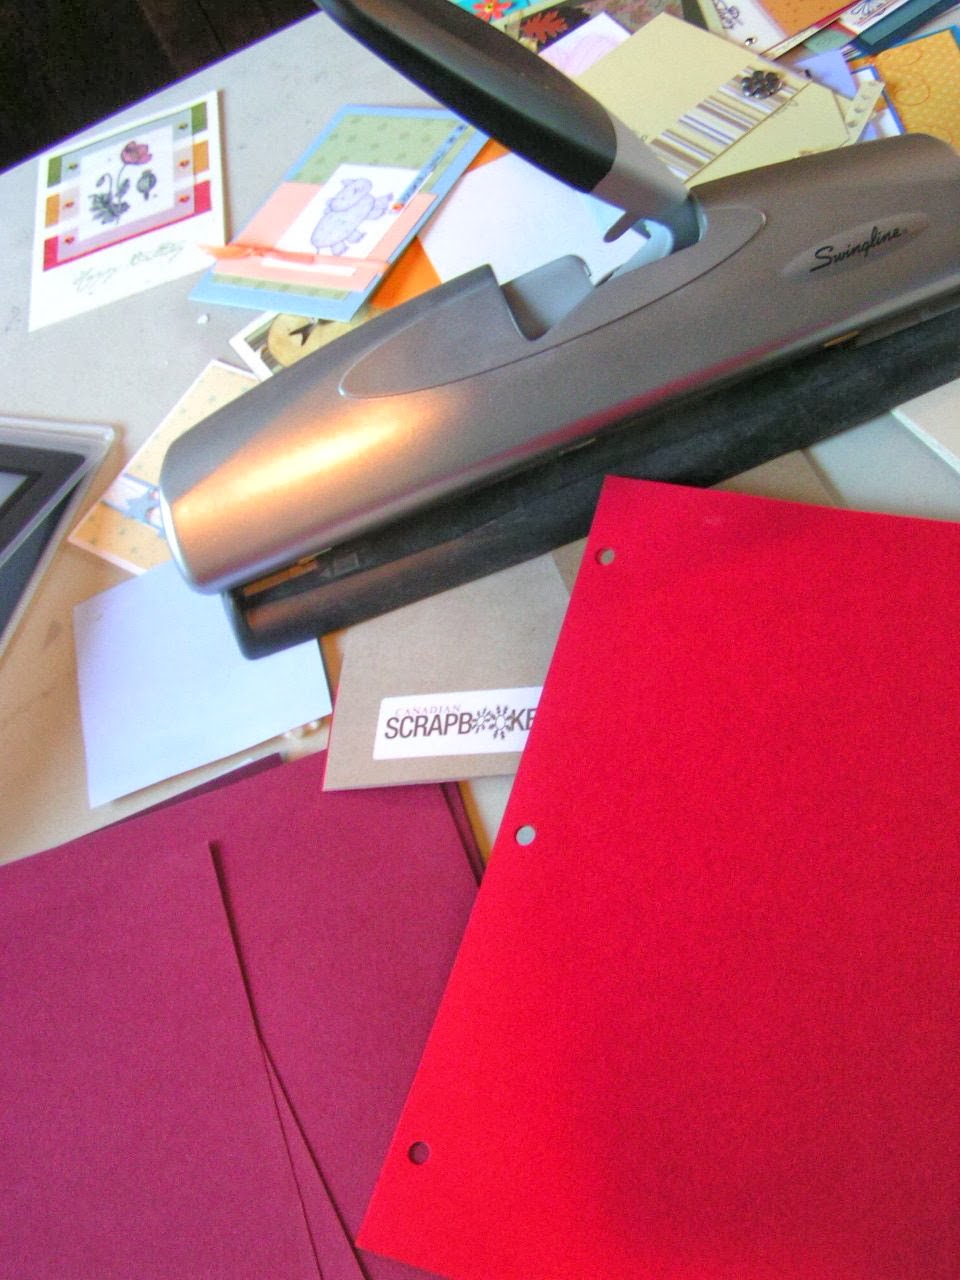
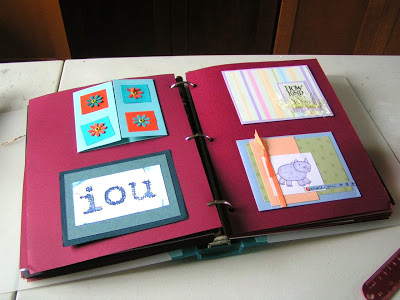
11″ heavy card stock and insert it into a regular 3-ring notebook? I
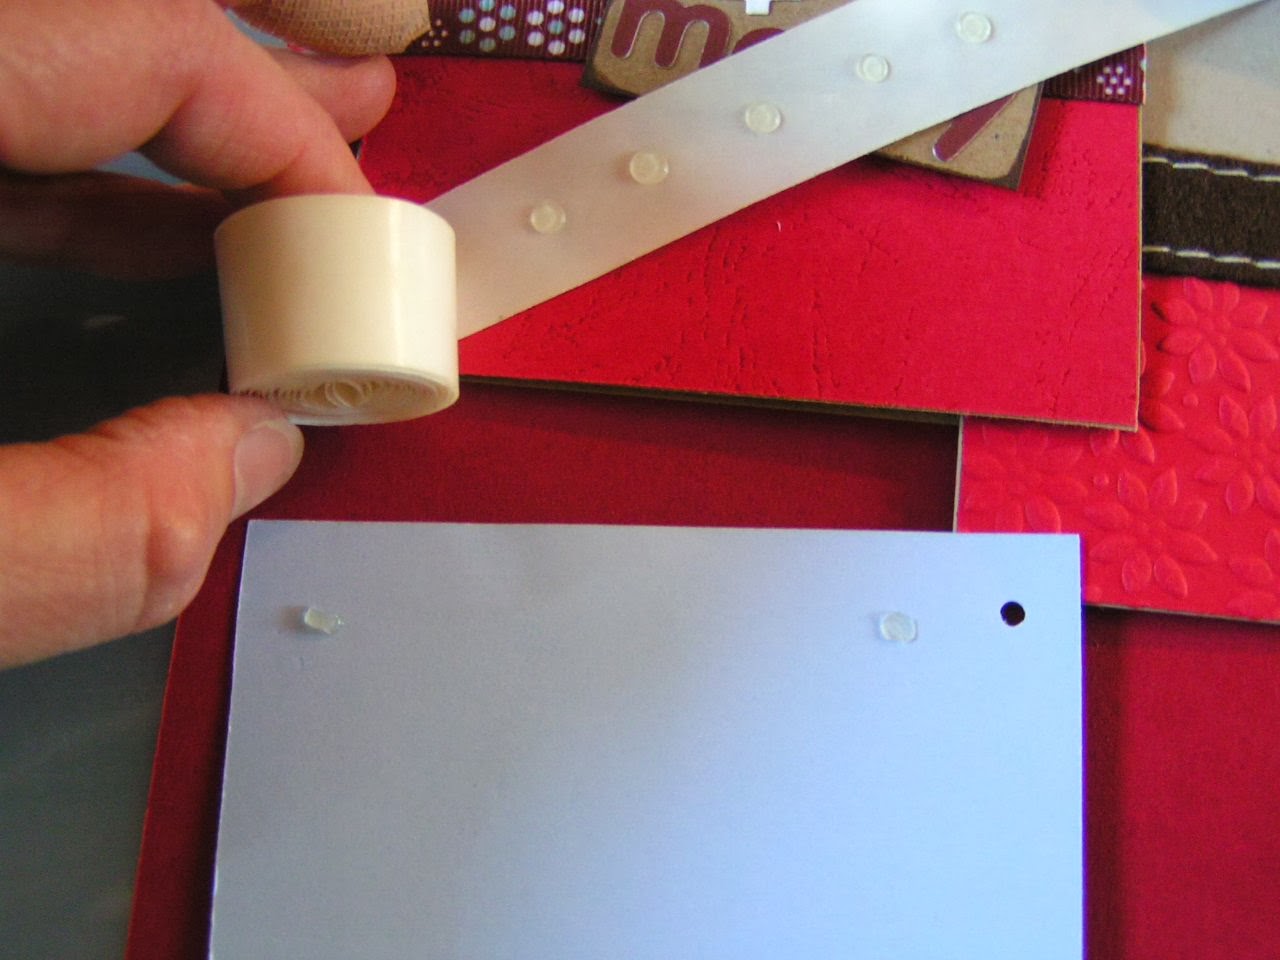
could use teeny-tiny homemade-like Glue Dots™ which would be strong
enough to hold the cards in place, but were not so strong to prevent me
from removing the cards from the card stock if I ever needed to do that. I could make a dent in my stash of colors that rarely use and make tons of tiny sticky dots for pennies with the Best Glue Ever™.
(Click HERE a video showing how to make the sticky dots.)
So far so good!
Before adhering the cards, I brainstormed several ways to might organize them… By subject? (Birthdays, Holidays, Thank You, New Baby, etc). By the creator of the card? By color, materials, ones with flowers, those that moved, stamped cards…. Hmmm.
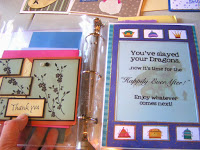
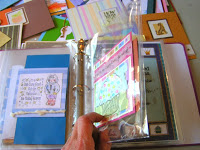
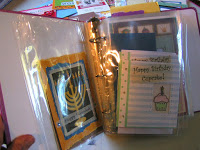
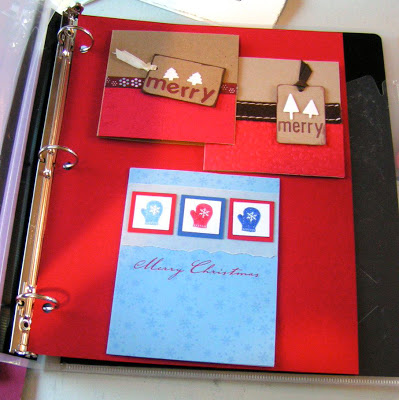
My decision was to group them by event, and I thought that if I had several from the same person for the same event, I would group those together. I also included a bunch of blank sheets so that adding to the book would be easy. (I can always punch more if I need them.)
Christmas:
Friendship (from Jon) Valentines Day (from my daughter)
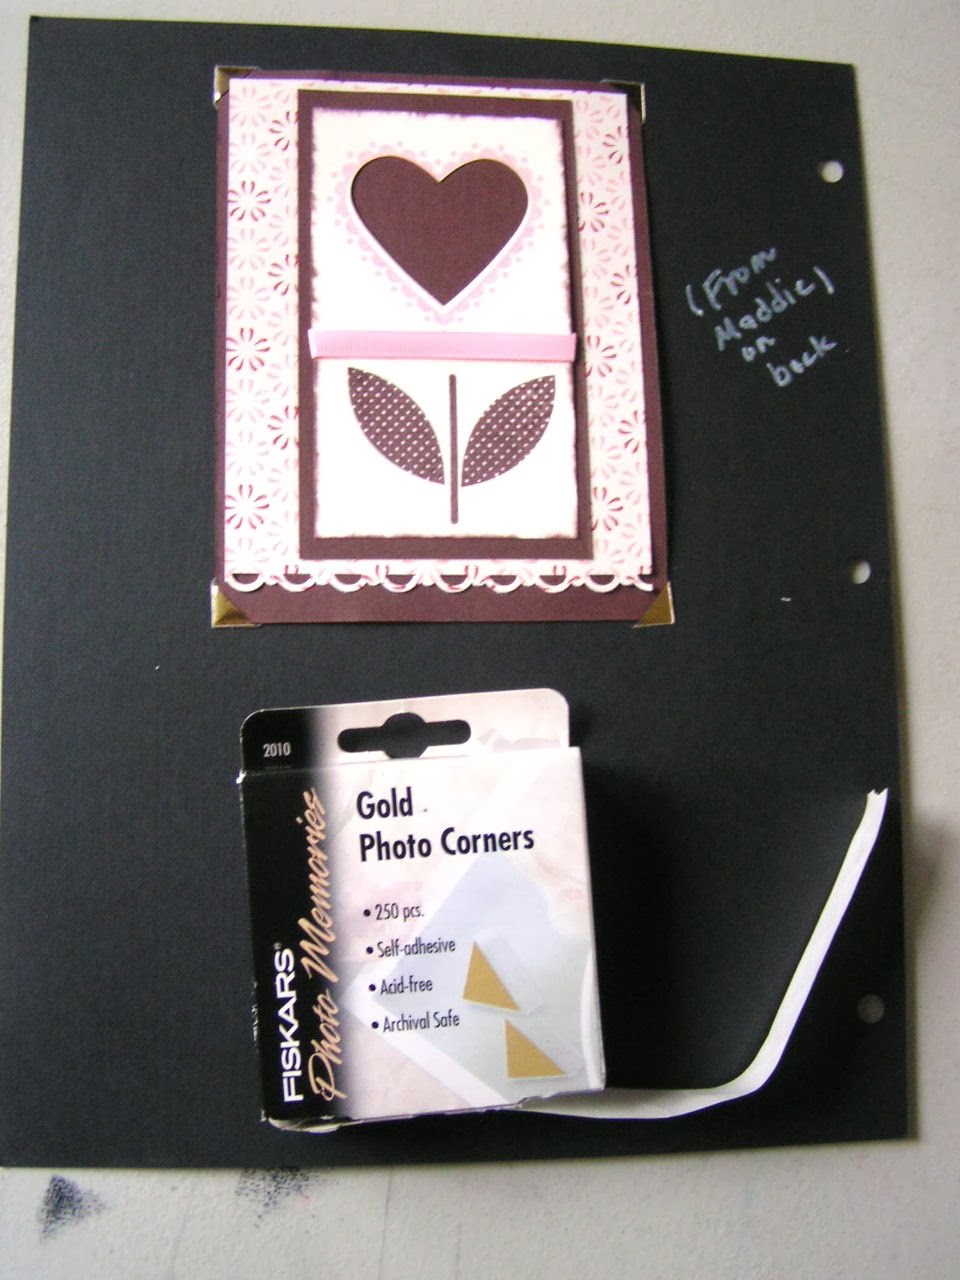
Another consideration I thought of was concerning the importance of the back of the card. For example, when I wanted to be able to see the note and signature on the back of a card from my daughter, I used photo corners, which made the card easily removable.
(Photo-corners were used in very old family albums from when I was a little girl.)
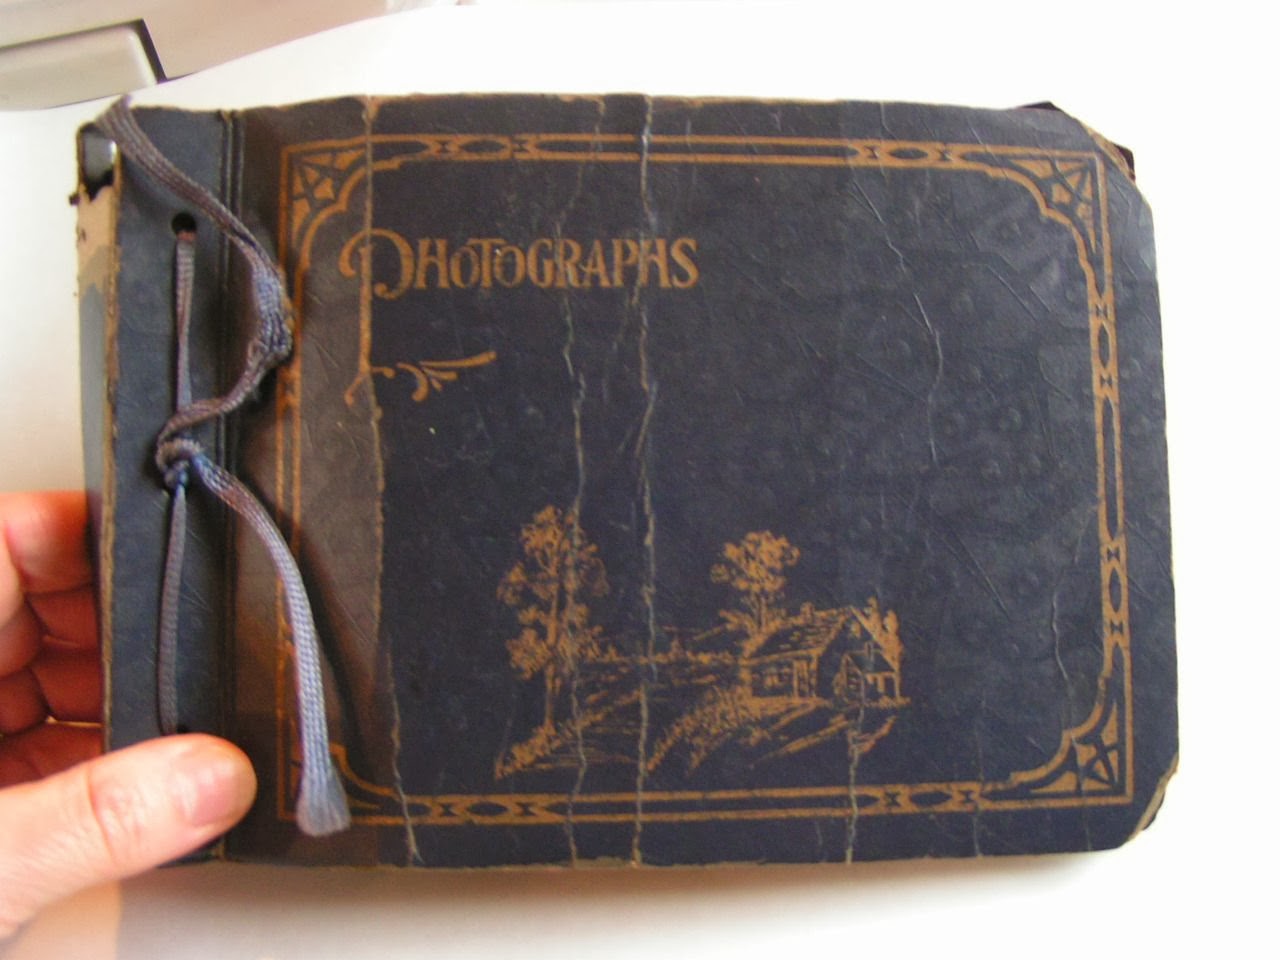
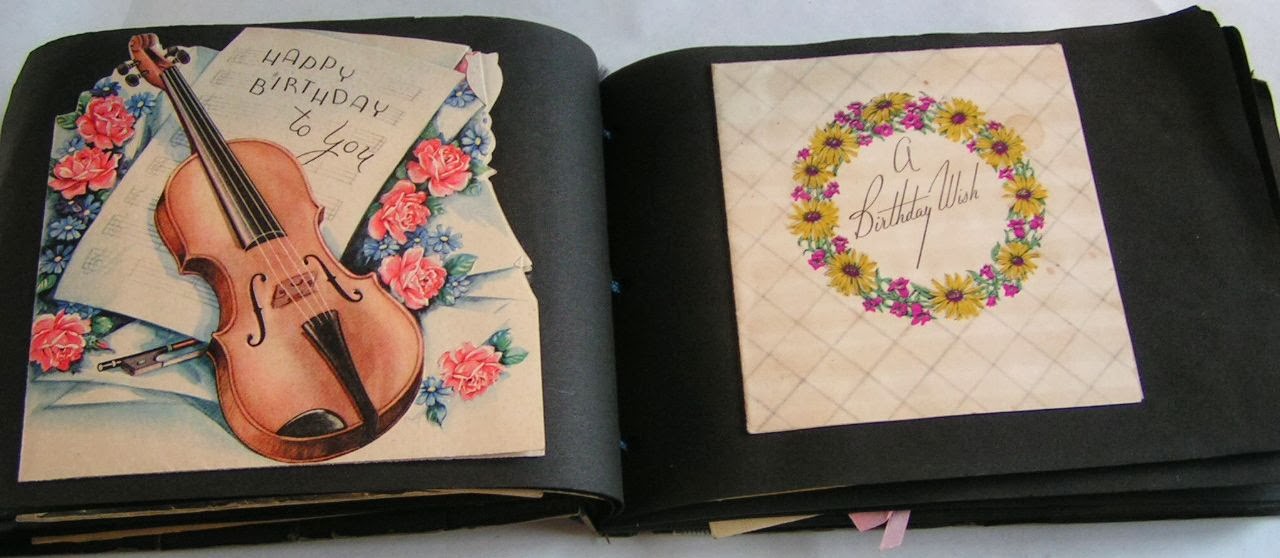
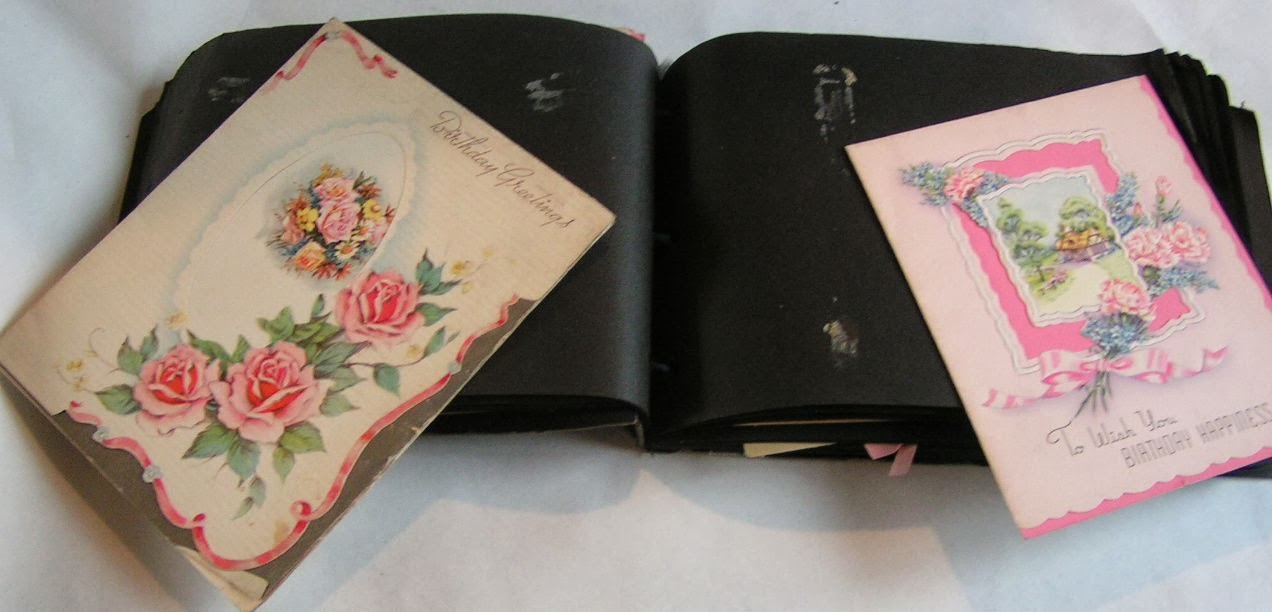
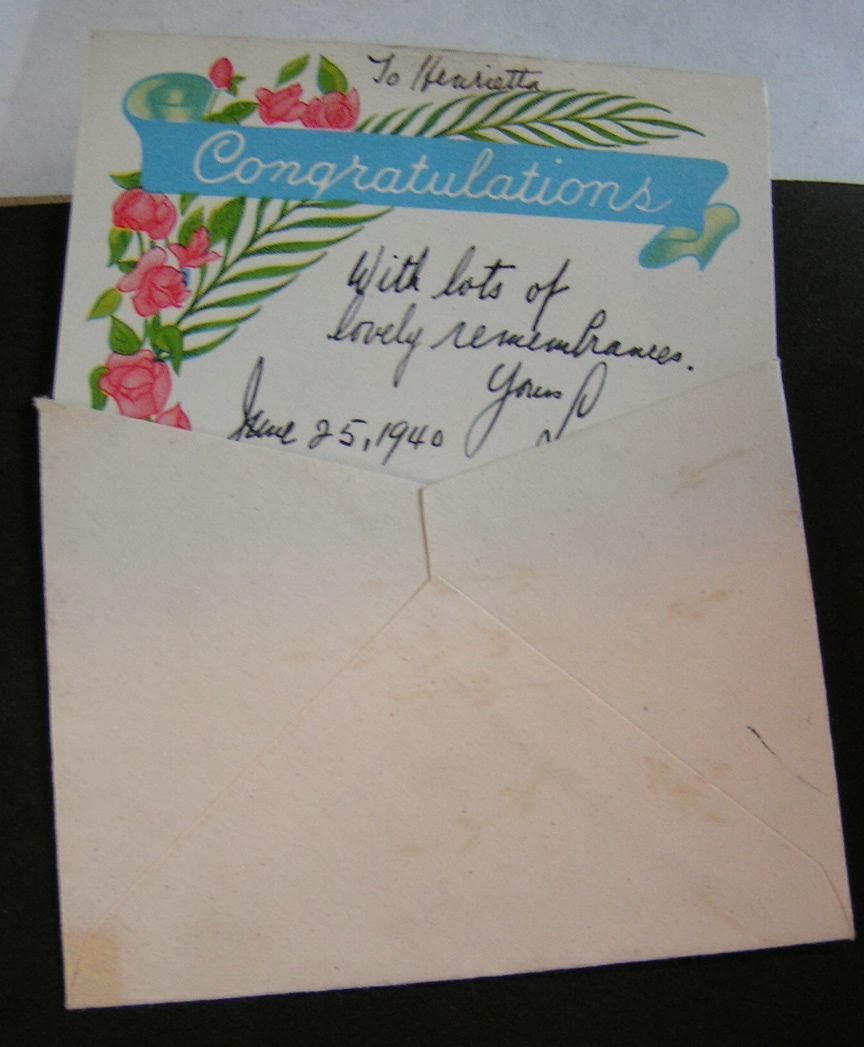
As I wrote “when I was a little girl…”, I started to get a memory of a very old album of saved cards. YES! It was a little book in which my grandmother saved all the cards she received from my grandfather and from her three children (one was my mother.) I believe it is stored in a box of memory stuff from my mother….yes, here it is! And now that I think of it, I remember seeing a similar album in which my mother-in-law kept all her “Welcome Baby” cards from her four children.
Unfortunately, the adhesive she used was not strong enough. The paper also has started to crumble–probably not lignin-free. Perhaps my Grandmother also thought she was just saving them for herself and not for the ages. Good thing I did decide to use archival paper and The Best Glue Ever!
AH! Here’s an idea…slip the cards into envelopes. Well, I’d have to pull them out of the envelopes to see them–unless I had clear envelopes. (I don’t but they do sell them at clearenvelopes.com, for example…)
All I can say is what goes around comes around and I come by it honestly. It also reminds me that history repeats itself and very few good, new ideas are really brand new. But even if the idea has been around for a while, it’s up to each of us to adapt it to our needs, our sense of style, and the materials we have at hand.
Do you keep cards?
If yes, how do you keep them????????????
Please comment!

