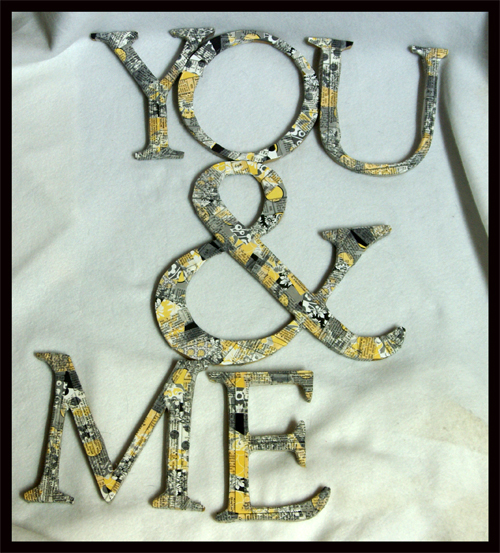
Hey everyone Stacy here today sharing a fun little project with you. This project is altering wooden letters from a company Say It With Letters. I love to alter wooden shapes, and letters. There are so many different things you can do. For my project today I guess you could say I did a little paper piecing….ok ALOT of paper piecing!!
First you will want to cut different pieces of paper on average about 1″ X 1″, you may want to cut some slightly bigger and smaller as filler pieces. Here is a close up picture of what the pieces look like.
Next I used The Best Glue Ever, open the cap and used a paint brush to place the glue on the back of each piece of paper. One at a time put your glue on, and place them around your letters, overlap when you think that is needed. Once you have all the paper placed you will want to seal the top of the paper with something so it all lays flat.
Once dry, simply cut and sand the edges. To get rid of all that sanding dust grab your handy Perfect Cleaning Cloth and it is fresh and ready to go.
Now it’s time to embellish or decorate as you see fit. I used some Tim Holtz tissue tape around the edges and decoration. You could add flowers, bling, photos or more. The possibilities are endless!
Thanks for stopping by today, hope you have a fabulous day!
~Stacy


