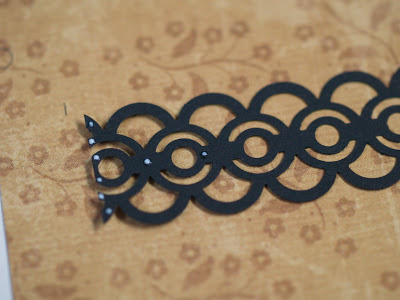
 I love to use edge punches because it is an inexpensive way to add impact to a layout. They come in a wide variety of designs, and some of the newer ones are very intricate, like the one I used for this layout. Instead of punching just the edge of the paper, it actually created a lovely lace-like paper ribbon.
So how to attach them? The Best Glue Ever of course! The applicator tip allows you to place very tiny dots of glue with ease. I tacked down the top and bottom of the lacey strip and there was no messy glob of glue to seep through.

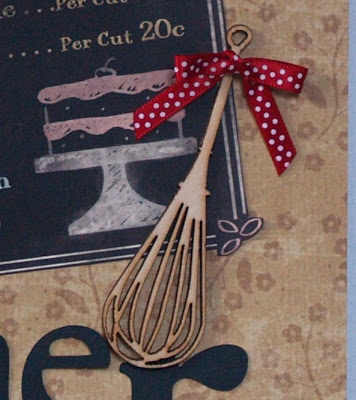
The delicately cut whisk from Kaisercraft also posed a challenge. No worries! I put a small dot of The Best Glue Ever on the handle and the “wire” part of the whisk and set it aside for a few minutes. When the glue had “dried” into perfectly-sized, clear adhesive dots, I simply flipped it over and adhered it to the layout.

The little red ribbon on the whisk handle was actually a pre-made embellishment which came attached to a clunky, white foam piece of adhesive that was way too big to hide. So I removed it and replaced it with…drum roll please…a small dot of The Best Glue Ever!
This is one of my favorite features of this product: I can quickly and easily make custom-sized, clear adhesive dots for my projects. It is definitely the most versatile and useful adhesive I own.
~ Susie

