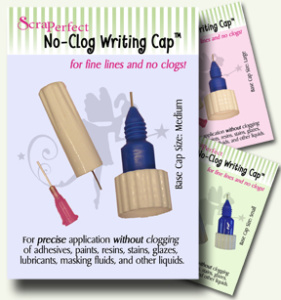
Hello everyone! Betsy here today to show you how to customize your layered die-cut stamping with glitter using the Best Glue Ever with the No-Clog Writing Cap!
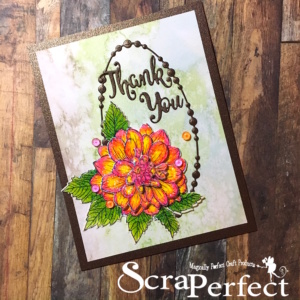
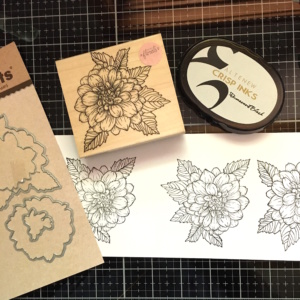
This was tons of fun to create! I got my inspiration from the owner of ScaPerfect -Amy Rozak who got her inspiration from Lindsay Weirich – The Frugal Crafter! I decided to use a stamp and die set. The dies actually decrease in size for the flower, so it has a very layered look – perfect for what I was doing! I started by stamping my image 3 times onto white card stock. I used a hybrid ink for this. I think a water-based ink would smear and a pigment ink would not hold up to the Copic coloring!
Next, taking a make-up wedge sponge I applied a thin layer of the Best Glue Ever to the images. This is quite quick-drying so I had to move along.

Once the glue was dry, which really didn’t take any time at all, I cut them part and then applied glitter to them.
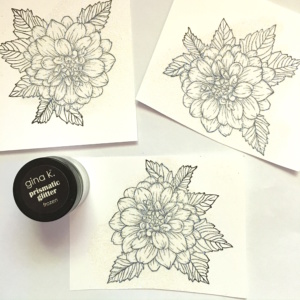
I tapped off the excess glitter and then burnished the glitter by placing a sheet of acetate over the images and burnishing with my teflon bone folder. Then I took my Perfect Cleaning Cloth and rubbed it over the images to remove more excess. Then I die-cut the images with the coordinating dies.
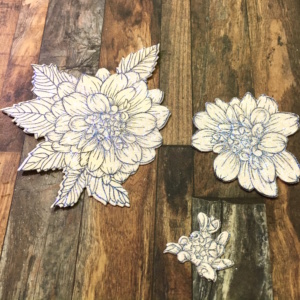
It was at this point that I noticed I got glue on my glass mat and there was glitter everywhere! I grabbed my Best Cleaner Ever and my Perfect Cleaning Cloth and my problem was taken care of!
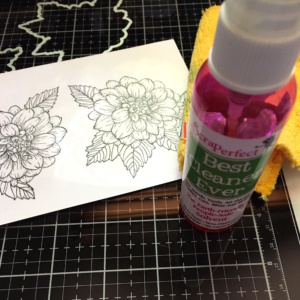
It was time to do the coloring. I looked for inspiration on my flower colors on Google. I found a pink/yellow dahlia that was perfect!
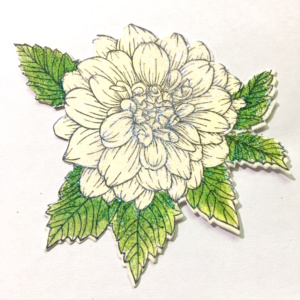
I found the coloring to be a bit precarious! Some glitter came off on my markers, so I kept a piece of copy paper handy to wipe the tips off. There was no hard blending with this, so I carefully blended my colors trying not to disturb the glitter underneath.

I was really pleased with the color combination I had chosen.
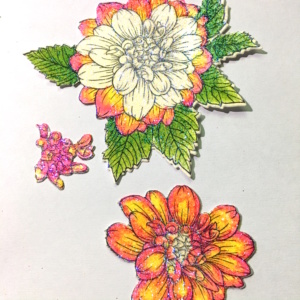
Copic Marker colors used:
YG23, YG17, G07, RV04, Y17, Y06
I next started preparing my card base which was an A2 size top folding white card base. I covered that with a pearlized bronze paper. Out of that same paper I die cut a decorative oval piece and my sentiment. I cut a piece of patterned paper to 3 7/8″ x 5 1/8″.
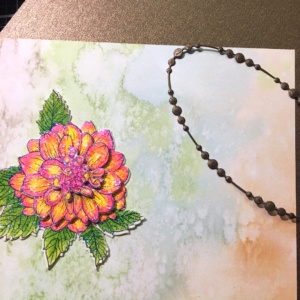
I adhered my flower piece together with foam tape. I glued the over piece to the
card base and then adhered both the flower and the sentiment. As a bit of bling, I added
some small orange and pink acrylic dew drops. And that finished my project!

I hope you enjoyed today’s card! I could not have done it without the awesome products from ScaPerfect:



Thanks for stopping by! Come and visit us again!
Betsy
