Deborah here. I know, Halloween was so last week…. but as I was boxing up my decorations last Tuesday I came across these plastic skulls and crows and I knew I had to make one more thing for Halloween.
I picked up a Tim Holtz Assemblage Alarm Clock and gathered the rest of my supplies: Halloween kraft resist paper from Tim Holtz, Tim Holtz letterpress blocks, stick pins, Tim Holtz Halloween charms, a few bat sequins, jute tassel, Halloween mini ornamants — and don’t forget the Best Glue Ever, Embellie Gellie, and the Best Cleaner Ever.
The first thing I did was figure out how to open the clock by pulling the back off and then tightening the nuts that hold the legs and top on. I found that the legs were a bit loose coming right out of the box. If you’re doing this project you’ll want to ensure the legs are tight before you start gluing items on top of them.
Then it was trying out various combinations of items until I came up with a pleasing design. The hardest part of this project was making sure the items weren’t too
big to use. I had a fun plastic skeleton that just would not fit. I knew I wanted to hide the hardware on the interior of the clock as much as possible, and since this wasn’t a Christmas theme I didn’t want to use glitter or fake snow on the bottom. However, now that I’m typing this up, I should have kept some of the fake cobwebs we had in the yard….
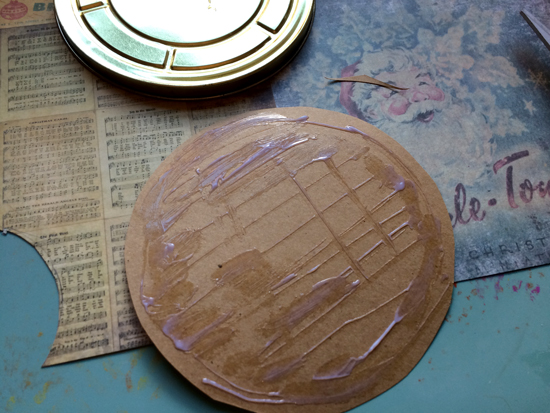
To cover the back of the clock, I chose a piece of kraft resist paper from Tim Holtz’s Halloween stack and use a combination of Distress Inks to color it. Using the back as a template, I traced around it on my paper and cut it to fit. Since I was adhering the paper to metal, I did use more of the Best Glue Ever than usual. After I took this photo I used my finger to smooth the glue out to make sure the entire surface was covered before I placed it on the back – you can see where I started to smear it before I grabbed my camera.
The next step was trimming the ends of the paper with an exacto knife. Since the lid is inserted into the back of the clock, you want to make sure the paper doesn’t hang over the edges, as it could interfere with putting it back on.
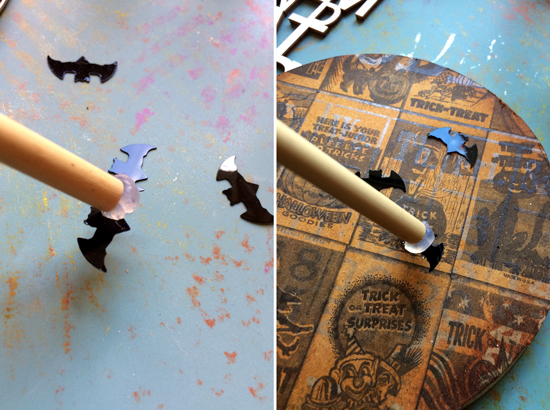
To decorate the back, I pulled out some of these bat sequins and a metal Tim Holtz Halloween charm. Using my Embellie Gellie made picking up the bats a piece of cake! I was able to get a small drop of glue on them and carefully place them onto my paper.
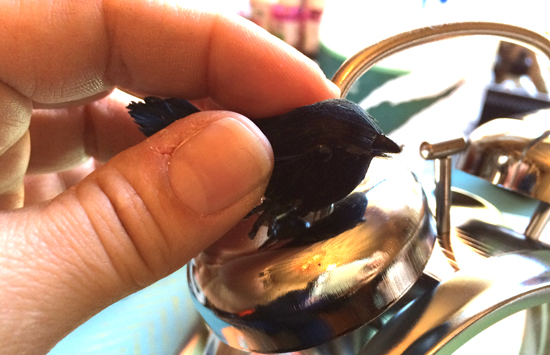
Now — time to add the fun stuff! I started with attaching this crow onto the top of the clock. I gave the bottom a good dollop of the Best Glue Ever and just held him down for a few minutes. I slid him back and forth at first to work the glue into the feathers.
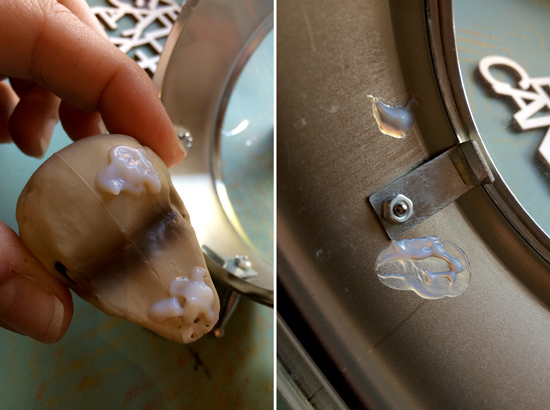
The inside was a bit trickier, as it’s (1) metal, (2) round, and (3) has these nuts sticking up. Likewise, my items weren’t flat either. I decided to put an overly-generous amount of the Best Glue Ever on the bottom the lightly set them in place before removing to let each part dry until tacky.
Ever made glue spots with our glue? I used the same principle. Letting the glue dry a bit until tacky made it easy to place the items back into the clock without having to hold them for an extended period.
I followed the same steps for adding the wooden block and round ornament. The only thing I added was a small piece of foam on the back of the block so I could stick pins into it. While the glue was drying (and after I stuck my pieces inside) I used a bit of the Best Cleaner Ever with a small piece of paper towel to remove a few glue smears I made while positioning things.
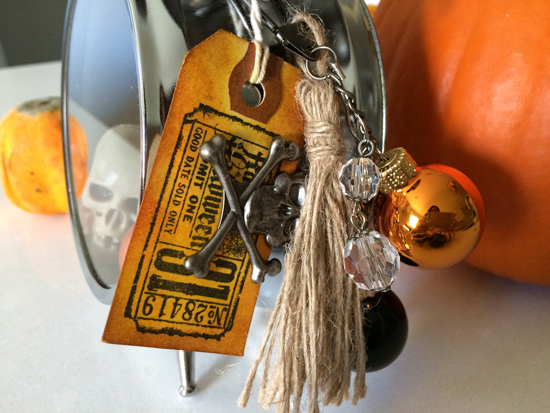
To finish it up, I attached a tassel, more Tim Holtz items and ornaments to one of the bells. I’m so pleased with how this turned out I may not even pack it up!


