As part of the Cub Scout scrapbook for my son I wanted to include some of his uniform patches. Yesterday I showed you how I adhered them to cardstock. Today I’ve got another tip for you.
I bought an extra set of his pack numbers to use in the scrapbook. I’d debated on where to put them – inside on the page with his earned ranks, on the front cover or on the spine. In the end I decided to give them there own separate page, but with a twist. A clear page!
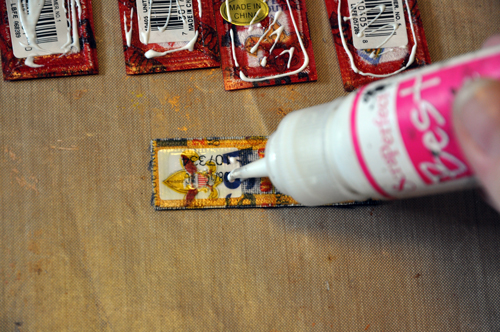
First I cut a transparency to fit a 6″x6″ page protector. Then I applied the Best Glue Ever to my pieces and let them dry until tacky. Since these are a bit heavy, I added a bit more glue than I usually would.
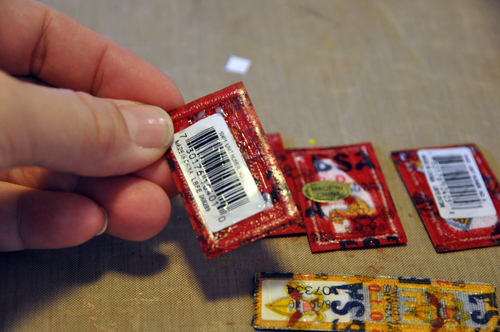
And here you can see nice and clear the glue dries!
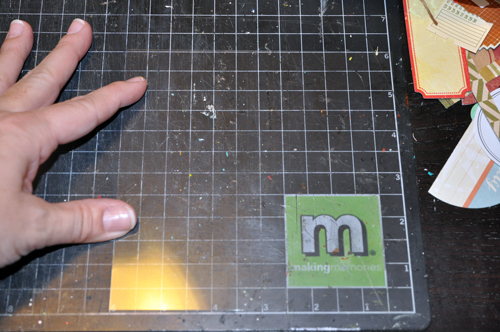
And here’s your tip: before adhering the pieces to the transparency, I placed it on my craft mat. I made sure the transparency was all lined up so I could easily find the middle.
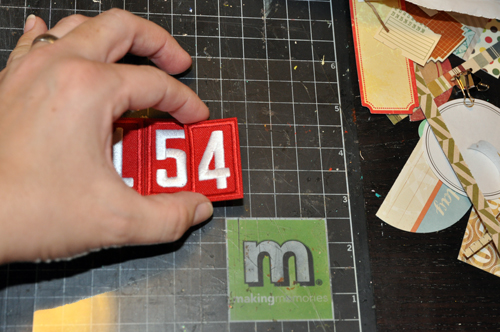
Now it was easy to center my numbers on the page. I started with the middle two, lining them up on either side of the center. Being able to see the craft mat underneath made this super easy.
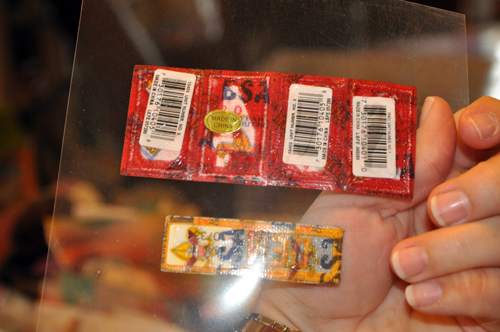
And here’s the back. You can’t see the adhesive – except for a couple places where it crossed the sales tags. If I had taken a craft stick or my finger to apply the glue over the entire back of the numbers you wouldn’t see it at all.
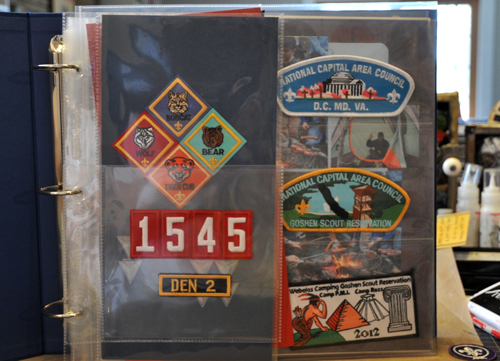
And here’s the page in the album. You’ll notice from yesterday’s post that I decided to crop the cardstock page with his Cub Scout ranks to a 6 x12″ page, which fits nicely on the left side of the page protector. The right-hand side of the protector has an assortment of shoulder patches. I will be sewing these into the pockets, in case they need to be used on a future Boy Scout uniform.


