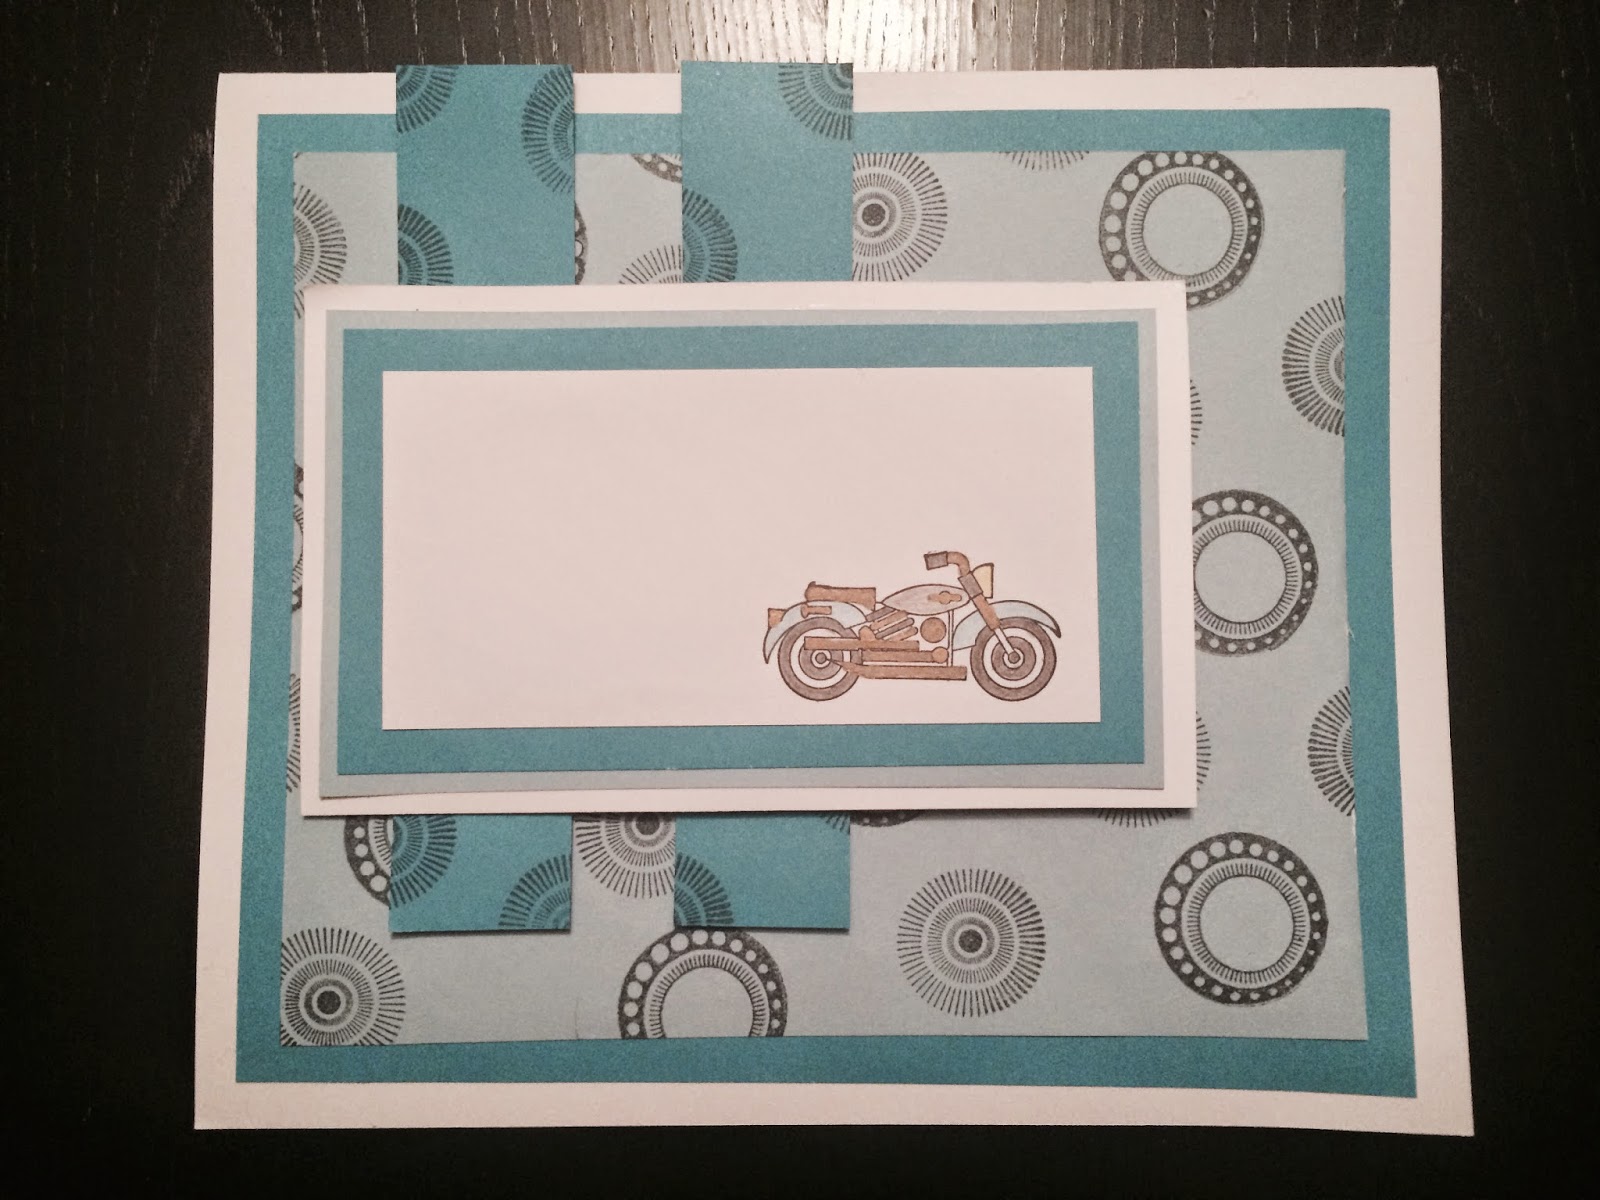
Good Morning ScraPerfect friends! Chelsea here to share an any occasion male card with you. Let’s jump right into the creation.
Materials Needed :
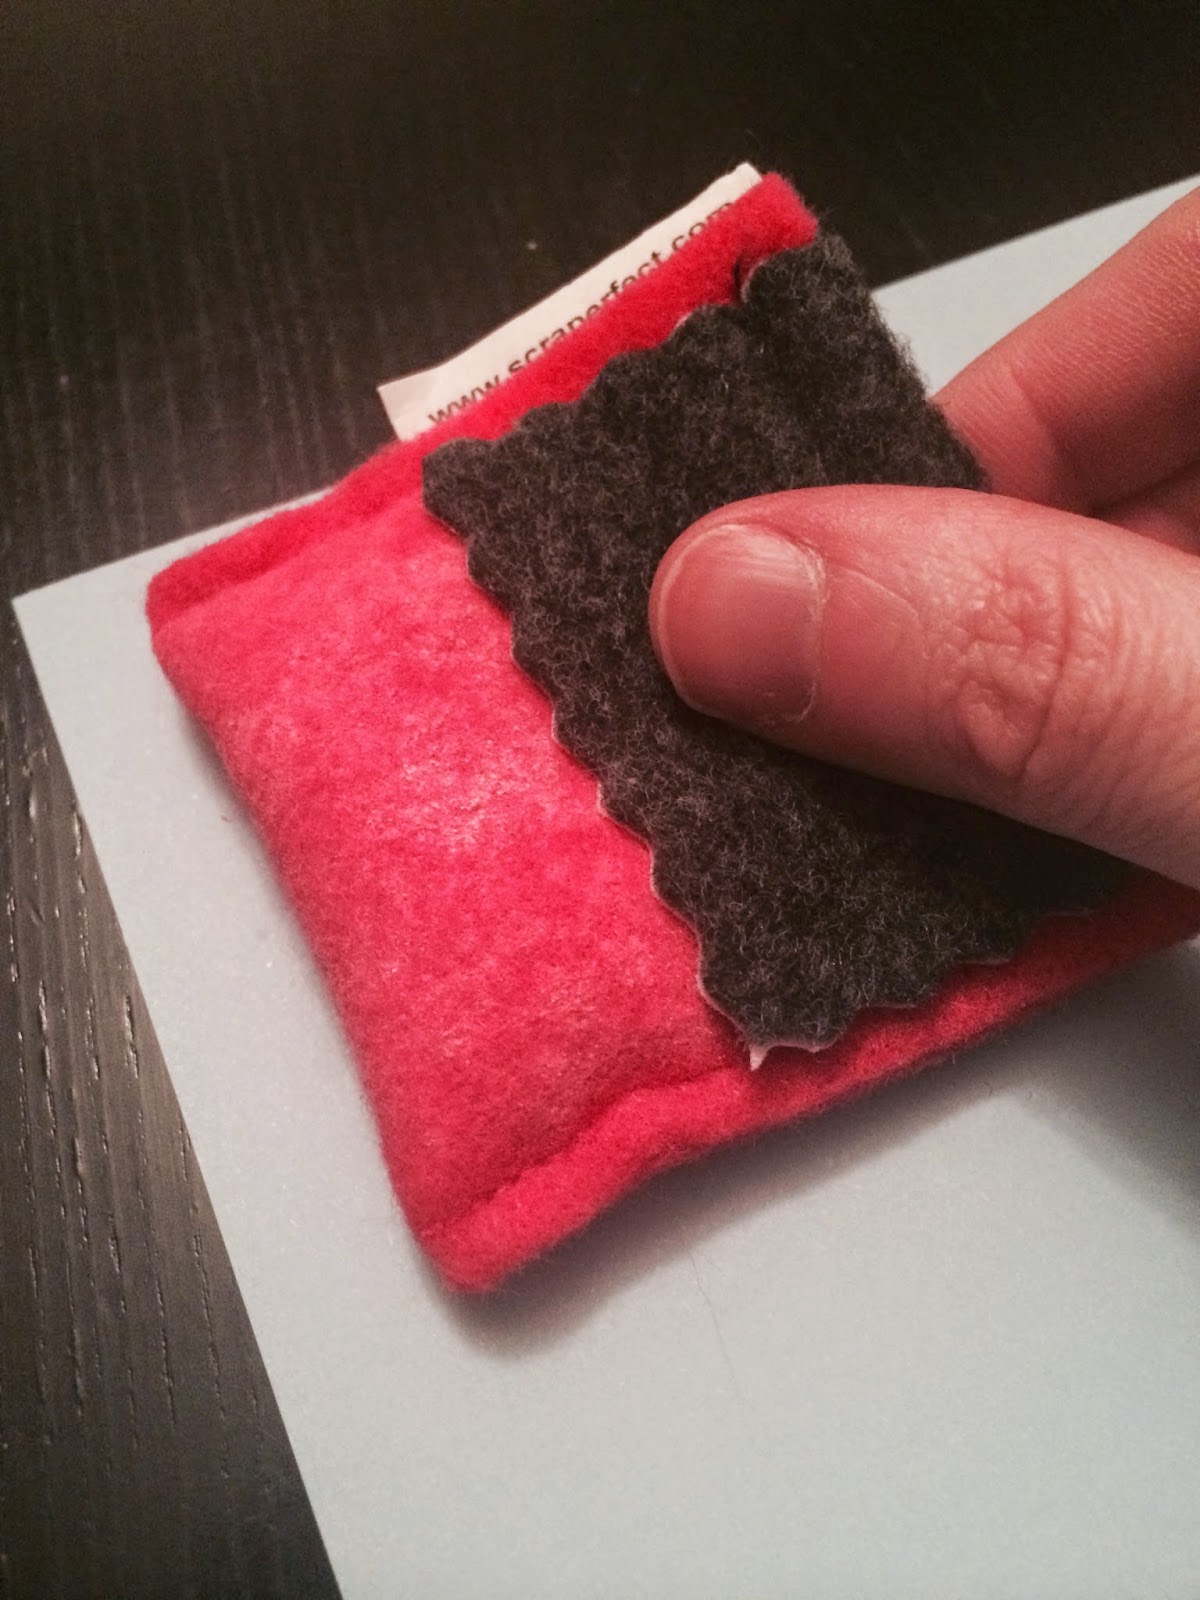
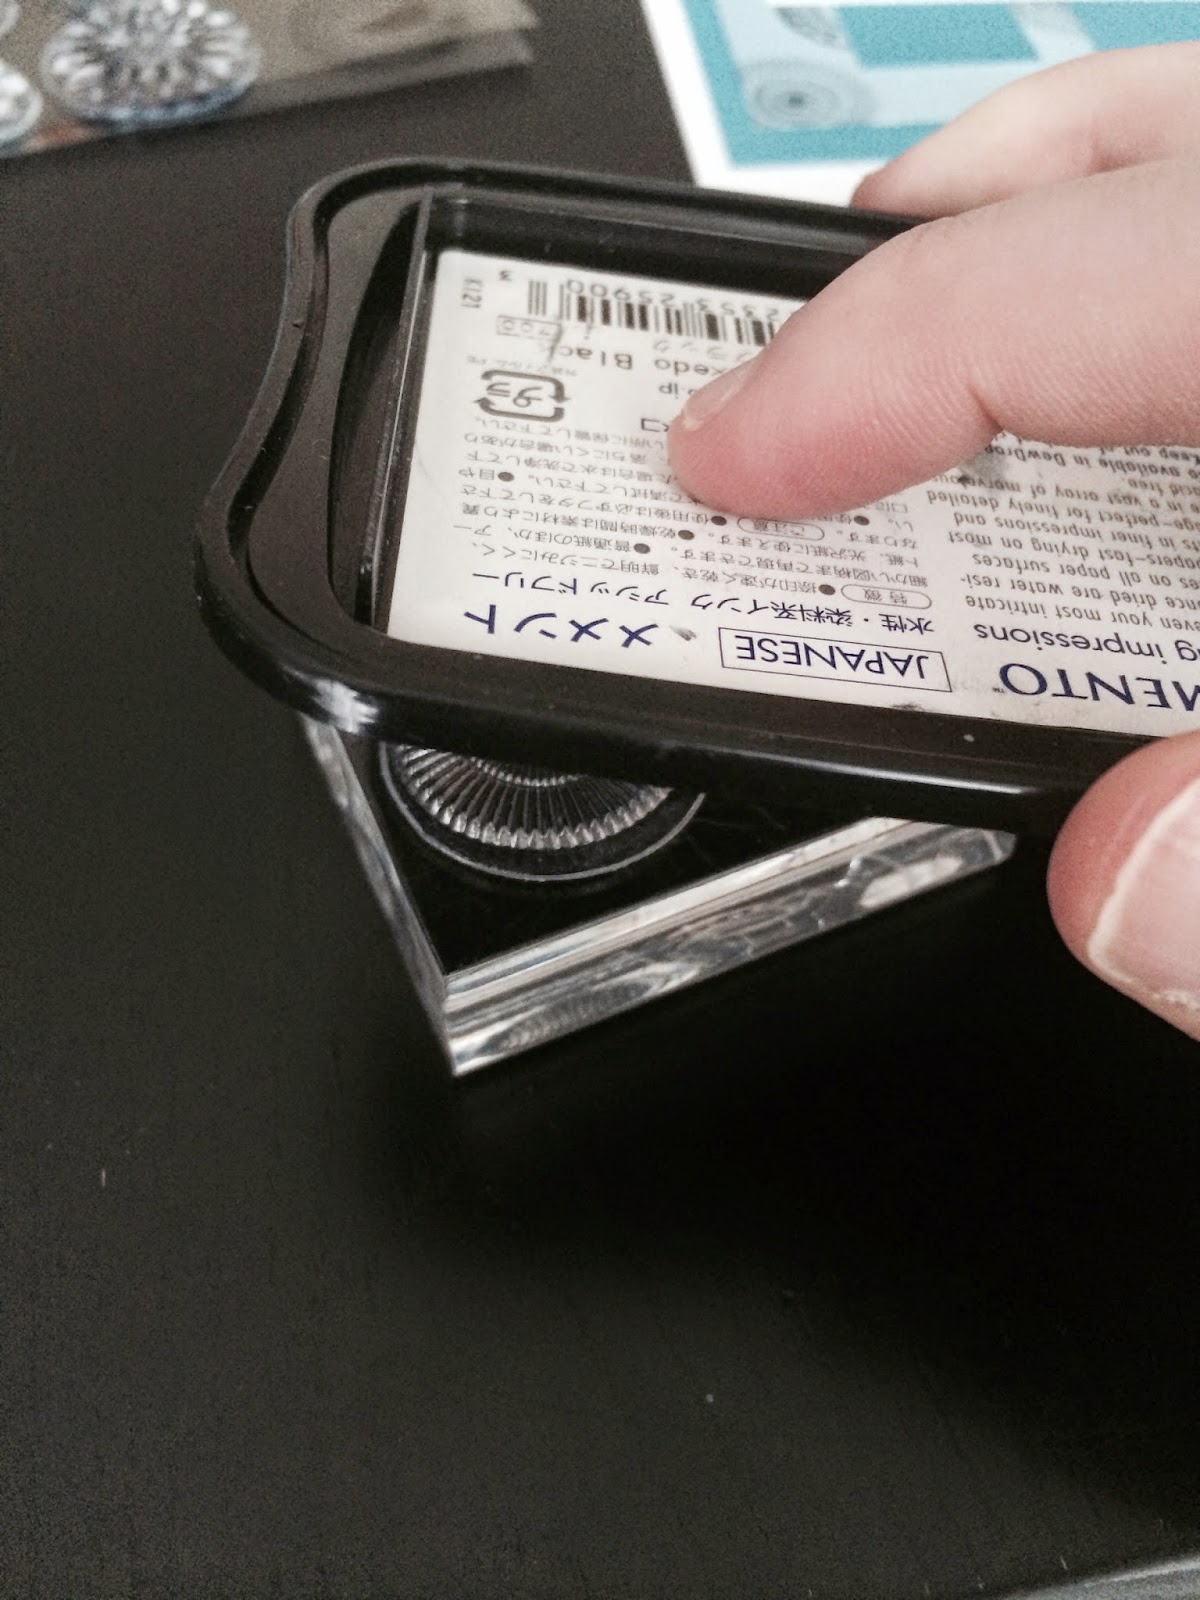
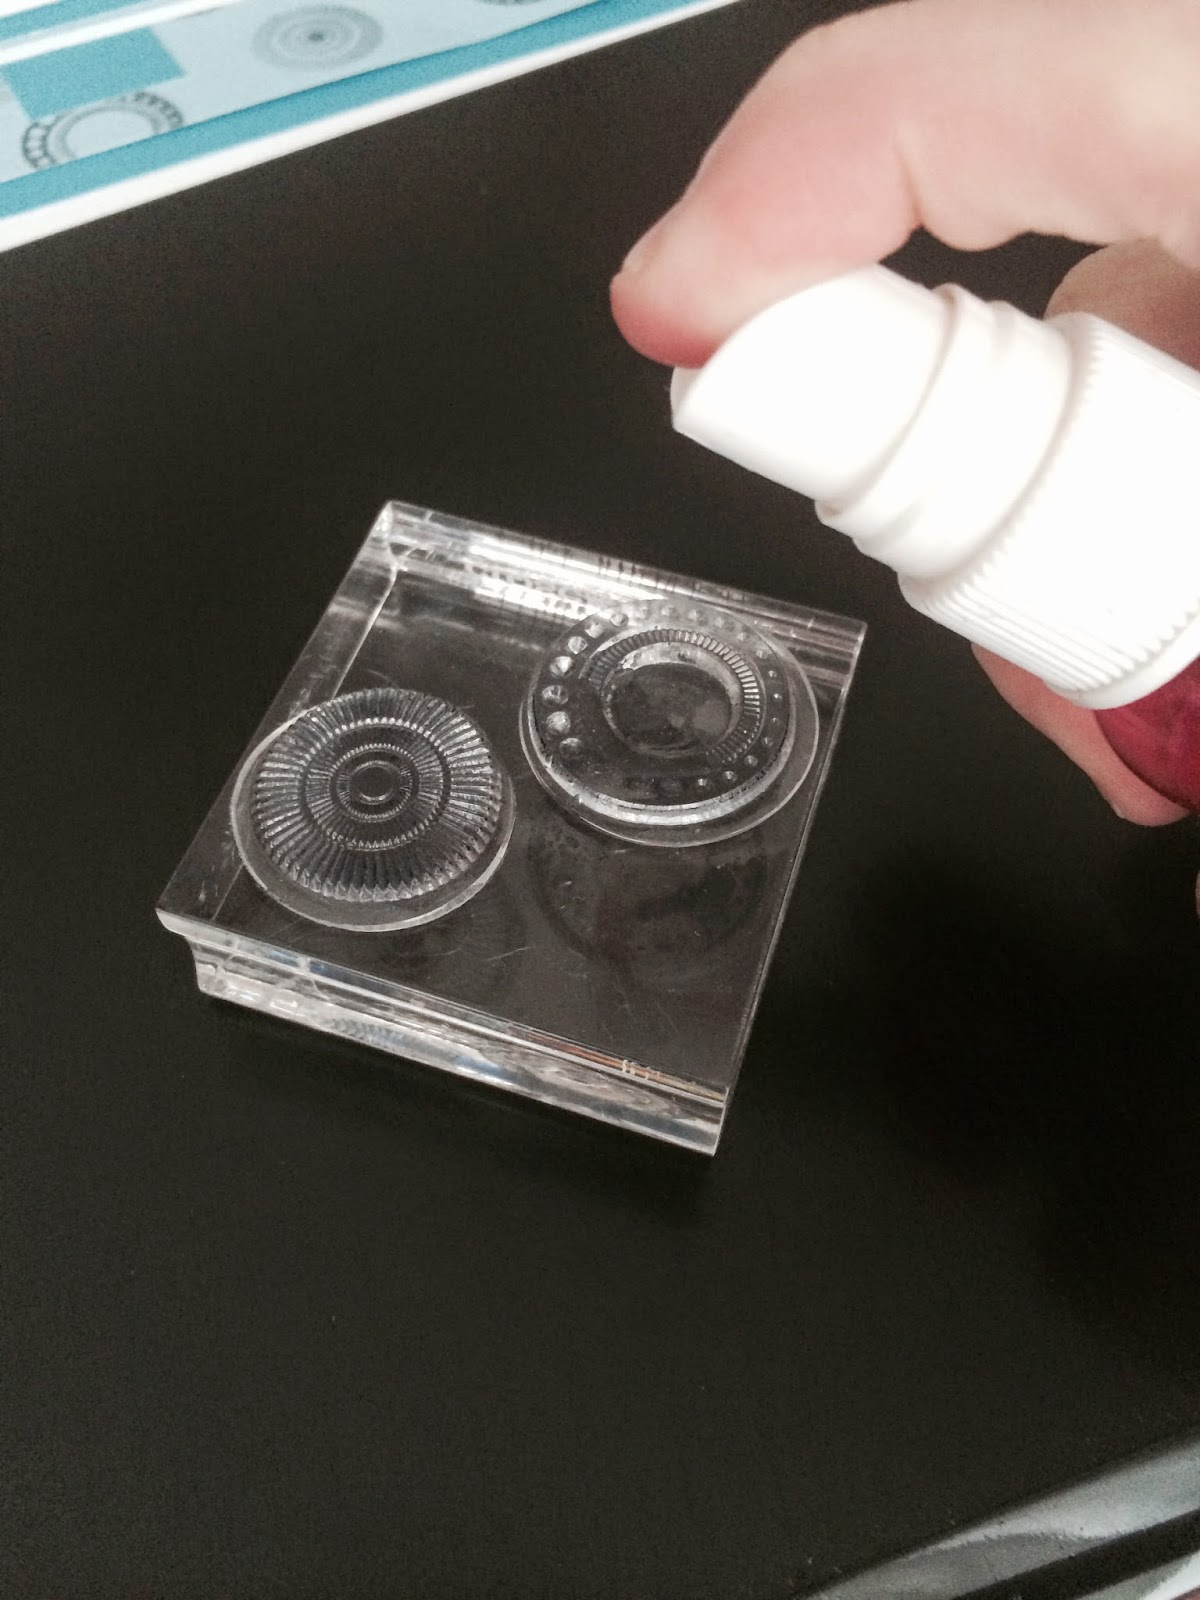
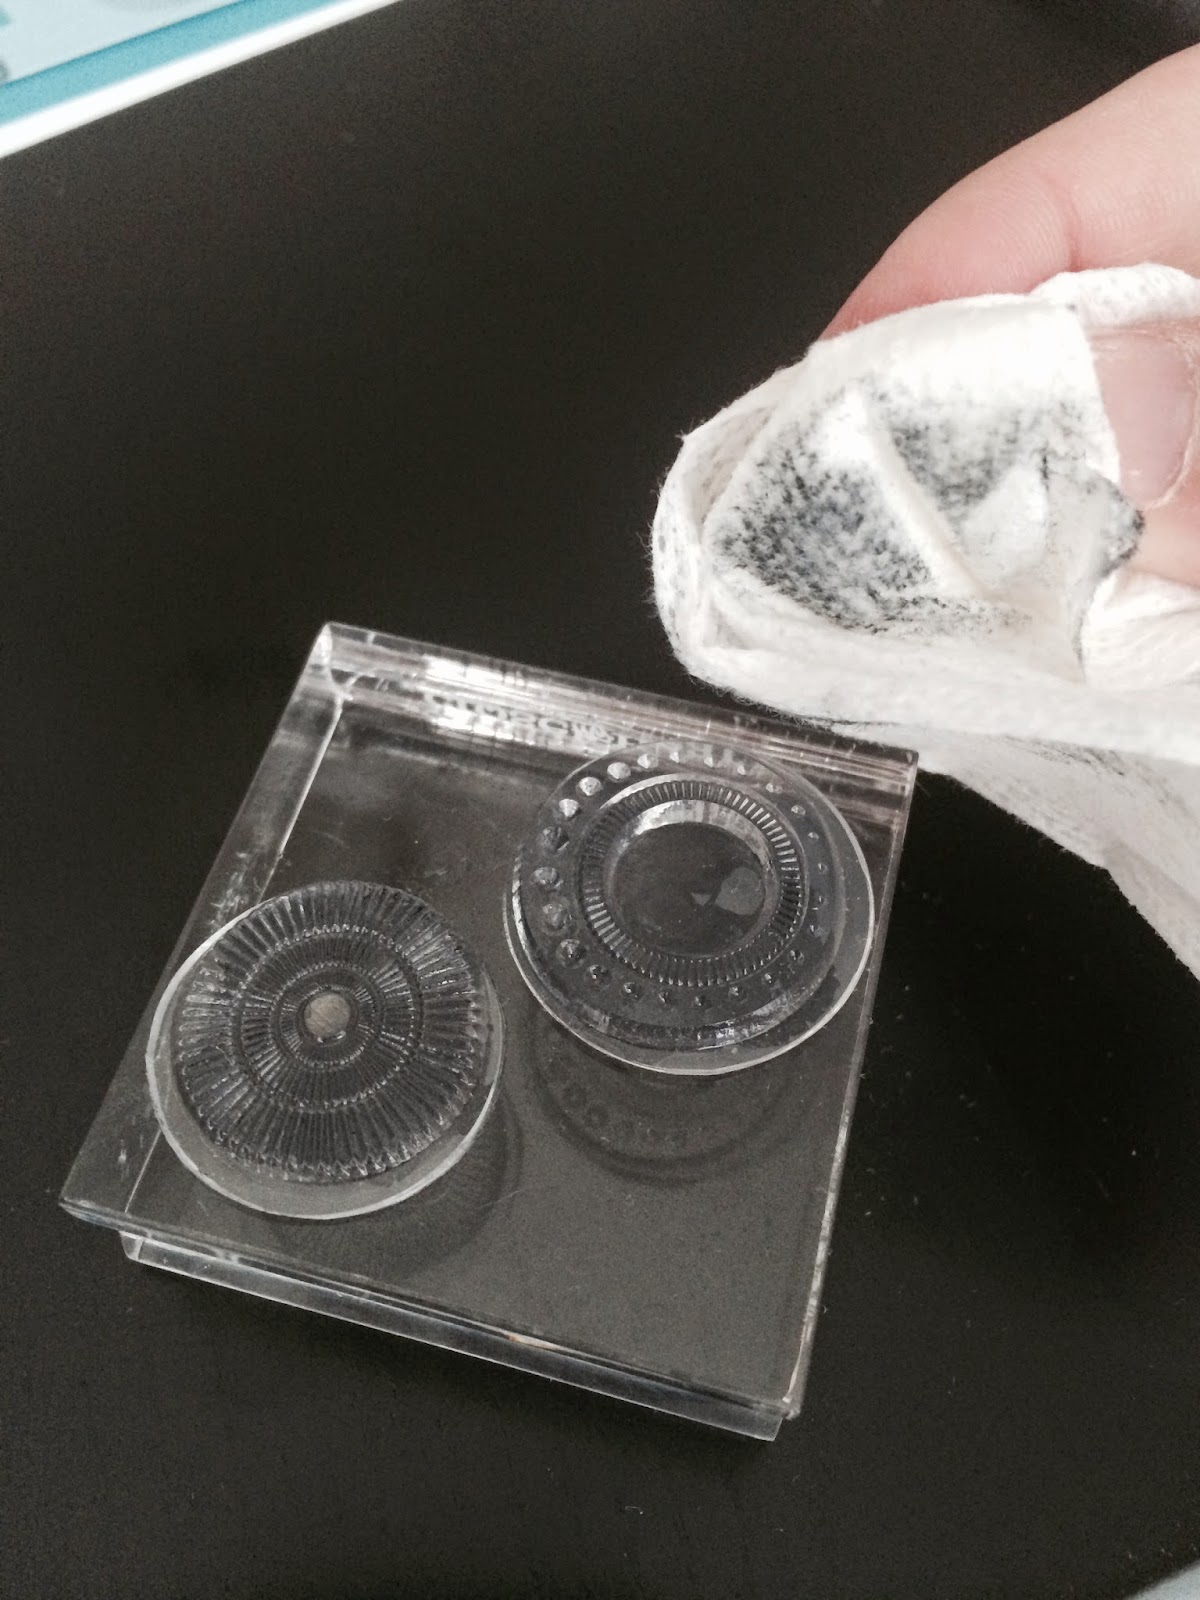
Best Glue EverPerfect Carfting PouchCardstockStampsOld release paper from sticker or labels(Best Cleaner Ever – optional)Step 1: Preparing for Stamping. To prepare for stamping an image on cardstock you will want to take the Perfect Craft Pouch and swipe it across the cardstock. This will allow the ink to adhere and also dry quickly without any smudging. Once this part of the process is completed, it is time to go ahead with inking up the stamps and stamping normally. Don’t forget, once finished stamping use the BCE to clean the stamps right away to ensure no staining will come to the stamps.
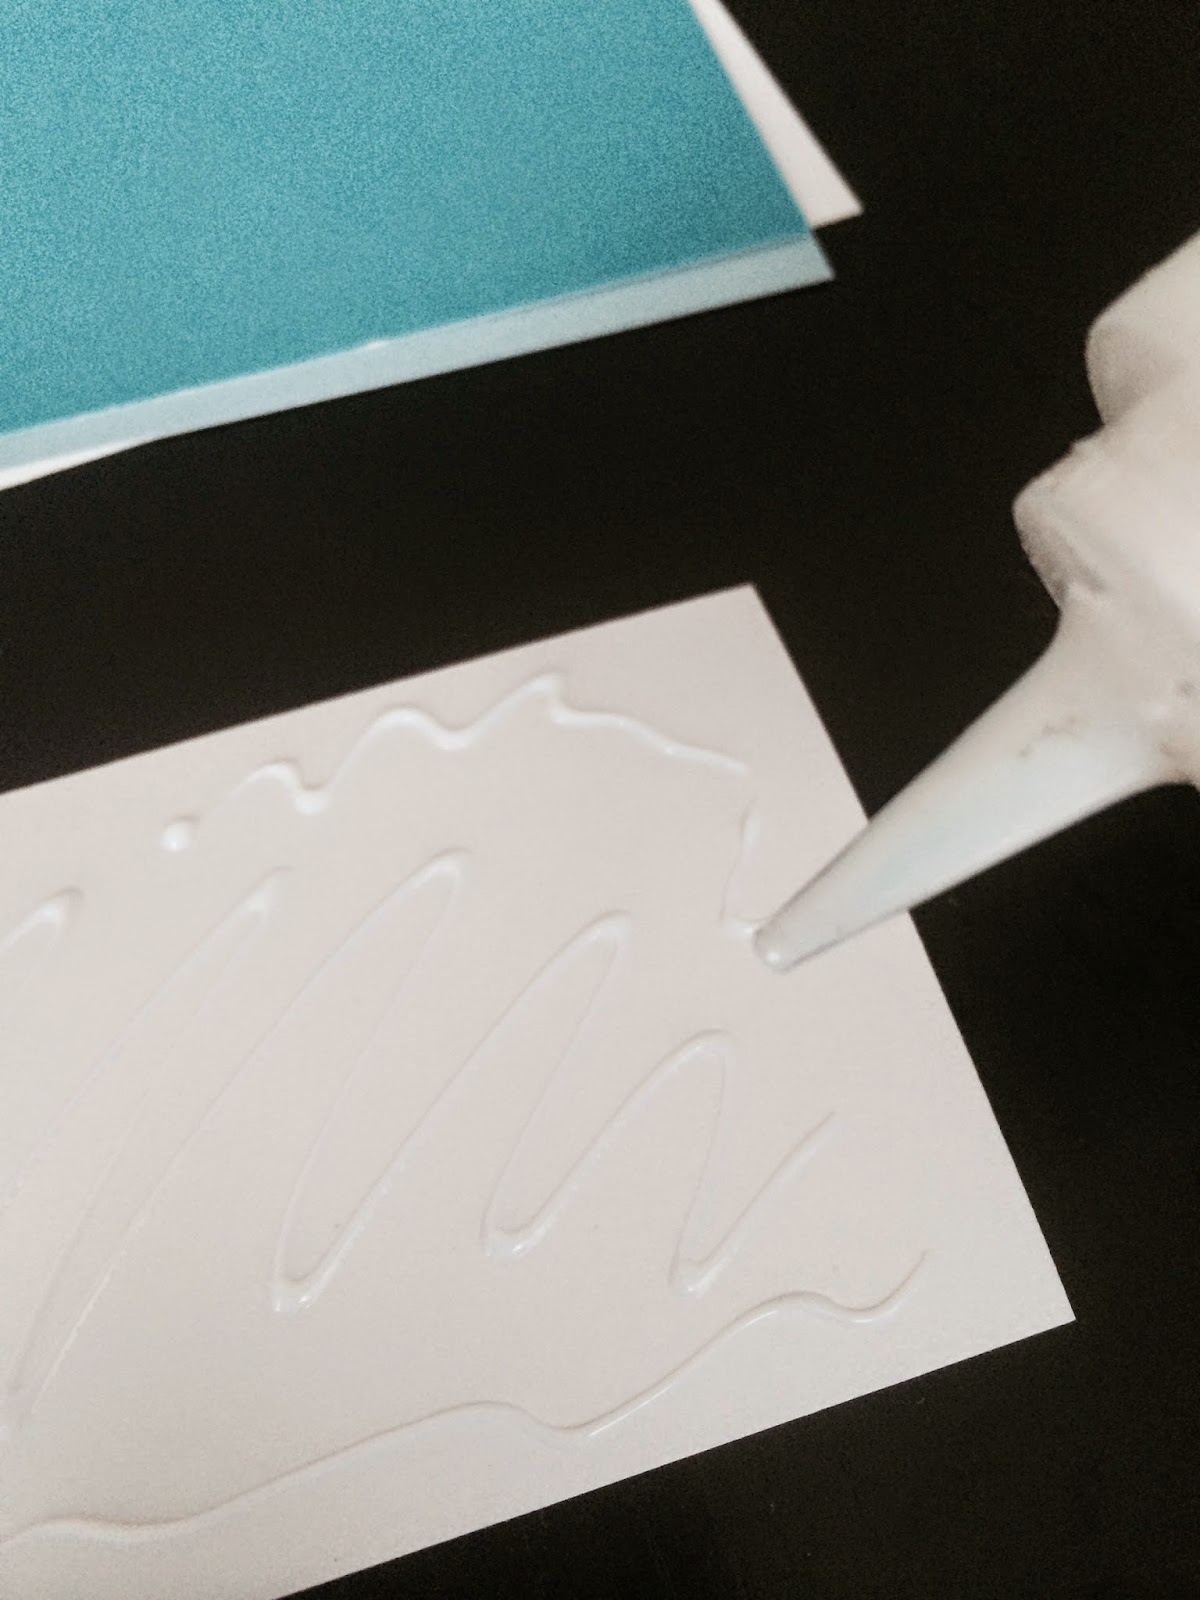
Step 2: Gluing Layers. To glue all the cardstock layers together spread a small even amount of BGE to each layer. Stick the cardstock layer while the glue is still white and wet. This allows the glue to have a small window of movability into the correct place if not satisfied after the first placement.
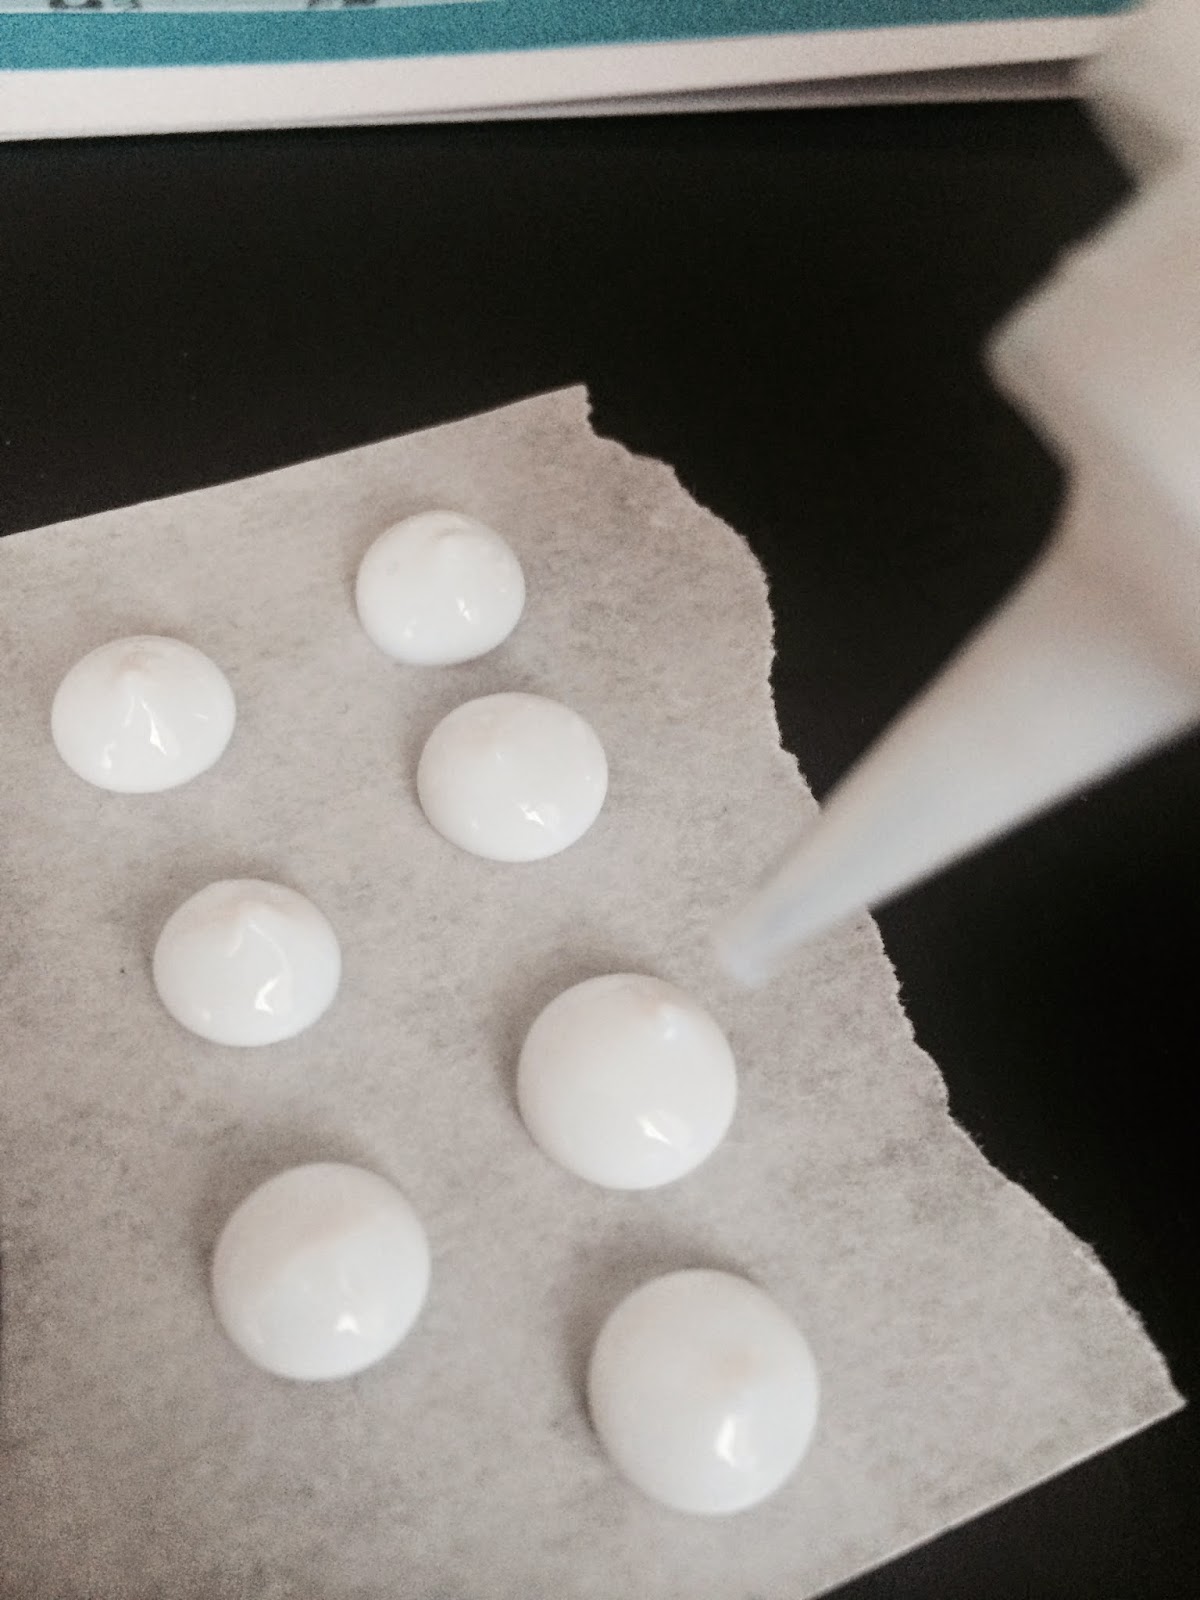
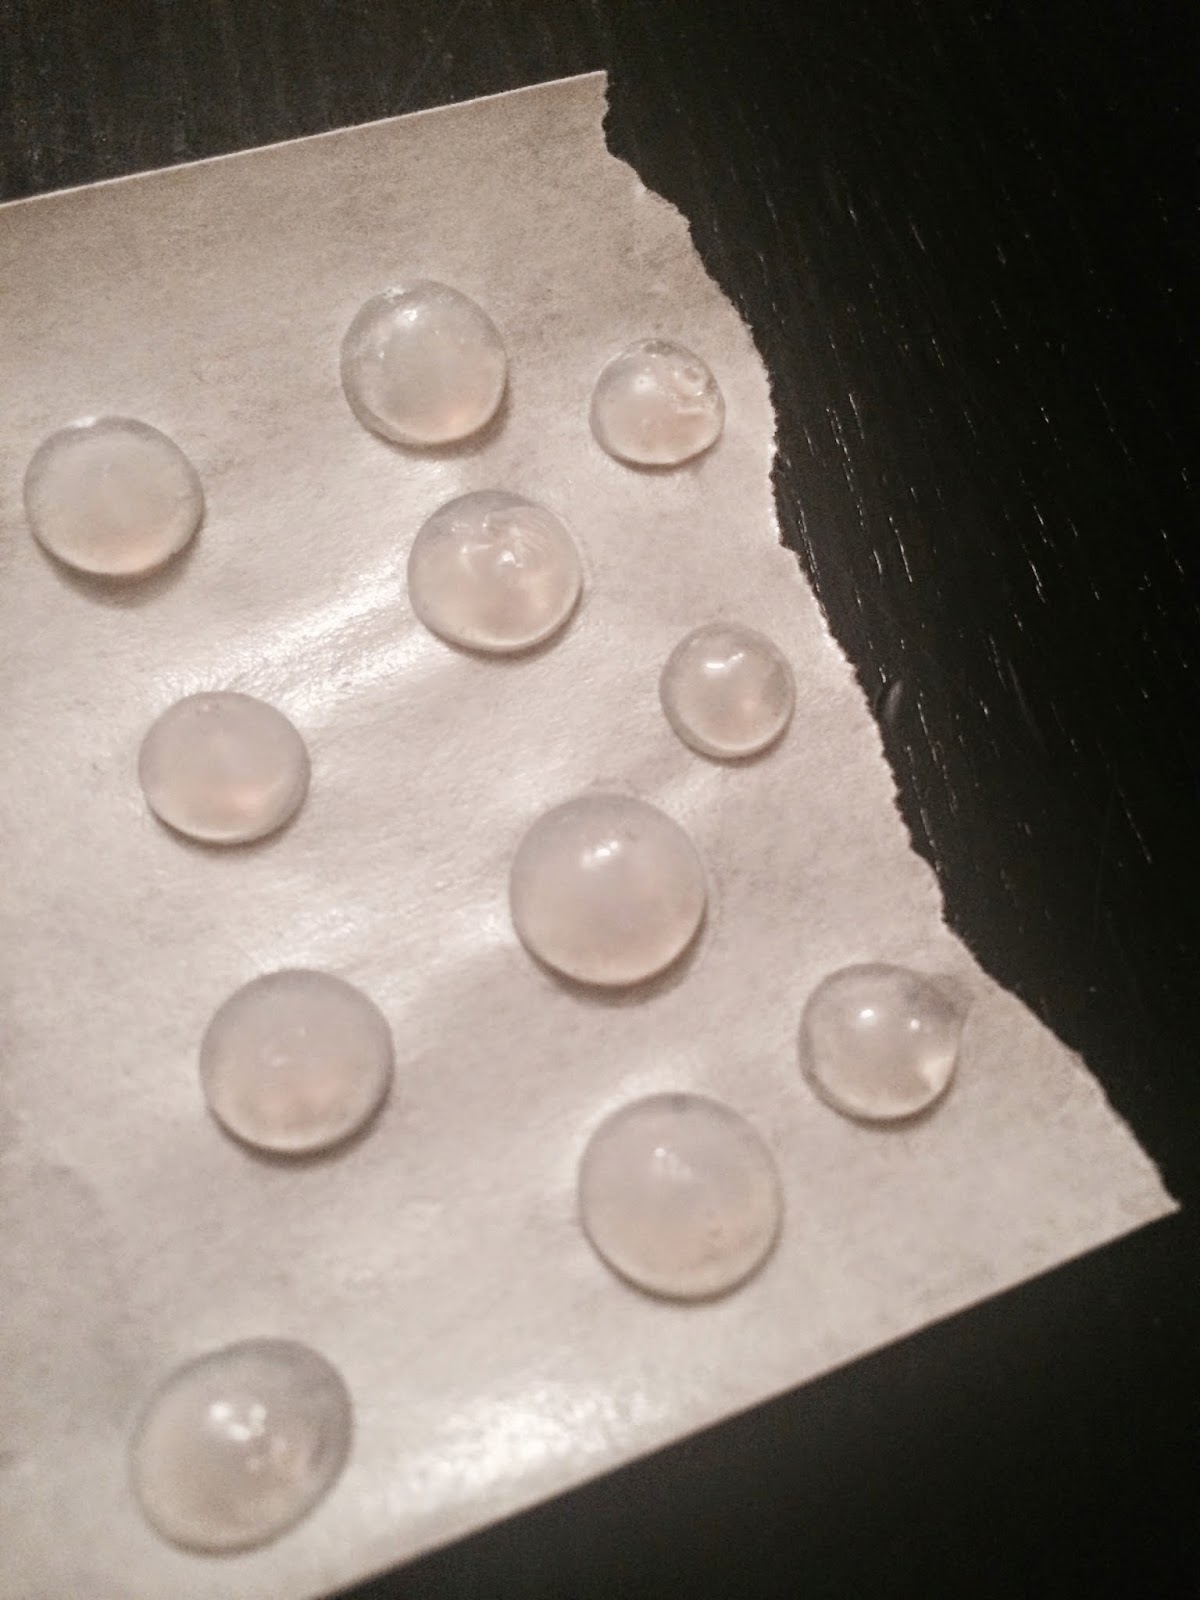
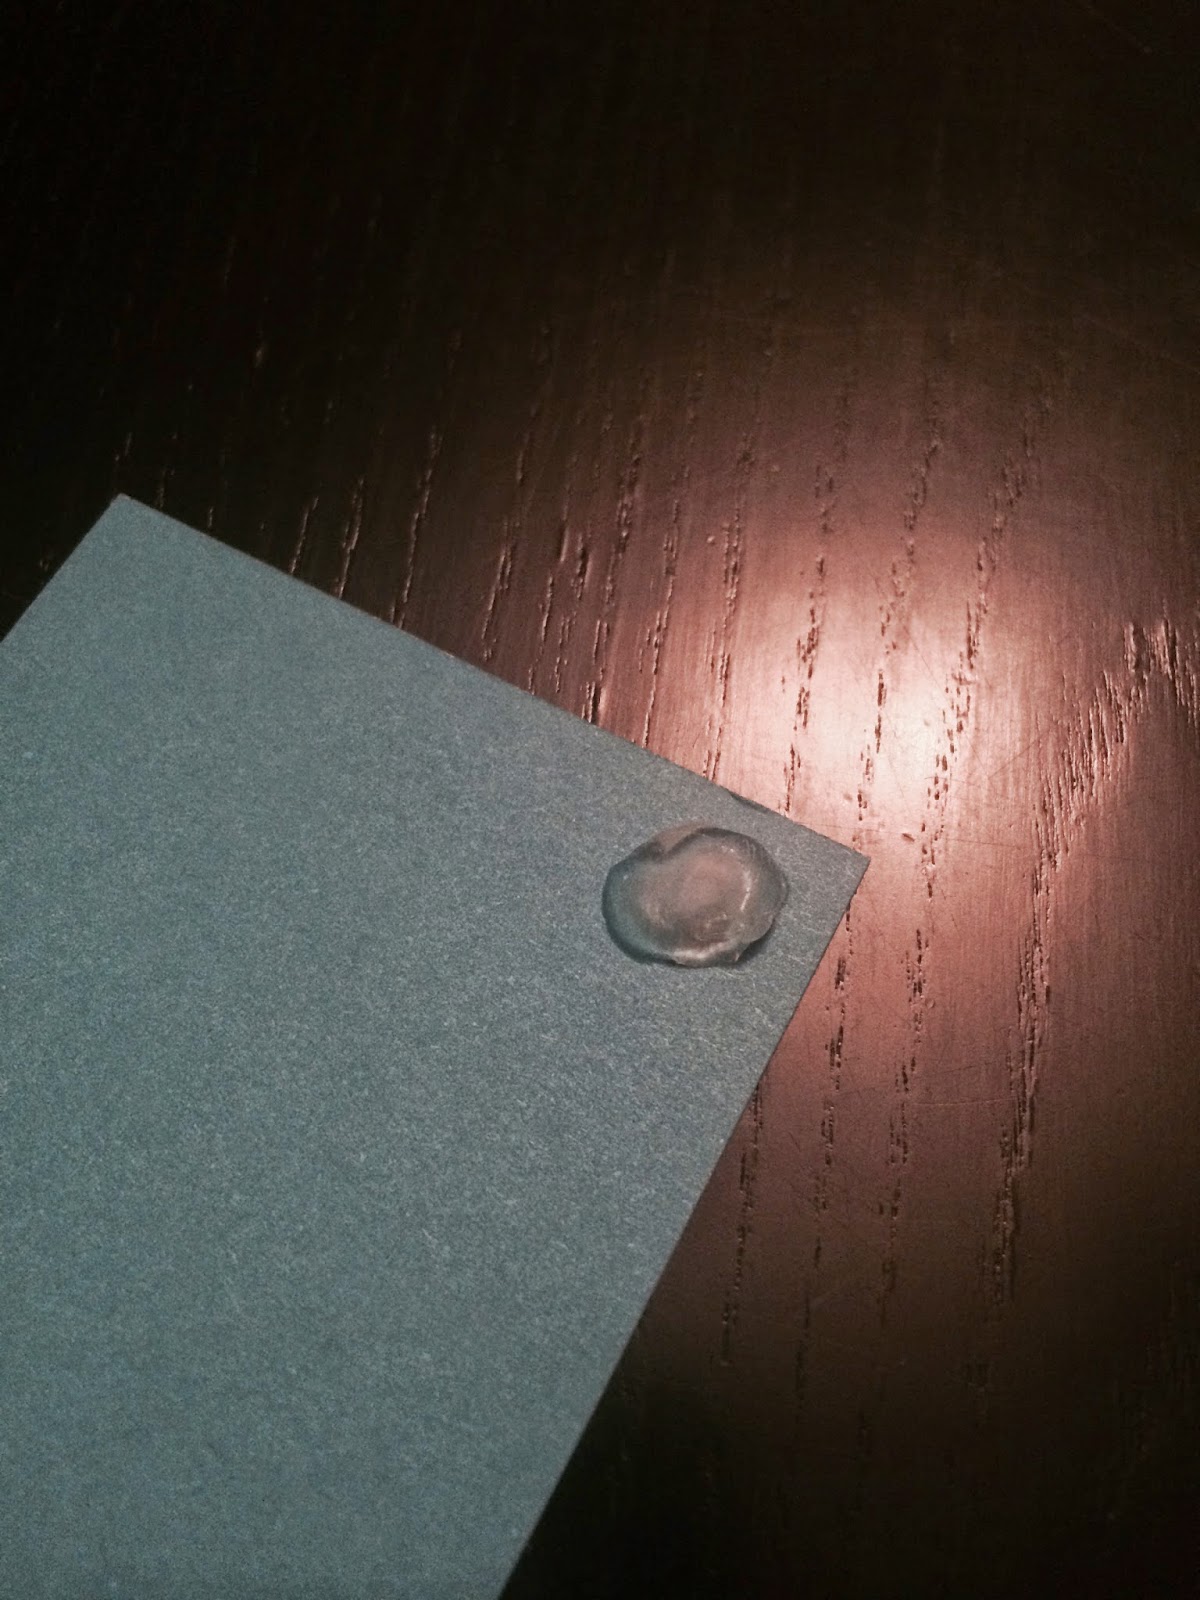
Step 3: Creating Glue Spots. If you want to pop a few layers of this card as shown, you will need to create glue spots. Use a spare or kept piece of sticker release paper. squeeze a large amount of glue into round shapes. Depending on how thick or thin the glue is applied to the release paper it will take various amounts of time to dry. The glue spots pictured here took just under a hour to be completely clear. Now the glue spots are ready! They will peel off just like any other branded glue spots. With a strong bond and being universal you can create whatever size spot you need depending on the project you are working on.
Step 4: Assembling the card. The background layers were glued together and then adhered onto the card base. The rectangle in the center of the card had the layers glued together and then the glue spots were used to pop it off the card. The two strips under the center layer are also popped using the glue spots.
Chelsea 🙂

