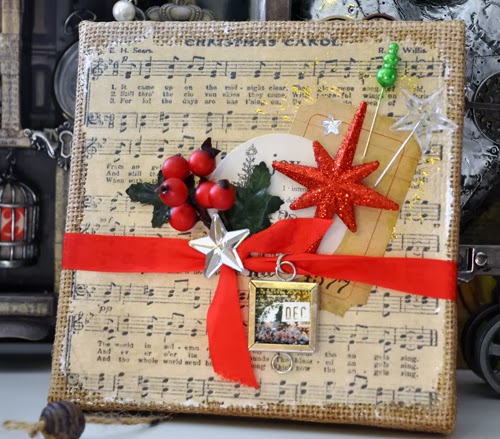
Thanksgiving is over, the leftovers are in the fridge and it’s time to start thinking about Christmas, so I am here today to show you how to make a beautiful Christmas canvas. If you’re like me you’d rather avoid the Black Friday madness and stay home and craft.
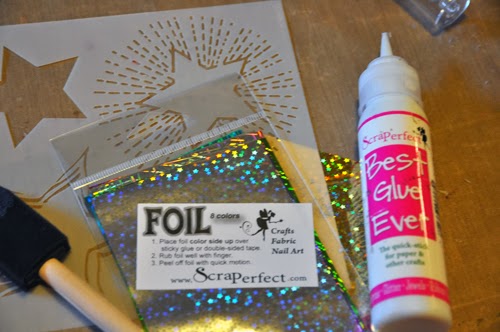
Here’s a quick project I put together using the Best Glue Ever, ScraPerfect Designer Transfer Foil, a stencil, a canvas, and Embellie Gellie (and a bit of the Best Cleaner Ever, too!).
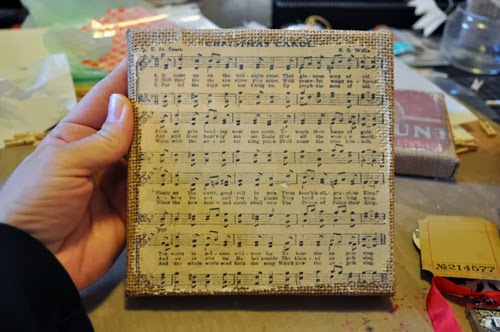
I started with this Tim Holtz District Market canvas. It has a burlap background with distressed music paper already on it. You can easily put something similar together using a plain canvas. First stretch burlap or fabric over the canvas and staple around the edges using a staple gun. Next adhere paper to the fabric by squeezing some of the Best Glue Ever on to the back of the paper and spreading it with a foam brush to cover the entire surface.
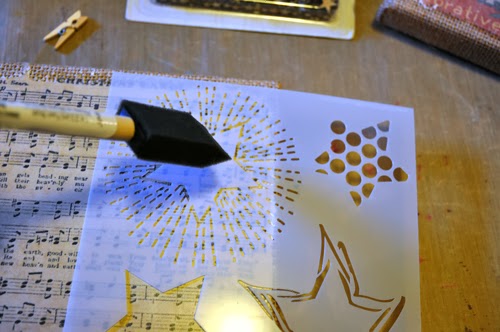
My first step was to use a stencil with the Best Glue Ever. I placed the stencil over the canvas, squeezed a bit of the Best Glue Ever onto my craft sheet, and then applied to the stencil using a foam brush.
You could also use an old credit card and scrape the glue through the stencil or use your fingers to dab into the stencil. Each way will give you a slightly different result.
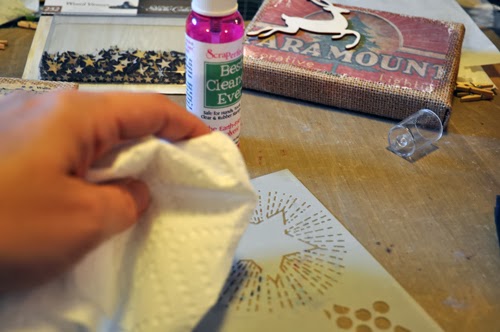
When I was finished, the first thing I did was clean my stencil. Since the Best Glue Ever dries tacky, you want to clean off your stencil right away – or else you might glue your stencil to your next project!
Spritz a bit of the Best Cleaner Ever onto the stencil and wipe with a paper towel or a Perfect Cleaning Cloth. I used the same towel to clean off the glue from my craft mat. I then rinsed the stencil in water to remove the rest of the cleaner.
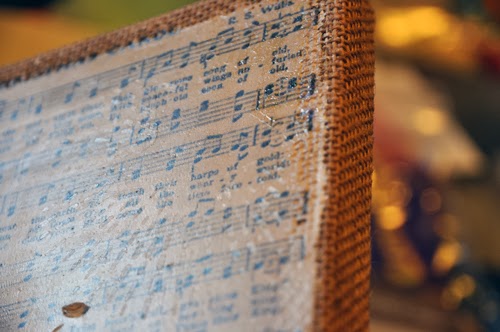
I didn’t need to worry about my canvas, since the glue dries tacky. That’s what makes it perfect for foiling. Can you see the glue?
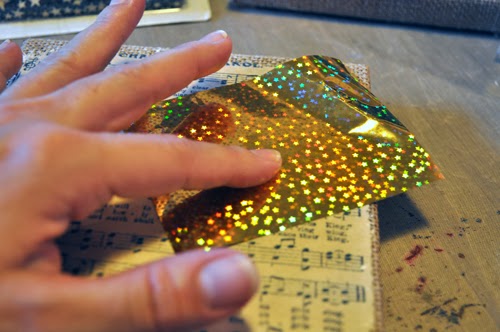
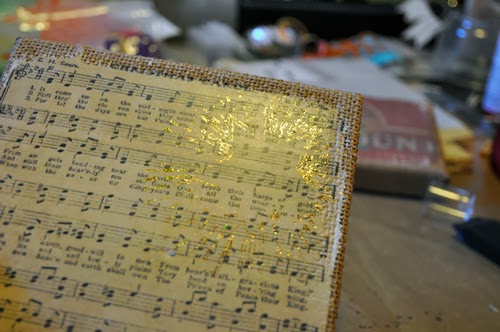
Next, on to foiling! I took a piece of ScraPerfect foil, placed it design side up and rubbed lightly.
Voila!
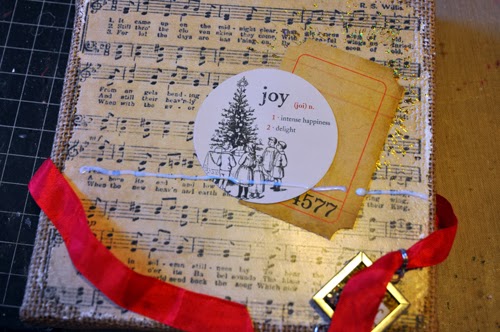
And now to add on the embellishments. After adhering a few paper embellishments with the Best Glue Ever, I wrapped a ribbon around the canvas. To help hold it in place I added a line of the Best Glue Ever across the middle and waited for it to dry tacky.
Once it was tacky, I pressed my ribbon into the glue and tied it. When you use the Best Glue Ever this way, your ribbon will never get discolored or have the glue seep through. It truly is an invisible hold.
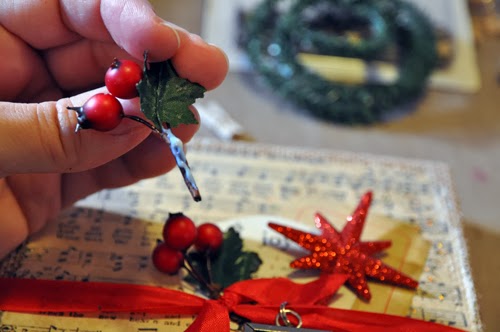
To add the rest of the embellishments, I applied the Best Glue Ever and held in place for about 30 seconds to set them. I even applied glue to the back of my hanging charm.
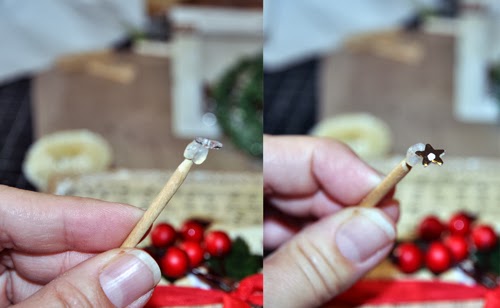
For the small star I used Embellie Gellie to pick it up and hold it while I applied a tiny drop of the Best Glue Ever. I was then able to set it down easily onto my project. The two pins were just stuck into the canvas directly.
And one more look at the final project –


