Deborah here showing you how to make a great shadow box for your child’s room.
Like most kids, mine like to hoard lots of little treasures. If it’s my
son, they’re piled all over his dresser. My daughter’s end up scattered
all over her room – under the bed, behind a dresser and piled on her
desk. When she cleaned up her room over Christmas break she found a few
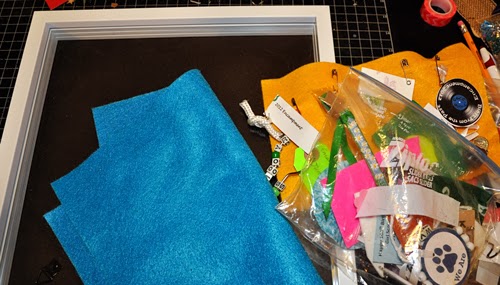
bags of Girl Scout swaps. Swaps are little pins that are handmade and traded at Girl Scout events. Many of these were from the 100th anniversary event in Washington, DC a couple of years ago.
But why keep something like that in a bag
(that will end up under the bed again)? Why not display it on the wall?
I started with a shadowbox from a local craft store and several pieces of felt. This is around 12″ square, and the back was just a hard chipboard. I chose felt because we would be pinning many of these to the back.
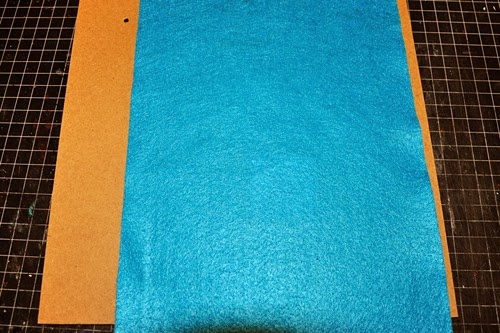
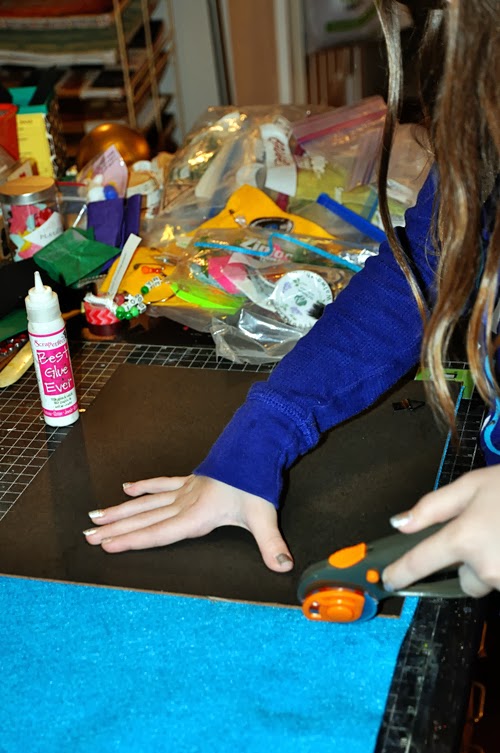
The felt was a bit longer than the back but not wide enough to cover it. I loosely measured where the edge would hit so I could apply the Best Glue Ever.
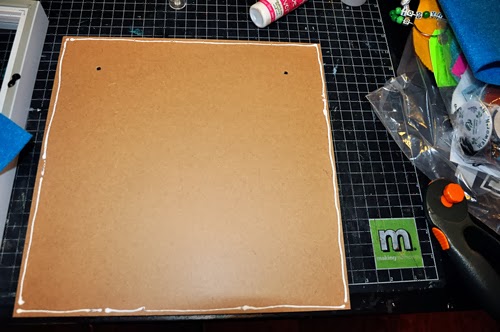
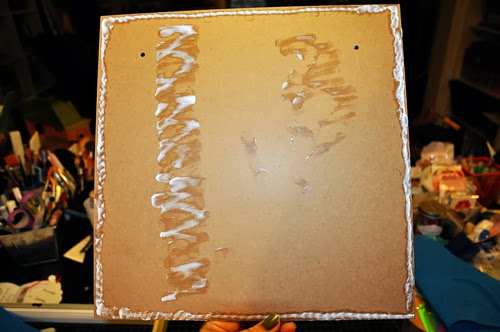
I ran a thick line around the edges, plus up the inside where the felt would overlap. Then I used my finger to smear the glue around. I didn’t want to cover the entire back because I wanted to be able to pin as many swaps as I could onto the felt.
Here’s how the back looked after spreading the glue (and wiping my finger off onto the back). Next up was lining up the felt onto the back and pressing down to get a good hold.
And I let my daughter try out my rotary cutter for trimming the edges. This was pretty easy as we flipped the back over and used the edges as a guide for trimming.
** Tip: if you’re making a back for a shadowbox, test out the backing material before cutting and adhering to make sure your box will close. If I had used something thicker than the felt I would not have been able to glue it to the outside edge.
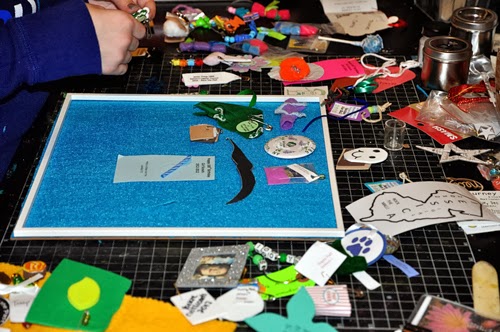
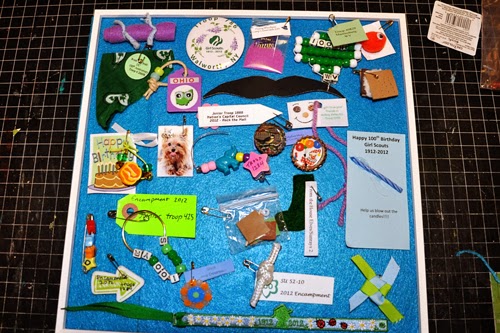
After the background was set, my daughter got to the fun part — arranging all the swaps. The shadowbox had a set of inner “frames” so we put one on the back to use as a guide in placing the swaps. She was quite deliberate about arranging the swaps. My plan was to cram ALL of them onto the back, but she had other ideas.
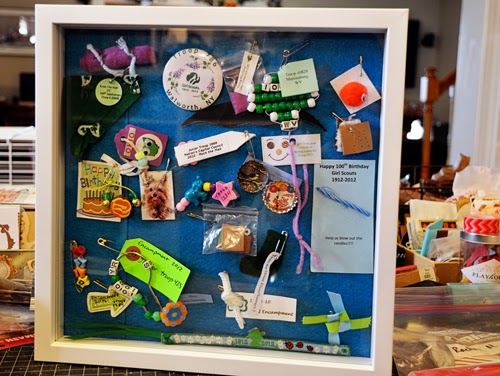
Once she was happy with her arrangement, I could start pinning and adhering them to the felt. After I was finished, I cleaned the glass and put the box together. She’s very happy with her new wall decor.
And this could easily be used with any small toy or memento. Change out the felt for a solid piece of cardstock or pretty paper. Layer the back of a box with school programs or wrapping paper. The possibilities are really endless.


