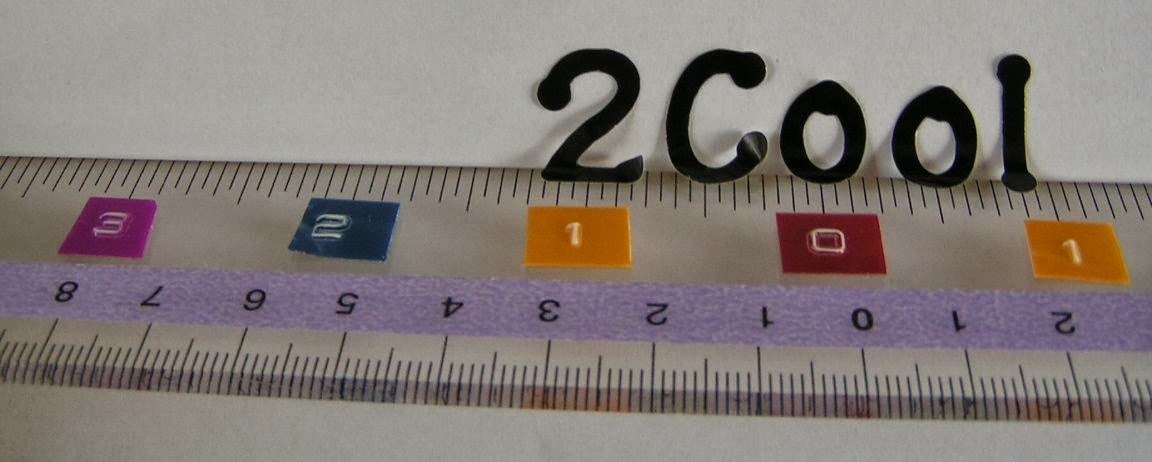
Amy here to tell you about “Centering Rulers”! Though handy, you probably don’t need one. You could buy one, BUT you probably have lots of rulers around so, with a couple of minutes and a few cents of supplies, you’ll have one of your own. Jazz it up further with some alcohol inks, stamping with Solvent ink, or…OH the possibilities!!!
What DO you use it for?
Some people use it to precisely align stickers, stamps, embossed details, etc. This past weekend I made a “pop-up” card which had lots of folds and I use my centering ruler to mark folding lines on cards. I could have certainly used a regular ruler, but it just made it easier for me.
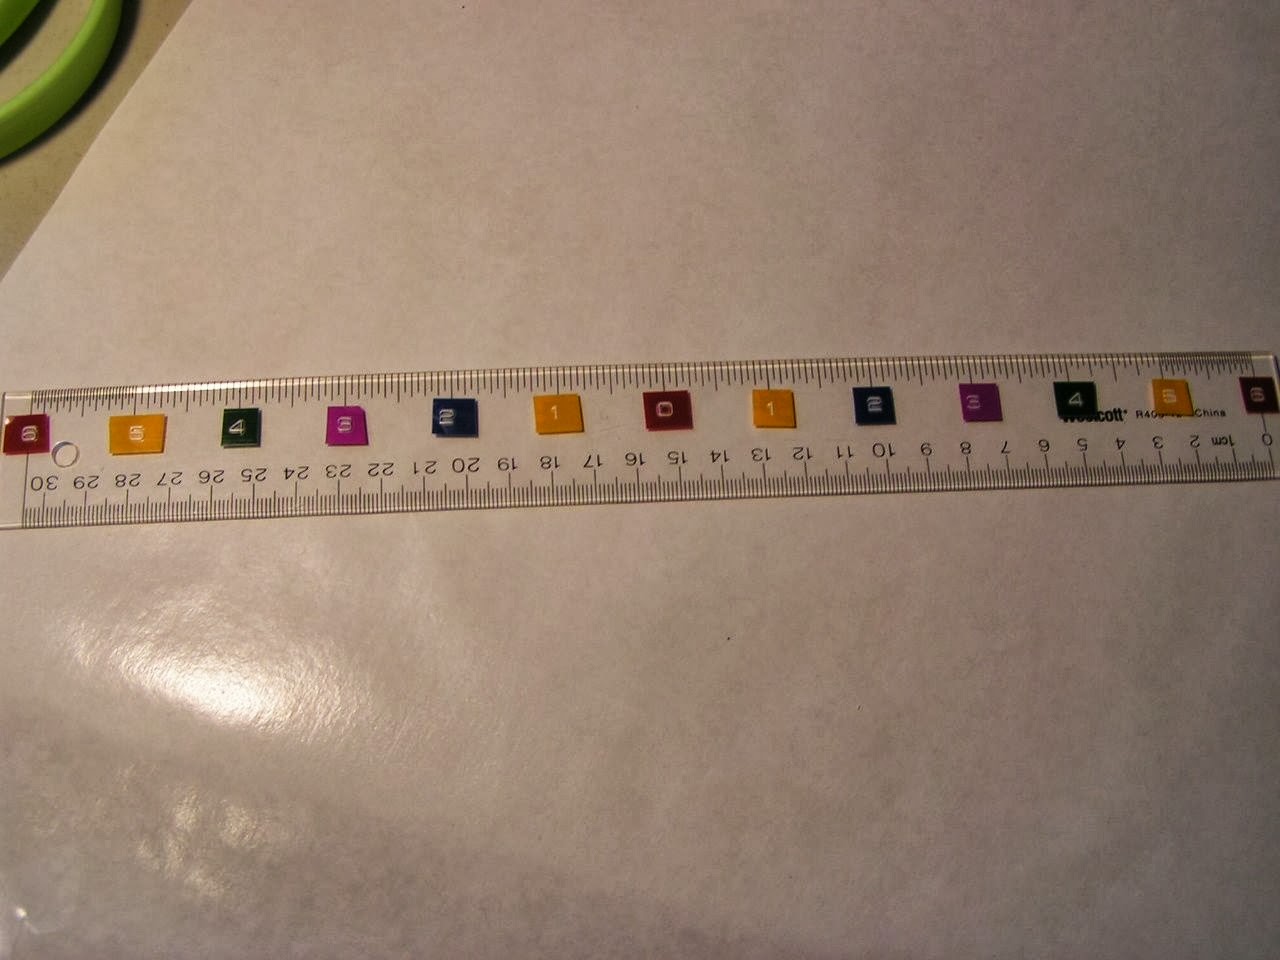
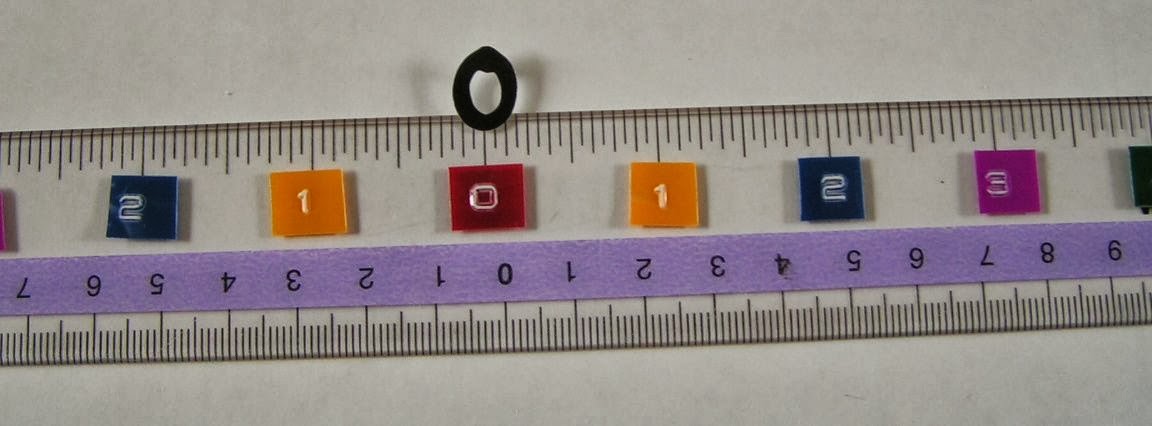
SO, if you’d like to make one, the basic idea is to mark “ZERO” in the center and move outward on both the right and left sides.
Here’s what I did:
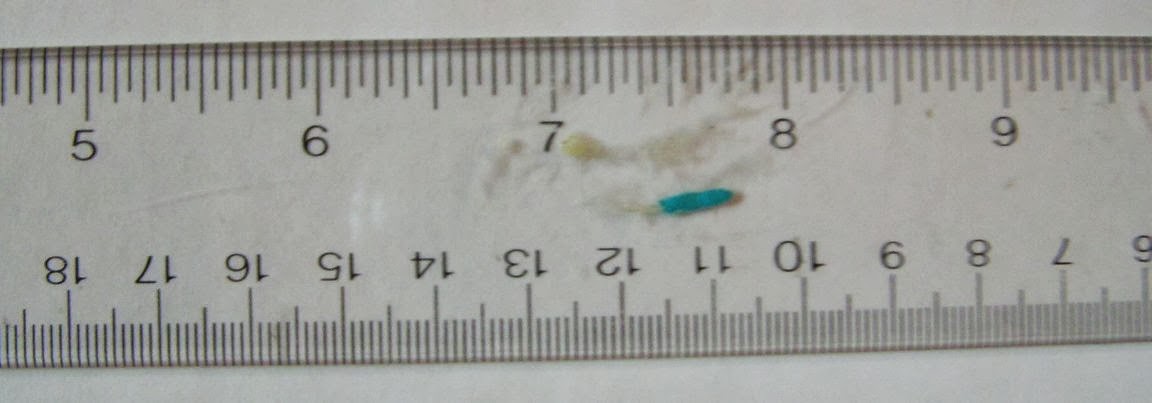
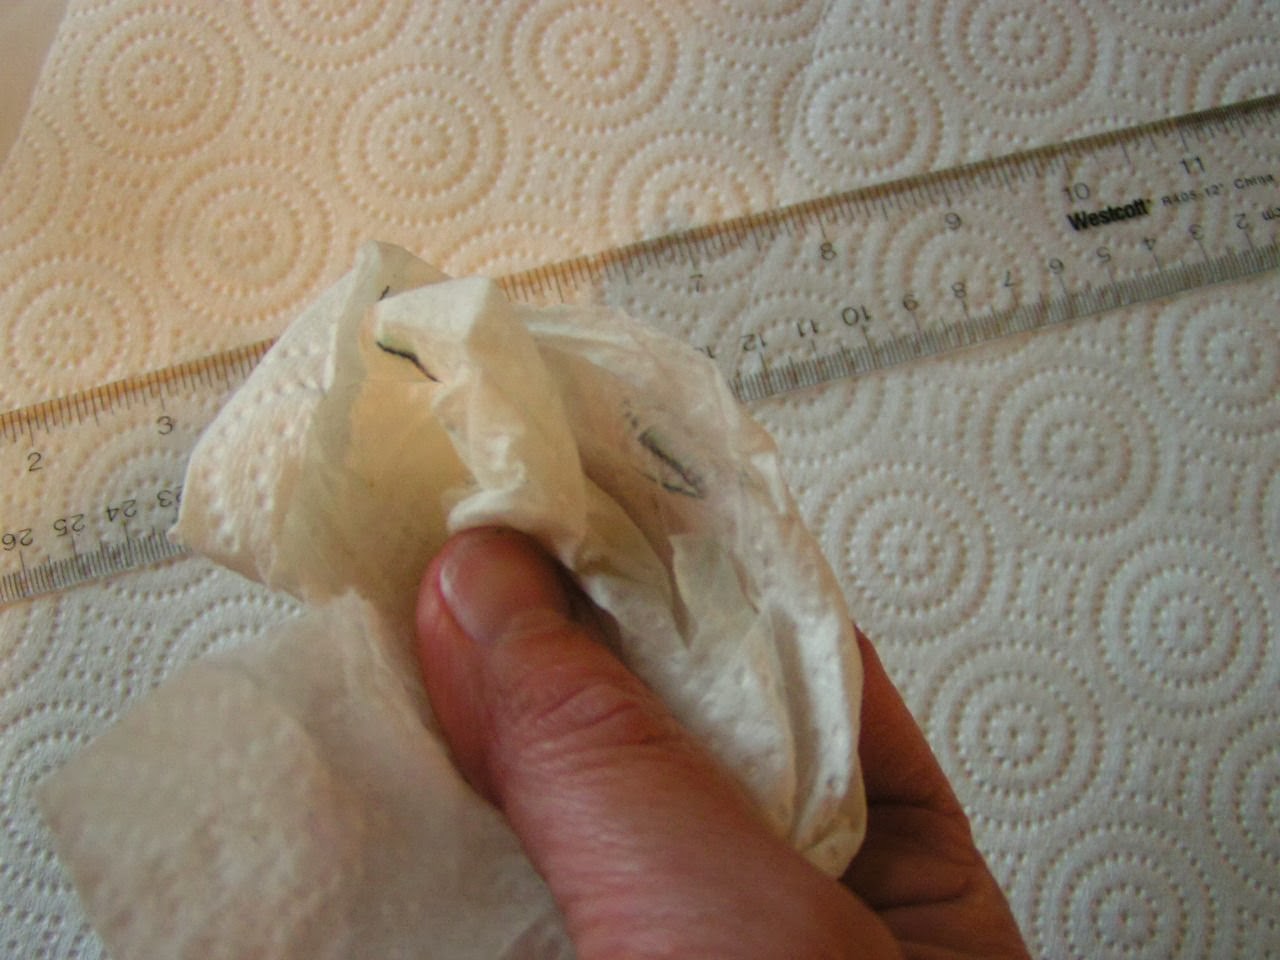
1. I found a ruler. I like clear the best. This one is by Westcott but it’s very grimy–with ink, sticky glue and acrylic paint.
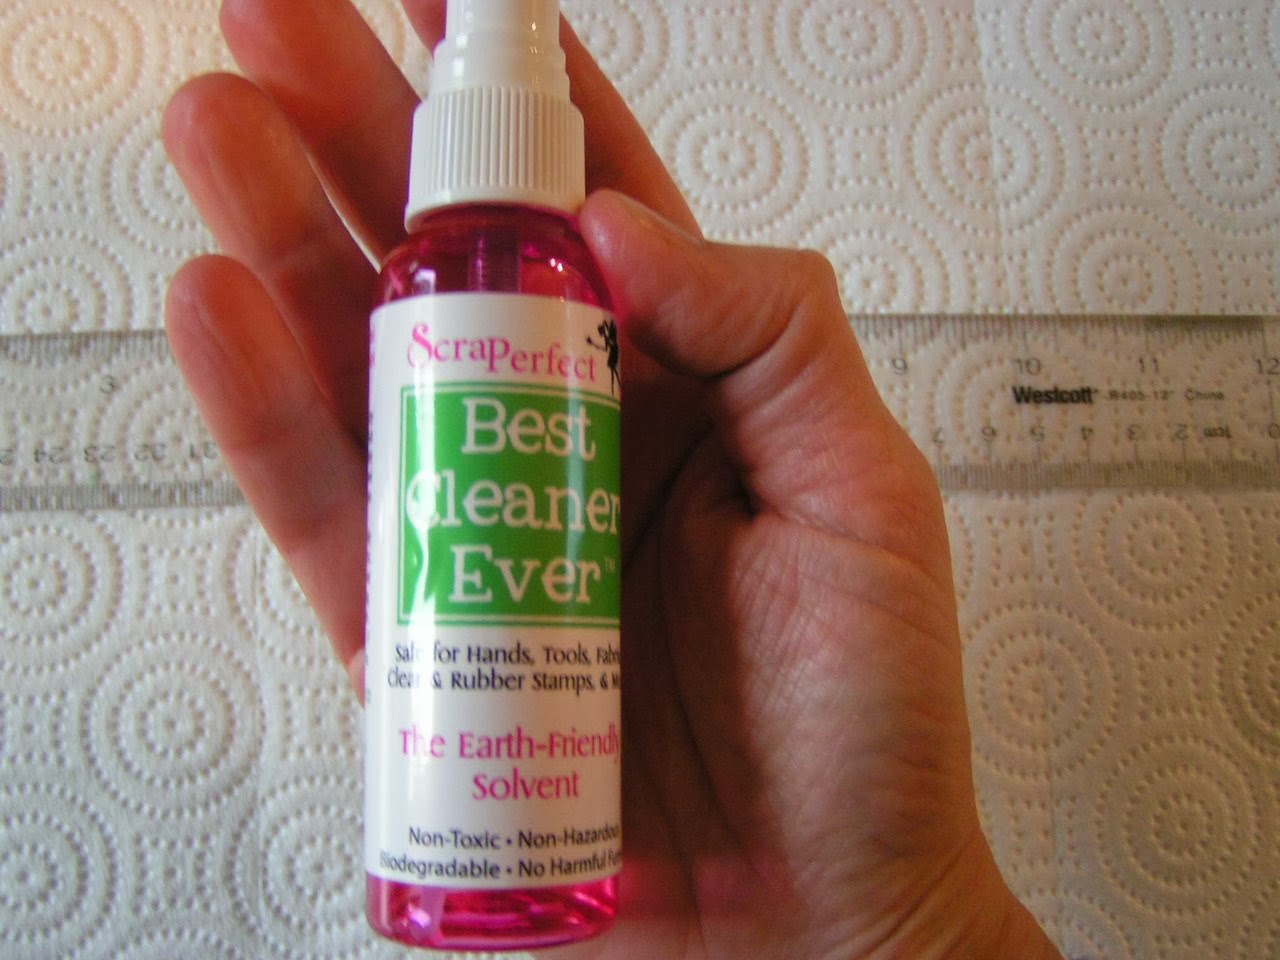
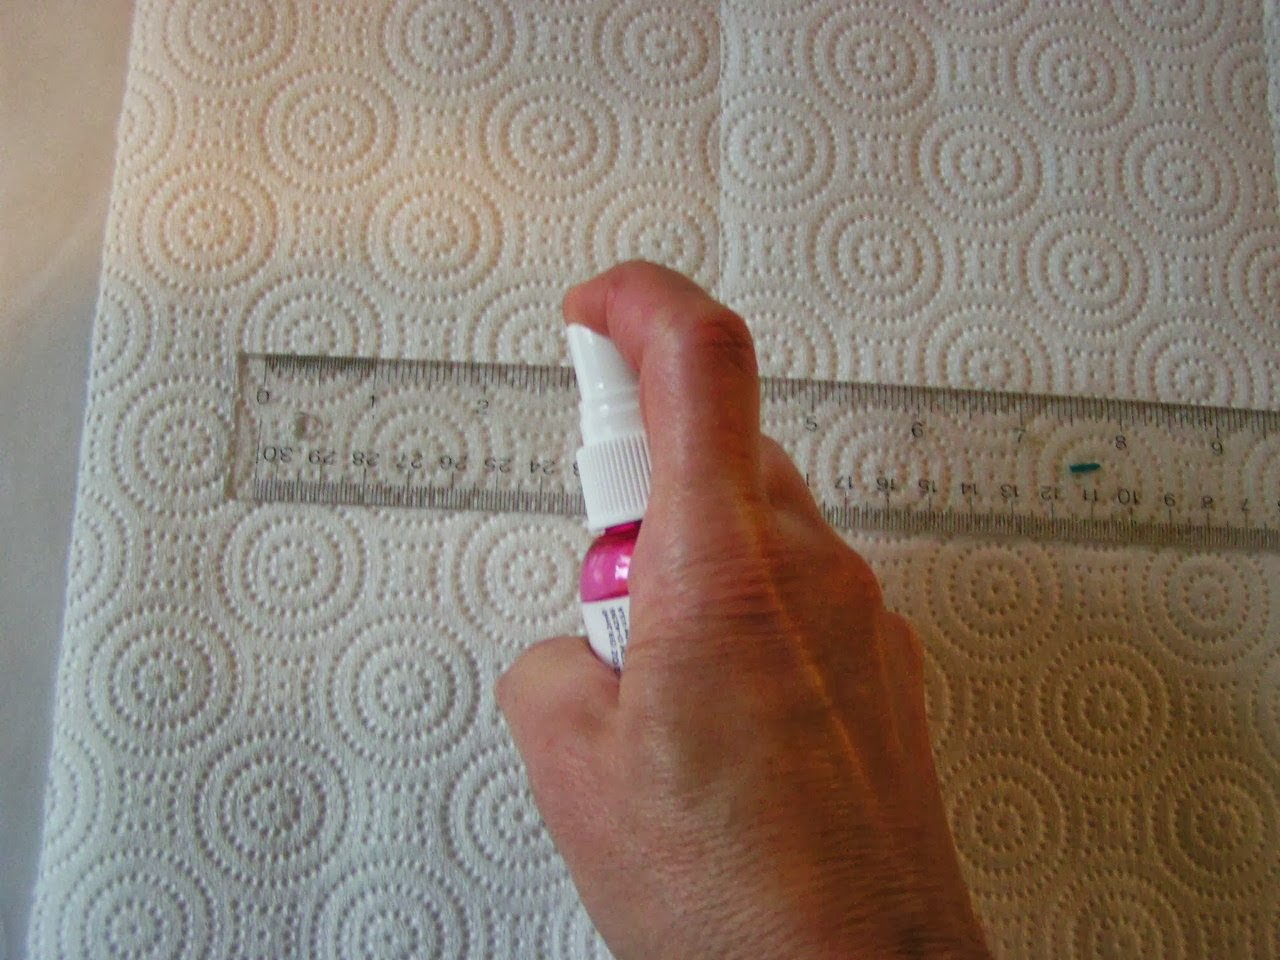
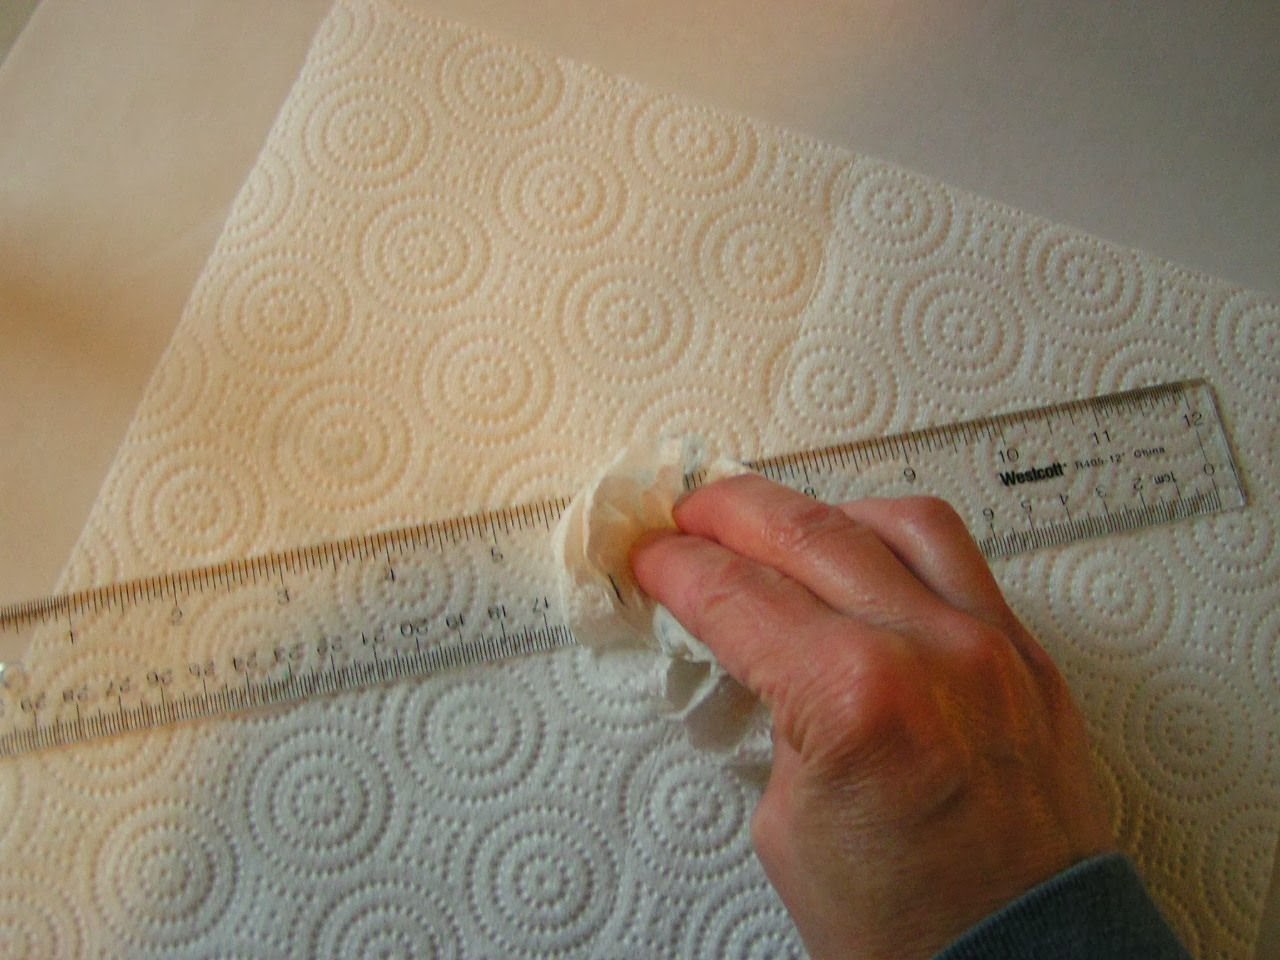
Ahh….Shiny clean! (Actually, now is a good time to clean all my rulers and scissors!)
3. Number it. Start with ZERO at the halfway mark (For a 12″ ruler, that’s at 6″)
What to use? The FASTEST way would be just a permanent marker.
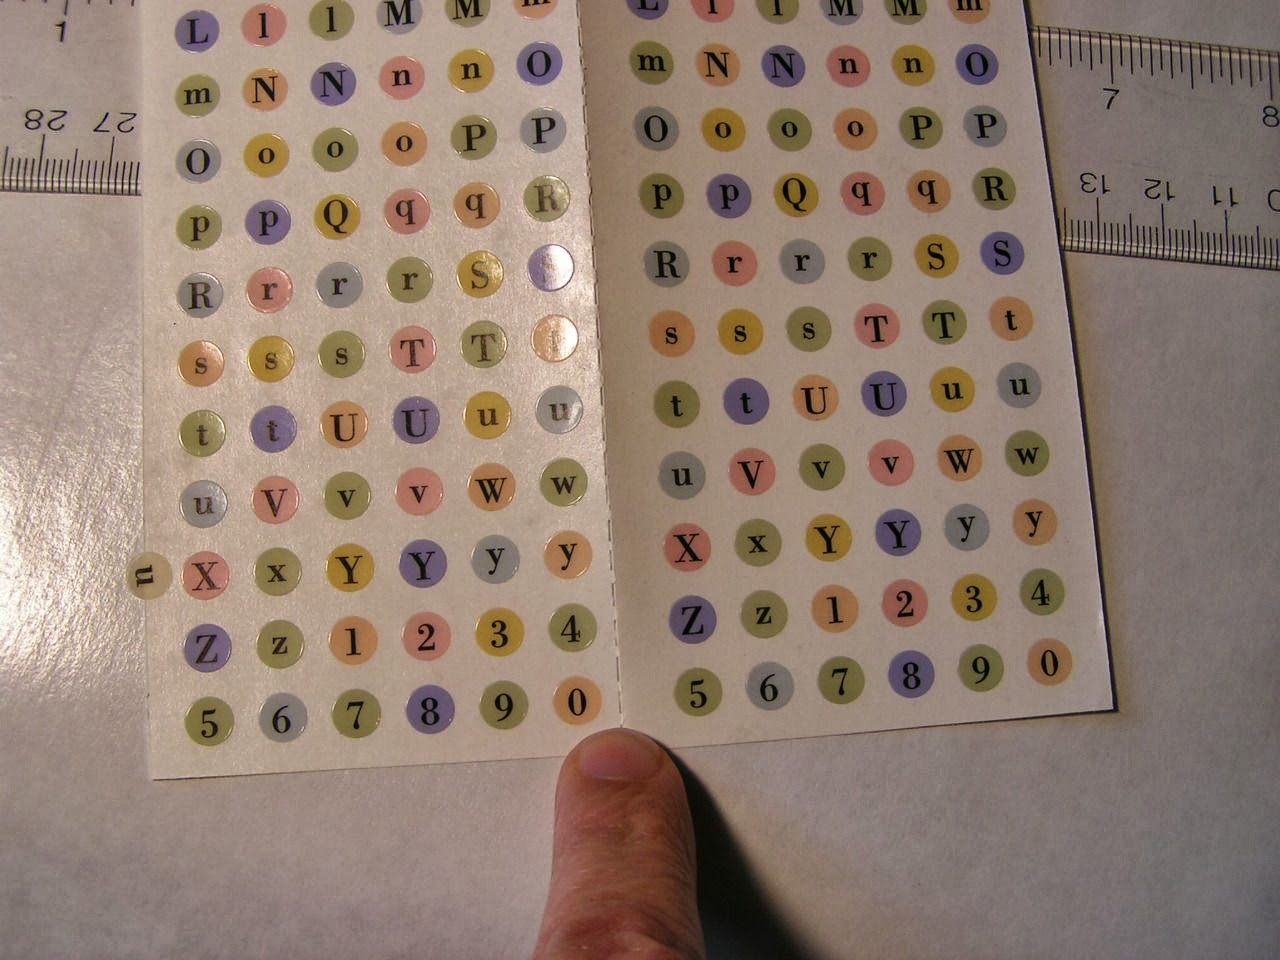
Letter (number) stickers would be good & easy.
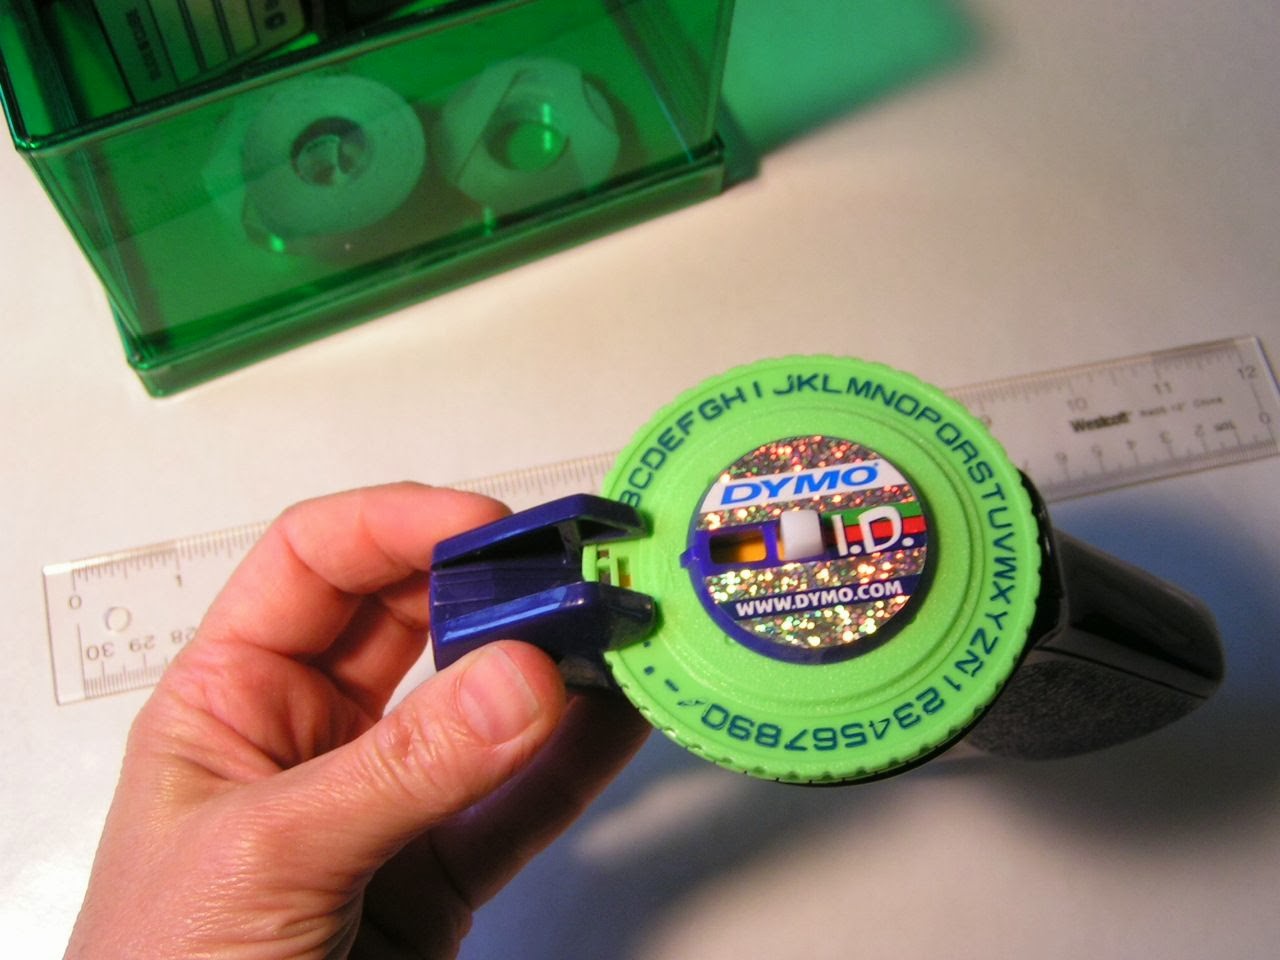
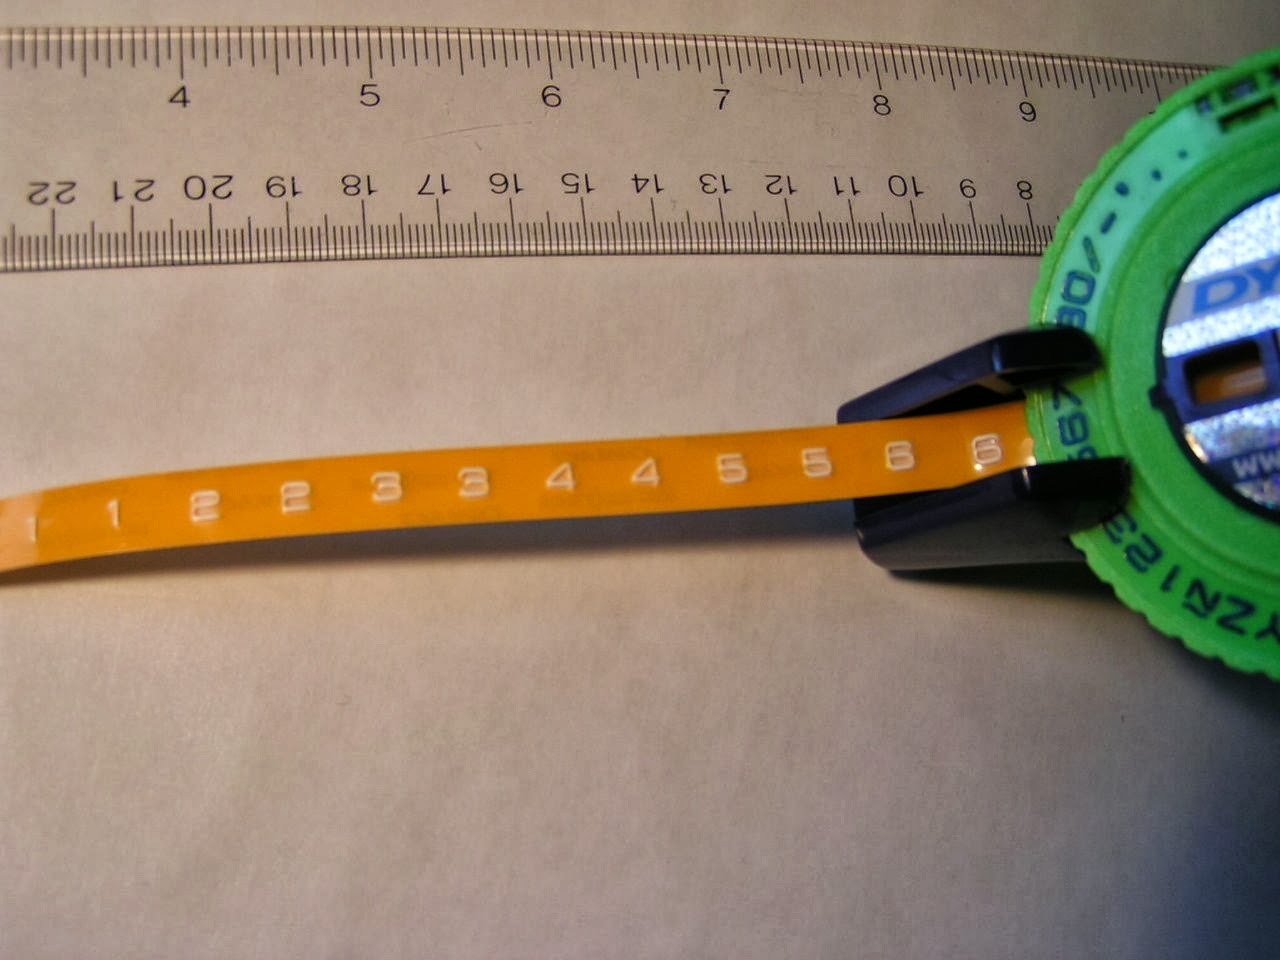
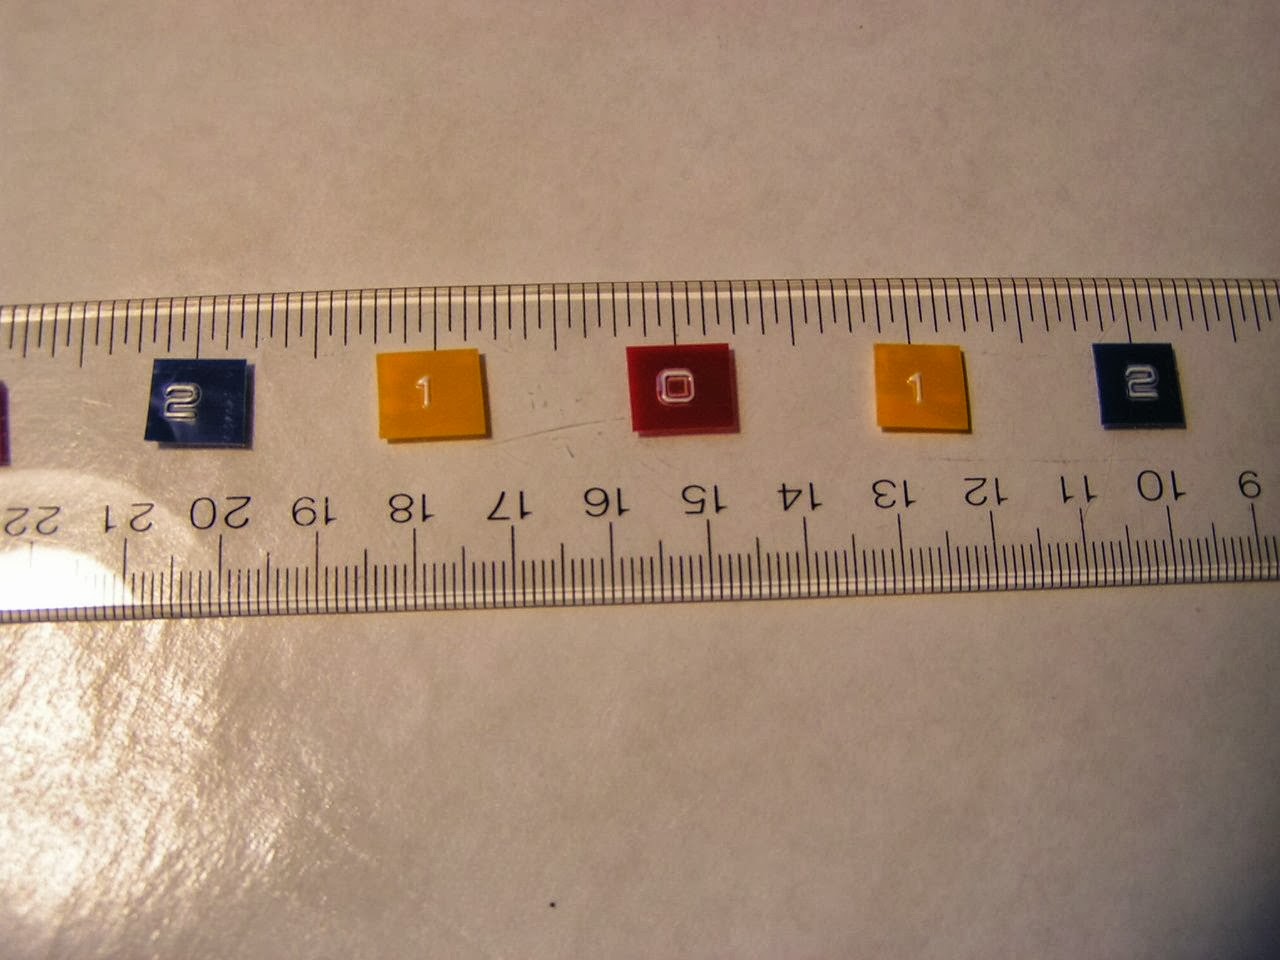
I decided to use my label maker beacsue I have one and rarely use it! (I got it with lots of spools very cheap at Goodwill!)
Then I decided to use color so that the same distance on either side would be the same color. Makes it easier to use and I had so many colors!
For inches, it’s pretty quick! But I really like to use the metric side. it’s SOOO much easier to count and more accurate. (One problem with math classes is they spend too much time teaching kids how to convert the units back and forth from English to Metrics instead of just using metrics. But I digress…)
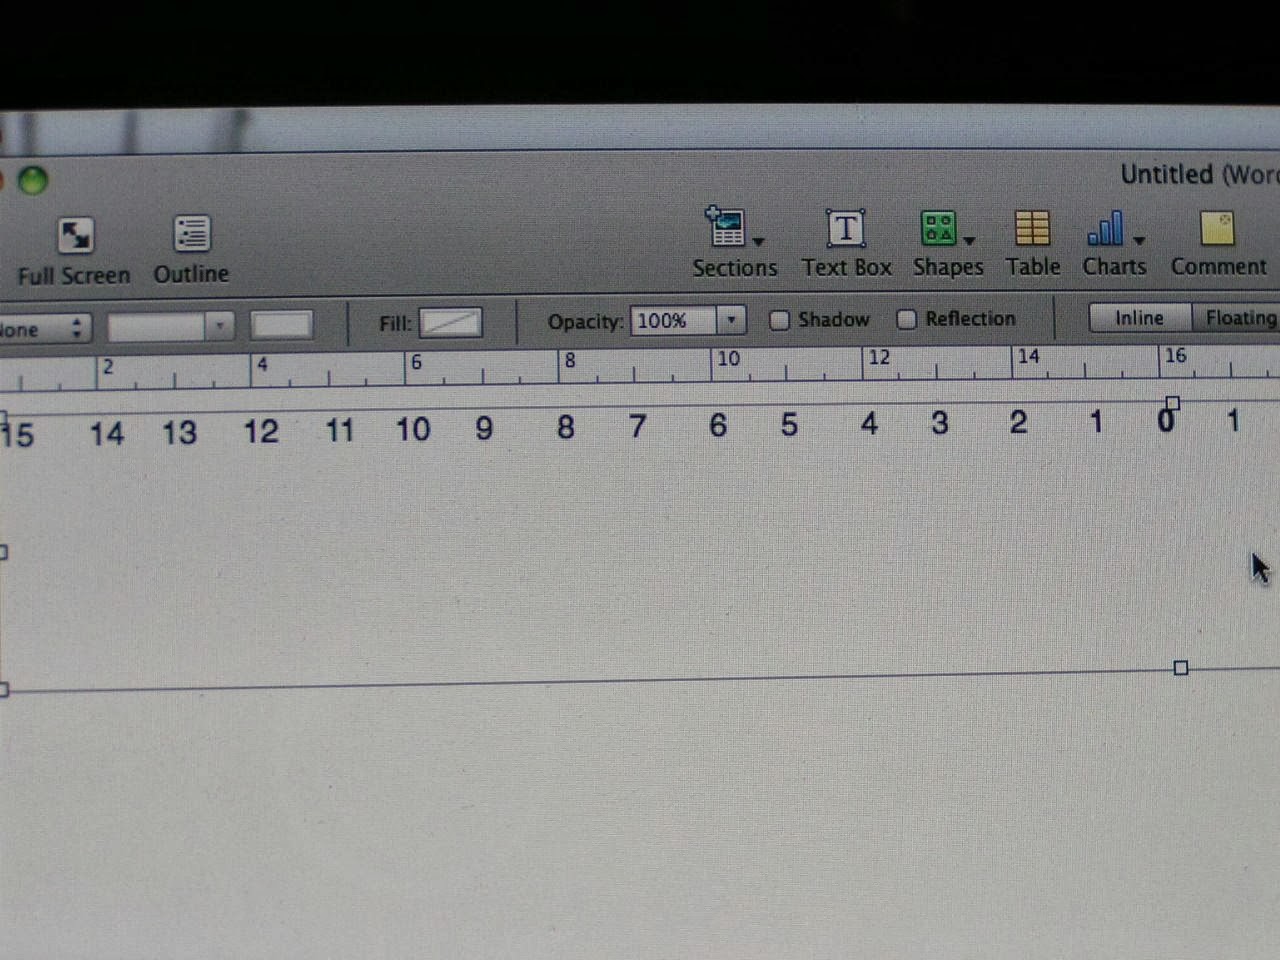
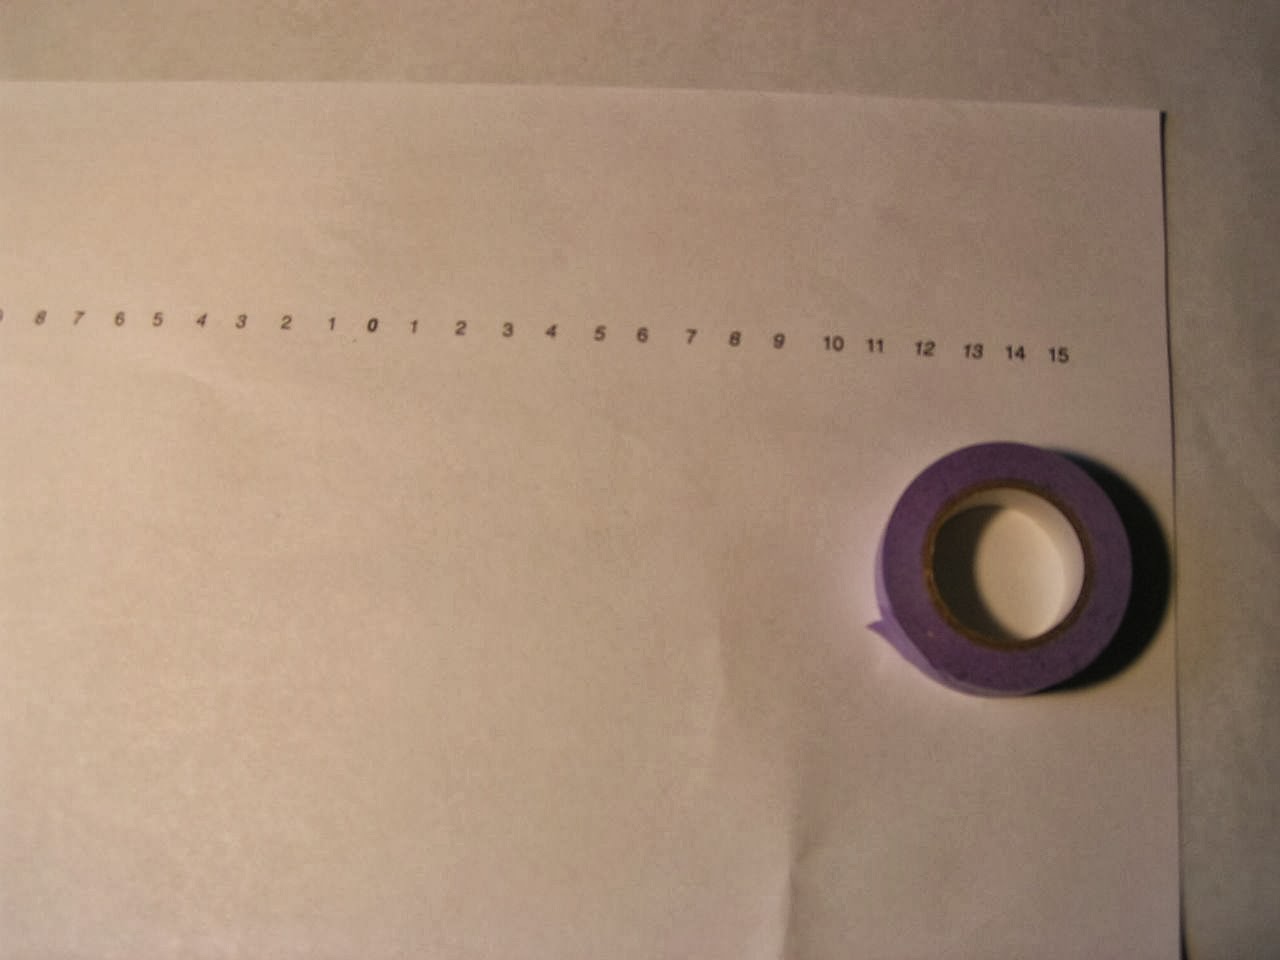
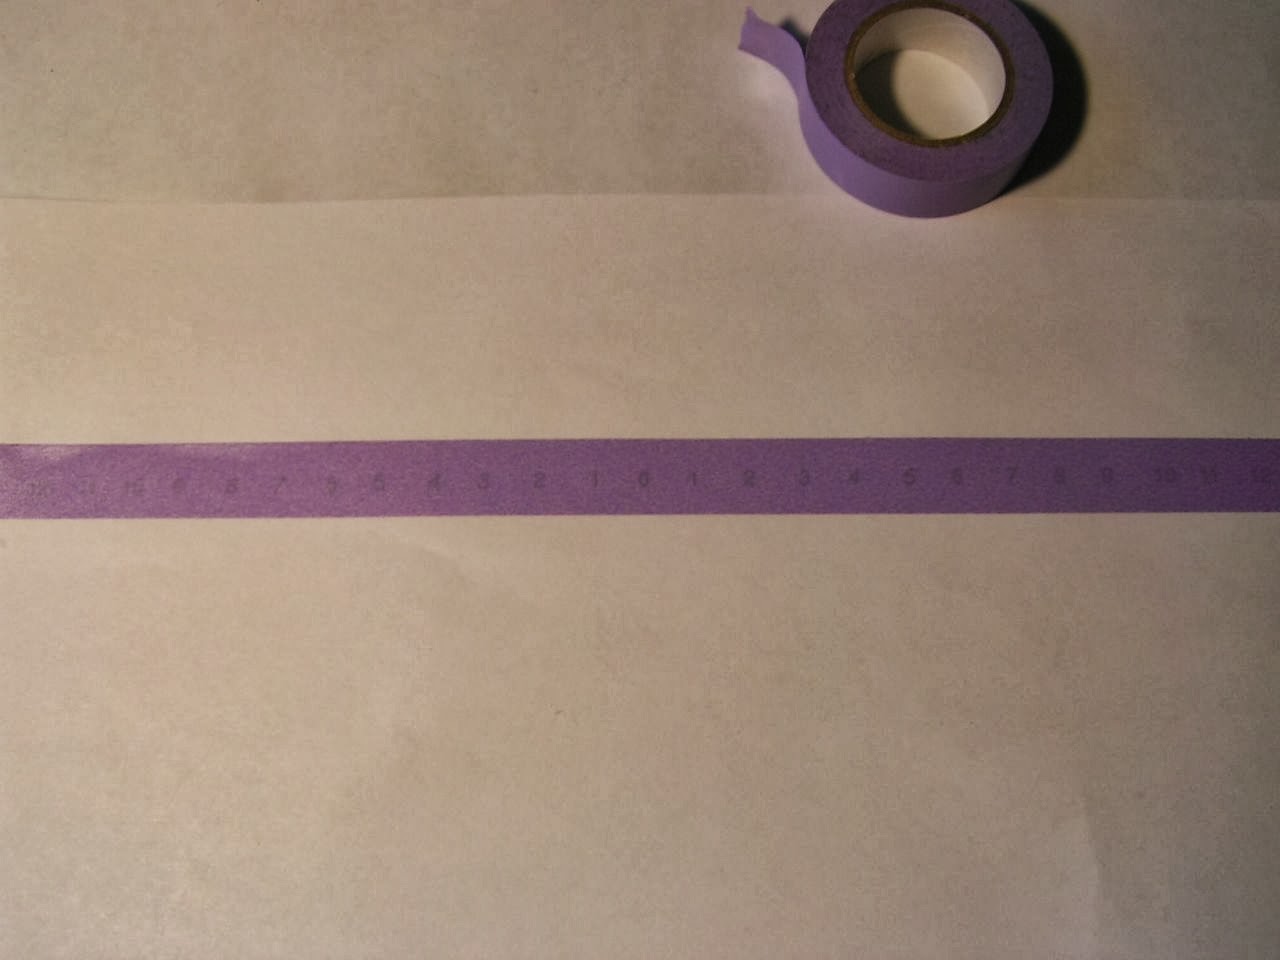
Anyway, since there’s so many more numbers, I decided to use my computer and printer. I opened a document. Changed the “rulers” to metric and typed the digits, aligning them with the ruler. Then I printed on a piece of paper.
I took a strip of WASHI tape, and stuck it to a cutting mat. I sliced it in half and applied it to the printed paper. (I use this technique a lot to be able to print on tiny scraps, etc. You can see it in the Printing on Vellum Video.)
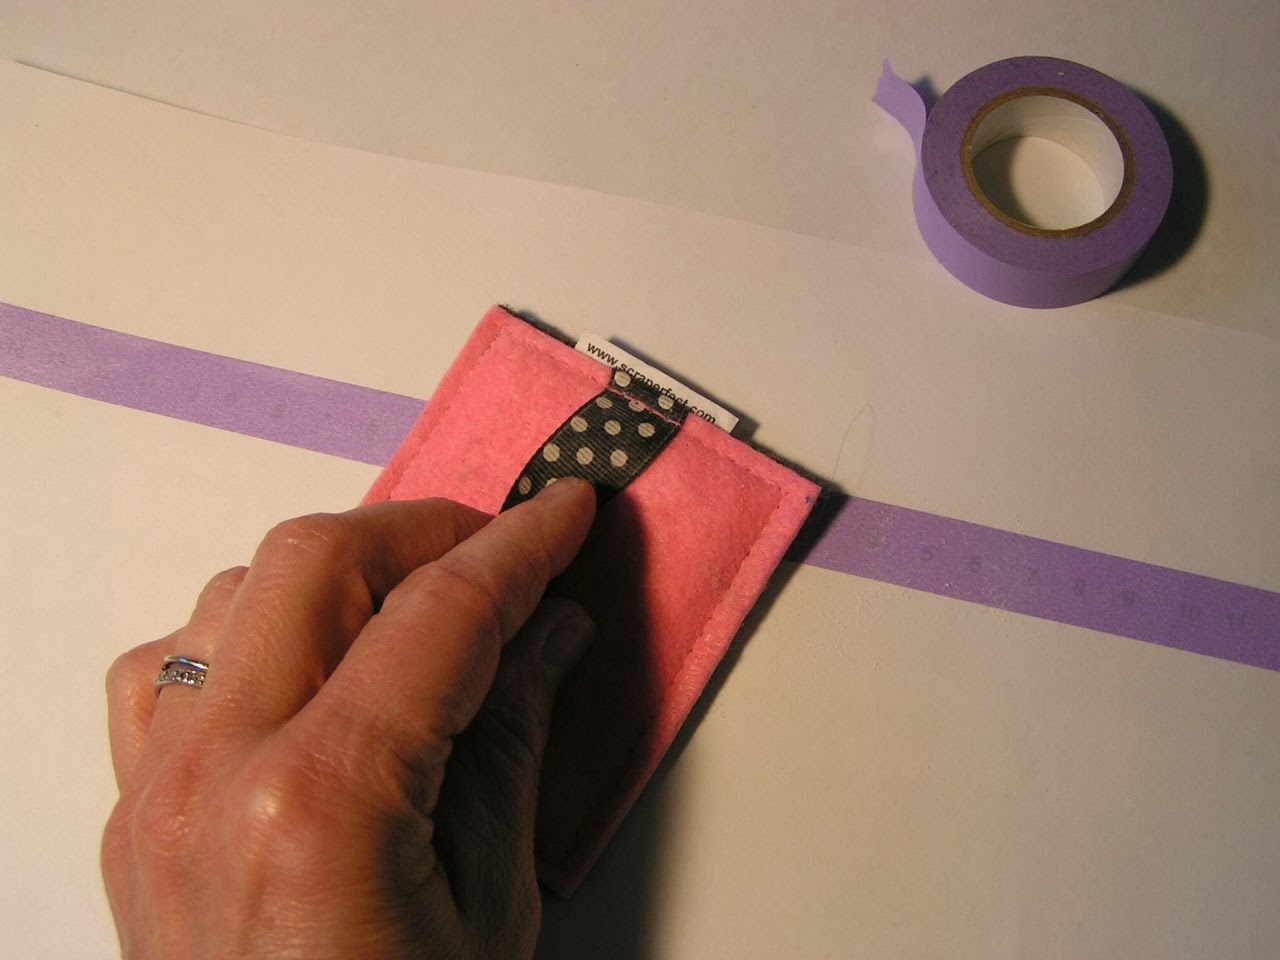
Then I treated it with The Perfect Crafting Pouch so that the ink will be bold and beautiful and won’t. smear. I send the paper back through the printer so it printed again–right on the WASHI tape.
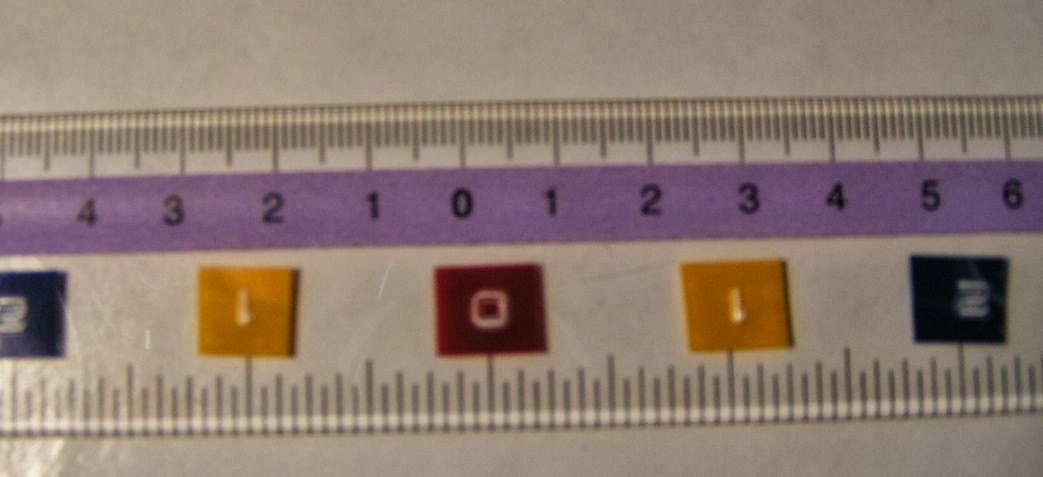
Then I stuck it onto the ruler…
BTW, here’s an old trick for using a ruler with stickers….
1. Just overlap the sticker onto the edge of the ruler. If you use a centering ruler, you can put the center letter at zero and move outwards. (Not necessary but …)
Apply the rest of the stickers.
2. Then tip the ruler’s edge so the stickers adhere to the place you want them to stick. Press them onto the paper and roll off the ruler.
Another trick: Make sure things are very crooked and then you don’t have to worry if you’re centering correctly and if they look a little off!

