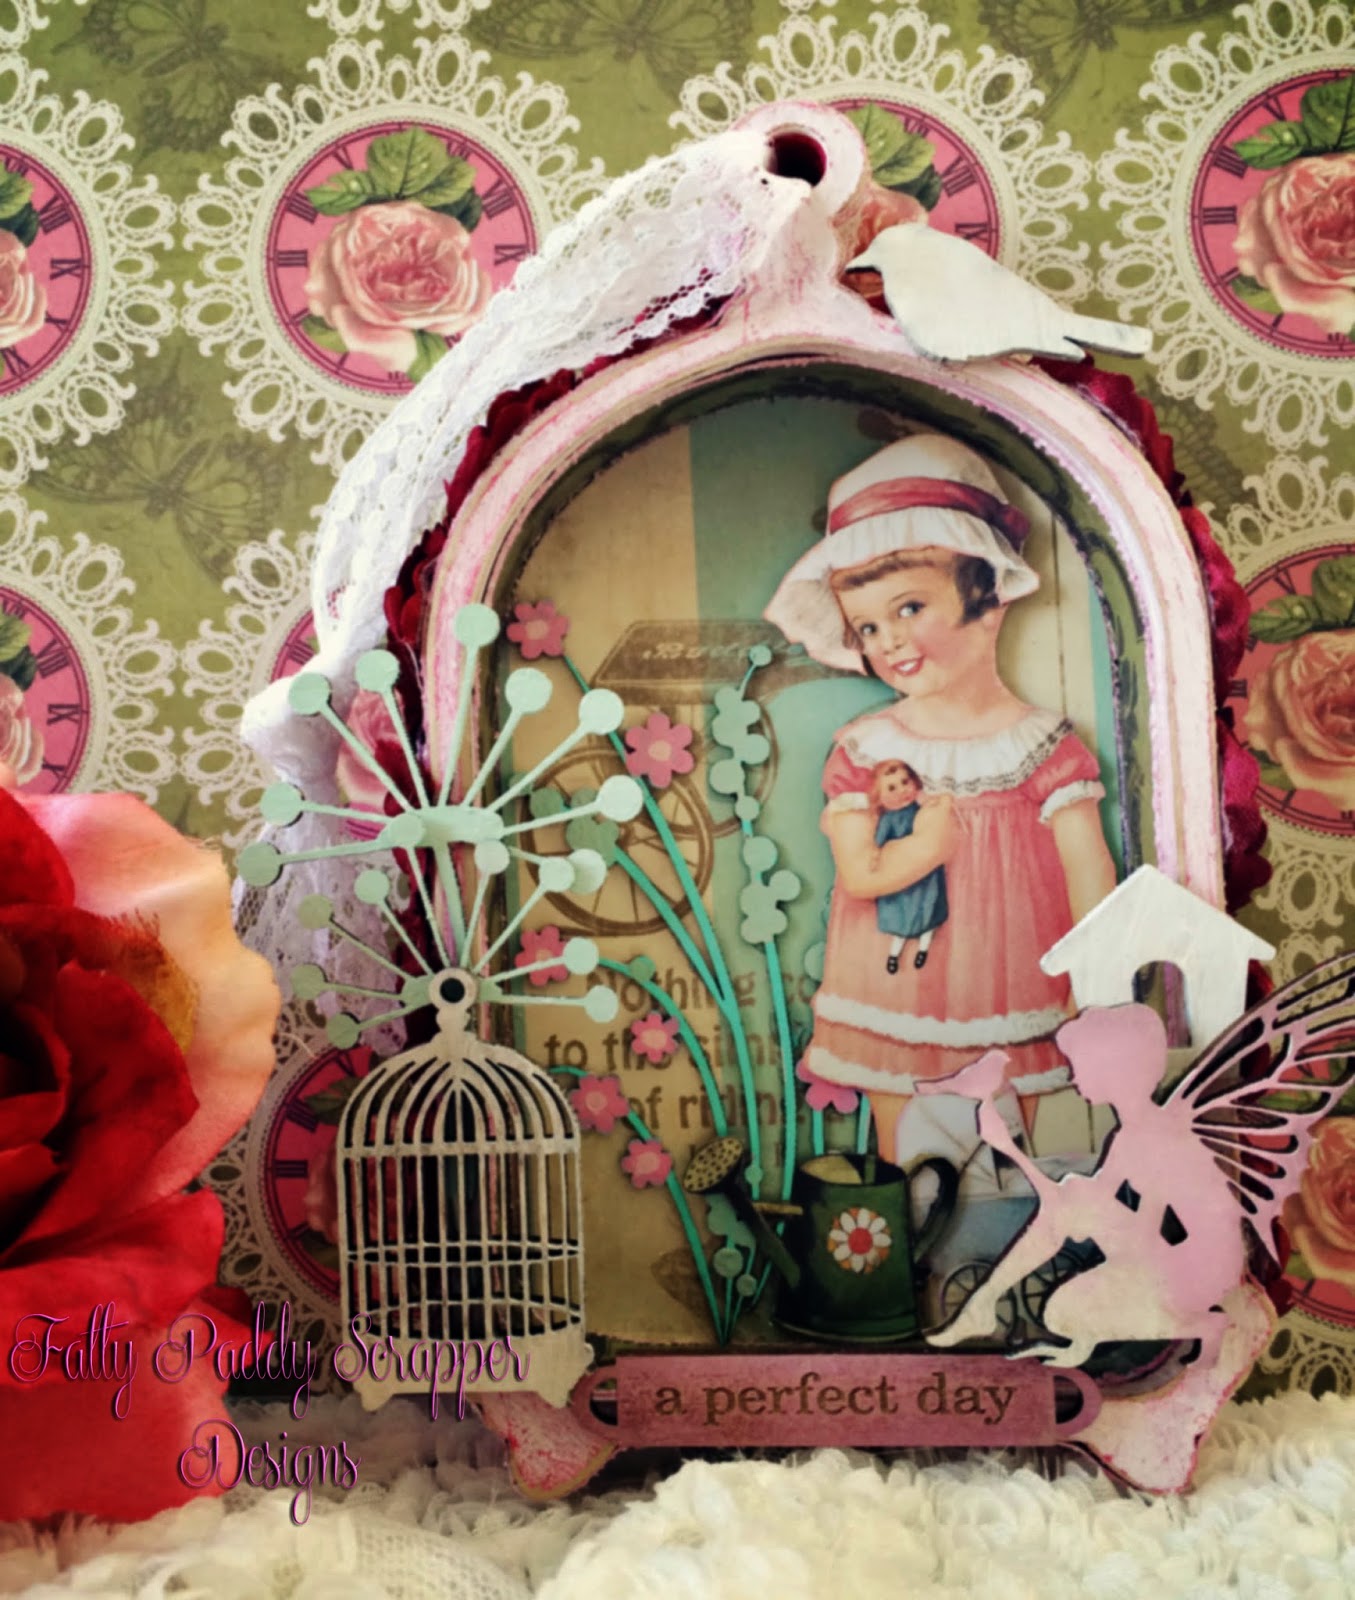
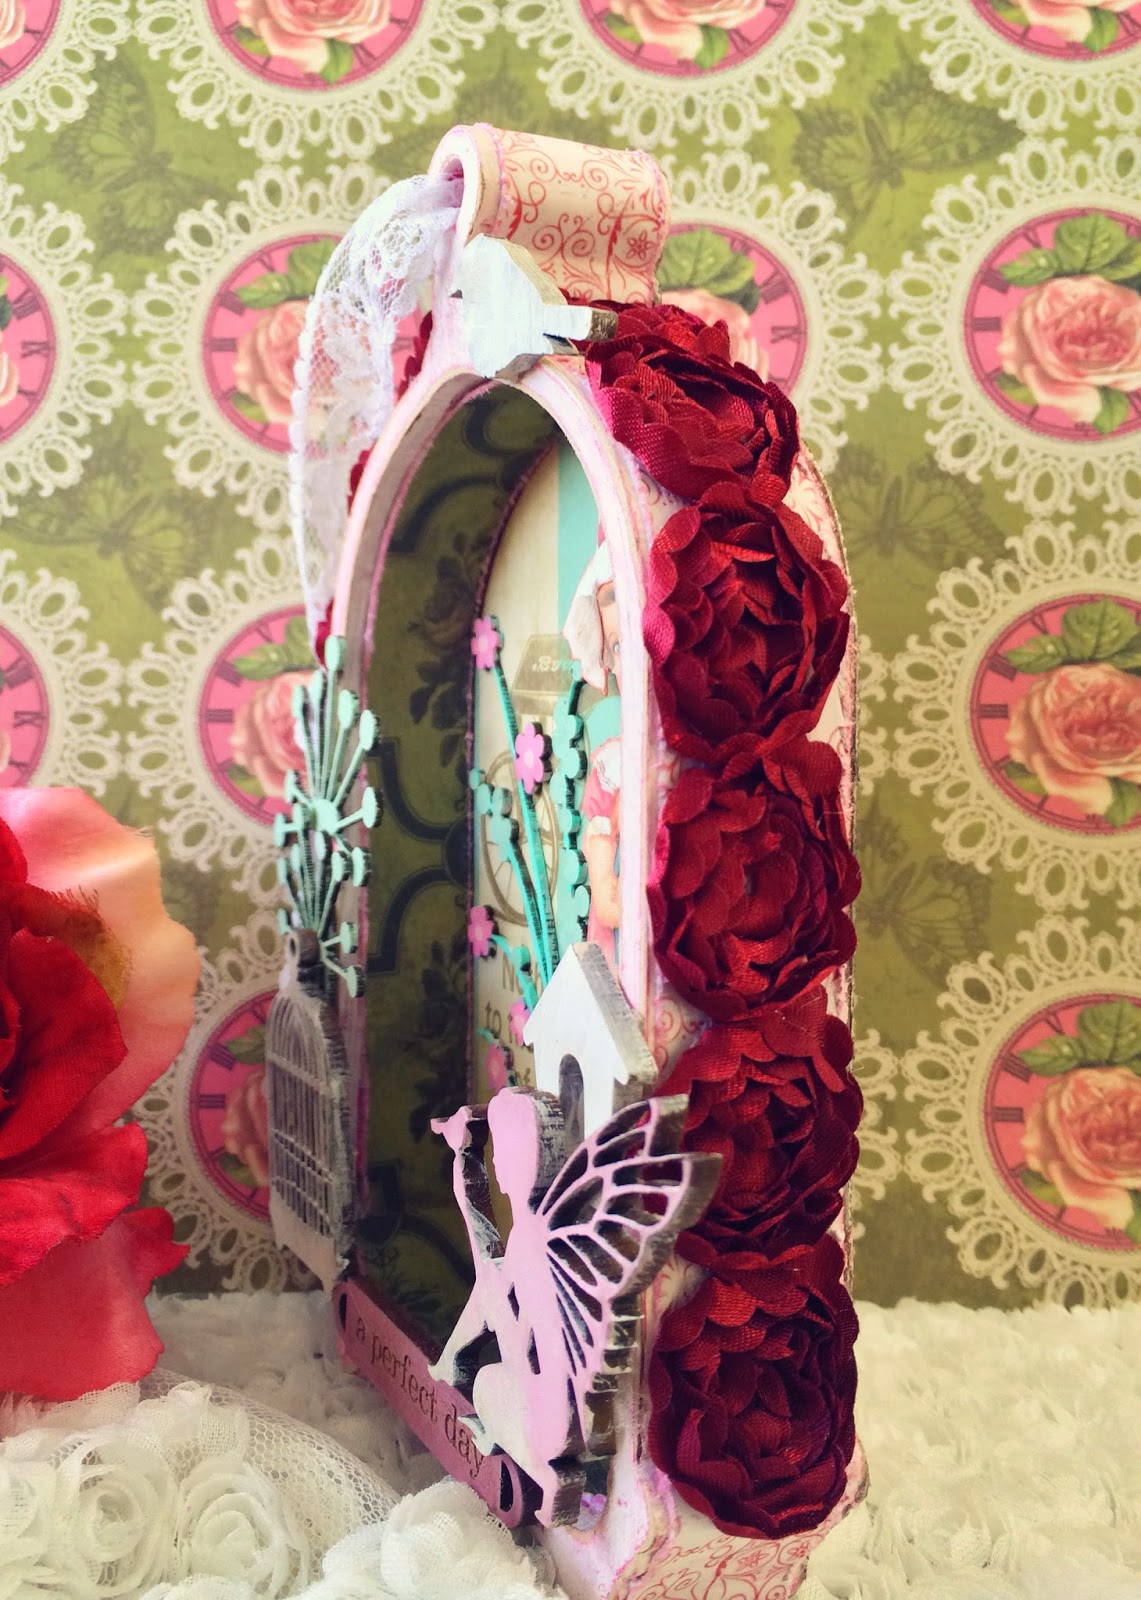
Hi Y’all, This is Kim Murray, today I am sharing with you my altered wooden birdcage shadow box using ScraPerfect’s Best Glue Ever.
#MagicalMarchWithScraPerfect
I knew that I wanted to create something very shabby chic as I am re-doing my home décor to shabby chic, so when I saw the birdcage shadow box I knew that it had to be my first project. I always start off by grabbing my Best Glue Ever, paints and several chipboard and wooden embellies, decorated paper and lots of trims to brainstorm with. Below is my first idea I had in mind.
Eventually my whole idea came into mind. First I glued my shadow box together with wood glue, and set aside to dry. Second I began to give my embellishments a coat of gesso. Then I started painting the birdcage with a coat of gesso and then painted with a pink color , let dry and used sandpaper to give it a shabby distress look.
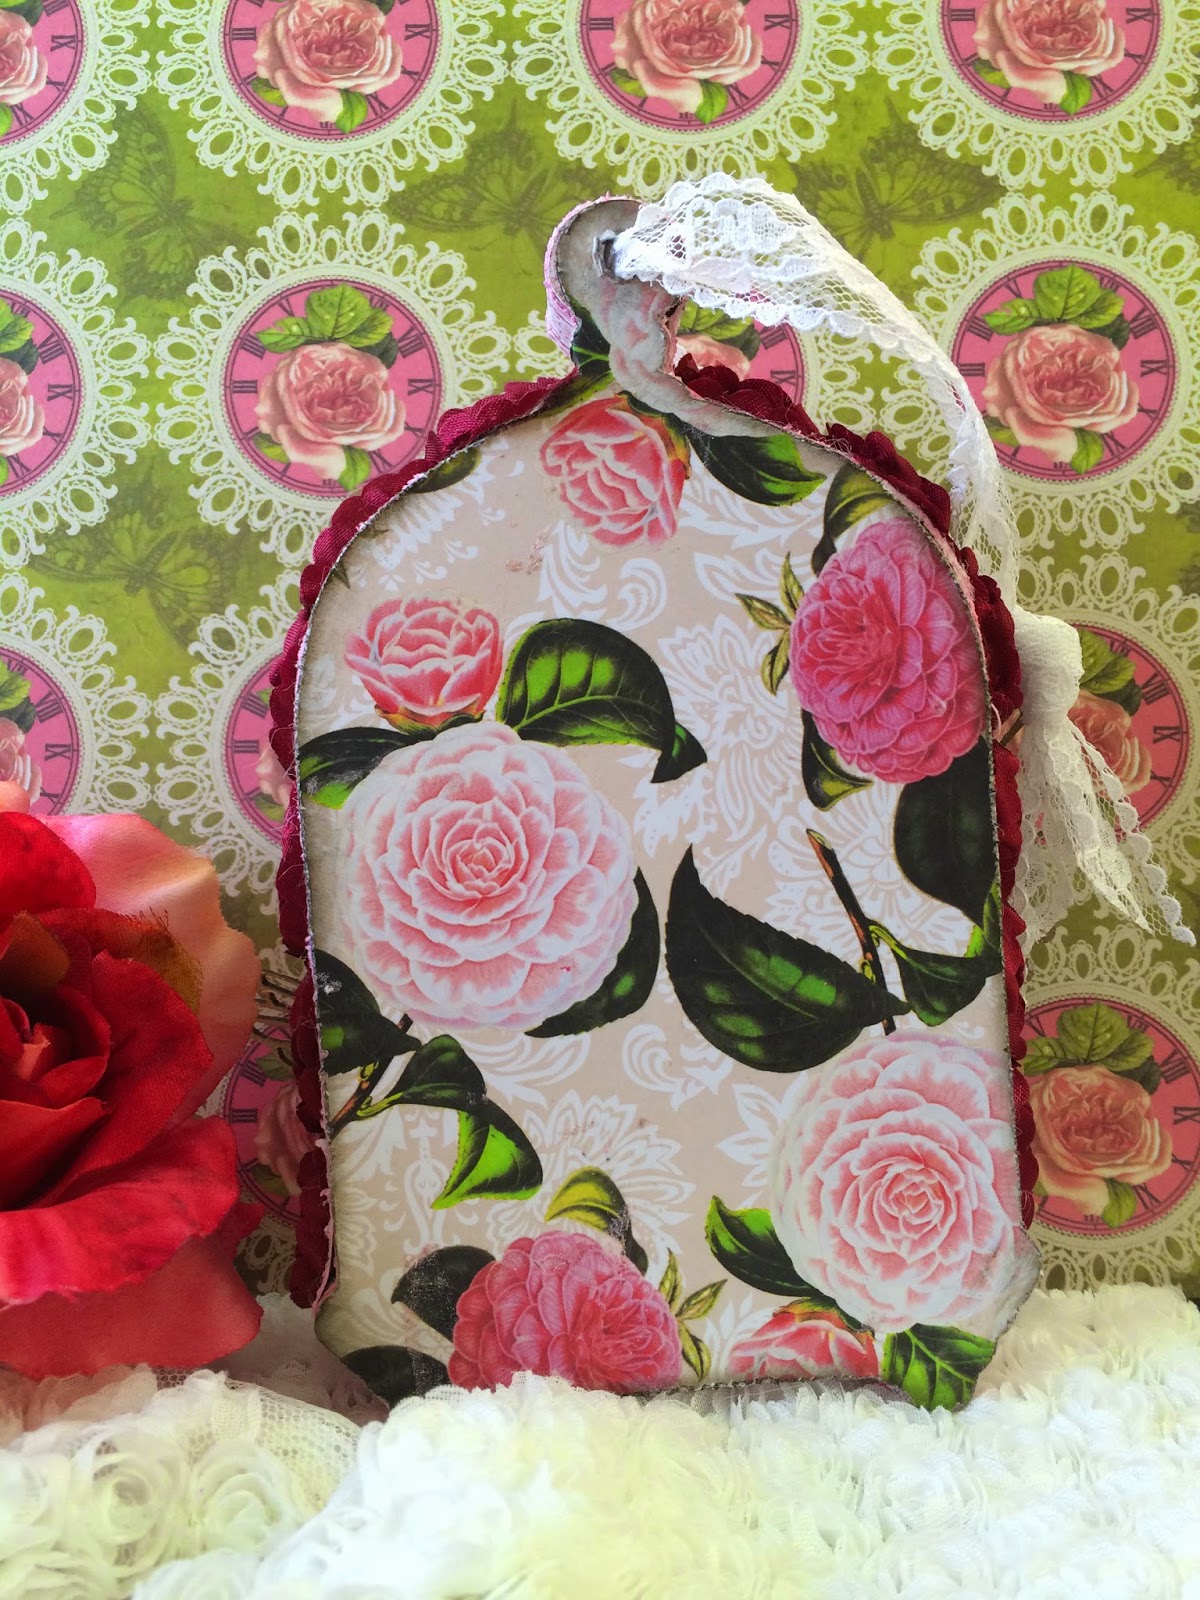
I then grabbed all the papers I was going to use and traced the shadow box in order to get my front inside and outside design and then measured the inside depth and outside width to get my sides measurements to cut my papers. After I finished cutting the papers I then prepared then by using Tim Holtz paper distressing tool and then chose chalk distress ink in the color bloom to give some outline to the edges to make them pop a little. I then cut out some of the paper doll ephemera from Marion Smith’s “Never Grow Up” Scrapbook paper. I also used the same prima distress ink around their edges. I then glued all papers in place using ScraPerfect’s the Best Glue Ever to keep the paper from getting over saturated and bubbling up, this is a must have in your crafting artillery and lastly I painted the chipboard flowers and wood fairy. I almost forgot to mention that for the wooden sentiment I did not gesso that first, I left it bare and then used Tim Holtz distress ink fillers “Victorian Velvet” with a small tiny paint brush as to make sure that you could still see the words.
After the embellies were dry I glued them on with Best Glue Ever to ensure that they would stay on and to make sure if I went outside the edges and got it on the paper, Best Glue Ever dries on clear, so no “Uh Oh’s”. Below is my finished product, I hope you like it as much as I do and have a wonderful day!


