
Good Morning ScraPerfect friends, Chelsea here! I like to share another way I use my Embellie Gellie.
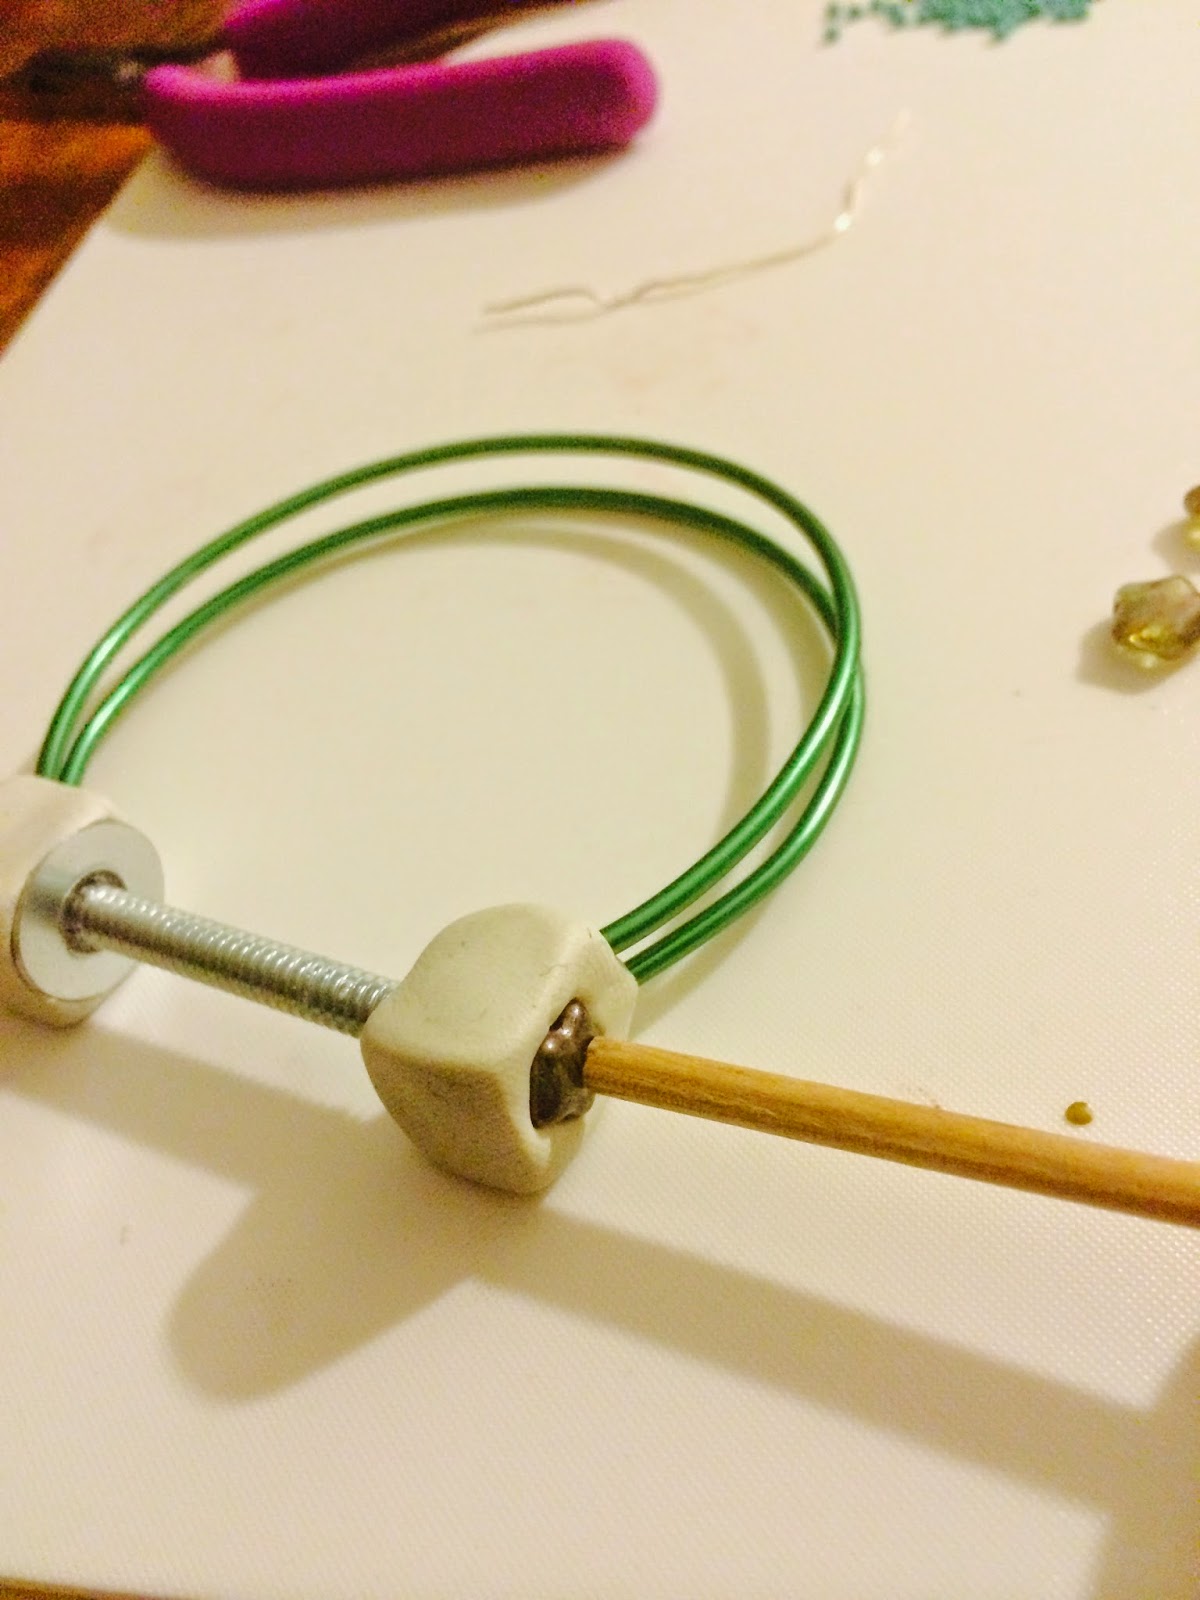
I work a lot with self hardening clay when I am making jewelery projects. Using small embellishments; seed beads, small decorative beads and chatons just to name a few, can be tricky to use your fingers with. The Embellie Gellie has been a life saver allowing me to create projects quickly and easily.
The Embellie Gellie is a universal tool which every crafter should have in there tool kit. It is a light weight pick up tool that works on a variety of objects. I love testing out the flexibility of the Embellie Gellie.
Let’s jump into today quick Embellie Gellie tip.
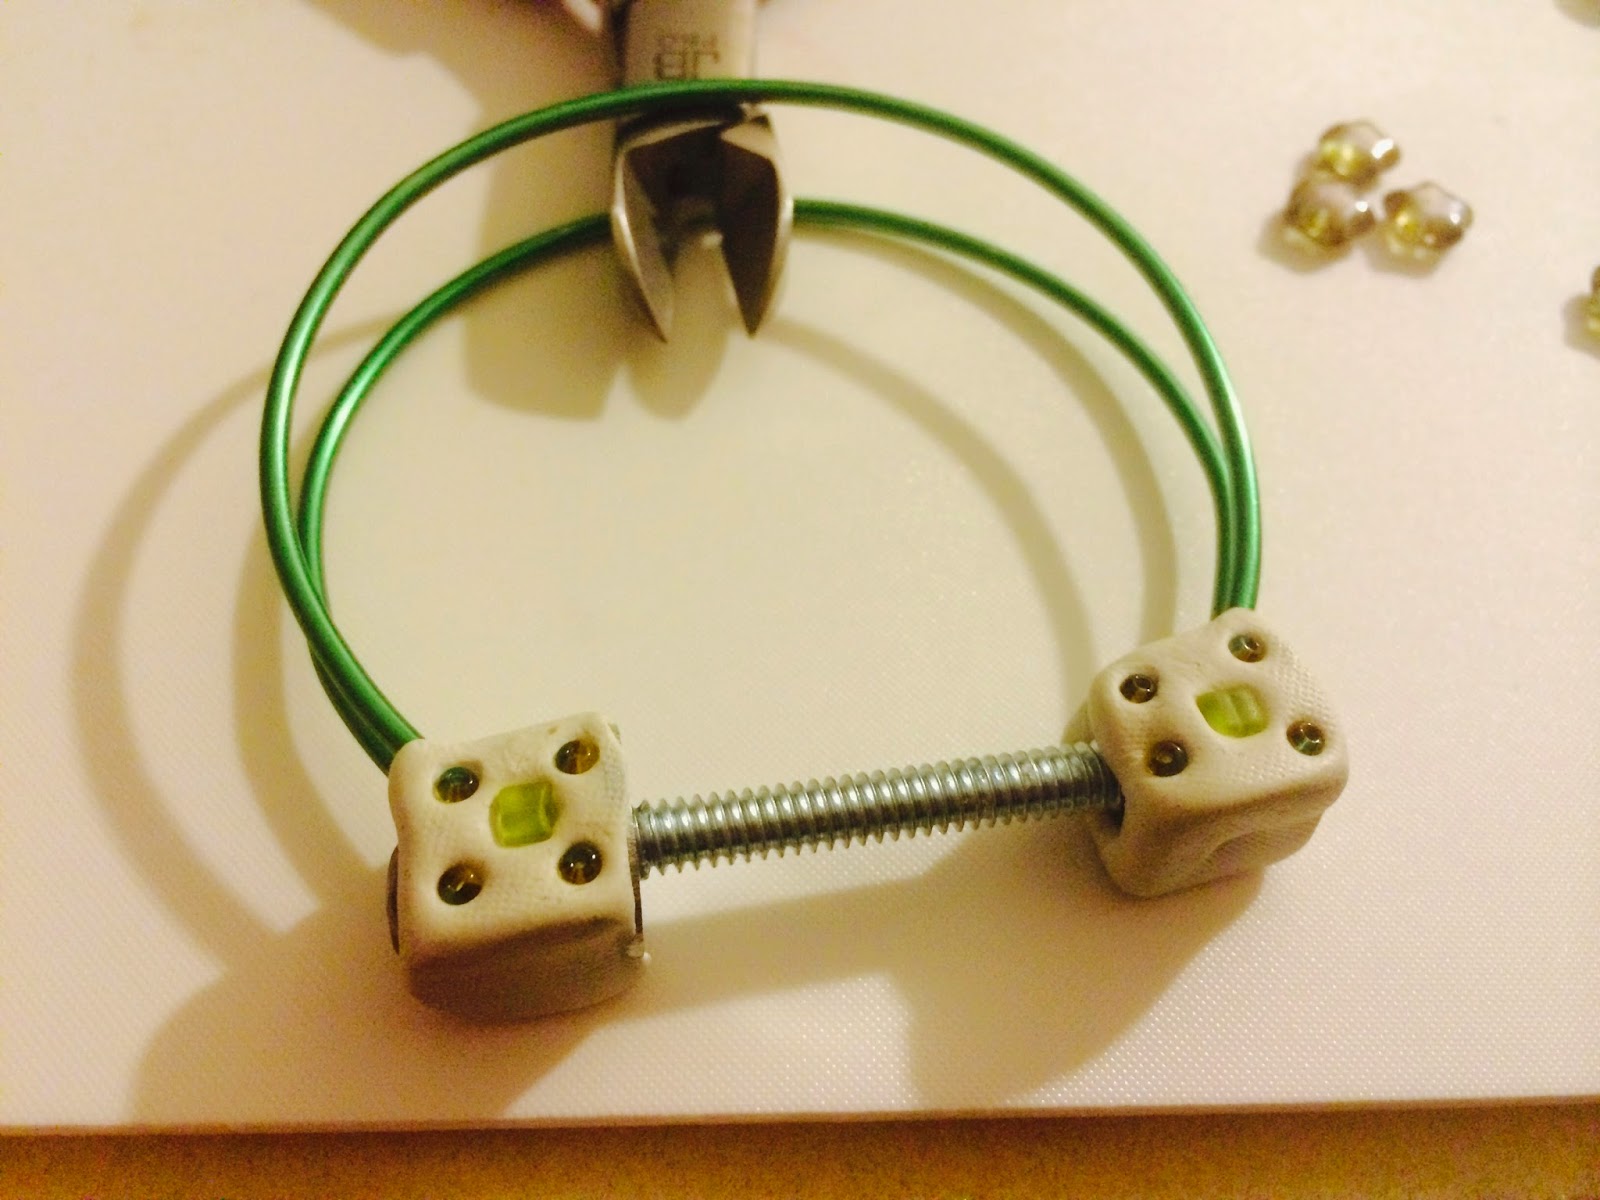
I had some seed beads along with some small beads that I wanted to attach to my clay piece. No matter how tiny or how large an object is, the Embellie Gellie will always pick it up and place it gently where you would like it.

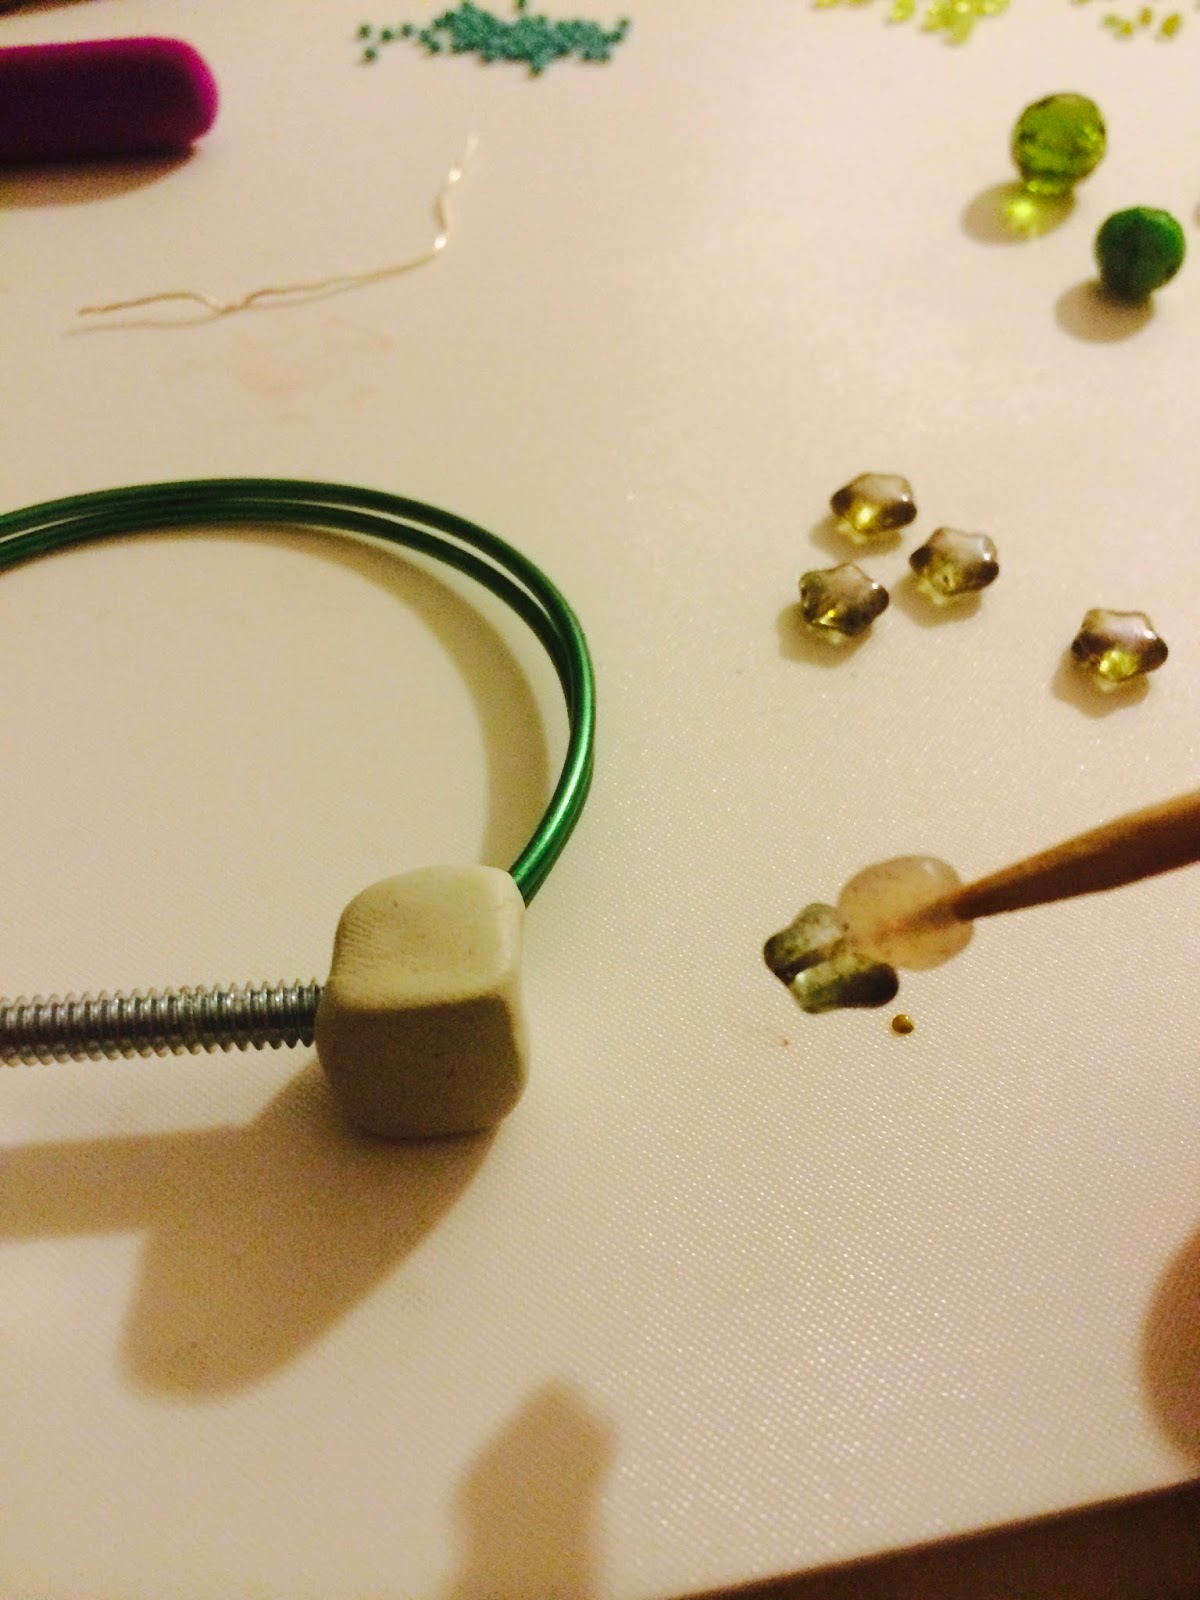
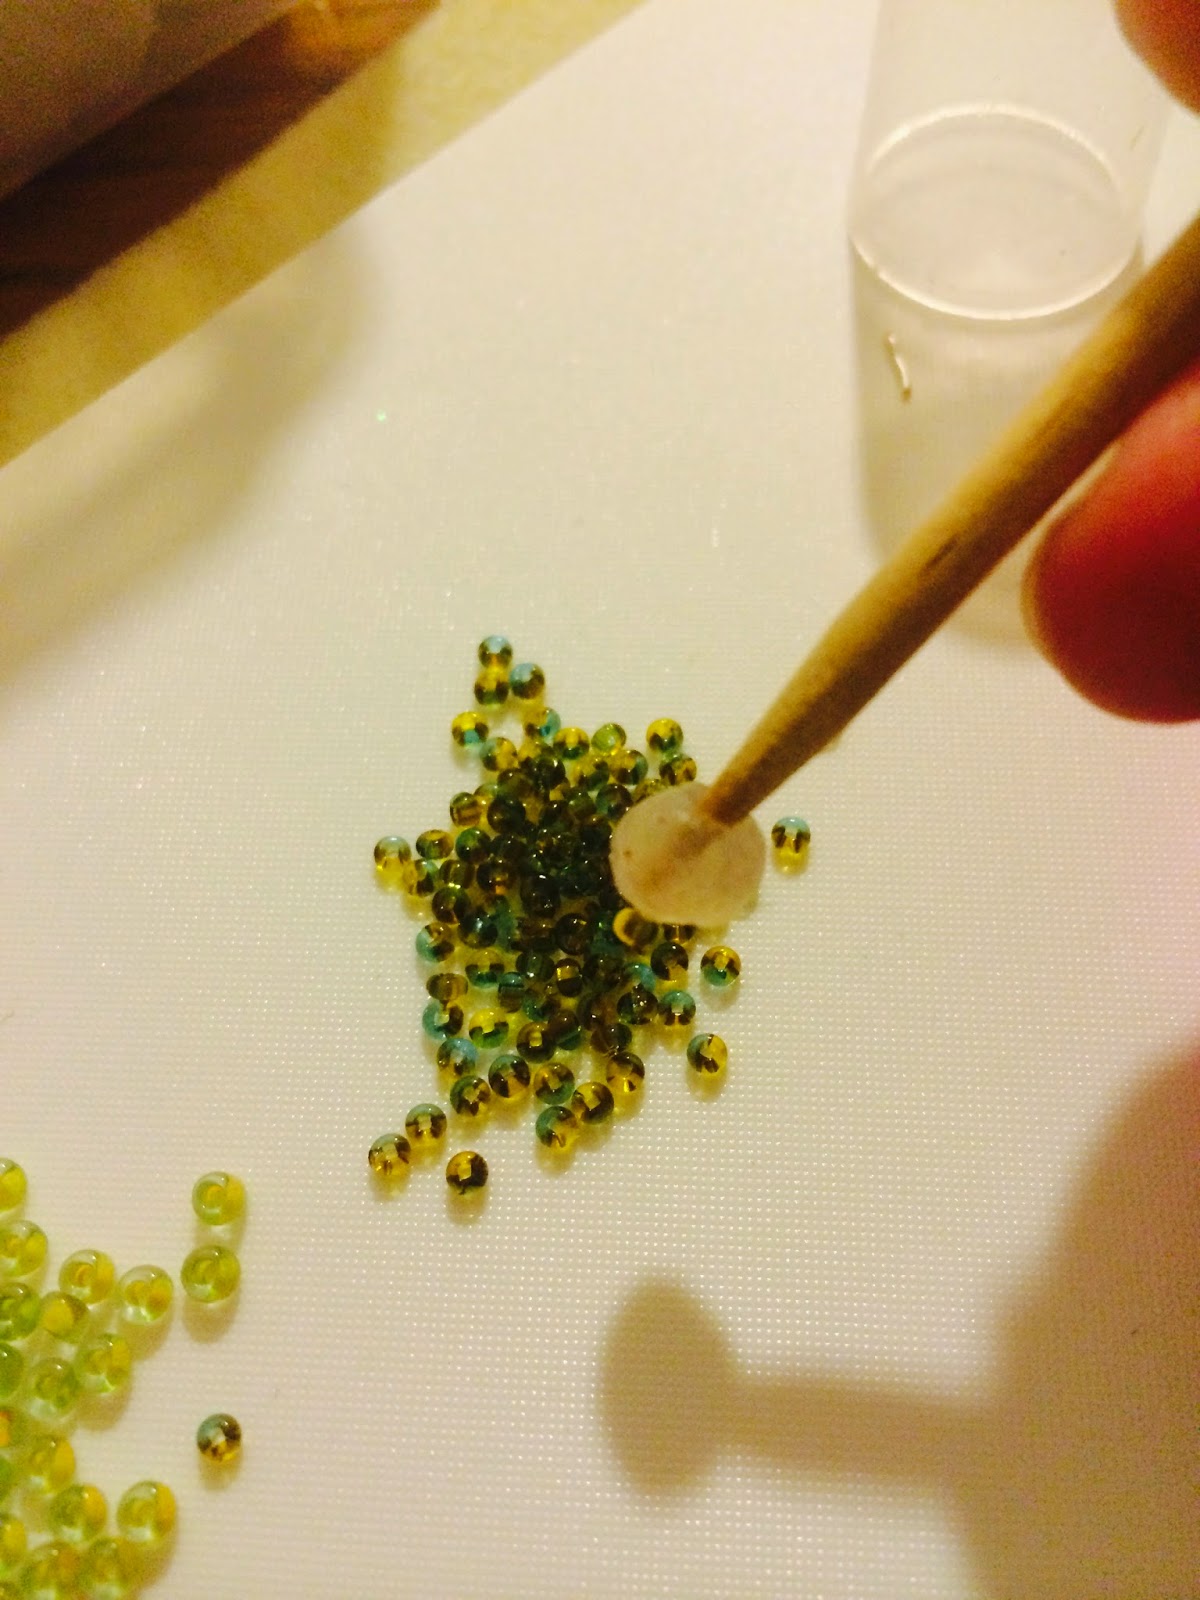
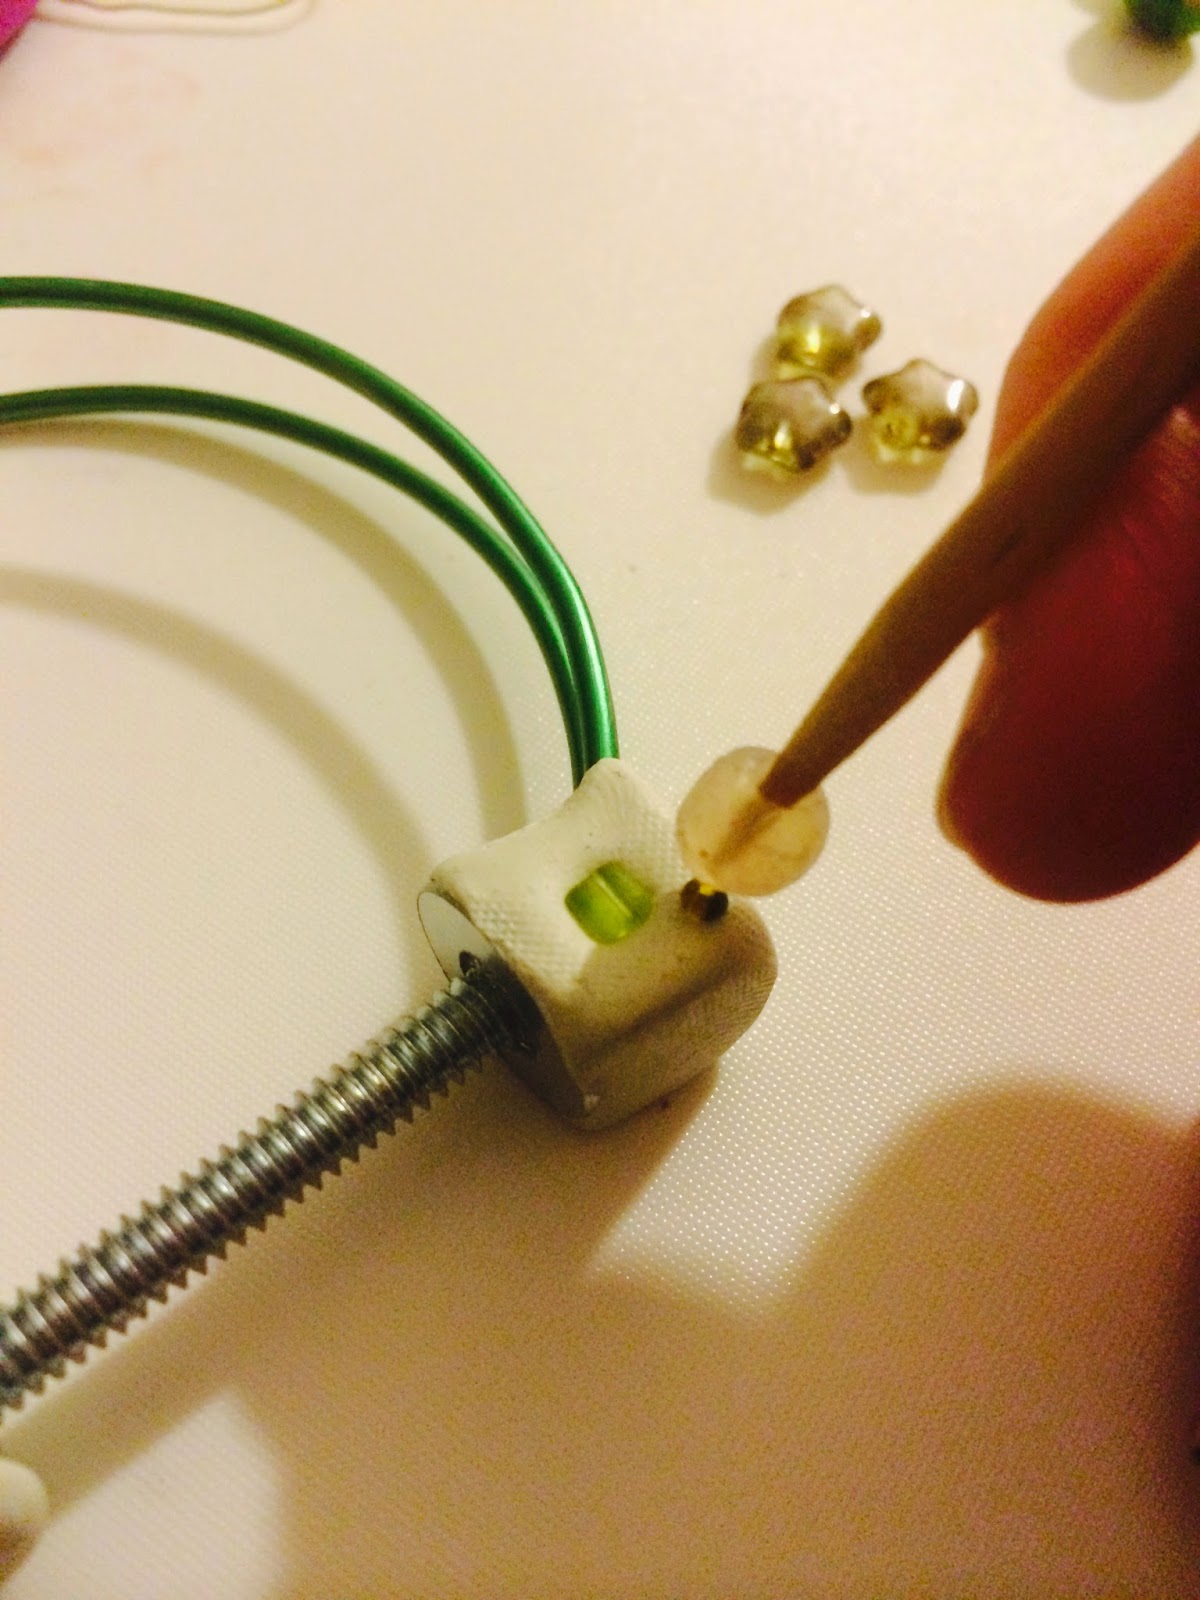
With a light touch I pick up each embellishment and lightly place it on the tacky clay.
*TIP: When attaching embellishments to your project always roll the Embellie Gellie tool away from you to release your embellishment object.*
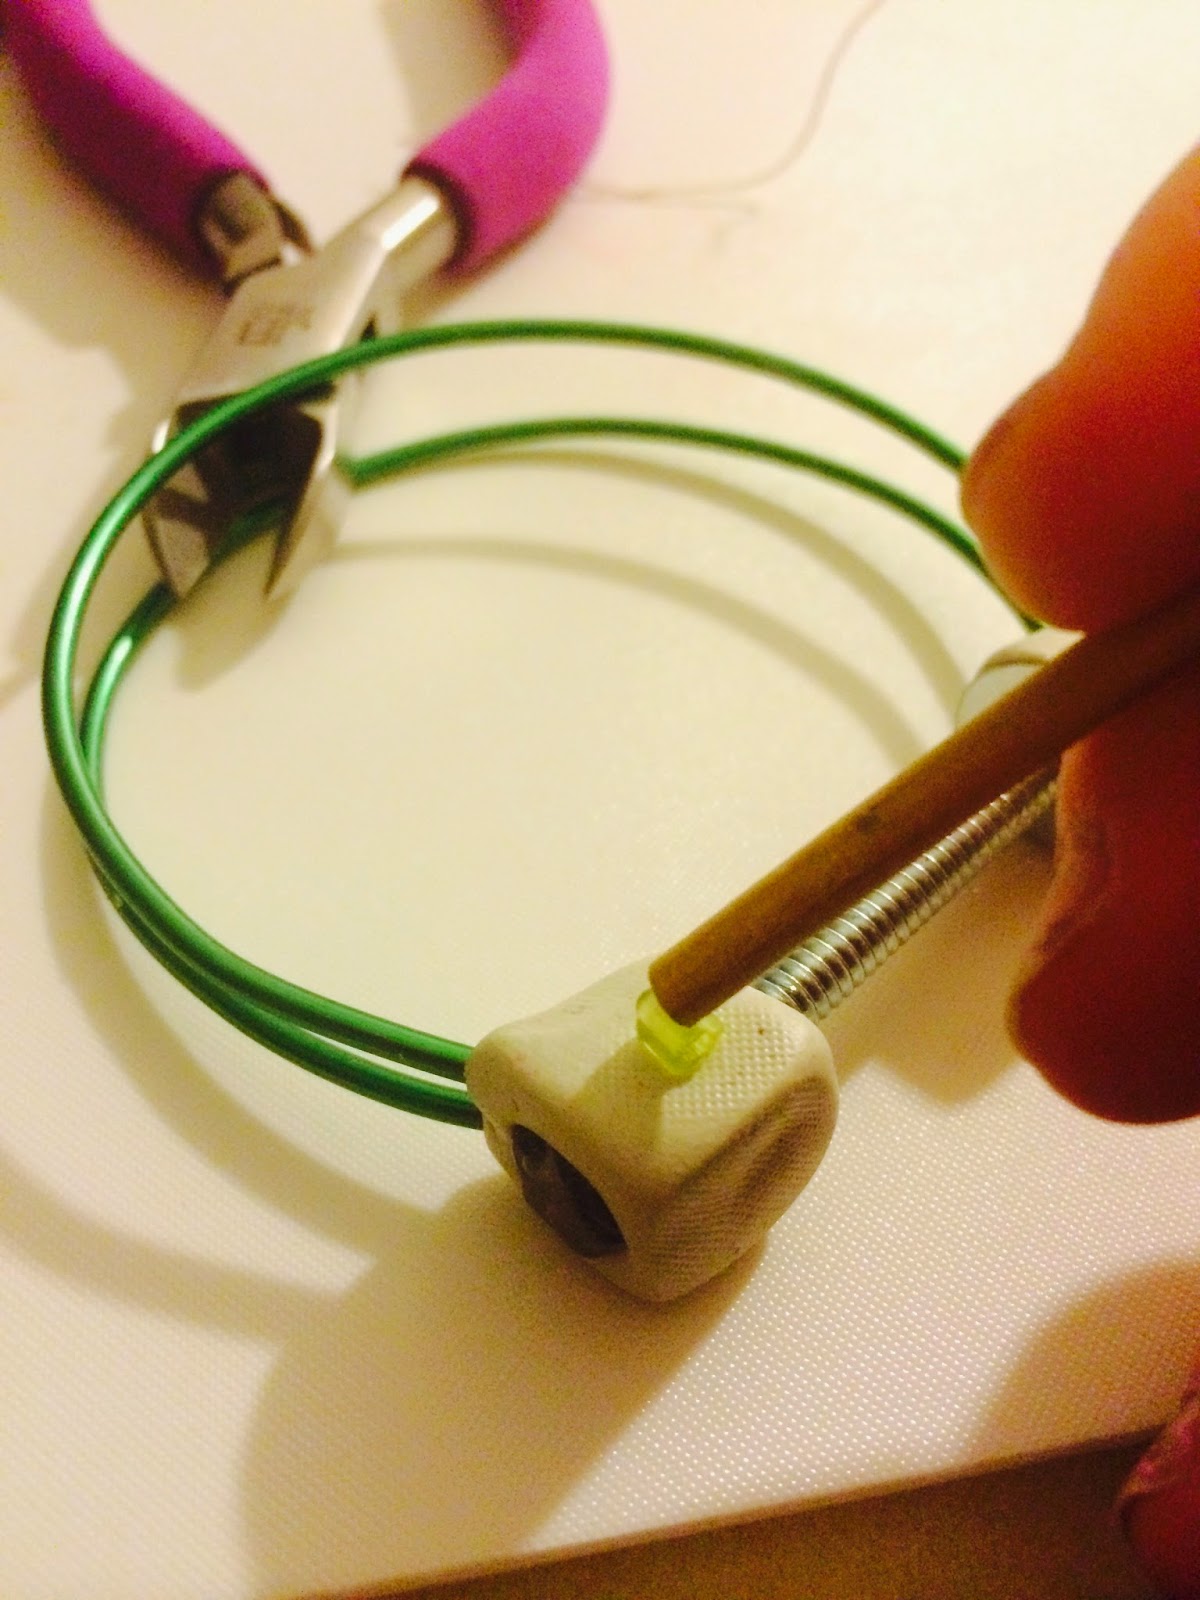
When working with clay, you will need to push the objects lightly into the clay for them to adhere and stick. To do this step, I flip over the Embellie Gellie and use the wooden handle to press my objects into place. I do not press hard. A light press will push the embellishment gently into the clay.


Thanks for stopping by! Let us know on our Facebook page our YOU use your Embellie Gellie, we love to know!
Chelsea 🙂

