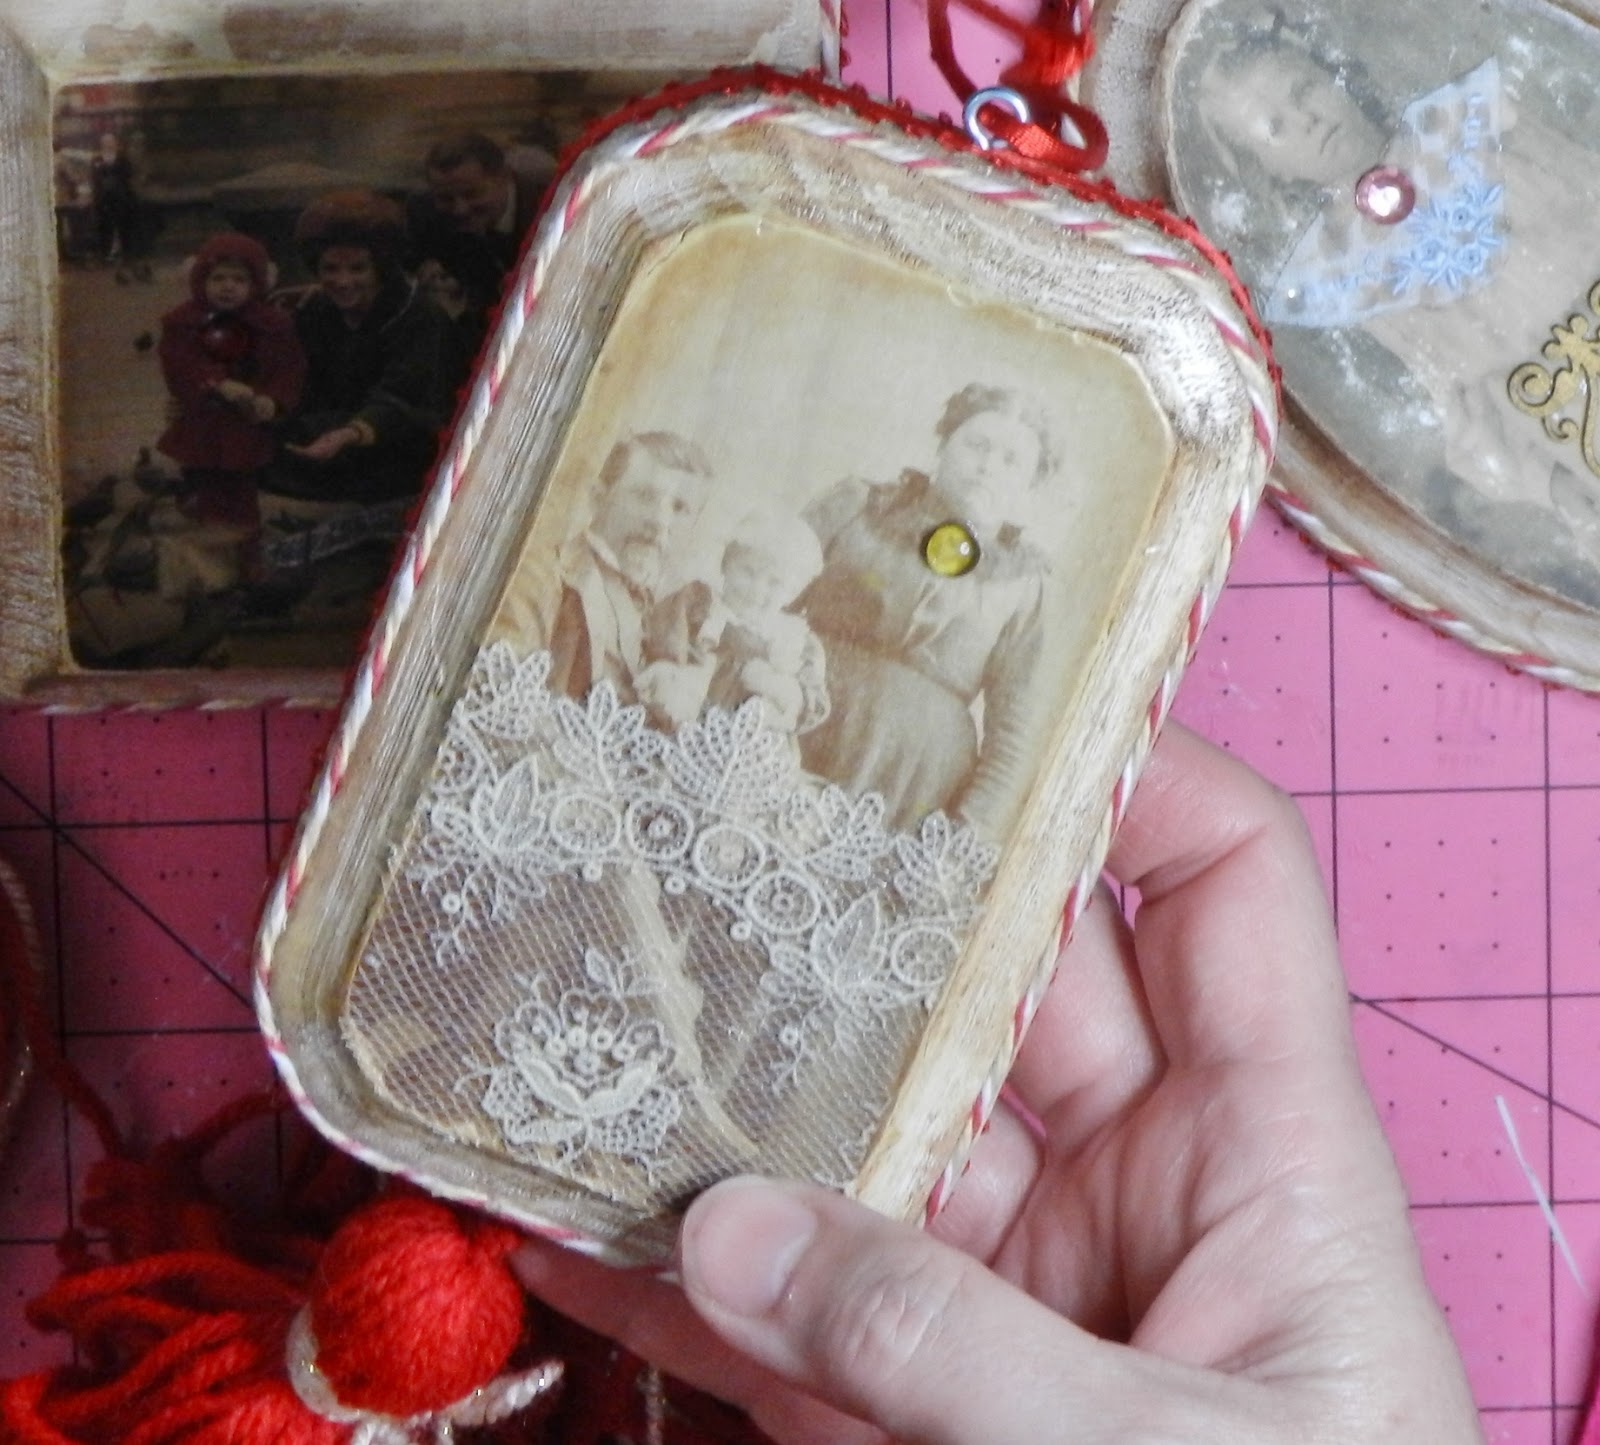
I love giving personal and handmade gifts. This year I have made wood ornaments using color photocopies of vintage photos of family members as transparencies, embellished with yarn, vintage laces, laser cut chipboard pieces and Dew Drops from The Robin’s Nest. This is an absolutely addictive activity!
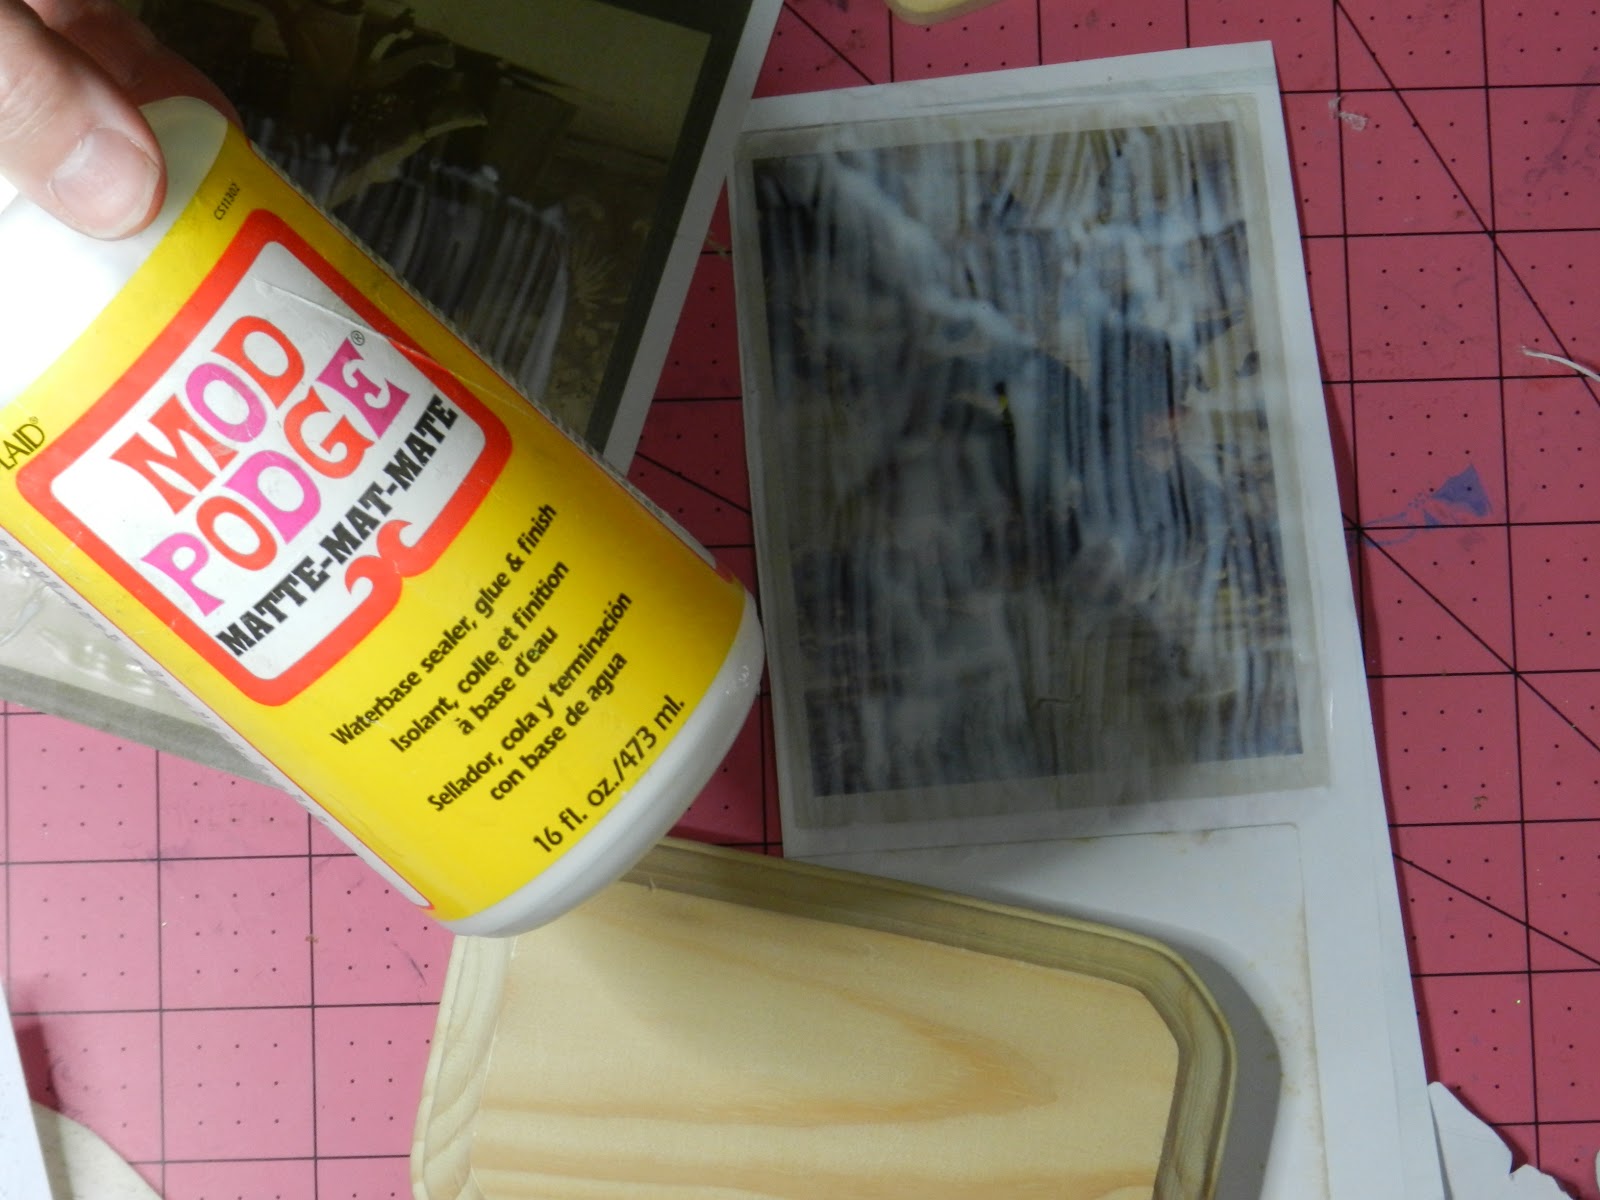
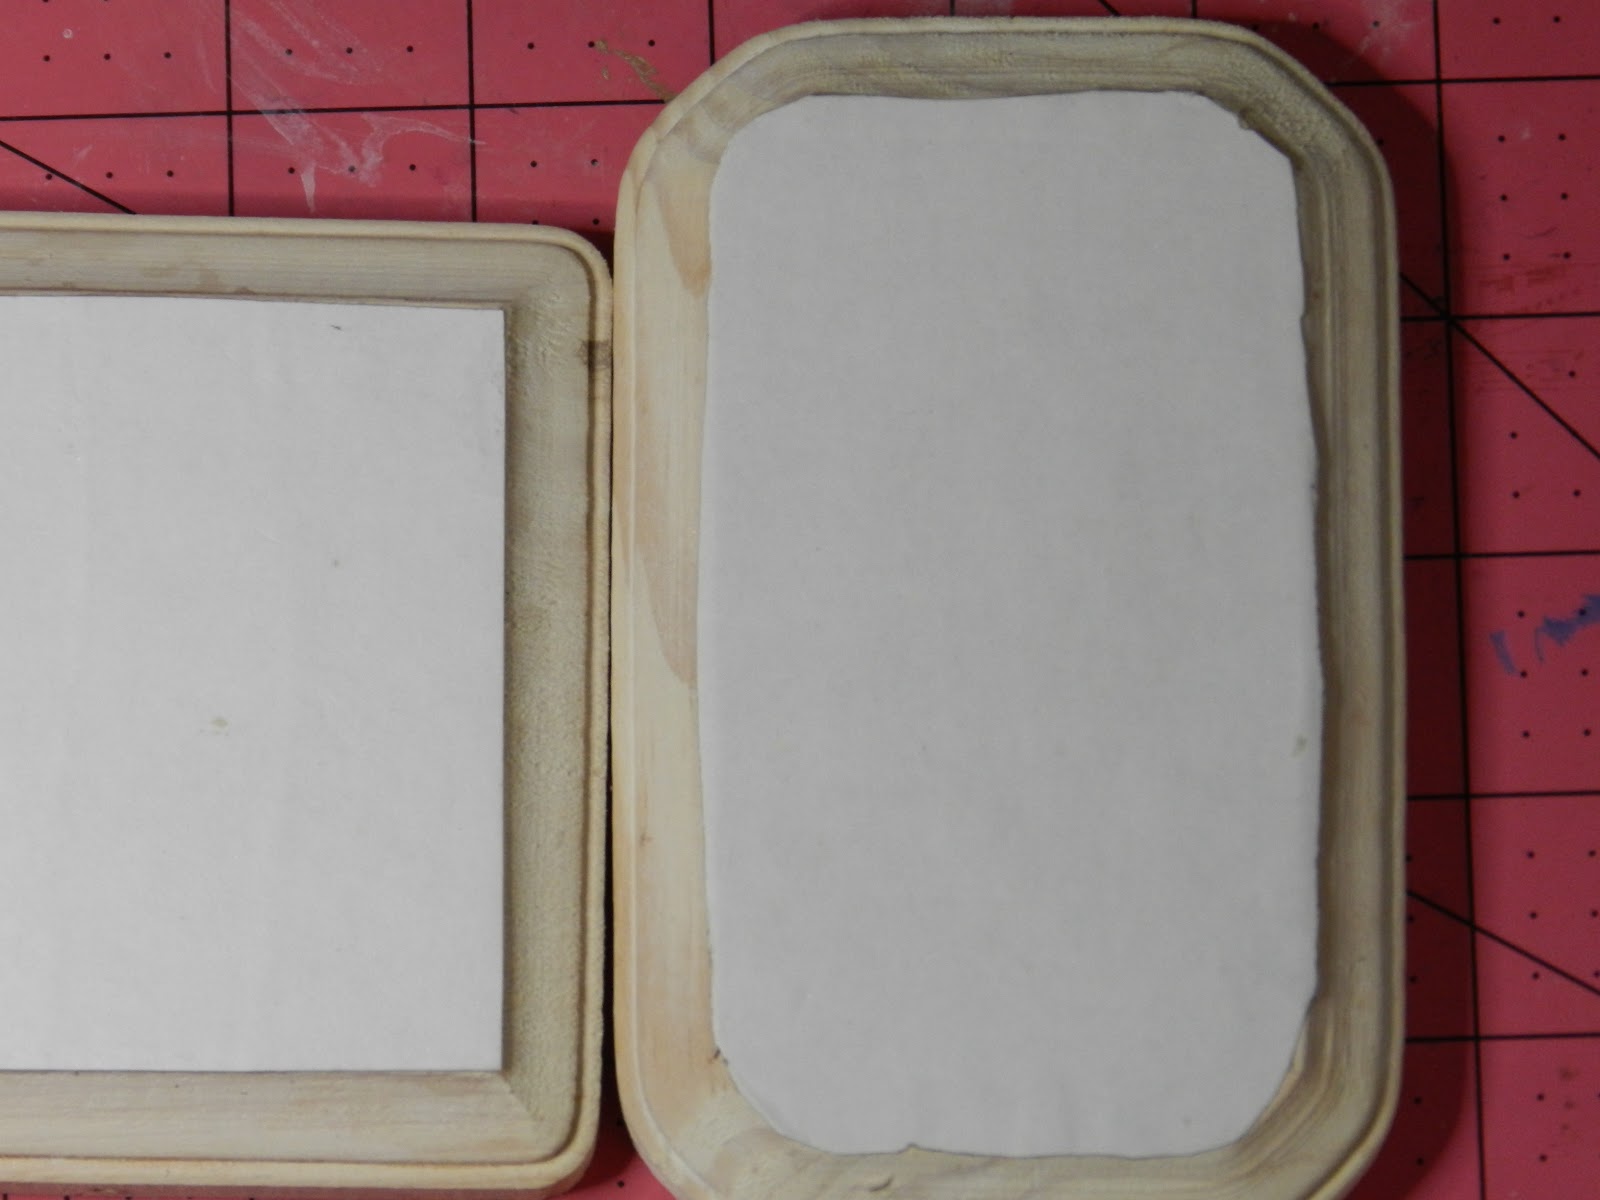
Paint Mod Podge, or your favorite decoupage medium, over the front of the photocopy. I found that three thickish coats, allowing each to fully dry, creates the best result.
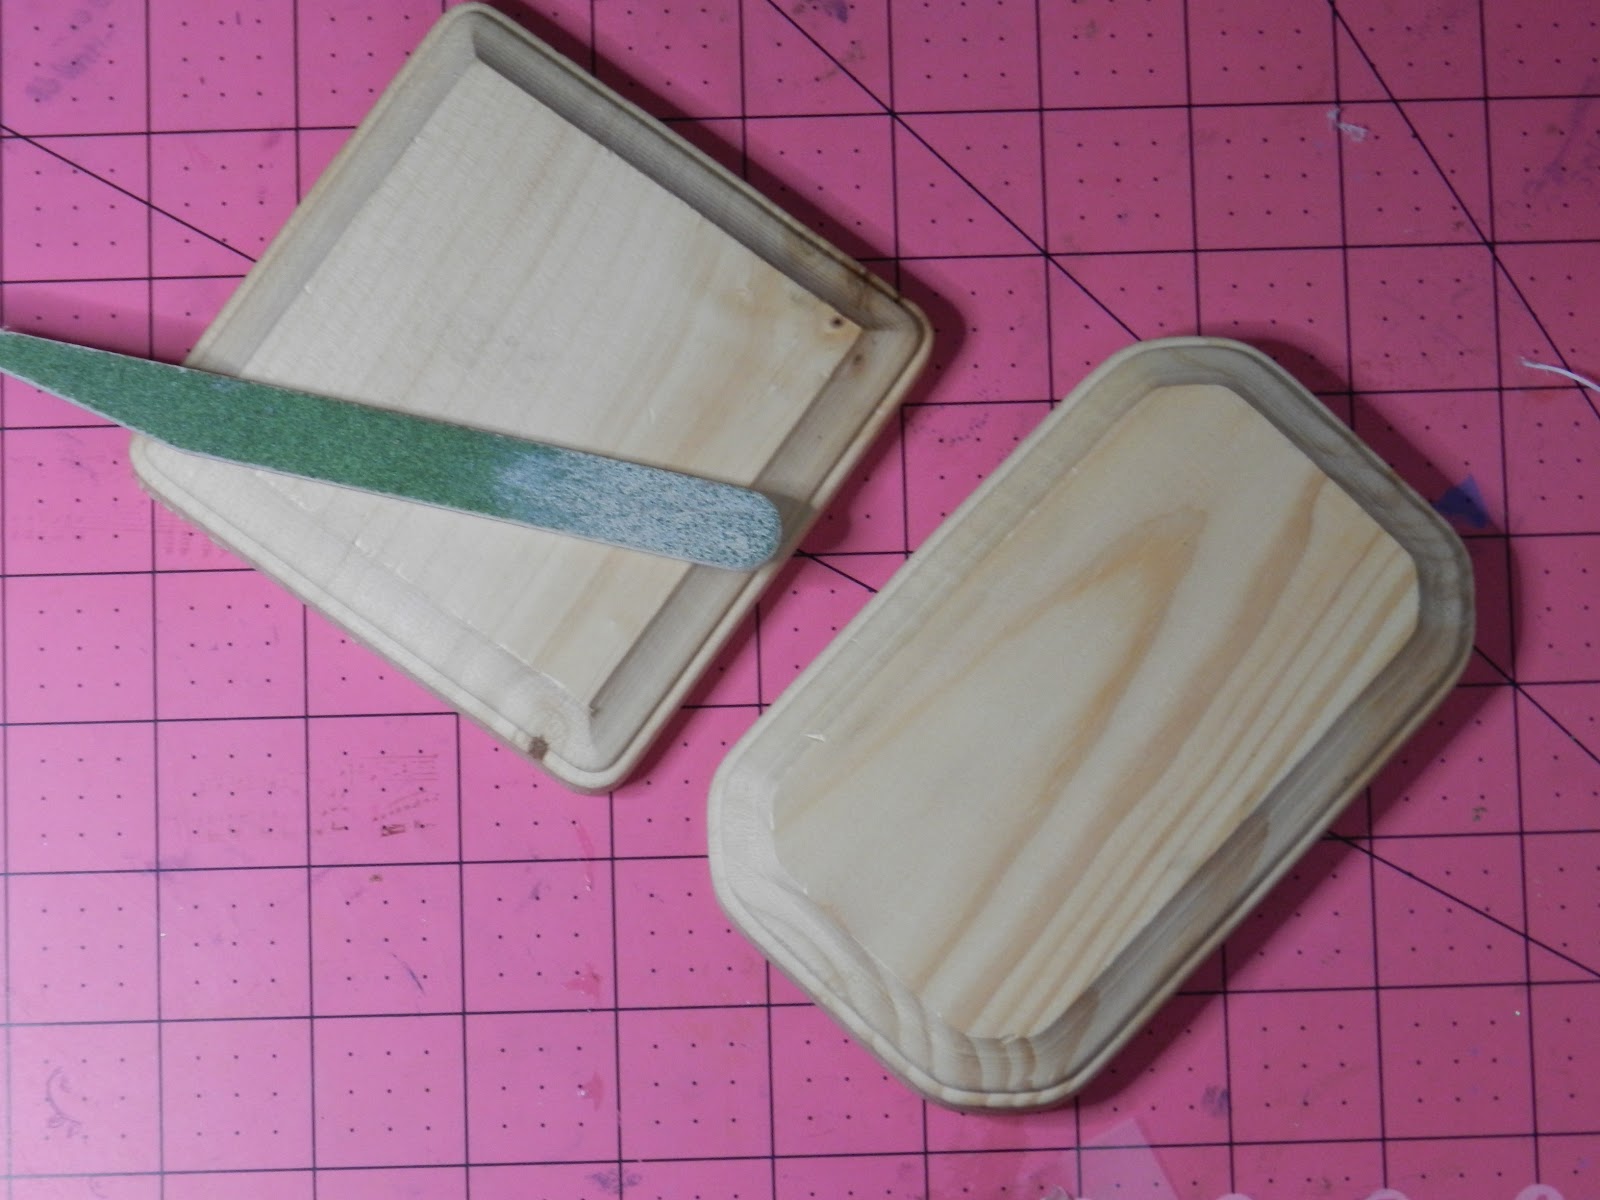
In the meantime prepare your wood plaques. Sand lightly to remove any rough edges or nicks.
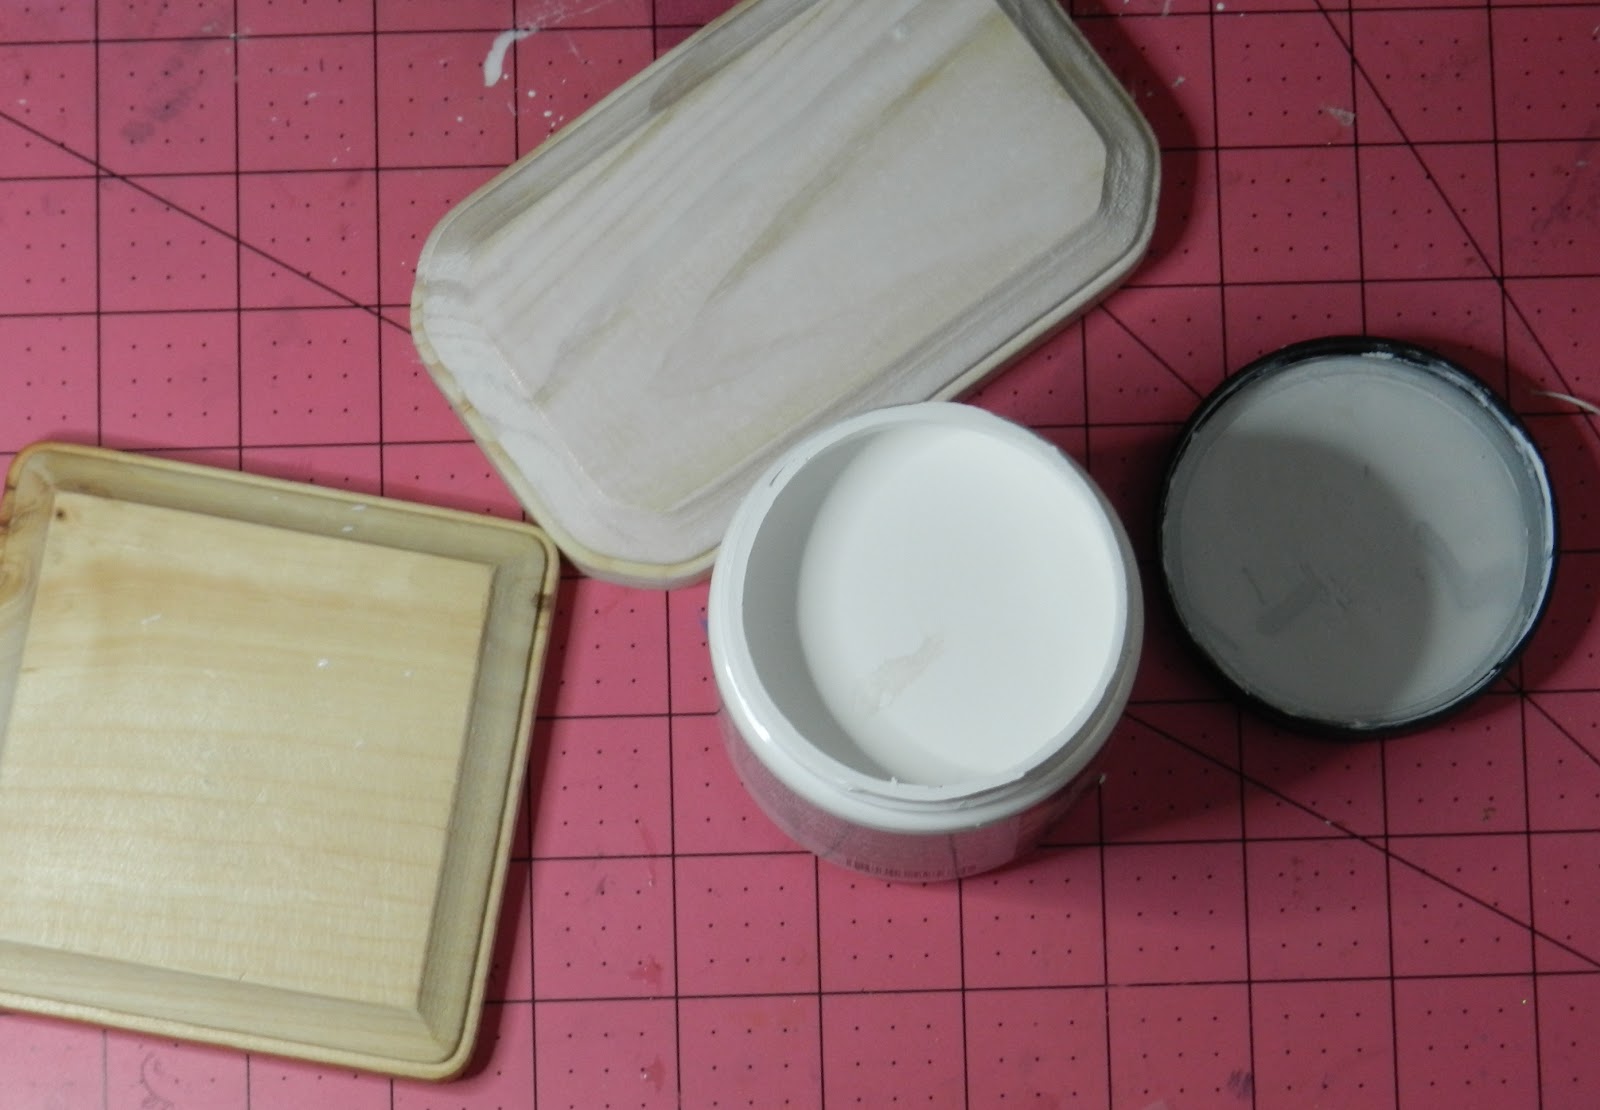
Whitewash with a diluted white acrylic paint – or other color as desired.
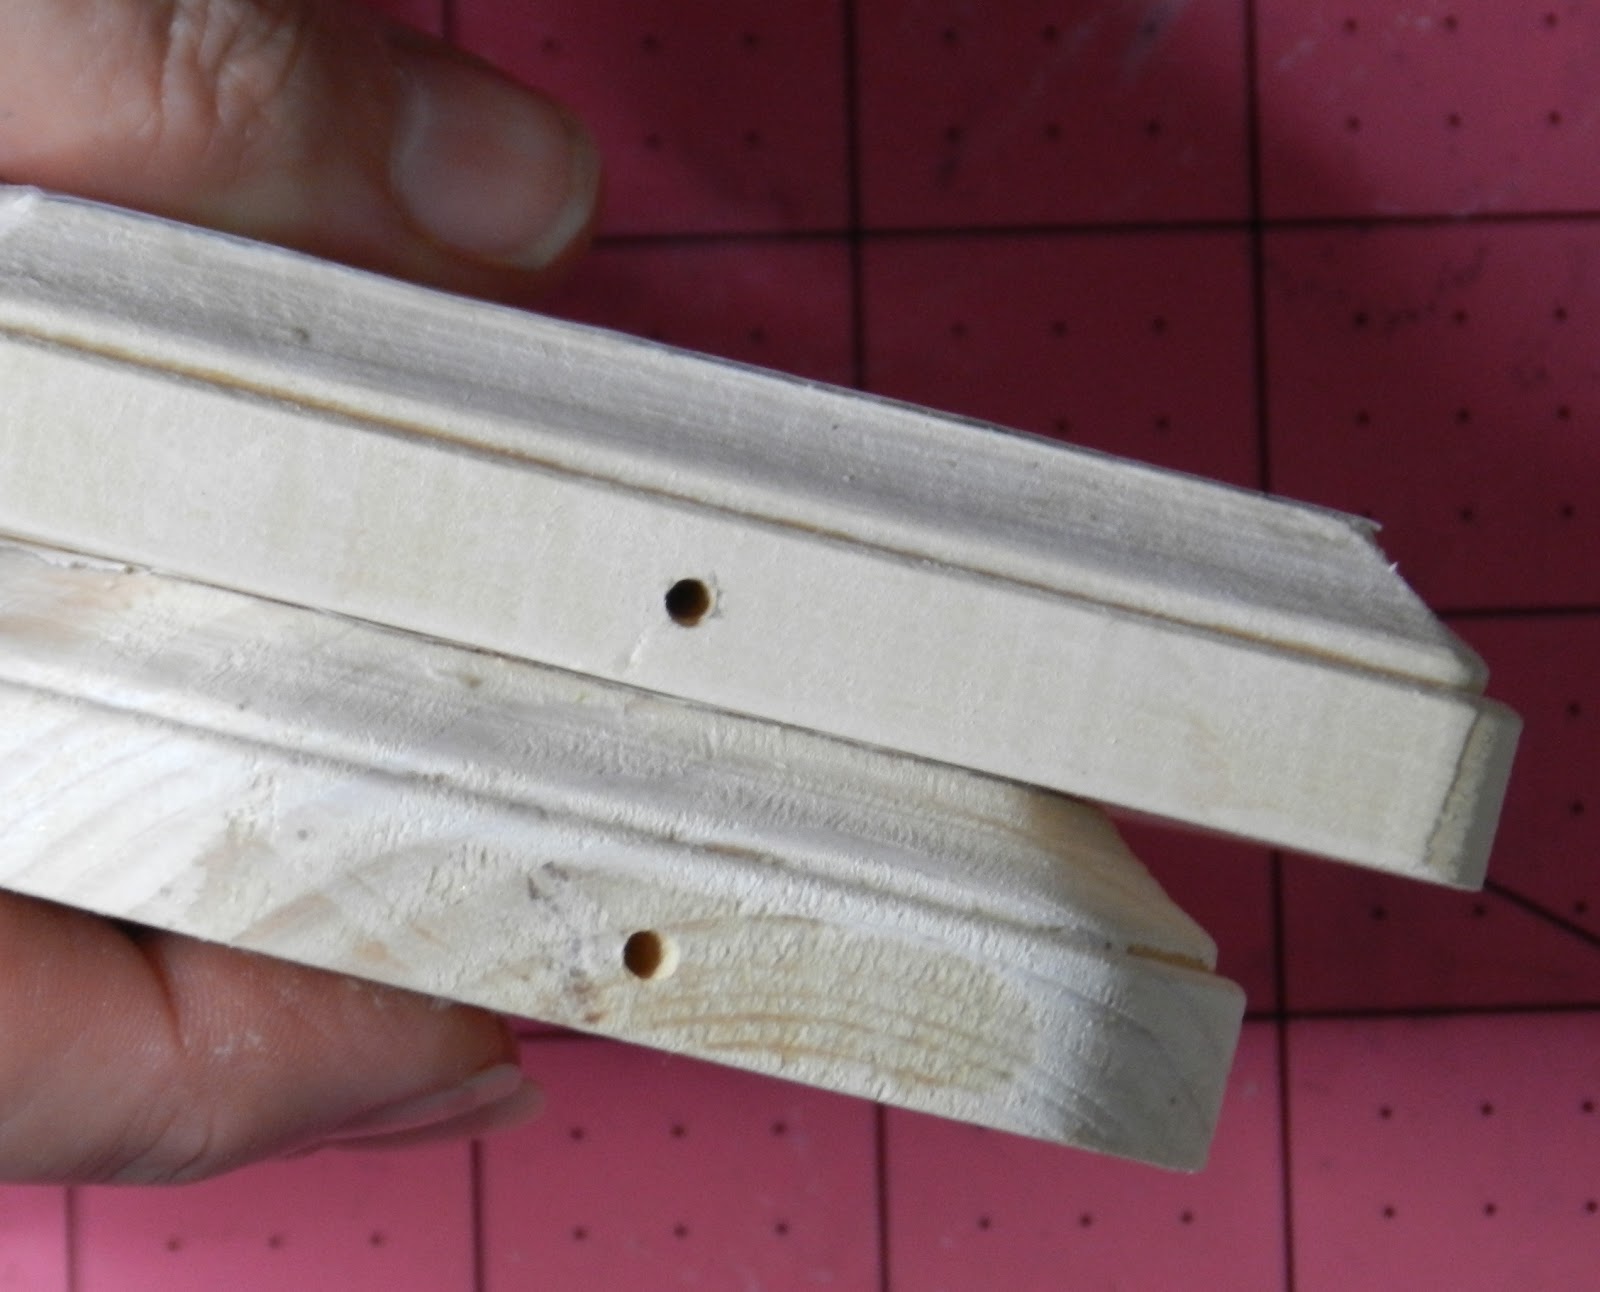
Drill tiny holes in the bottom for the tassel. I used a Dremel and a 1/16th inch drill.
When the final coat of Mod Podge on the ornament is dry, paint a layer on to the wood. Turn the image over and place on the wet Mod Podge. Burnish with a bone folder or roll firmly with a brayer to ensure there are no air bubbles, then allow to dry. Trim the edges closely.
Once the transfer is fully dry, and this may take overnight, take the whole shebang to a sink. I place a soaking sponge on the paper, and let it saturate before rubbing gently with the sponge and my fingers until the friction removes all the paper, leaving the image behind on the wood. You may need to allow it to dry to ensure that all the paper, which will look like a white fog when dry, is removed. You can re-wet the block again. However be careful of scraping at the image. Finger rubbing produces little balls or scraps or paper similar to eraser shmootz. Have patience, and your image will become clear.
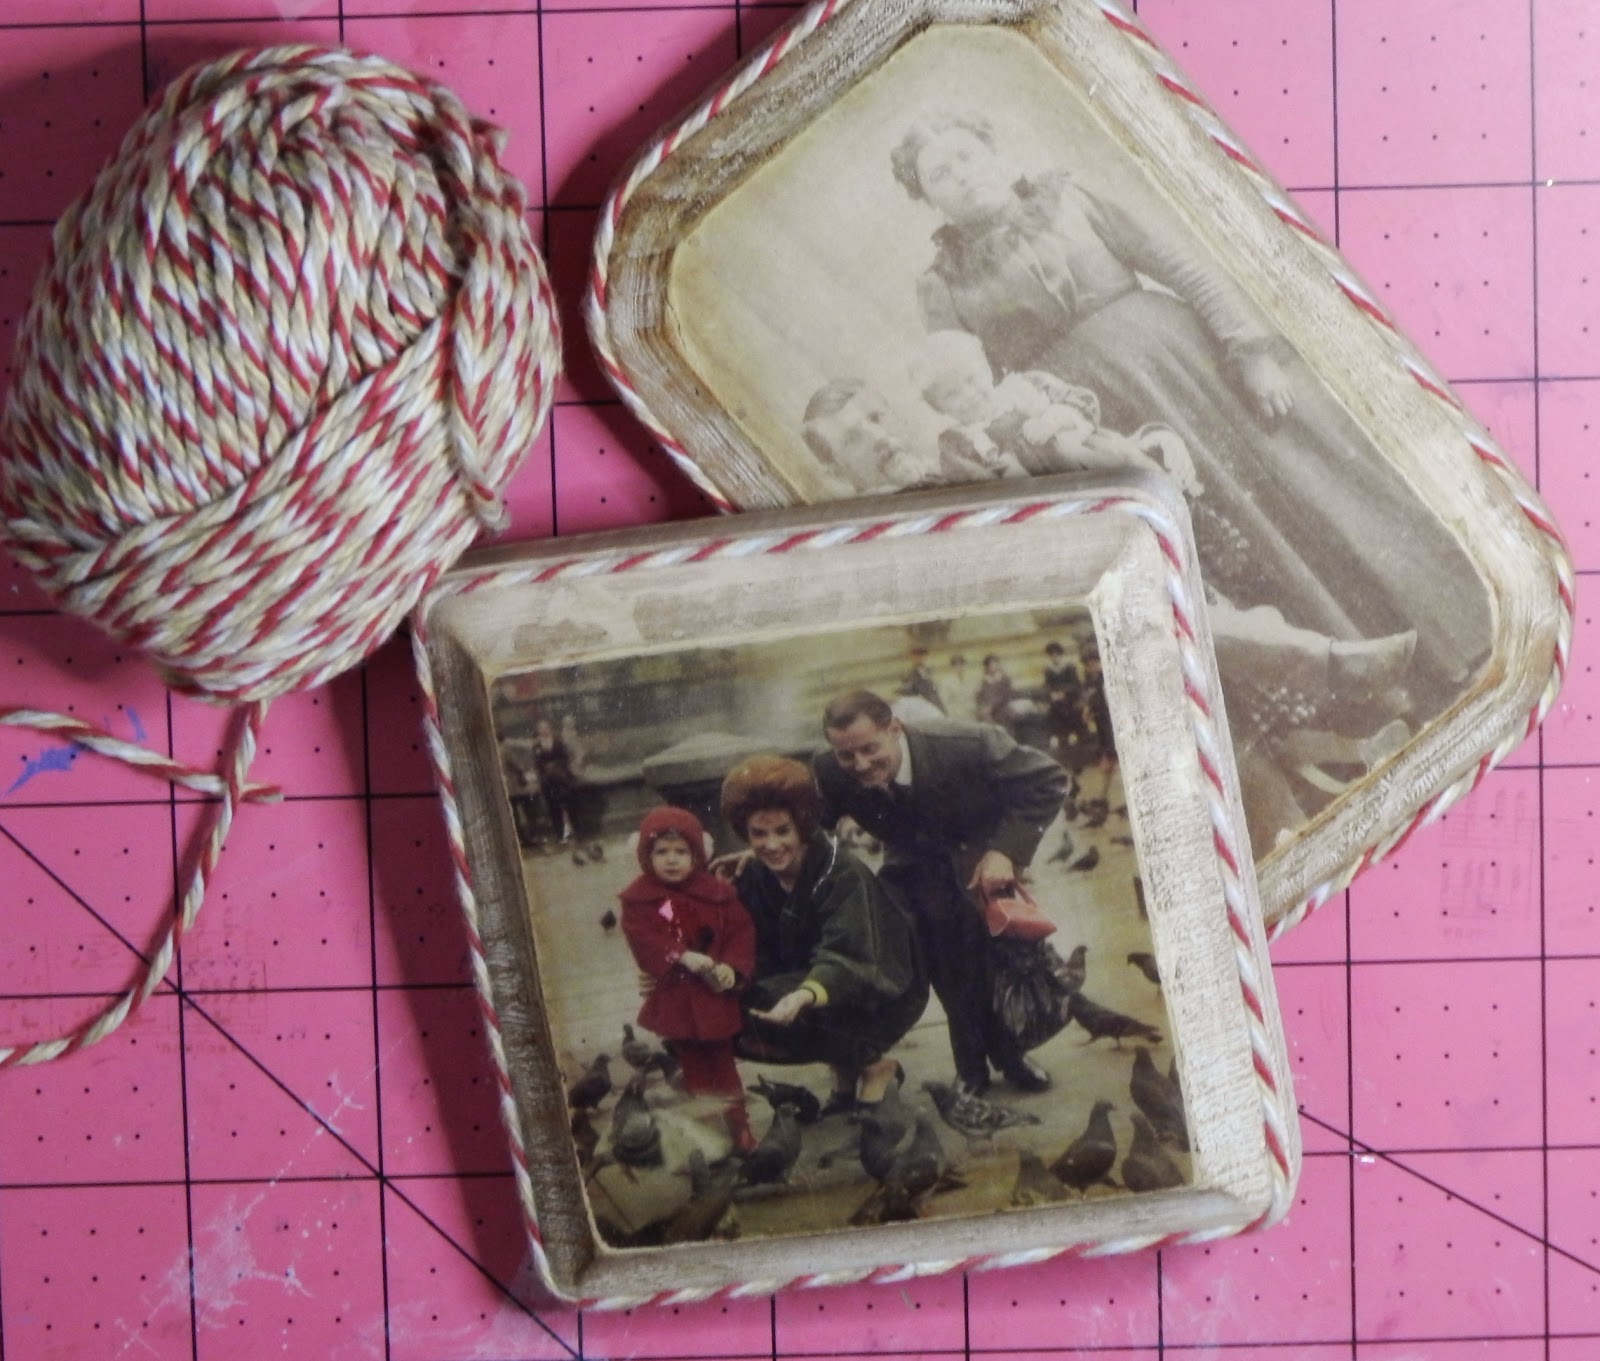
Next I aged the images and wood with brown shoe polish and a soft paper cloth. You could also use ink or glaze, but I enjoy rubbing and polishing.
One of the great things about these blocks is the routed edge. I ran a very fine bead of Best Glue Ever along the corner, and then laid this festive yet muted striped yarn (Sugar ‘n Cream Twists in Barnboard).
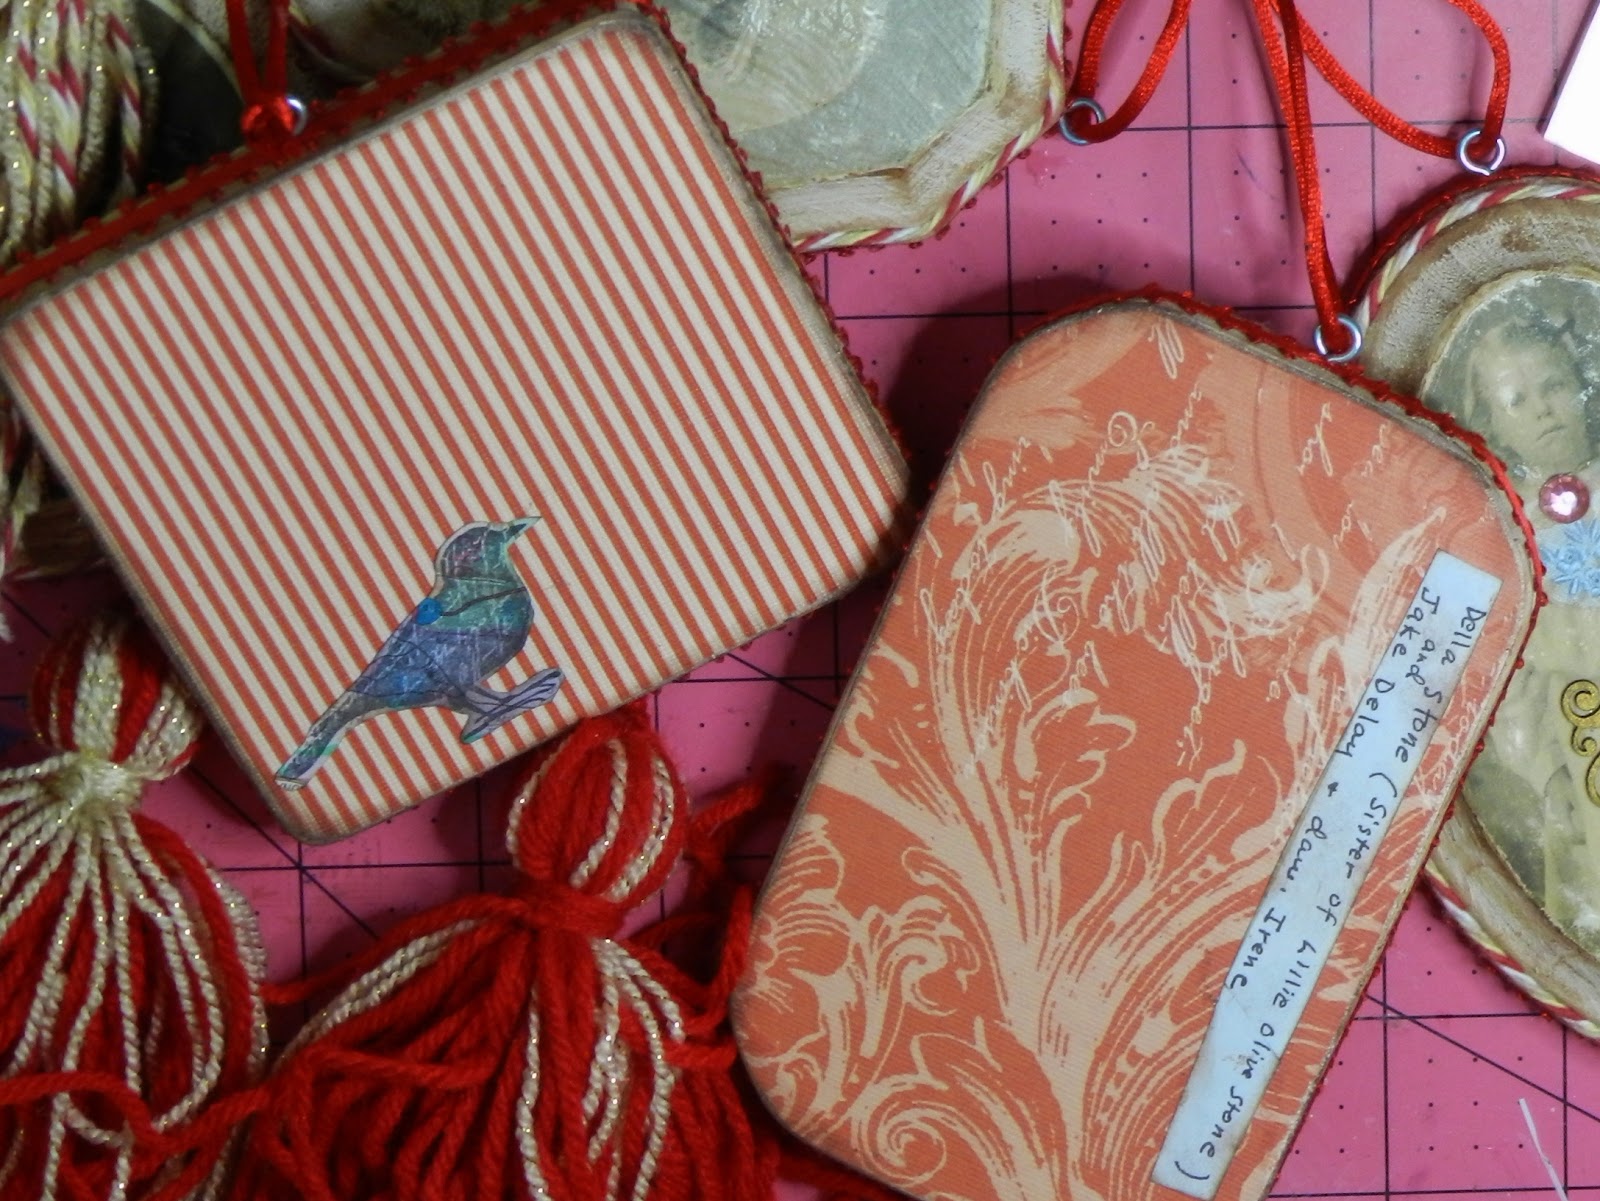
I used the very pretty Fleur paper from The Robin’s Nest for the backing on some of these blocks. I liked this color particularly with the sepia tones of the pictures. I chose the reverse ticking stripe for my 1964 image. I adhered it with a line of dots of Best Glue Ever, and also added hand written (by my relatives) notes about who was in the photos.
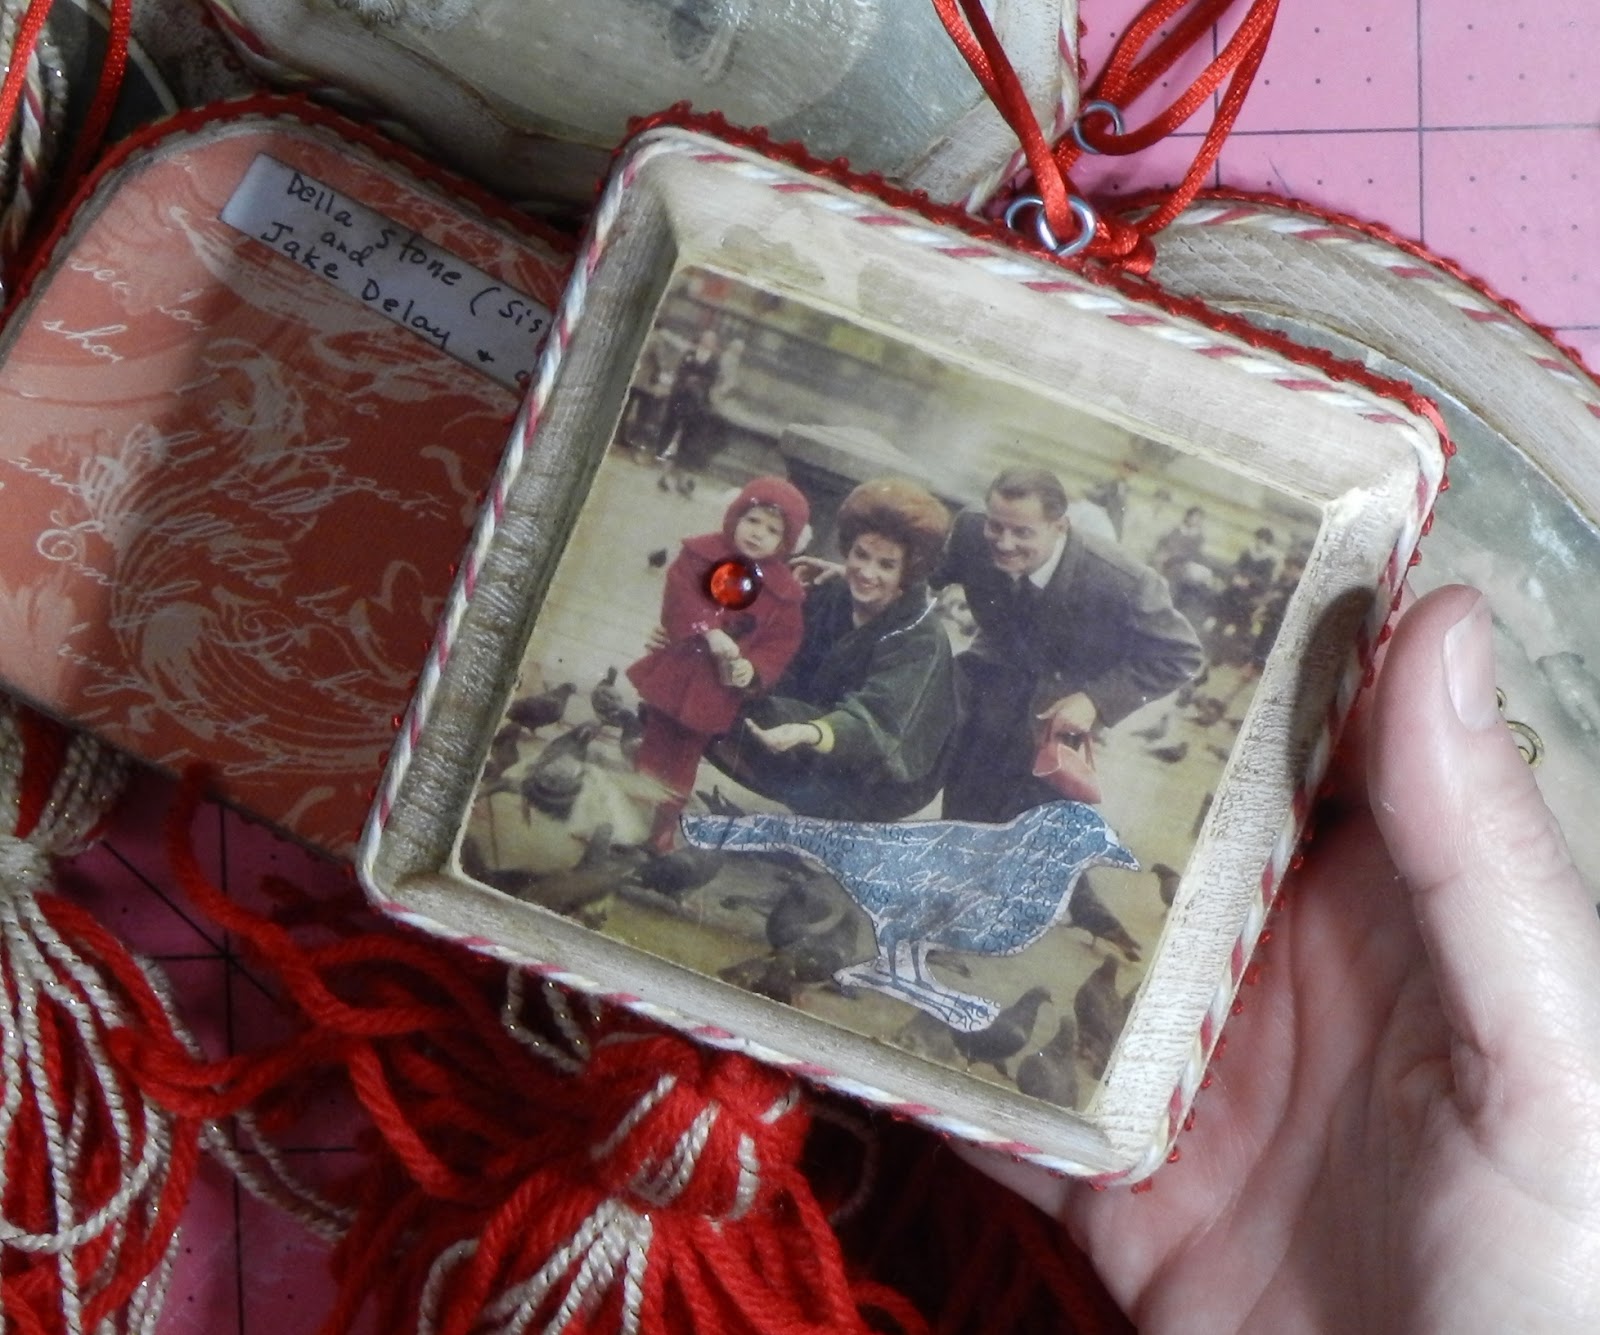
Every ornament was embellished differently. For a couple I stamped an image, fussy cut and then adhered. For almost all of them I added Dew Drops placed into a spot of Best Glue Ever with the Embellie Gellie. For some I inked laser cut chipboard shapes with gold ink, and placed them on the images as preferred.
I also have a stash of antique lace trims and remnants that my mother in law sent over from her collection. I used these in various ways.
To finish I ran a line of tiny drops of Best Glue Ever around the flat edge, allowed the spots to dry tacky, then attached a satin ribbon trim. By allowing the BGE to get tacky and clear before placing the ribbon, there is no bleed through the fabric.
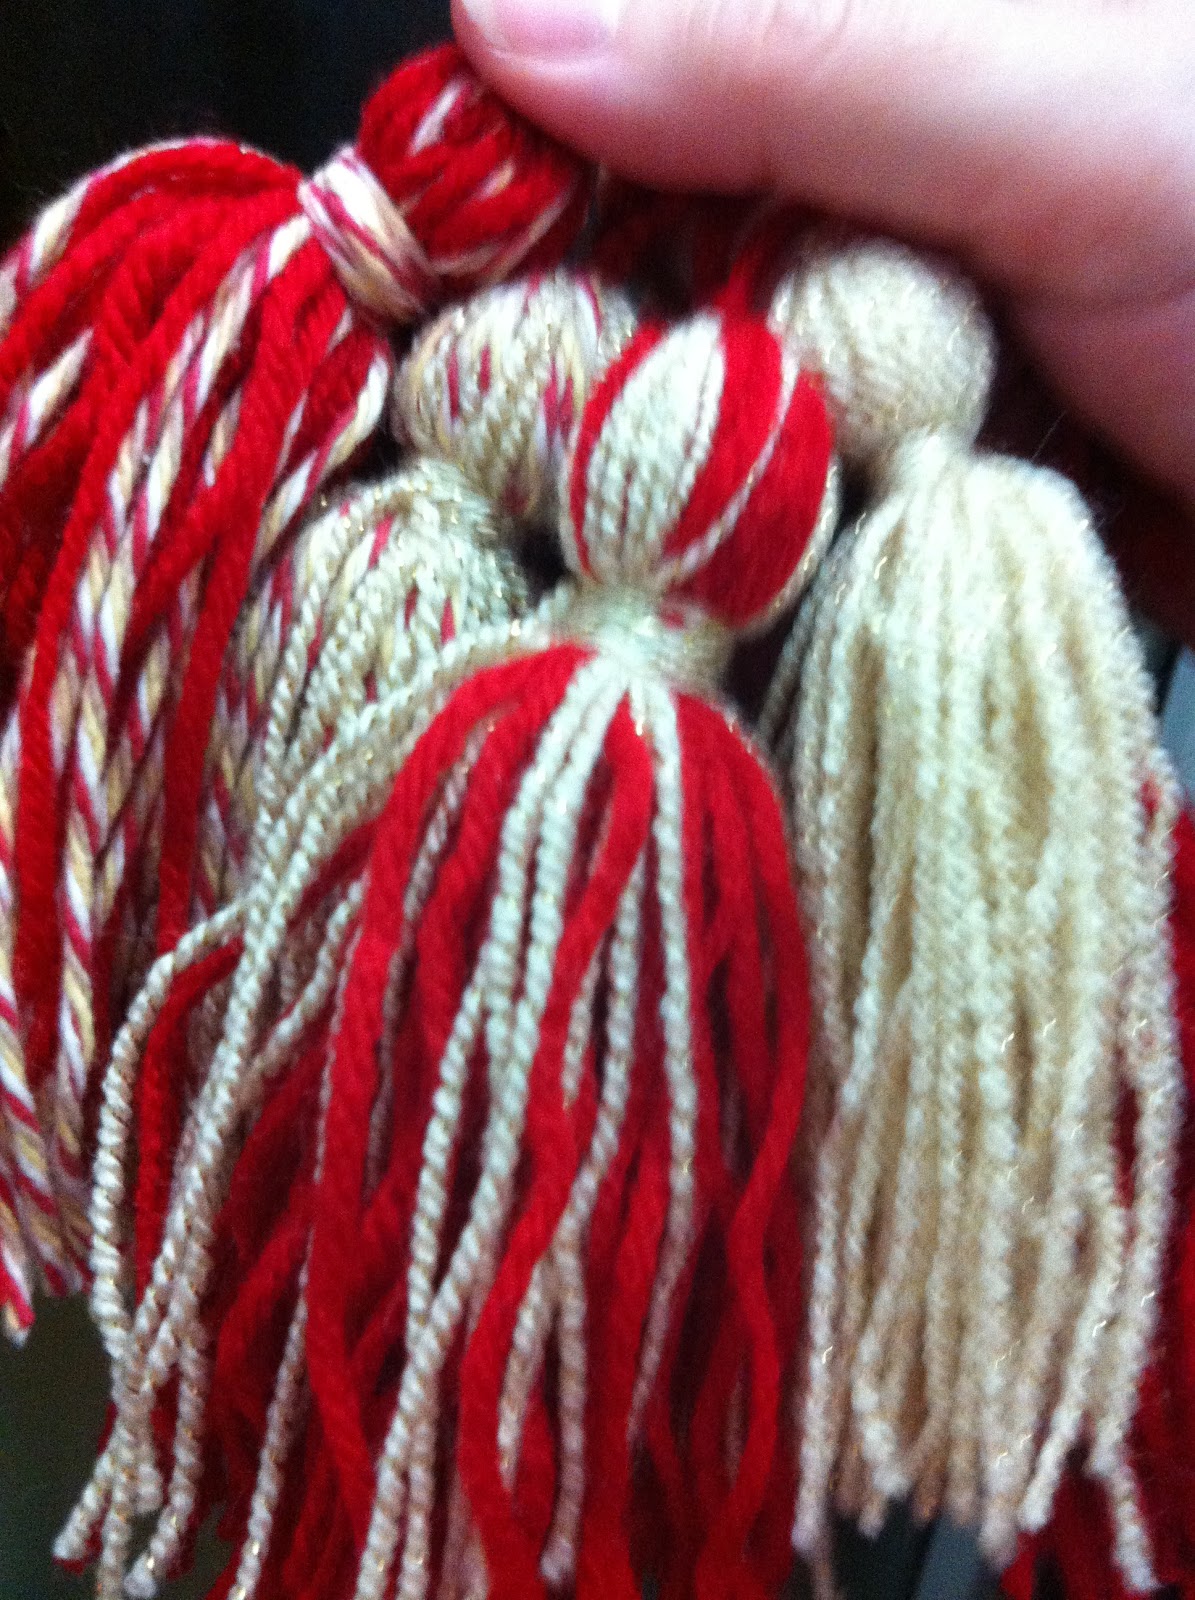
While waiting for the medium to dry, I enjoyed spending some time making a bunch of yarn tassels. I used assorted red, striped and sparkling yarns, wrapped around a Nintendo DS game box – slightly smaller than a DVD box, and exactly the right proportion. I filled the holes I had previously drilled with Best Glue Ever, then stuffed the trimmed cord of a tassel into each, working it into the hole with my tweezers and the pointy end of the EG stick. Finally I screwed in a tiny eye hook for hanging.


