
Amy here with another sympathy card… Hoping, you don’t need to make one, I think there are several techniques of interest in this card which I’ve stepped out for you.
During the whole process, I’m thinking about the person for whom I am making this card. I feel sad. But I feel by making this card, I am letting her know people care, and she is loved.
I find I tend to choose muted colors, natural materials, and usually a flower or leaf embellishment of some sort.
I find I tend to choose muted colors, natural materials, and usually a flower or leaf embellishment of some sort.

For the creative process and step-by-step printing techniques, read on:
 |
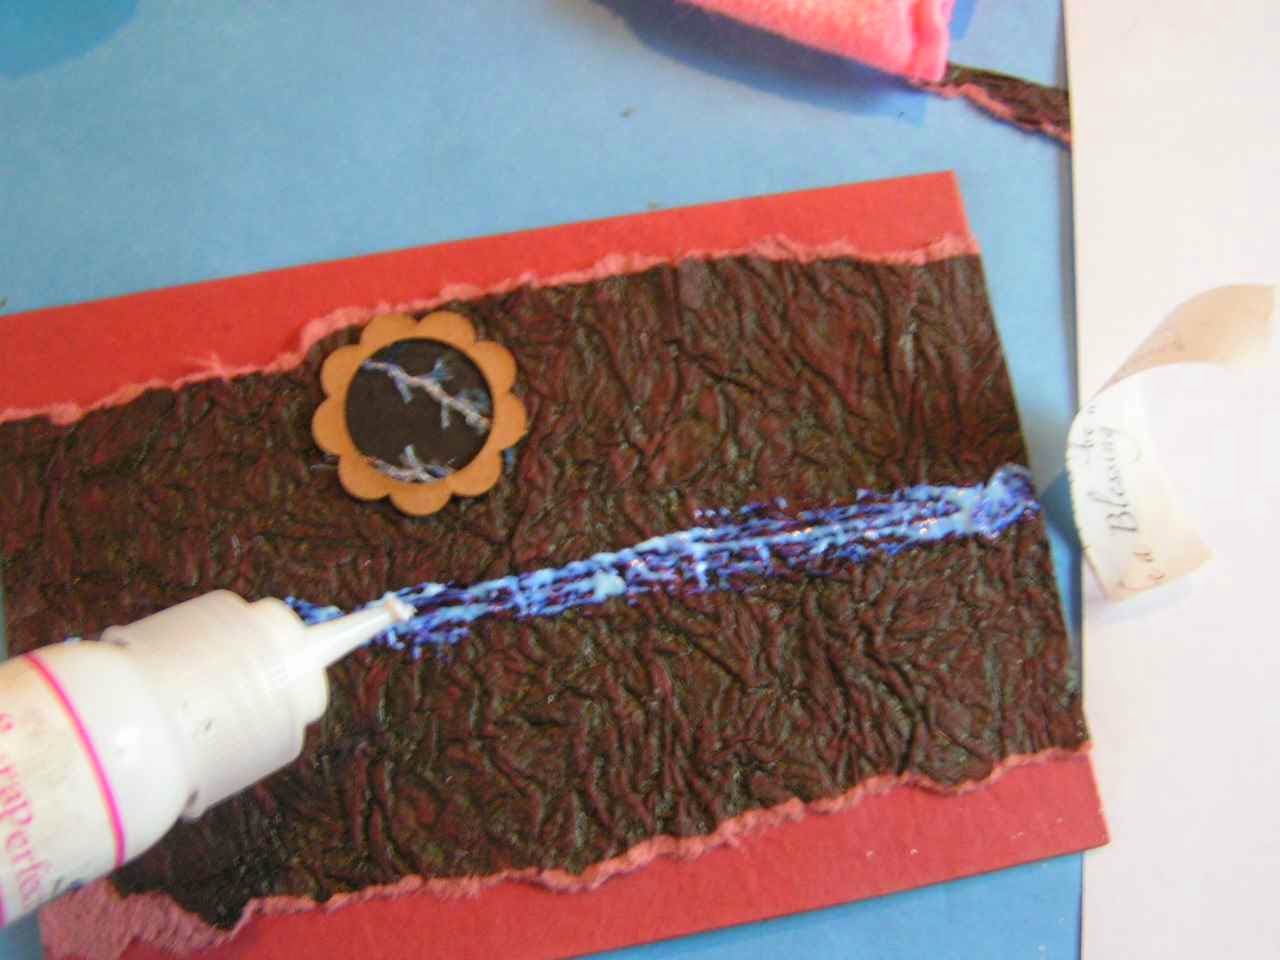
| For this card, I chose a lot of handmade papers from India. They are very beautiful, but can be a gluing challenge because of the deep textures, shiny coatings, absorbent qualities, translucency, and the sparkles and glitters. |
 |
| The Best Glue Ever™ works perfectly, of course! It is very tacky–so you really don’t need to apply a lot. In fact, there’s more on this paper than usual because of the textured paper. |
******
The thing about creating is you start down one path and then might decide it’s not right.
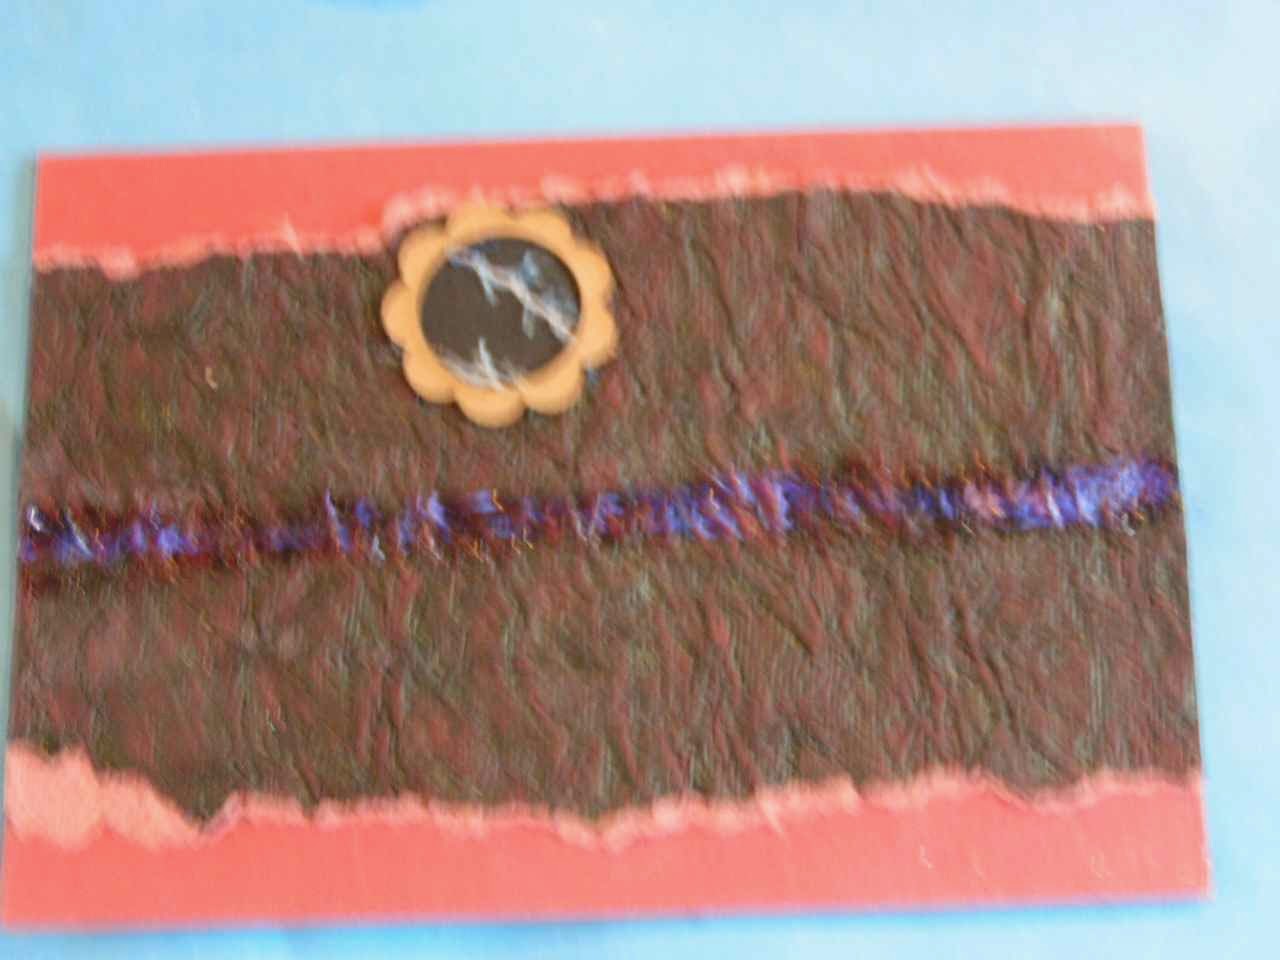
That happened here! I began by trying a “bejeweled” strip and adding hemp twine…

Hemp twine? Nah.
 |
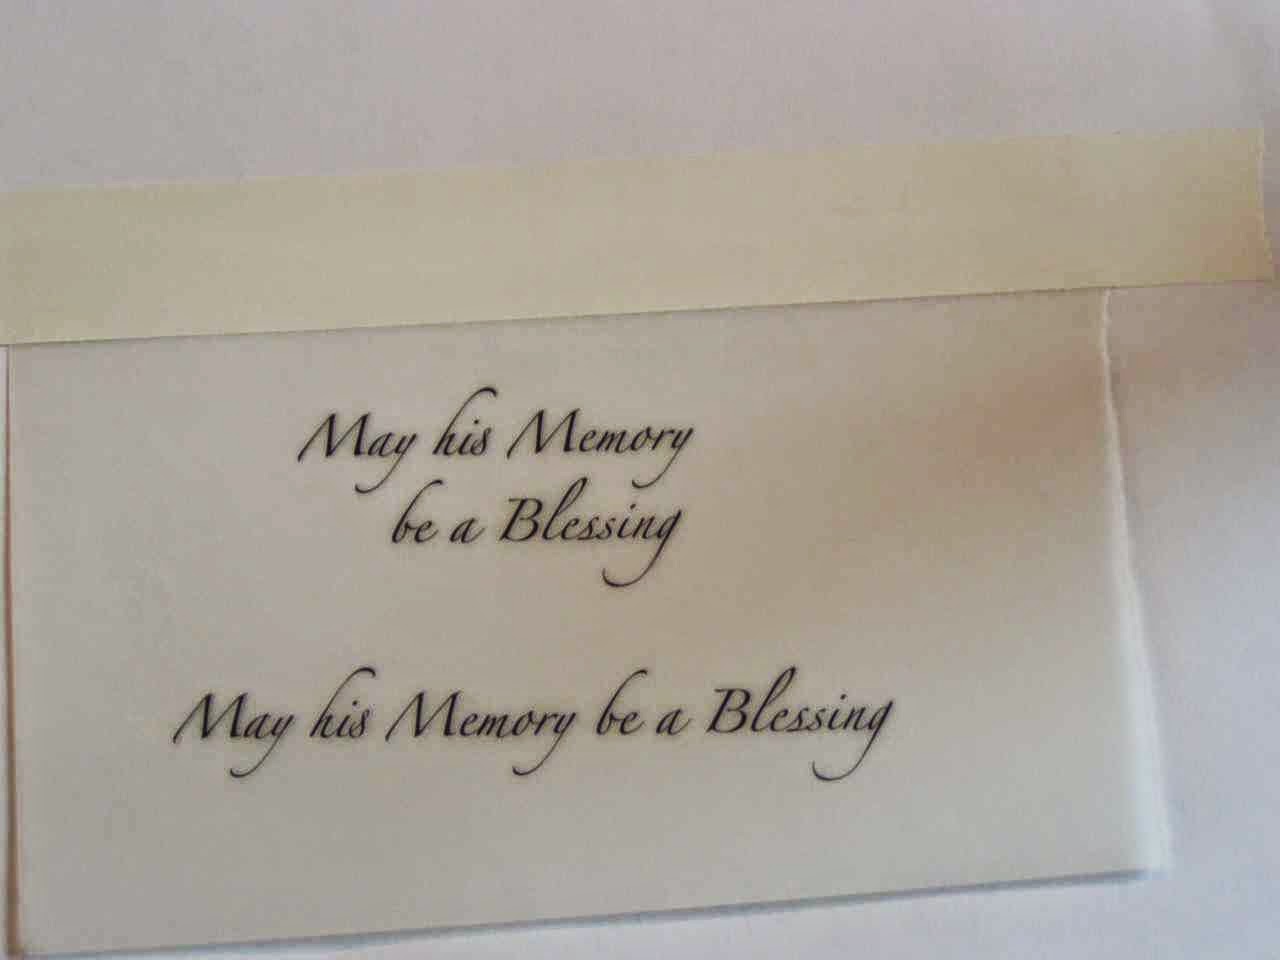
| Two line message?? Hmmm. |
 |
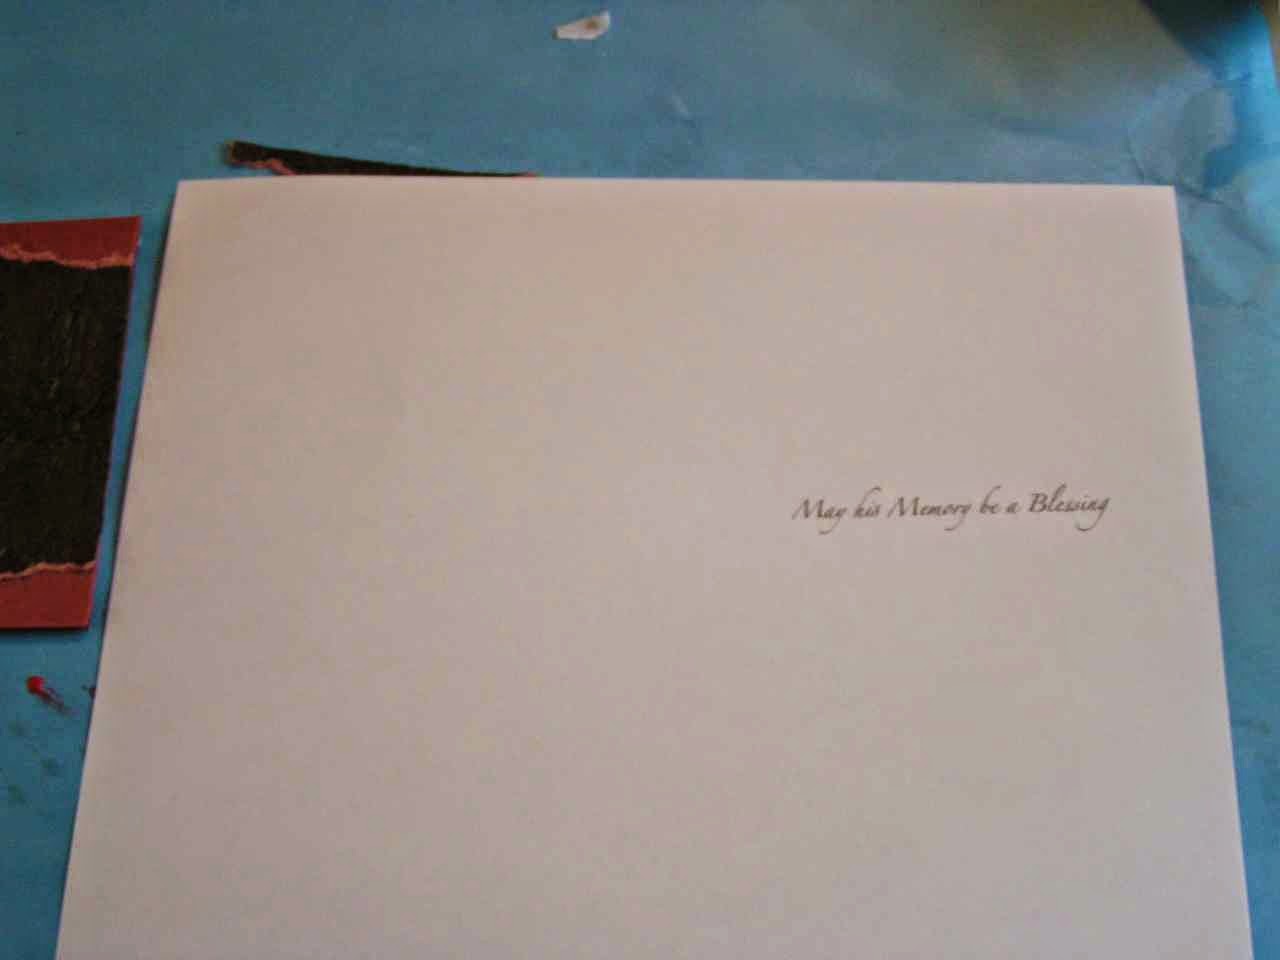
| Long thin message? sigh.
(For complete step-by-step on how to create this vellum message, scroll to end of post.) |
NOPE! I just don’t like the white strip of paper across the card with a second message.
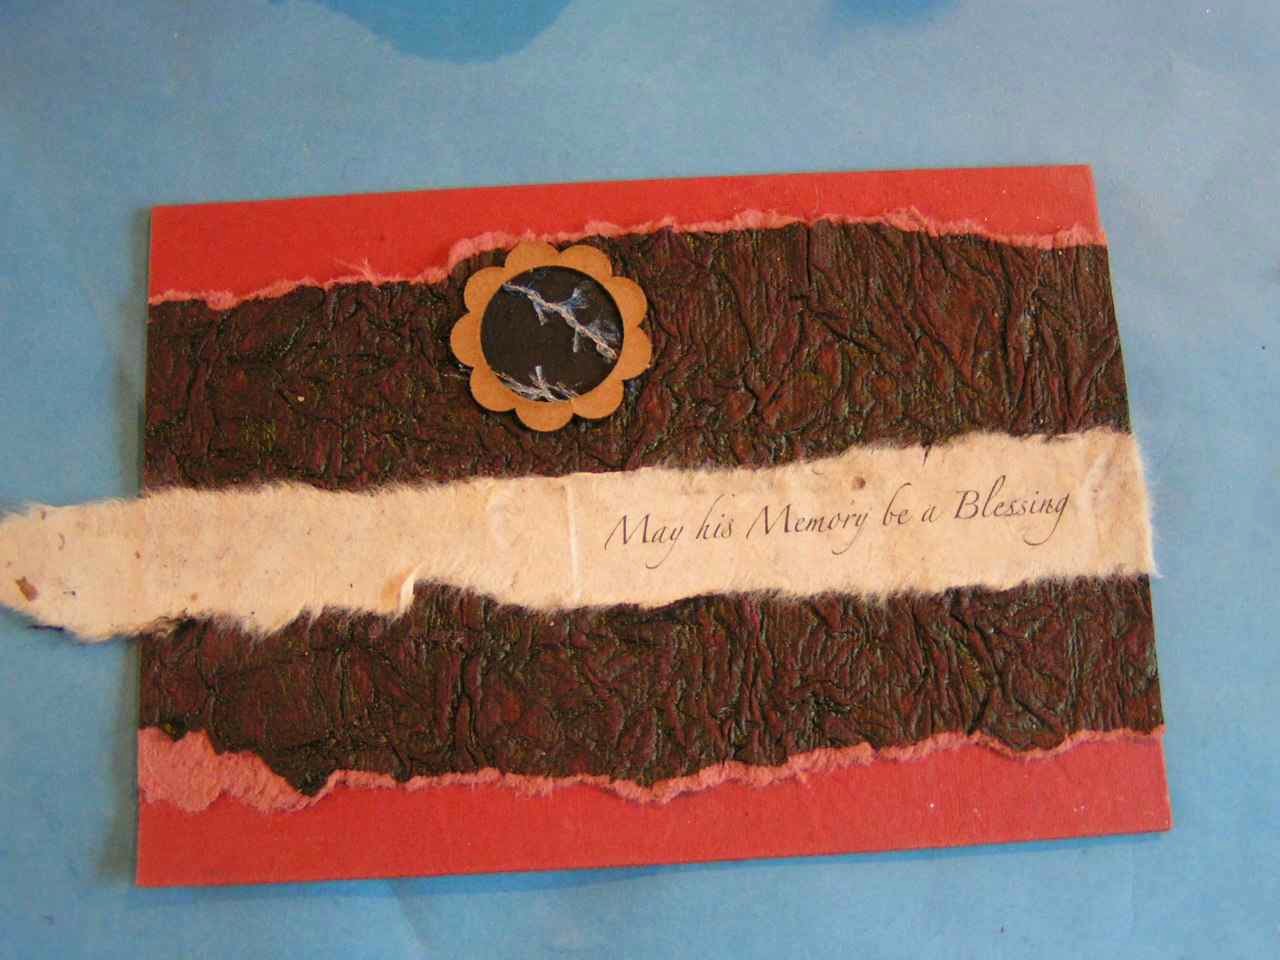
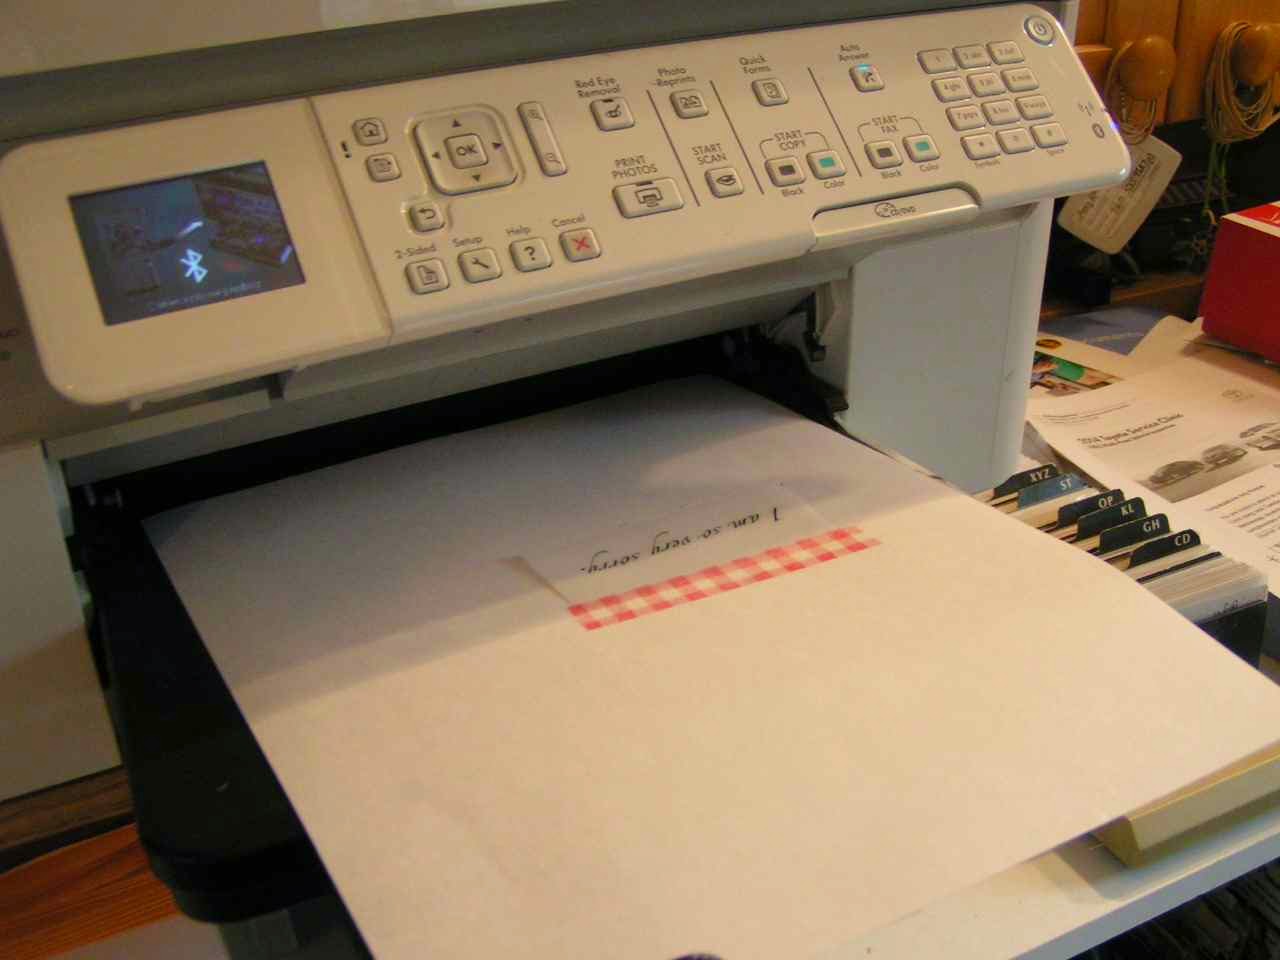
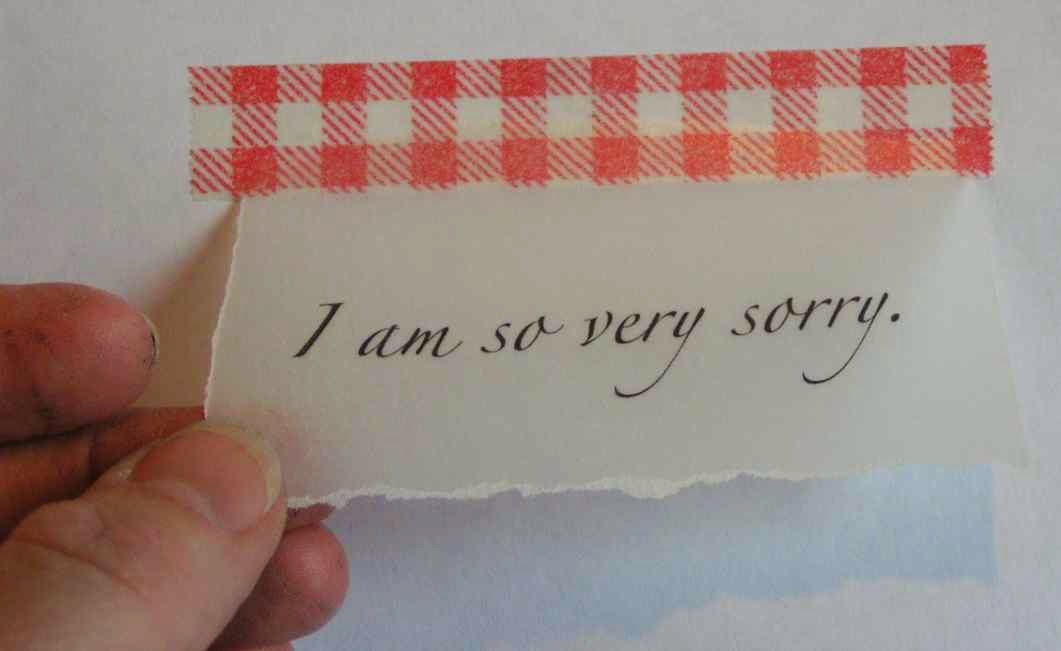
>>I decided to print directly onto a strip of mulberry paper instead.
But HOW?
(PSSST! It’s really easy.)
 |
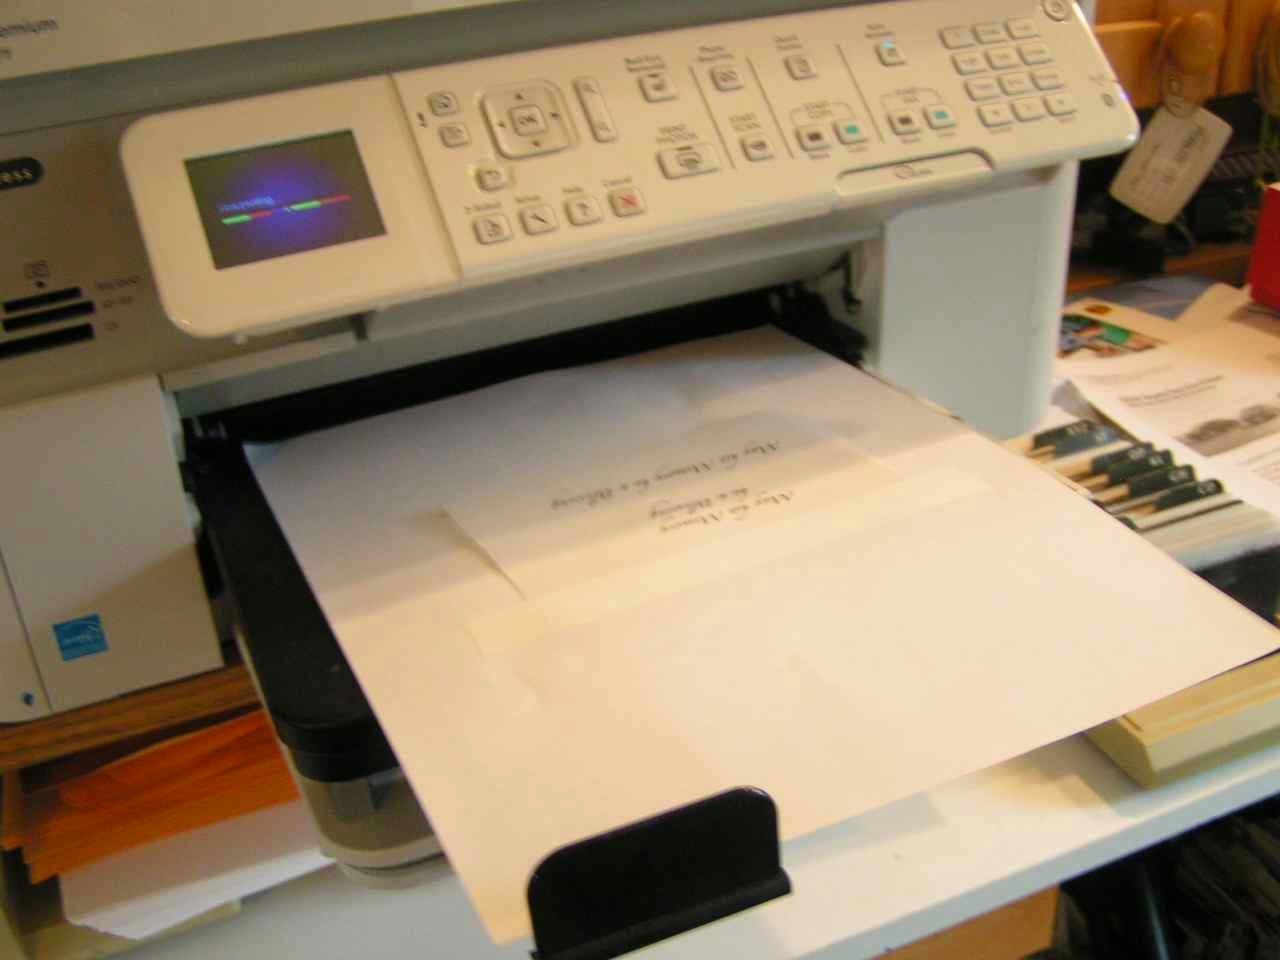
| 1. Print message on regular inkjet printer paper |
 |
| 2. Use painter’s tape to affix specialty paper on top of writing. 3. treat paper with the Perfect Crafting Pouch™ so the ink will be crisp and won’t bleed into the absorbent paper. |
 |
| 4. Put paper back into the paper try (in reverse) so it prints the same message in the same place…but this time it will print onto the specialty paper! |
 |
| Because the mulberry paper is both absorbent and translucent, I applied the glue to the brown coated paper and I let it dry to nearly clear so it wouldn’t show though the mulberry paper. |
Left a little longer, it will becomes just like Glue Dots™,
but I just needed to wait long enough that it wouldn’t seep through the material.
 |
| Press mulberry onto the sticky adhesive. |

Apply glue to the chipboard stem and press.
NICE TOUCH:
The twine at the top makes it look more finished!
Now for a vellum message inside the card…
 |
|
1. Write and print out message using computer.
|
 |
| 2. Temporarily tape vellum to paper using masking tape. (If you have lots of WASHI tape around and don’t know what to do with it, use it to temporarily hold the vellum in place. It’s a little tackier than painter’s tape, but it works.) 3. On vellum which can smear, bleed, or take too long to dry, wipe with Perfect Crafting Pouch™ for perfect results! |
 |
|
4. Insert paper so it reprints right onto the vellum piece.
|
 |
|
Pretty, right?
|
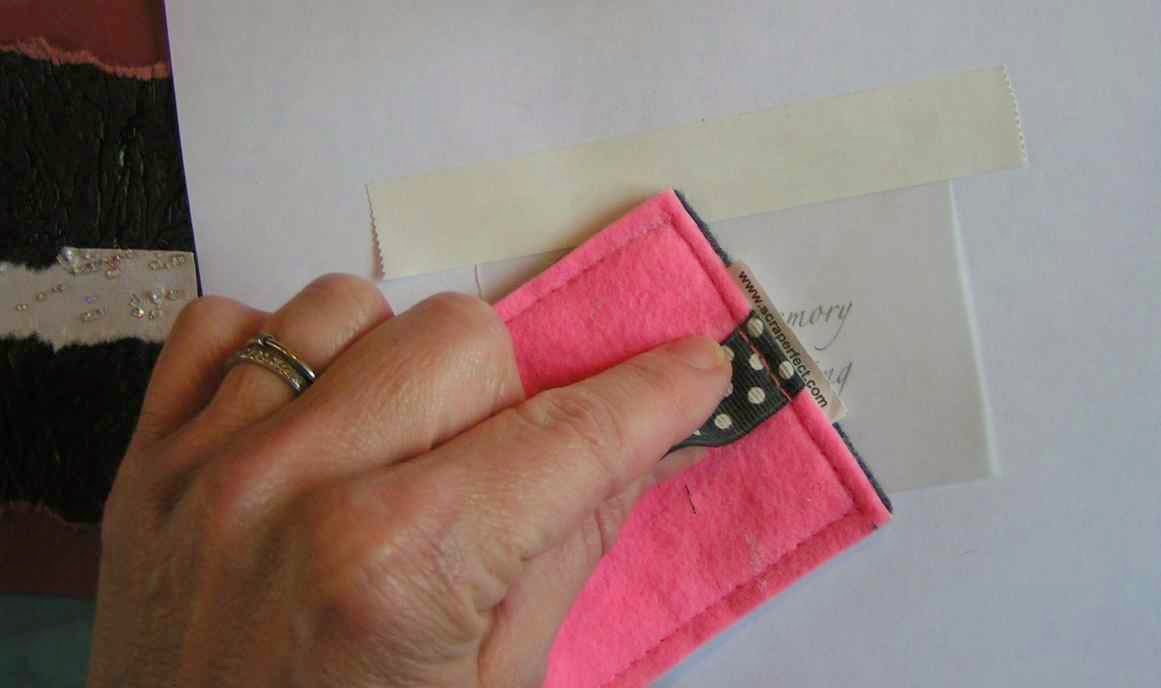
Now to adhere the vellum invisibly:
 |
| No need for special vellum adhesive! The Best Glue Ever™ dries clear and invisible! |
 |
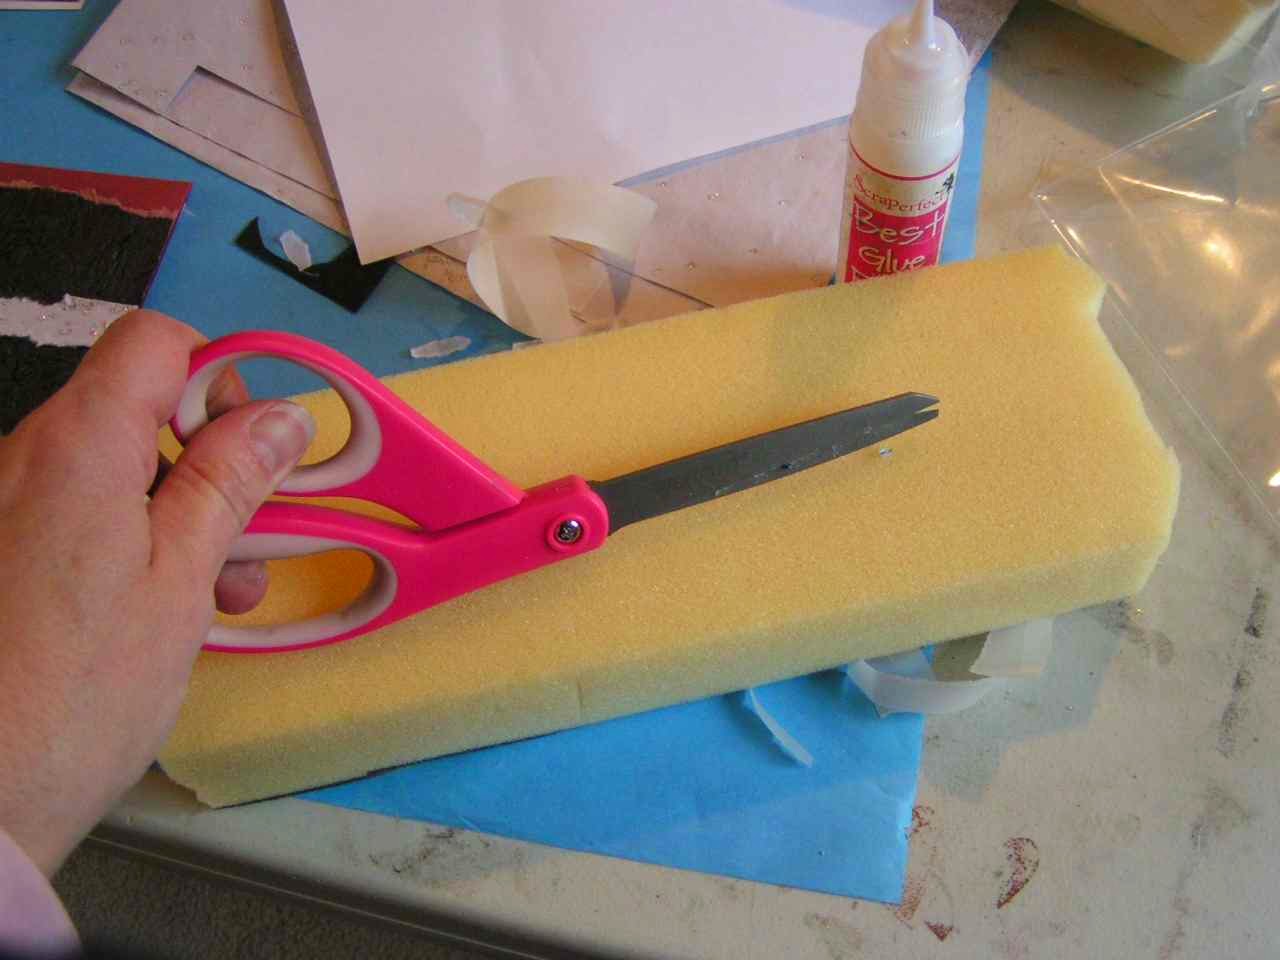
| Just spread it completely onto the back and let it dry to clear and tacky.I often use a snippet of foam rubber as a “foam brush” because it’s cheap and I don’t have to wash it. This time I used a makeup wedge from a pack I found for 10¢ at a garage sale. |
 |
| Press down. Here’s a closeup so you can see you can’t see the glue!In about a minute or less, the glue was clear and very tacky, so I stuck it inside. Anyone who uses vellum will appreciate the fact that it doesn’t turn yellow or begin to show through even after years |
 |
| Finished card. |
 |
| One more thing…although I don’t recommend storing the bottle uncovered, it’s nice that you can leave the top off during while crafting and not have to worry about the glue drying up or clogging. (If it does ever clog, there’s probably a the tiny glue dot plug at the tip. Just pull it out and you’re good to go! ) |
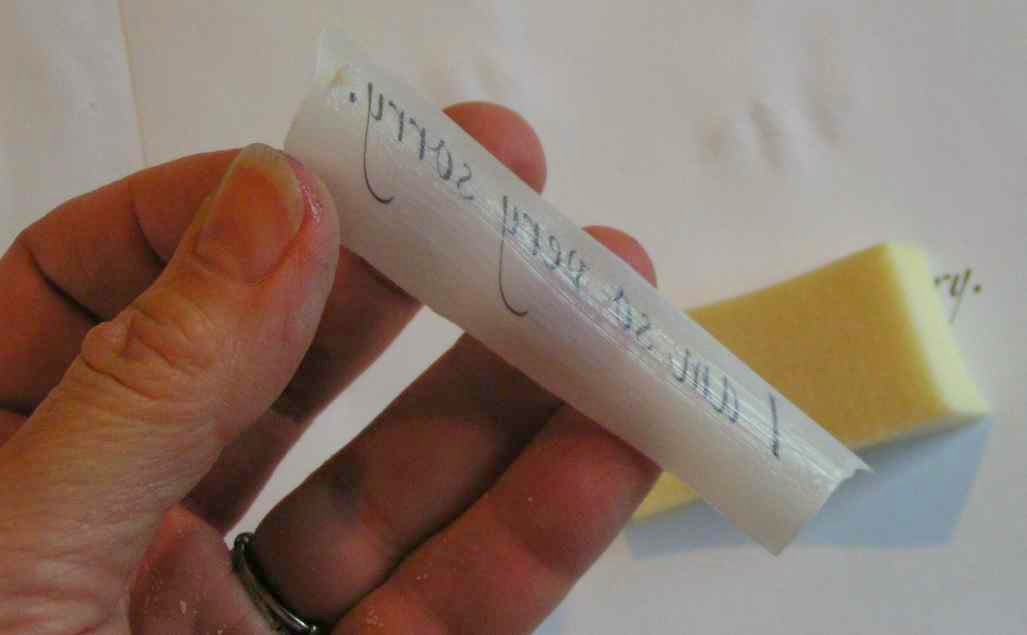
****Here’s how to print on vellum or specialty paper:
1. Print message on regular printer paper. Don’t worry about location on the paper, but get the words, size, and font right.
1. Print message on regular printer paper. Don’t worry about location on the paper, but get the words, size, and font right.

2. Use painter’s tape to tape the vellum or specialty paper right over the words.

3. Swipe the Perfect Crafting Pouch over the vellum to assure crisp, perfect results with no bleeding or smearing and instant drying.

4. Put the paper back into your printer so it prints in the same place as before. (For HP it means upside down.)

5. Reprint with Normal ink settings. VOILA!


