
Hey there!
Lisa here today with my final post for ScraPerfect. Before I get to the layout I created for today, I would like to thank Amy, the owner and Penny, who organizes the design team, for letting me share my love of the ScraPerfect products these last few years. Thanks girls for all you have done!
Ok, now onto my layout….
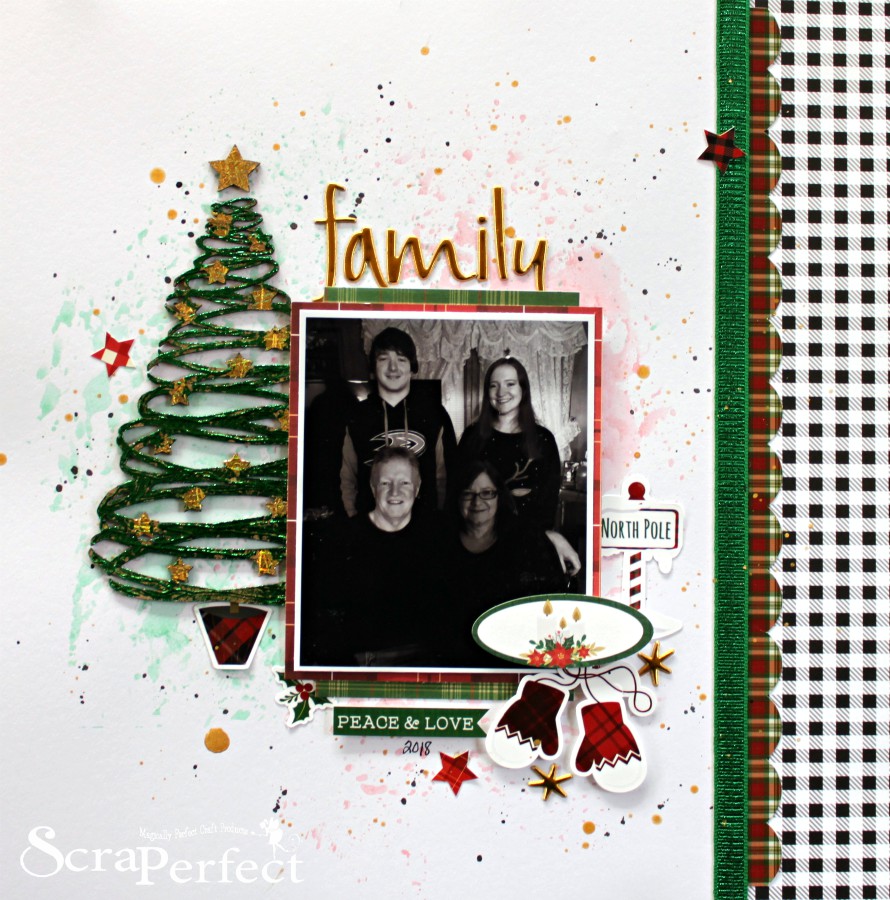
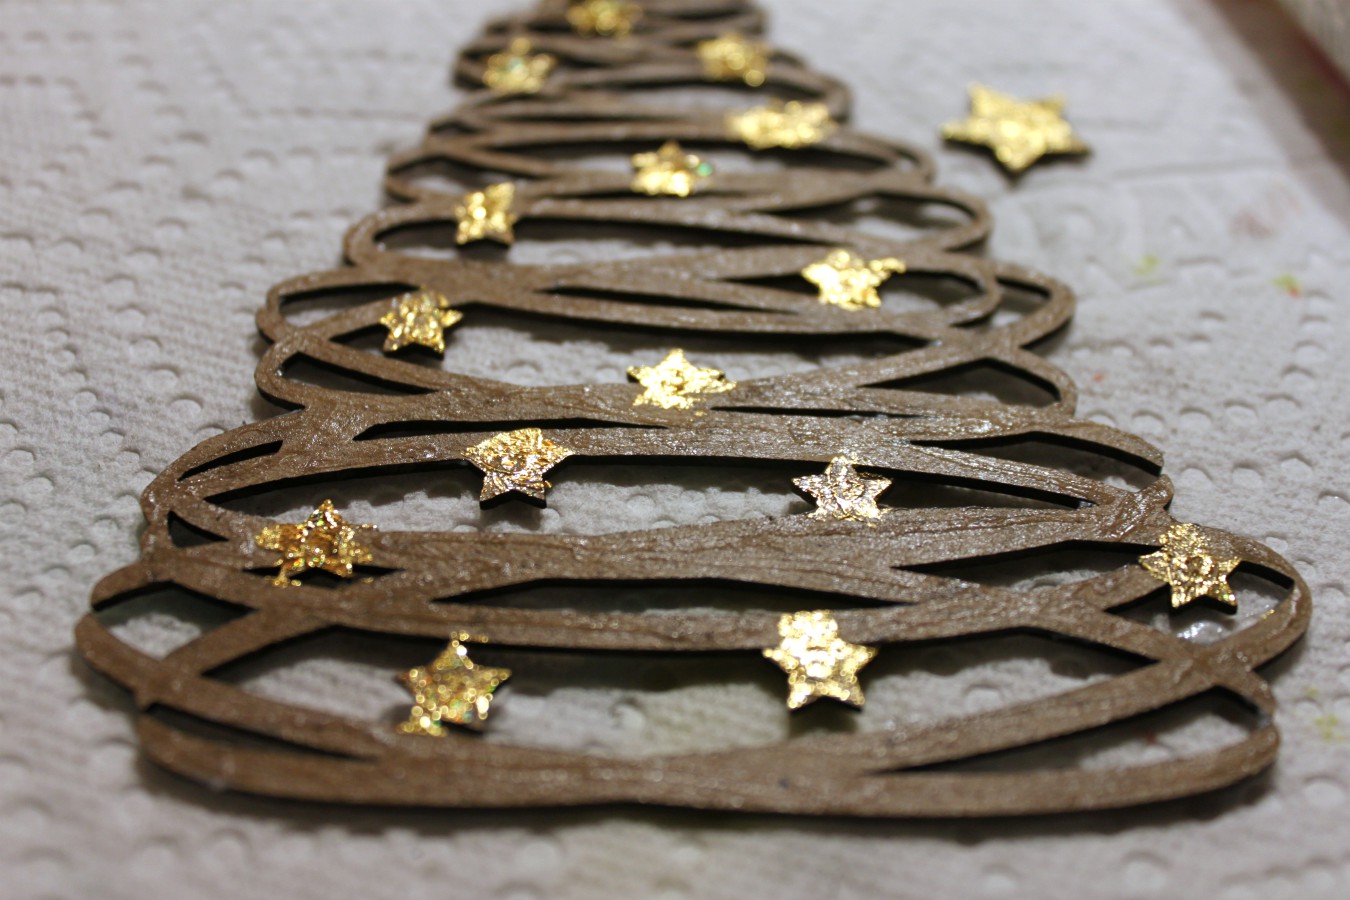
I used a chipboard Christmas tree from Creative Embellishments and place a dot of the Best Glue Ever in the stars on the tree. I used a paintbrush to spread the glue around. I let it sit until the glue is clear (notice it is white after the application). Depending how thick you apply it, determines the dry time. Since, my layer was very thin, it took about 10 minutes.

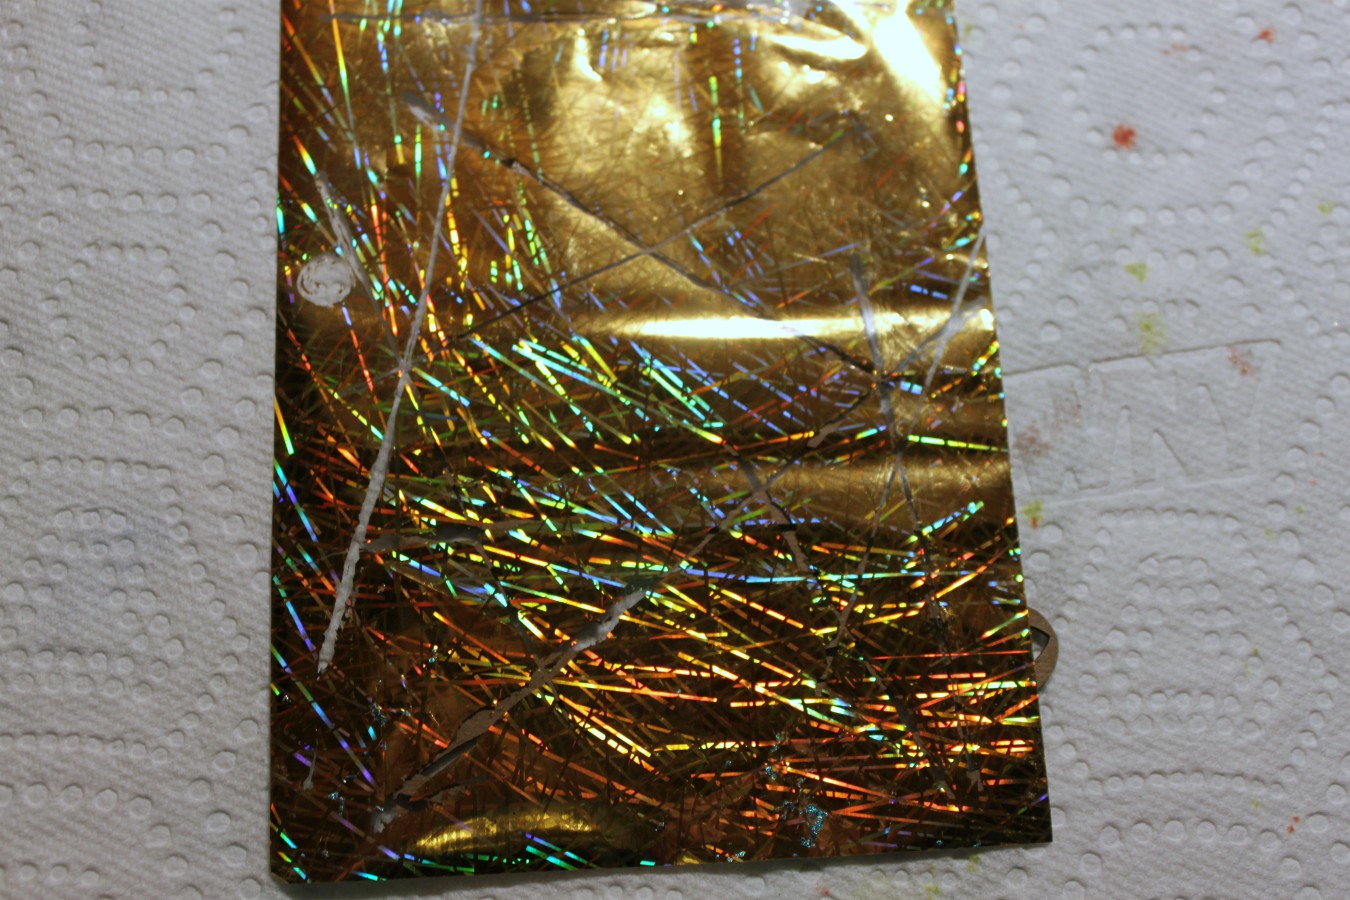
Place a sheet of Transfer Foil, foil side up, on top and burnish the areas where the glue is:
This is the result. Next I added a thin layer of the Best Glue Ever to the rest of the tree. Again I let it dry until it was clear:
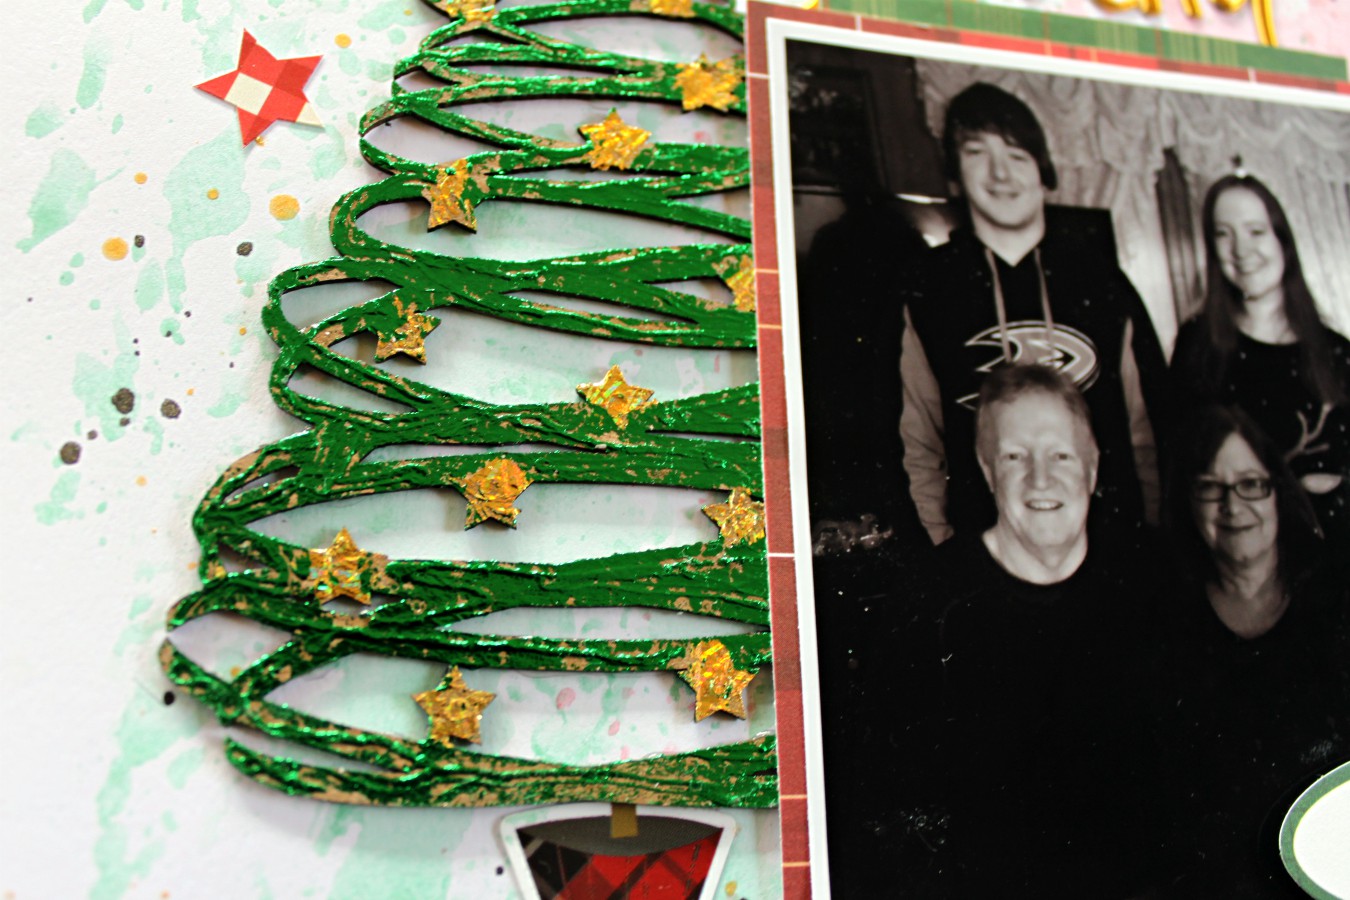
I placed a green Transfer Foil sheet on top and burnish it using my fingers:

Here is the end result. I love all the shimmer the foil adds!
While waiting for the glue to dry in the above steps, I created a border on my layout. I ran a thin strip of the Best Glue Ever along the edge of the border. Once again, let it dry to a clear state. The clear state, is like glue dots but only in a strip. Easiest way to add ribbon or trim to your project.

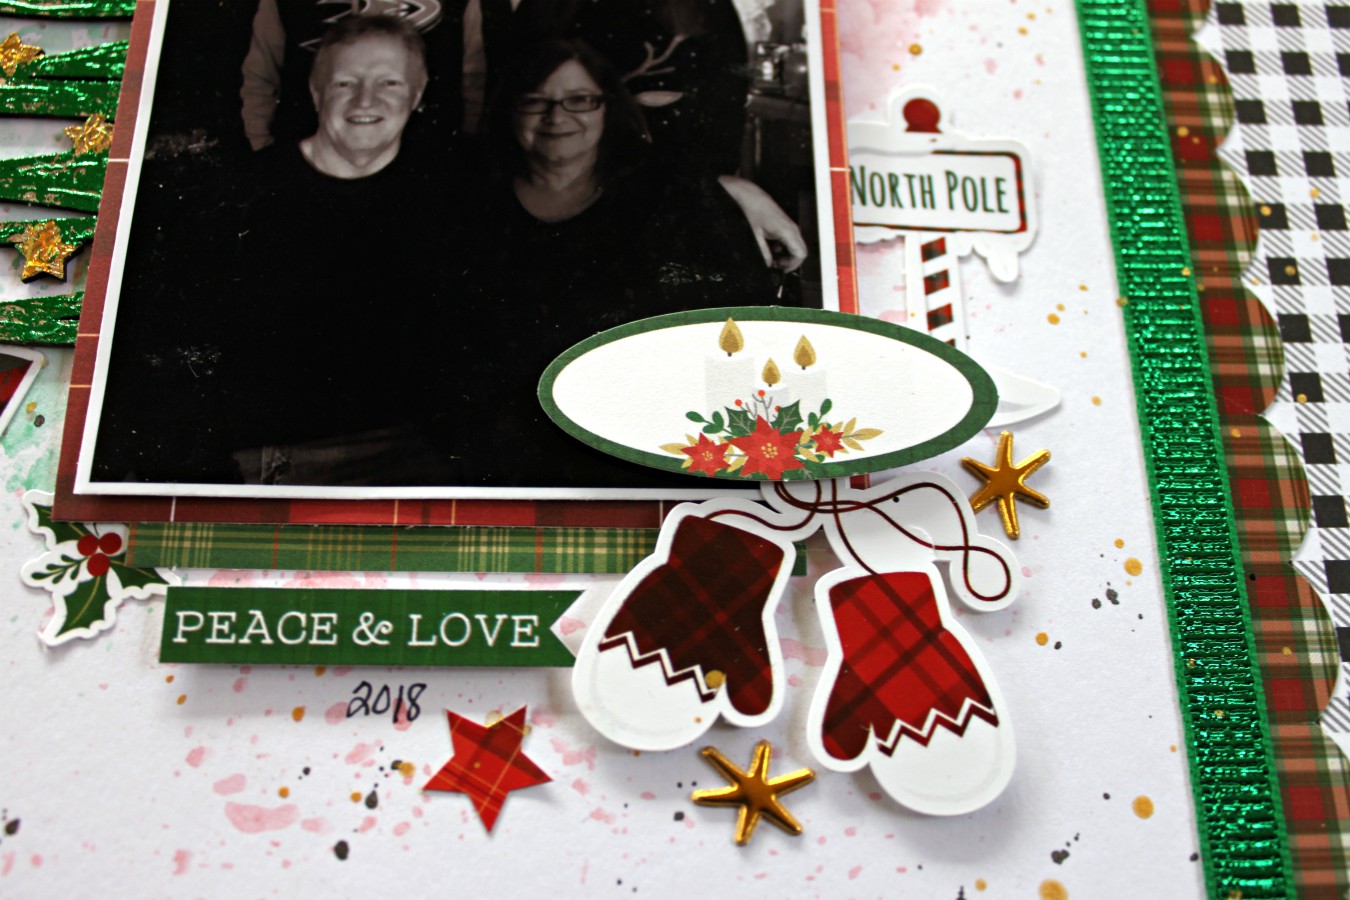
I added ribbon to mine. Finally, I added a few embellies to my page:
Thanks for stopping by and Merry Christmas and Happy New Year to you and your family!

