How to Beautifully Embellish Chipboard with Foil Accents

Hi there, Karen here to share how easy it is to embellish chipboard with metallic foil accents.  This is a cost effective way to add a bit of bling to your projects with buying expensive chipboard sets and it allows you the freedom to control the amount of foil you would like to have.  I usually prefer subtle foil accents that just catch the light and provide a hint of extra twinkle.

Best Glue Ever
No Clog Writing Caps

Embellie Gellie

Directions:
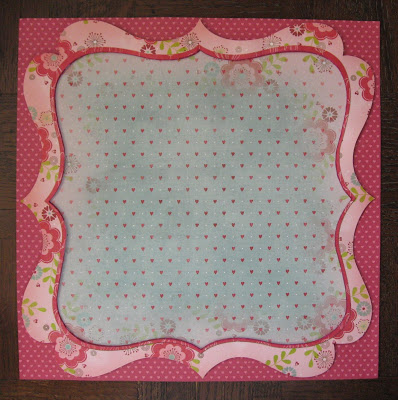
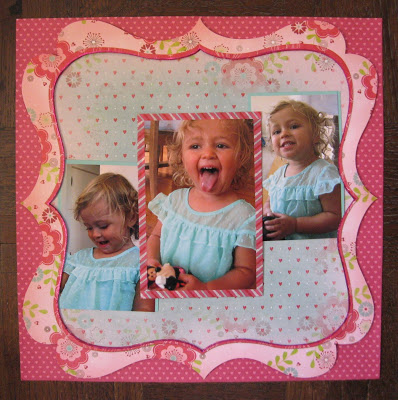
1. Carefully use a craft knife to cut out the bracket frame. Use foam tape to adhere the frame to the background paper.
2. Apply BGE along the edge of the frame. Use a No Clog Writing Cap in order to have complete control of the perfect placement of the
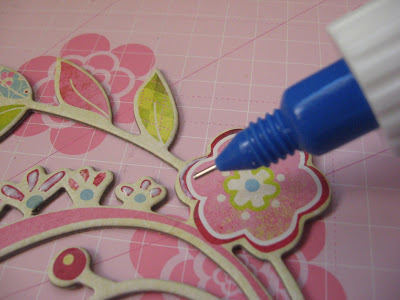
precise amount of glue. I wanted a super thin subtle line so that there was just a hint of shiny foil showing along the edge.
3. Place the foil dull grey side down onto the tacky glue. (The colored side of the foil will face up.) Use the ball of your finger to rub over the foil area to be transferred to the glue.

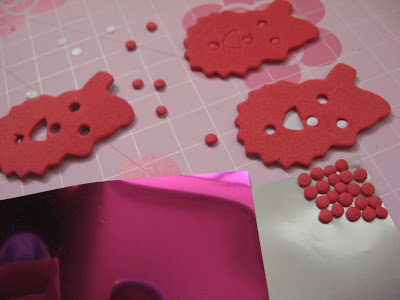
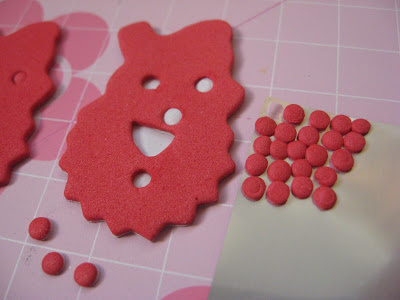
4.  Remove the foil to reveal the foil transferred to the tacky glue.  If any areas of glue did not get foil, place the foil over the area and rub over it again.  Continue the process until all the glue has been foiled.

5.  Add strips of washi tape around the edges of the central photo.  Fold the excess tape to the back of the photo.  Matte two smaller photos with coordinating card stock. Next, adhere photos diagonally across the layout.

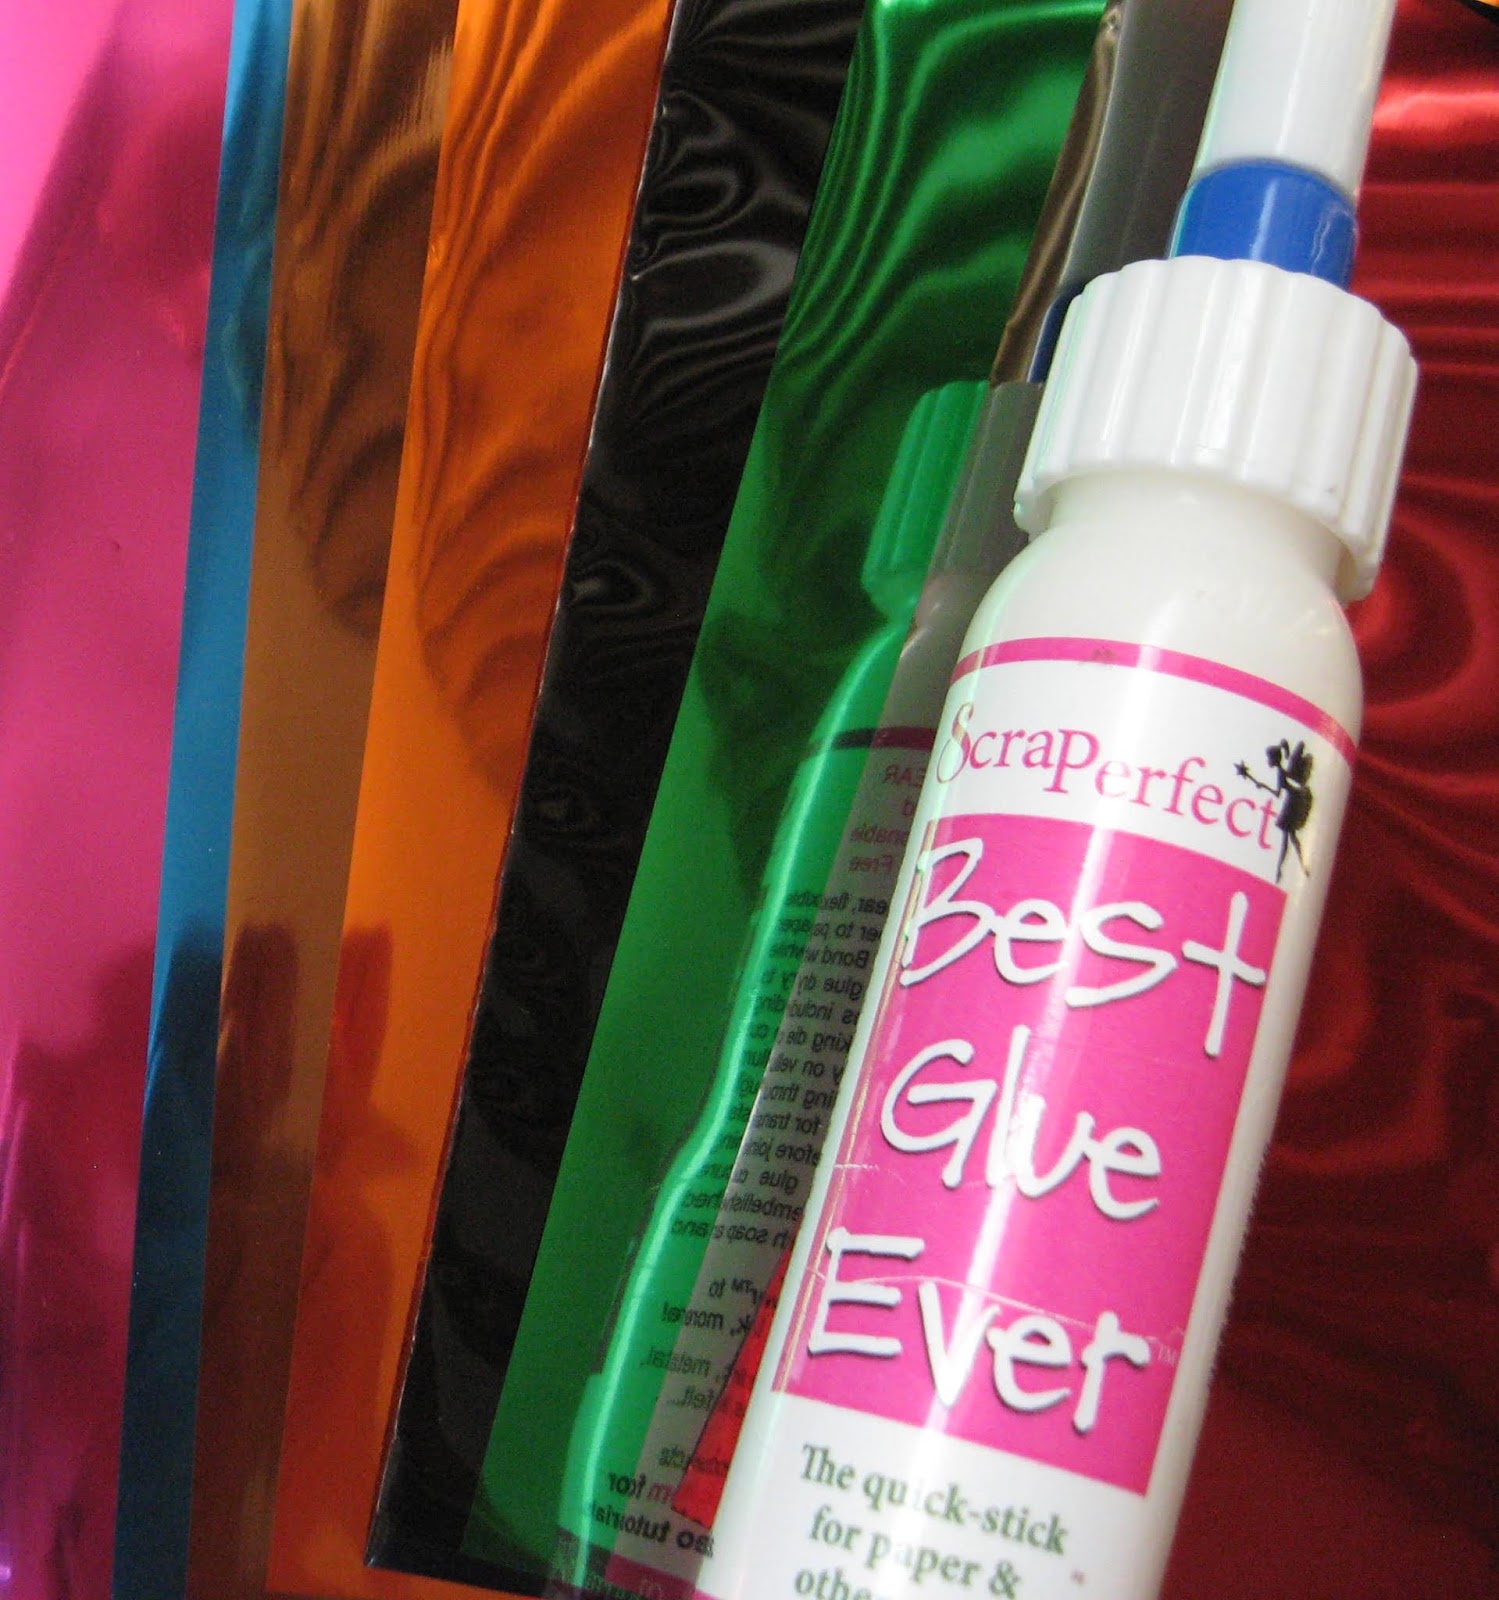
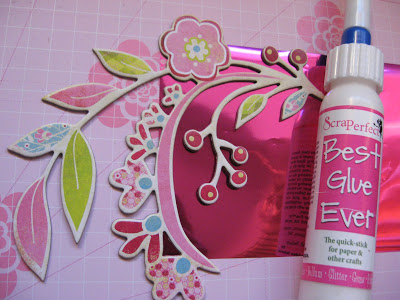
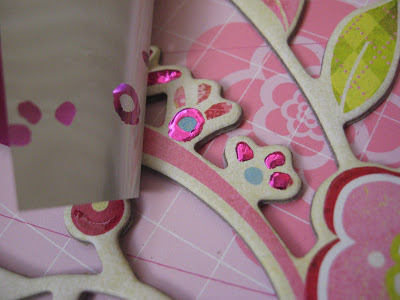
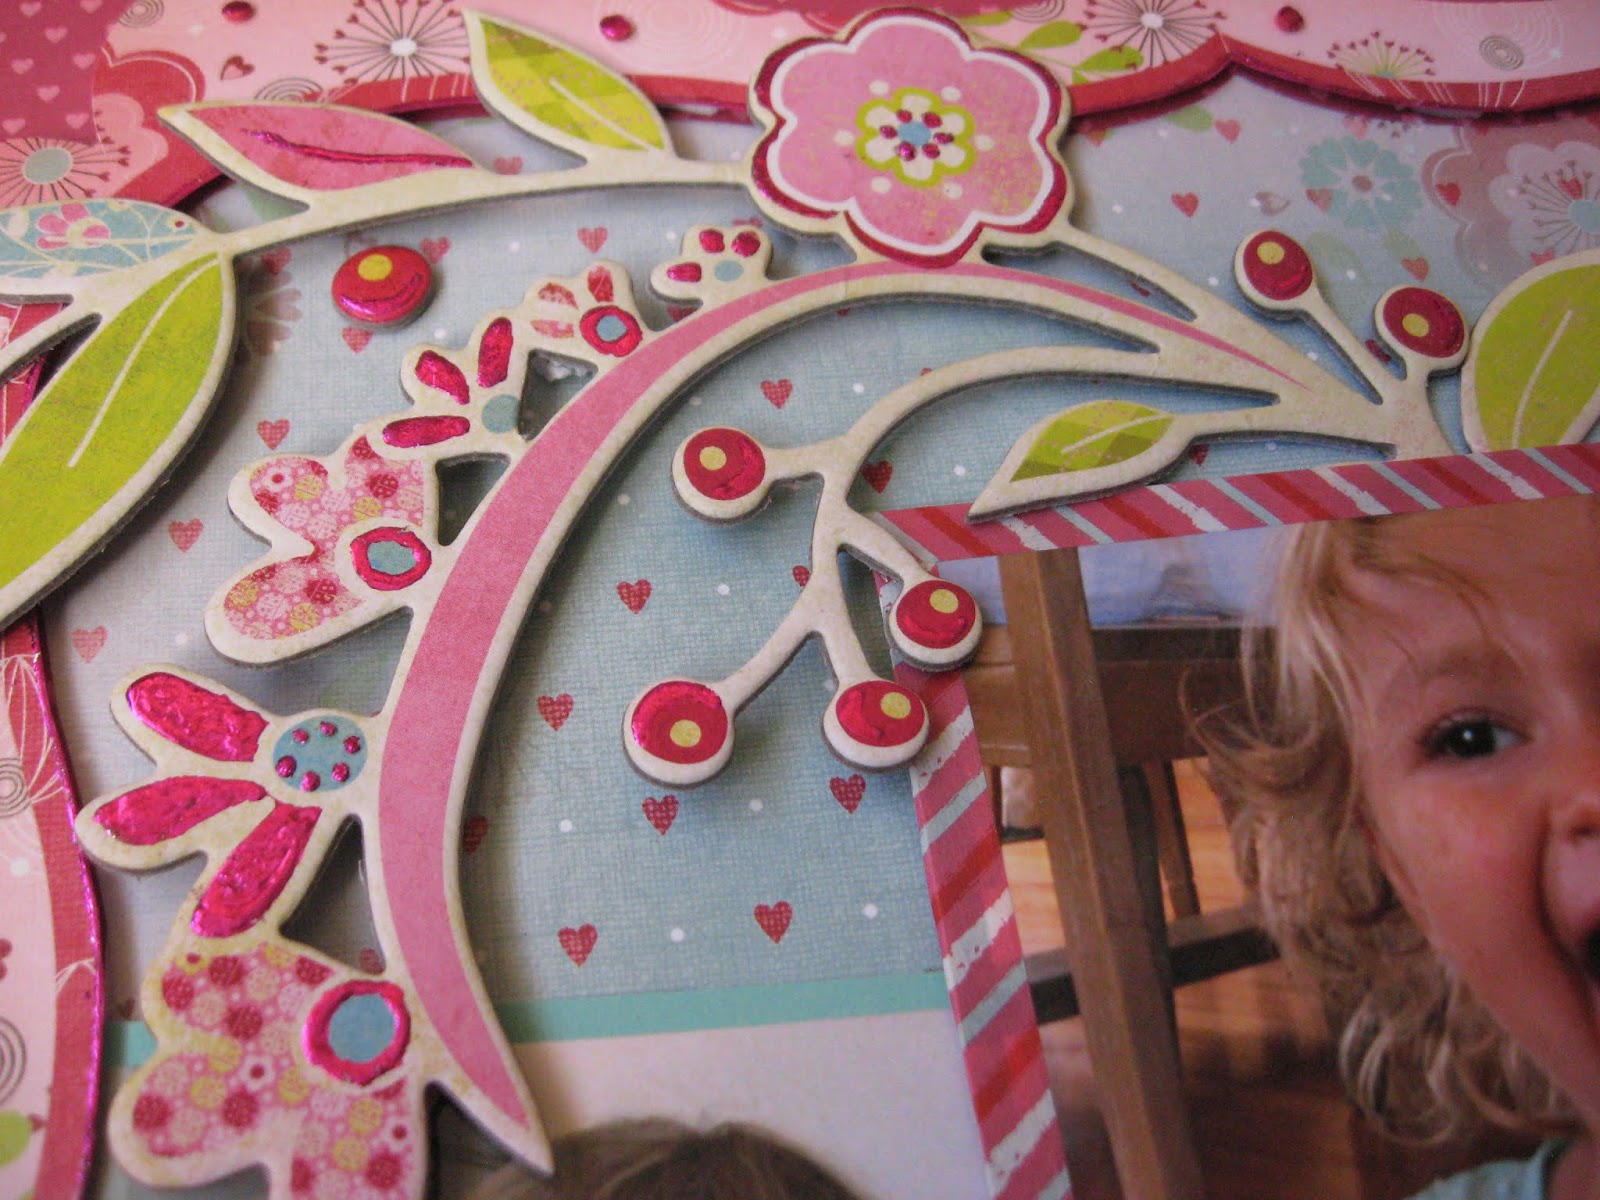
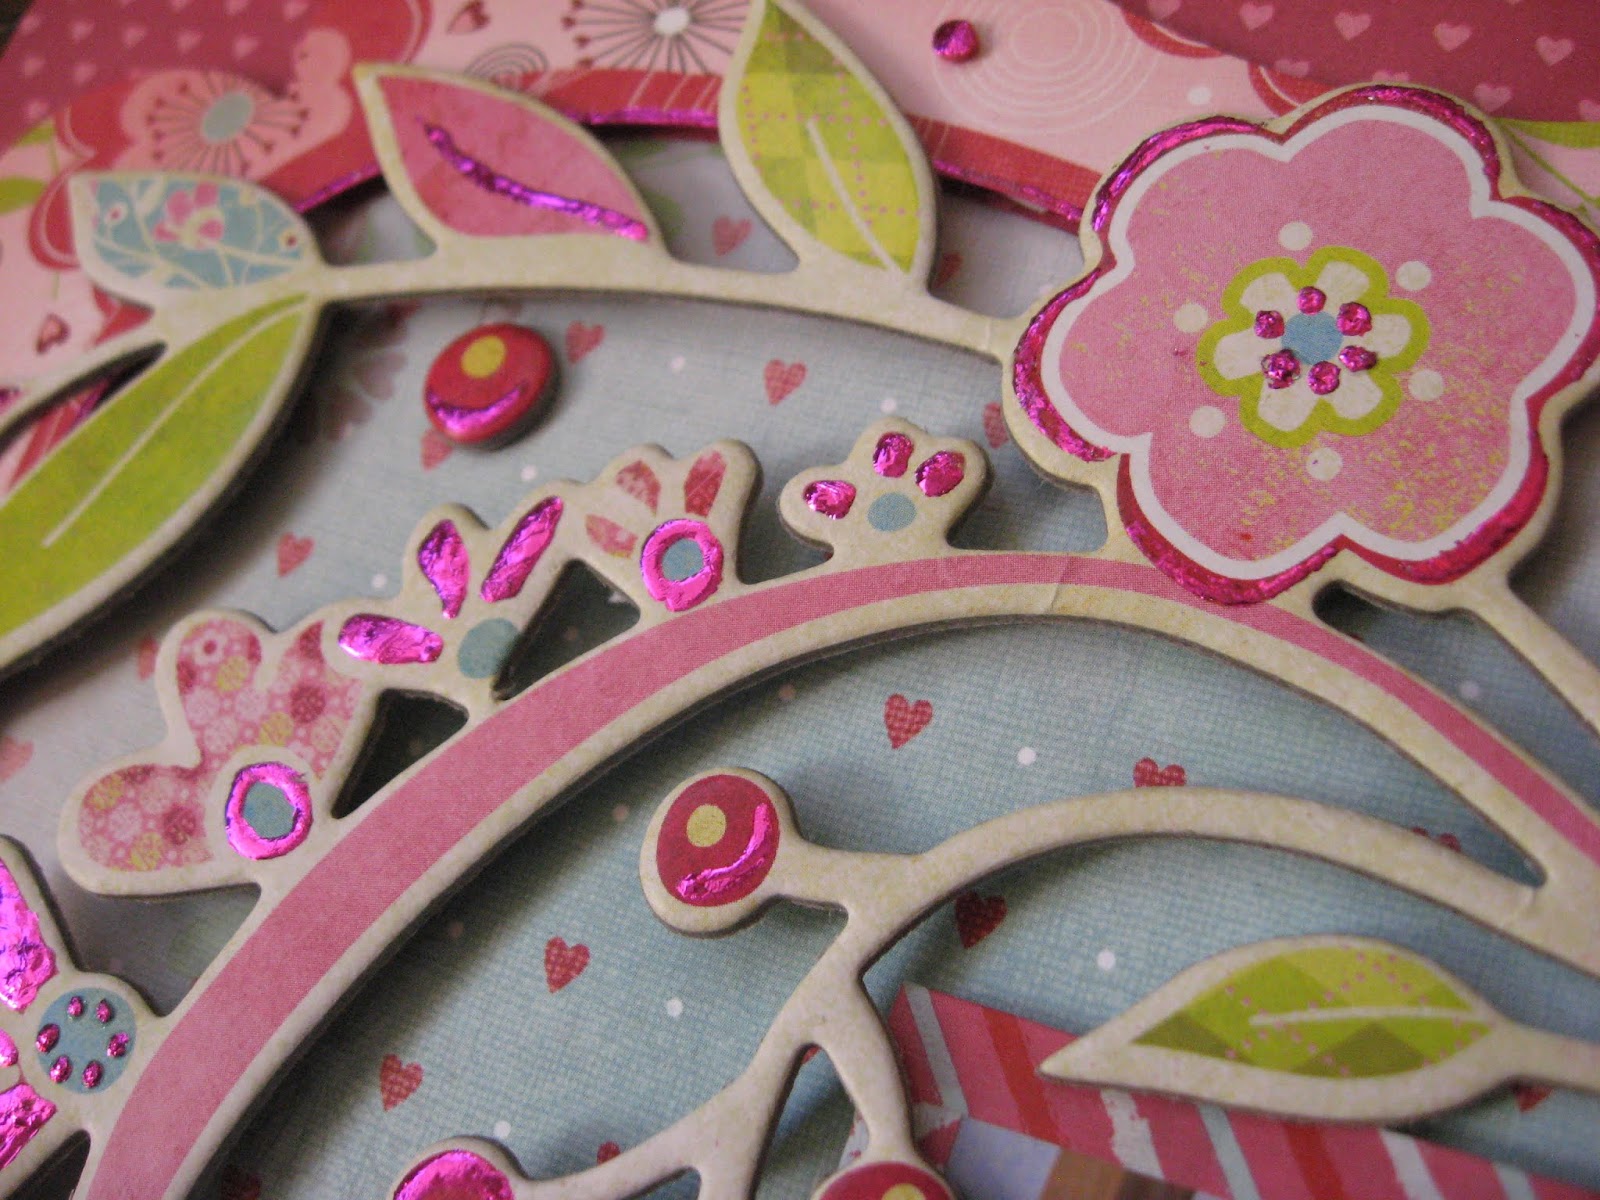
6. Apply BGE to select parts of the chipboard to accent the shape or outline and highlight a certain pattern. Wait 2-3 minutes for the glue to turn clear and tacky and then apply foil over the dry glue.

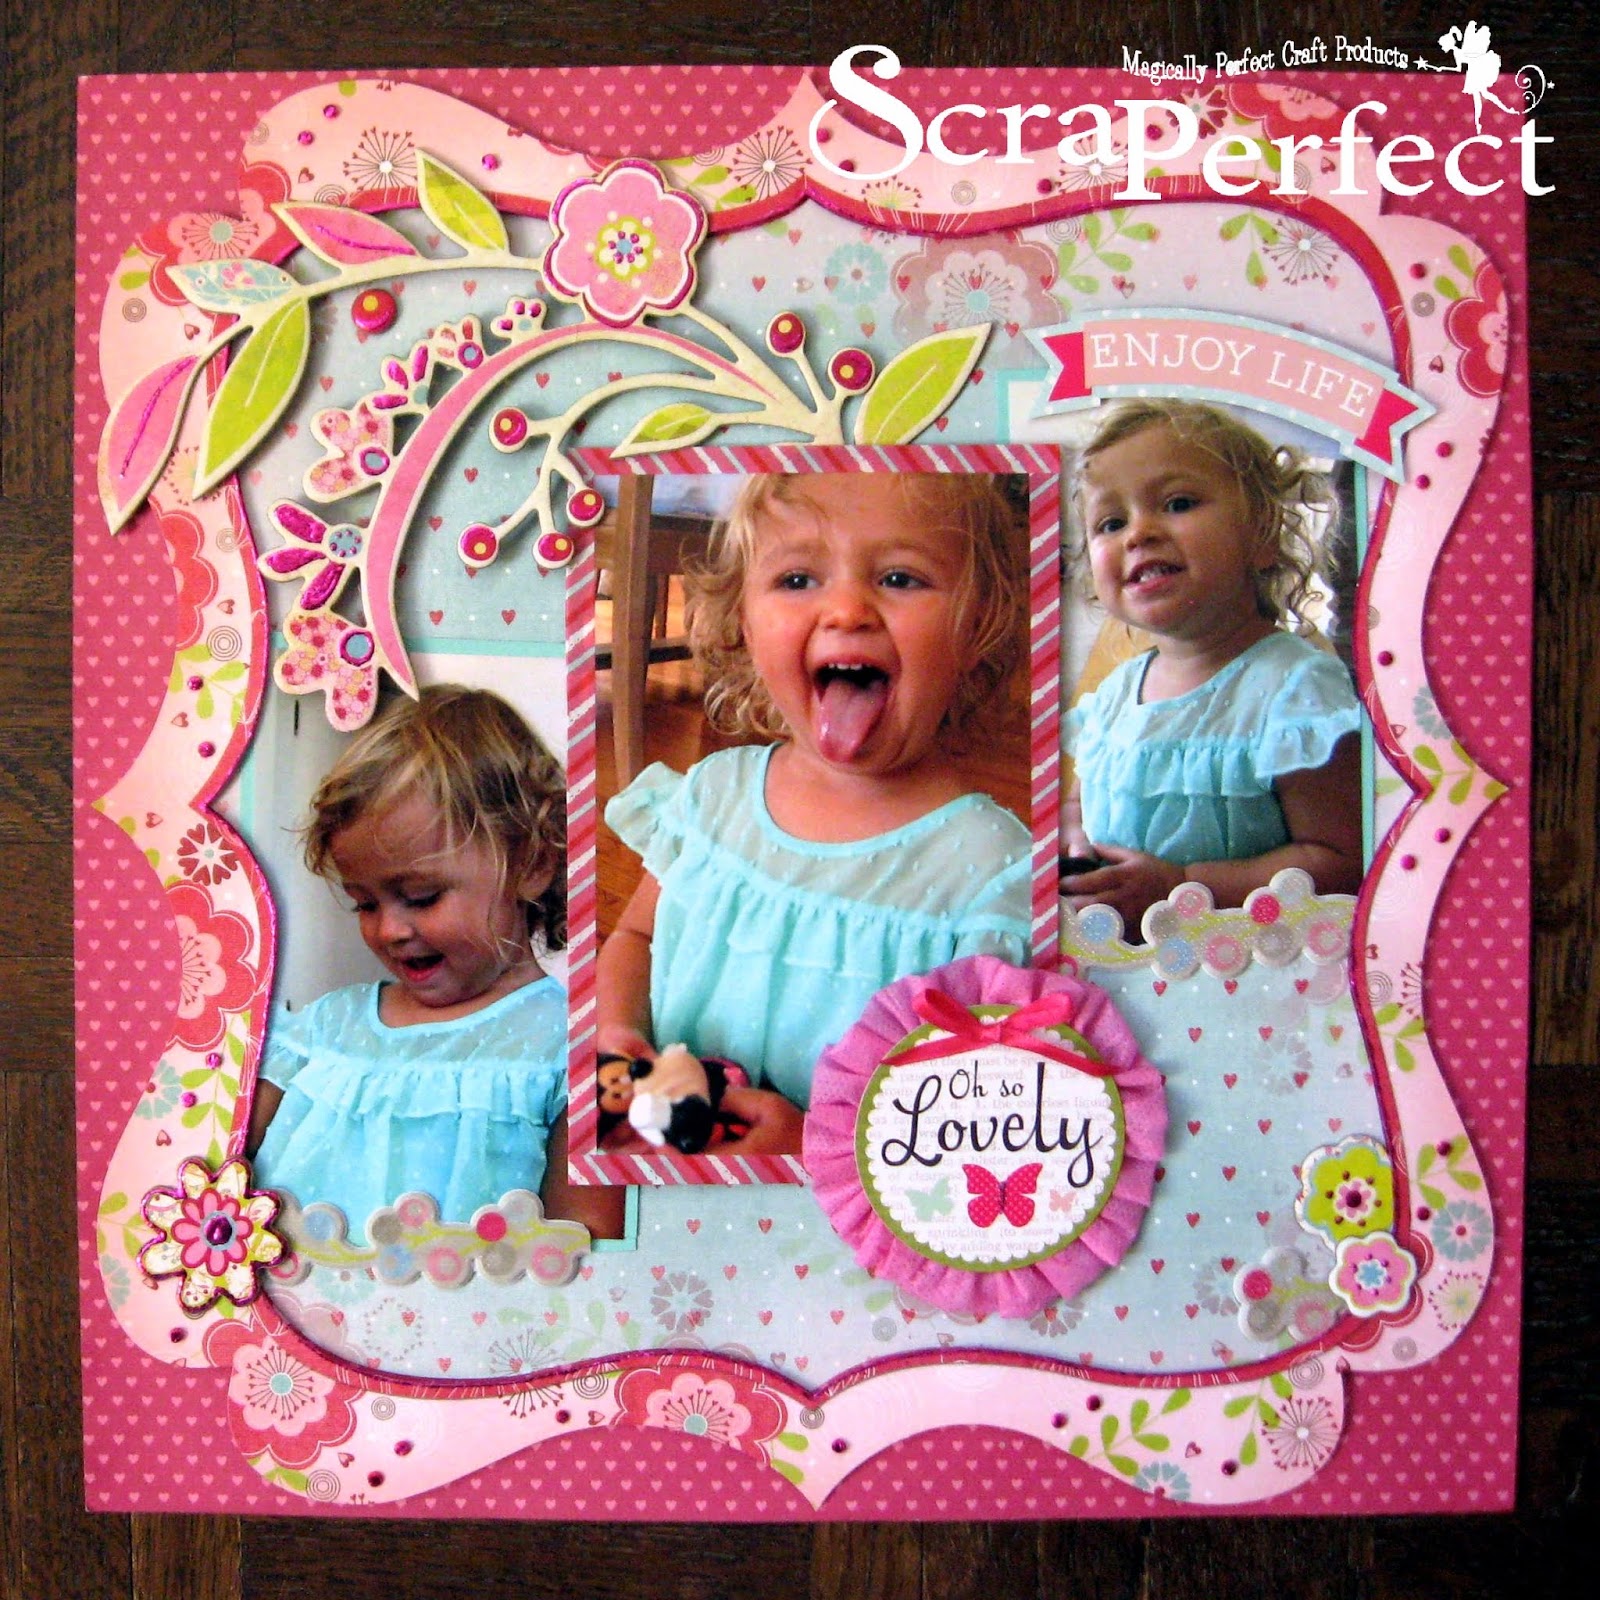
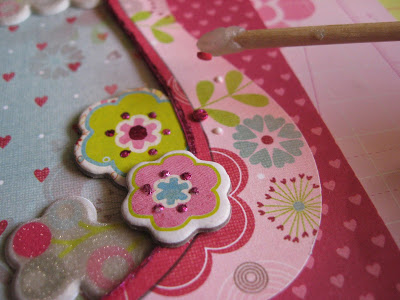
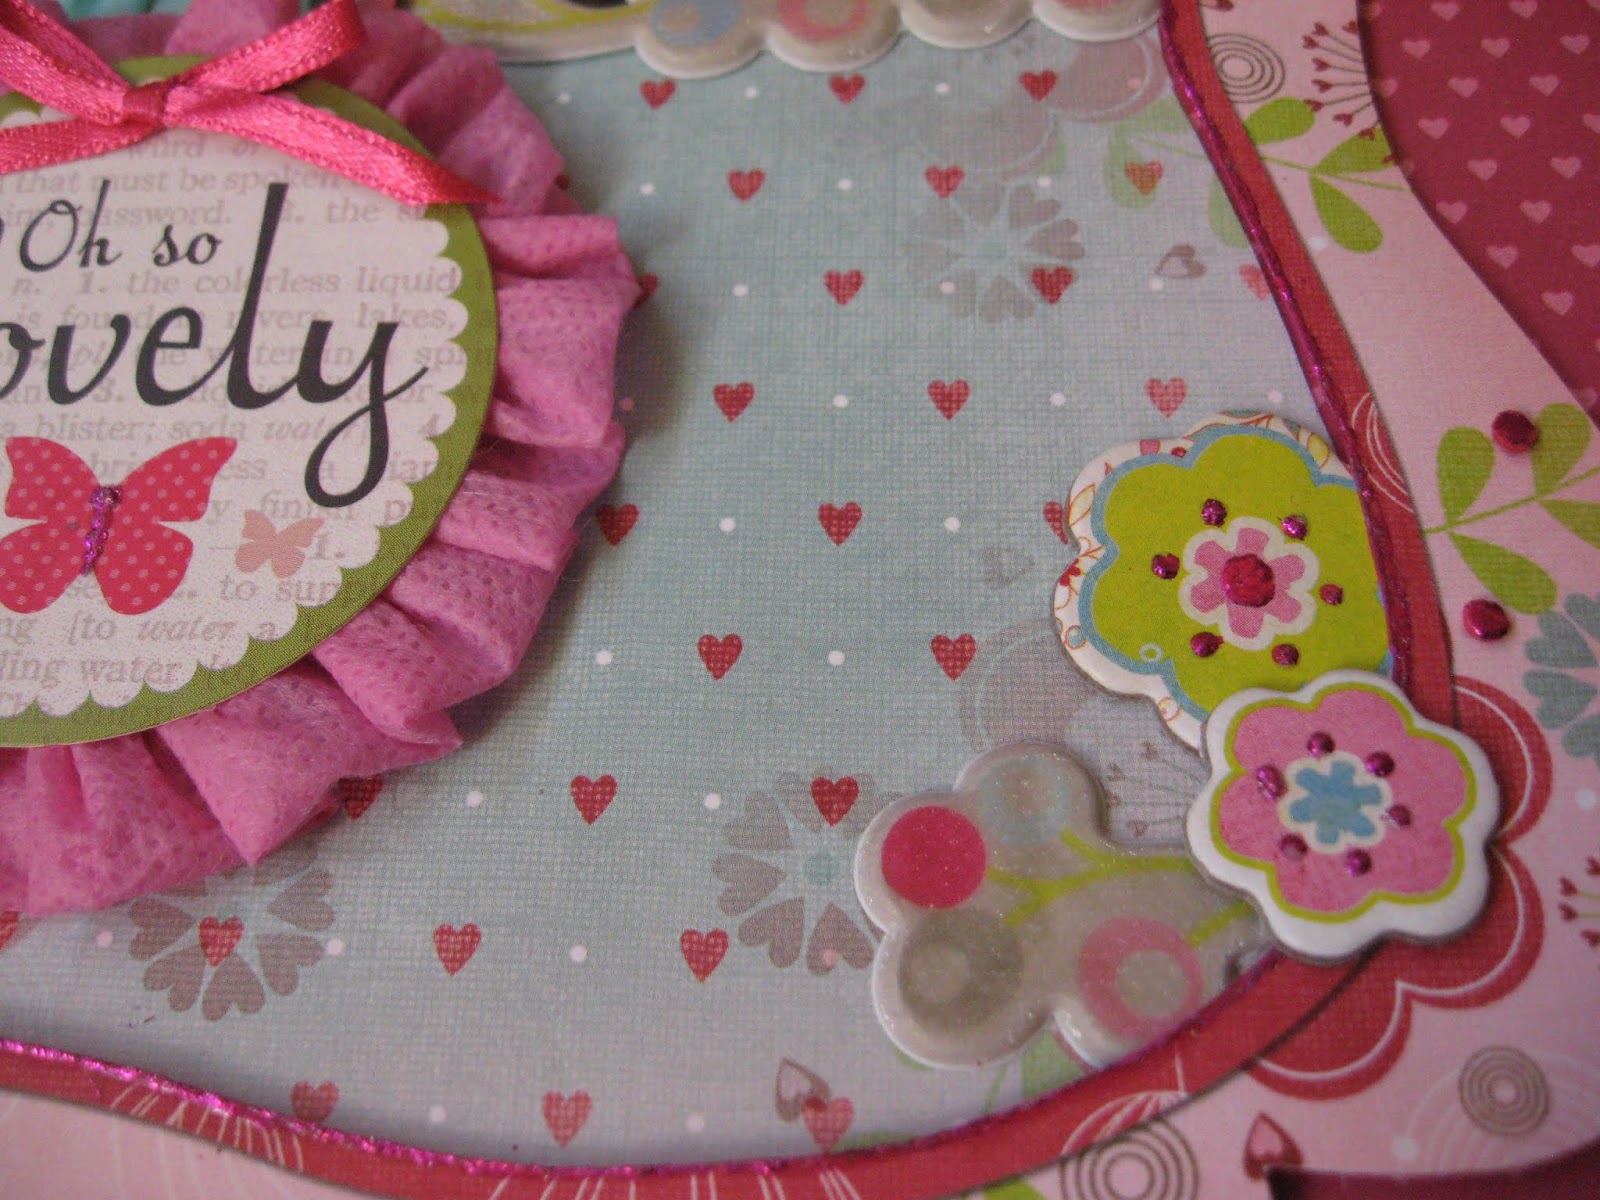
7. Adhere the foiled chipboard to the top left corner of the layout. Add a few clusters of die cut embellishments. Create a ruffle by using a needle and thread to sew a basting stitch along the edge and gathering it up. Attach the ruffle to a tag and embellish with a small ribbon bow.
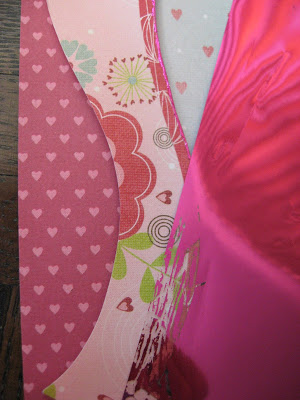

8.  I repurposed some foam crafts for children that had many self adhesive dots in the design. I carefully removed the backing paper and placed each sticky foam dot directly onto the foil. Create home-made glue dots by applying small dots of BGE to release paper.  Finally, remove the foam dots from the foil and use the Embellie Gellie tool to select and transport each dot to a tiny BGE glue dot. Place the foiled dots randomly on the layout to look like scattered confetti.


A Closer Look:


Other Supplies:
3 photos
patterned paper / card stock
chipboard / border sticker
foam / craft knife / needle & thread
washi tape / die cut embellishments / thin ribbon

Thanks for visiting.  See you again soon!
If you would like to see more of Karen’s projects, stop by her blog Art & Soul.

Designer

Sign up for important notifications by email for Coupons, Events, Special Offers, plus ScraPerfect's tips, ideas and news!

Your information will *never* be shared or sold to a 3rd party.

Sign up for important notifications by email for Coupons, Events, Special Offers, plus ScraPerfect's tips, ideas and news!

Your information will *never* be shared or sold to a 3rd party.