
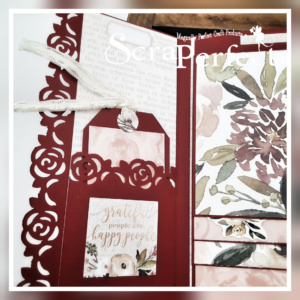
Hello crafty friends! Jeanne here back this month to share with you how I created this “Grateful” Photo Folio. On this photo folio, of course you are welcome to create any theme you like , I decided to create something that says how “Grateful” I am. Although 2020 so far has been a tough one so far, I am extremely grateful and whoever I decided to send this to will know how I feel for them.

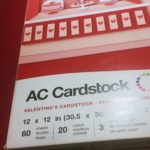
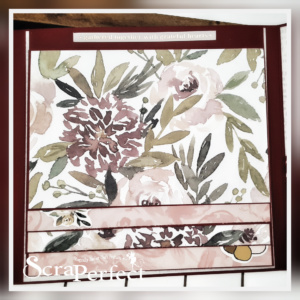
This photo folio card measures 6.1 X 6.1 . I began by cutting my textured colored card stock which is by American Crafts, to these measurements.
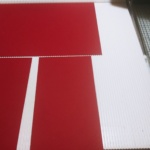
(1) pc 6 1/4 X 8 3/4 (Main Base)
(2) pcs 6 1/4 X 3 1/4 (Base Sides)
(4-6) 6 1/2 X 4 1/2 (Photo Mats)
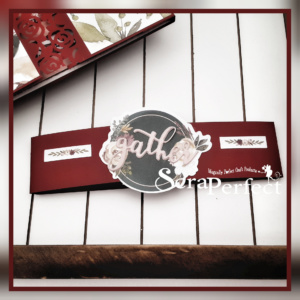
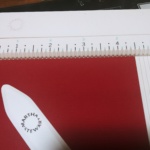
Once I cut all of my pieces, I set aside the photo mat pieces. I began by taking the base sides and using a decorative punch on them before adhering to the main base. I then took the main base and I scored @ 1 in. and another @ 1 1/4, flipped it around to the other end and did the same. (See photos below)
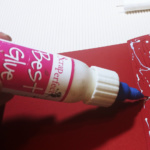
I then used ScraPerfect Best Glue Ever to adhere them onto the main base.


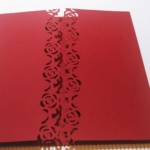
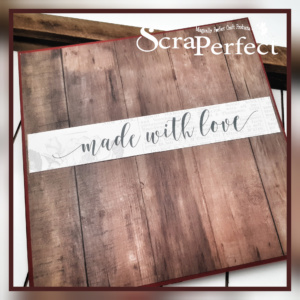

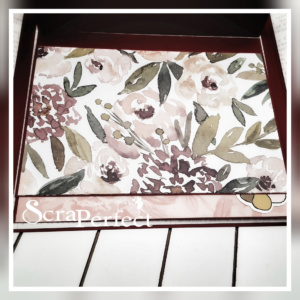
I then began to adhere the design paper onto all of the areas, do this before adhering the photo mats, just makes it easier. For this project I used a few sheets that I had left from the Pink Paislee Auburn Lane collection.
On similar photo folio’s I’ve created, I have used seam binding or a fiber for the closure, so I wanted to make a belly band for this one. Even though I didn’t make the correct score lines, I still managed to make it work so I won’t give you my measurements, if you know how to create these, they are easy to make but if not you can make it easy and just use lace, seam binding. This is your project so you can create it how you like!
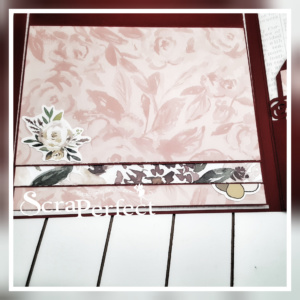
So for this next step, I finished adhering my design paper, I did use ScraPerfect Best Glue Ever on this entire project. The next thing I did was score and adhere the photo mats, each photo mat I had previously cut, I scored each one on their vertical side at 1inch, this is for a waterfall. So I applied my design papers after they were already adhered onto the base but in all honesty it is easier to adhere your design papers first.


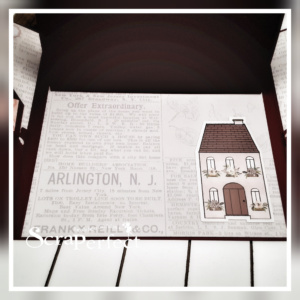
I then added some stickers from the collection as well as making some tags for the side pockets. I used some fibers from my stash for those tags. You can create yours anyway you want to. If you would like to see a video tutorial, I had done a live YouTube video a while back on another one I created. I’ll also leave a link to my Pinterest so you can see the first one I originally made down below as well. I do hope that you find this easy to create and I hope you will tag me on your project when you do. Here are the rest of the photos of the inside of it. I only made 4 mats but you can add up to 6 of them. You can also put a pocket on the back page, where I have the house sticker.


I’ll be back later this month with another project using some other products from ScraPerfect! Until then please check in daily to see the rest of the wonderful designers sharing their beautiful creations! See you all soon!!
Hugs,
Jeanne
YouTube video tutorial I made a while back: Mother’s Day Photo Folio Live
Very 1st Photo Folio
Product used on this project: ScraPerfect Best Glue Ever
