
Hello and welcome! Shelly with you today sharing a 2 page Christmas Light layout for a SNAP Album (6×8-1/2 Page size)
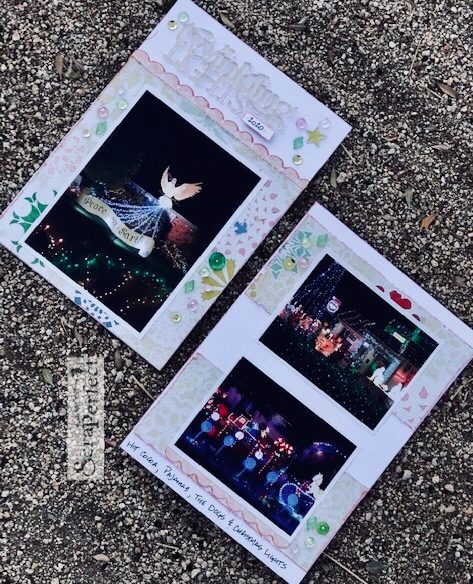
This was a quick and easy layout – easy enough, that I created it in my trailer on a camping trip with minimal supplies.

Supplies and cut sizes:
- Best Glue Ever
- No Clog Writing Cap
- Embellie Gellie
- Perfect Cleaning Cloth
- Base – White Cardstock 6×8-1/2
- Mat for Page 1 – Patterned Paper 6×6-14
- Mat for Page 2 – (2) Patterned Paper Strips 6×2-3/4
- Branding Strips from Patterned Paper
- Sequins and Dew Drops from The Robin’s Nest
Make it:
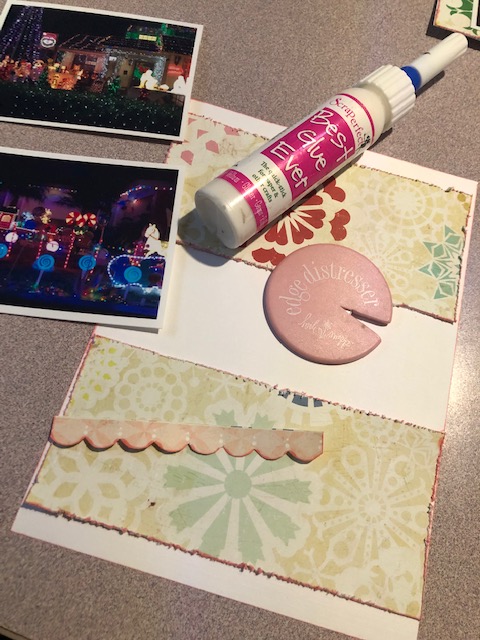
- Distress and ink all edges of your patterned paper. Because I was traveling with minimal supplies, I used a Sharpie Marker to ink my edges
- Ink edges of base cardstock
- Fussy cut branding strip and ink edges
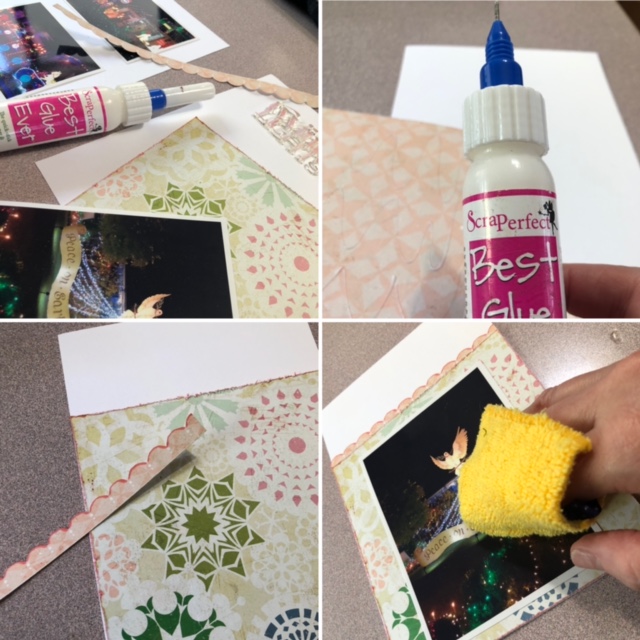
- Using Best Glue Ever, adhere patterned paper, photos and branding strips as shown in photo
Tip 1: Use a MINIMAL AMOUNT of Best Glue Ever – not a lot is needed for perfect adhesion!
Tip 2: Use Perfect Cleaning Cloth to press and smooth paper pieces and photos – push out any air bubbles and wipe prints off photos
Finishing touches:
- Add your acrylic title, Dew Drops and sequins using Best Glue Ever
- Add date and journaling
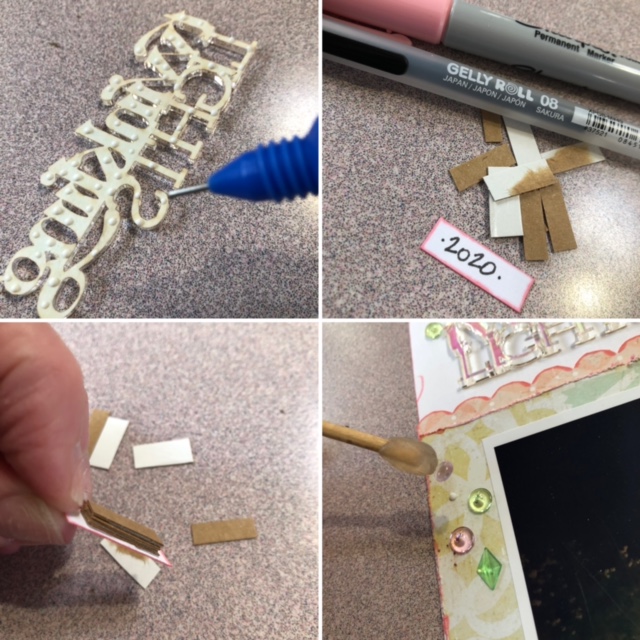
Tip 3: The No-Clog Writing Cap allows you to apply glue to the tiniest and most intricate items with precision!
Tip 4: Best Glue Ever dries CLEAR – perfect for opaque embellishments
Designer Note: I wanted to make my date dimensional, but did not have any pop dots or foam tape with me – so I improvised by gluing several layers of heavy card stock from a cracker box to the back of my date.
Thanks for stopping by the blog today – have a creative week!

