How to Easily Assemble Gem Ladybug Embellishments

Hi There,
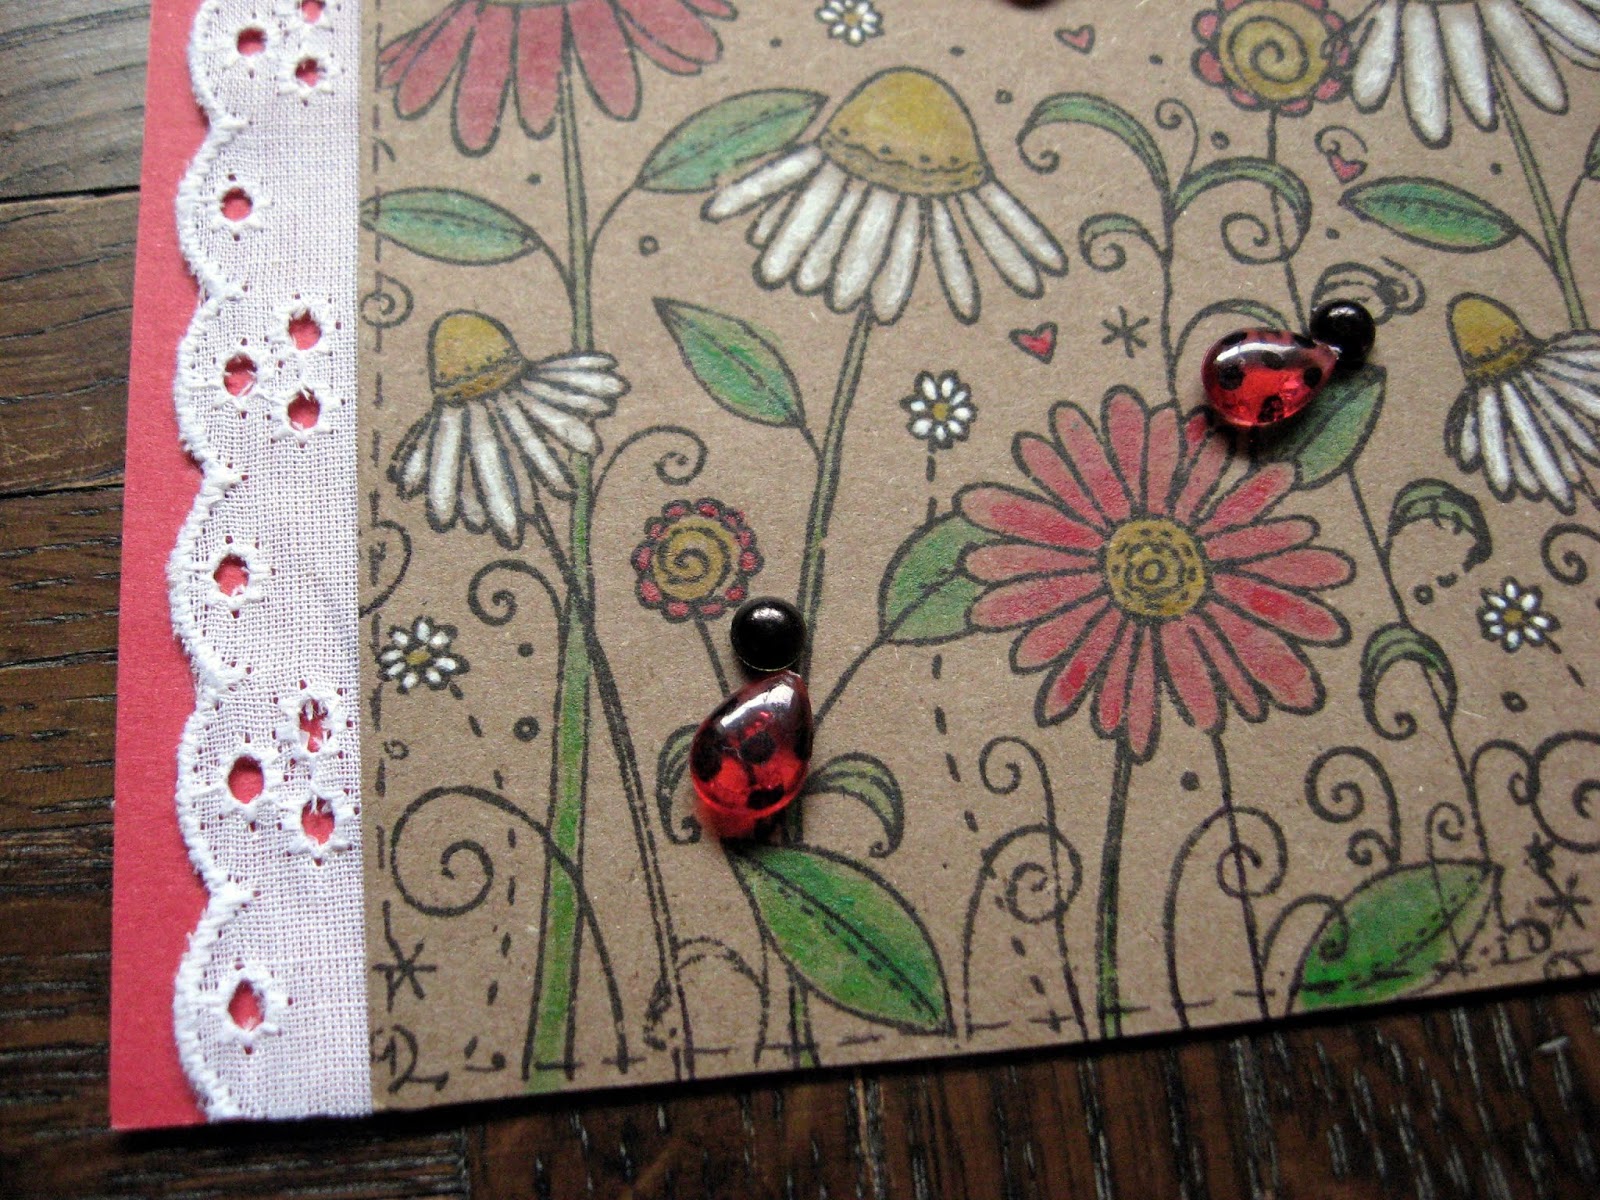
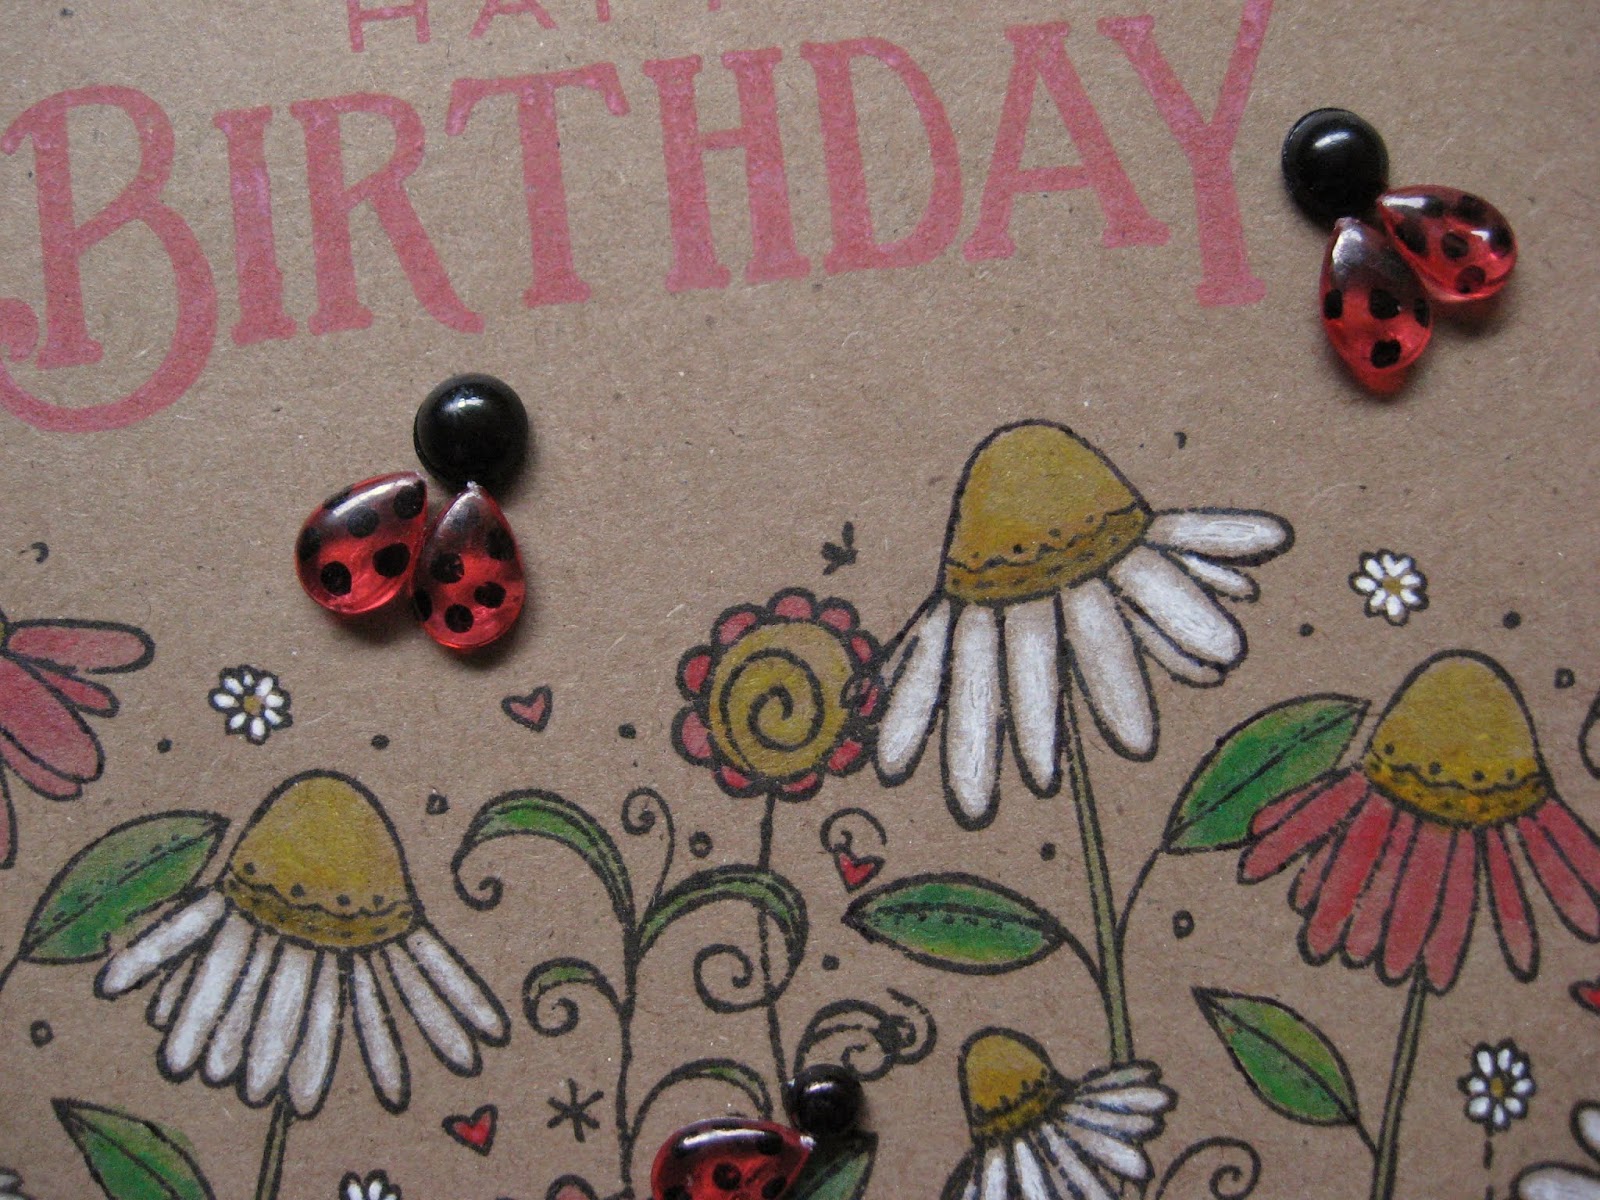
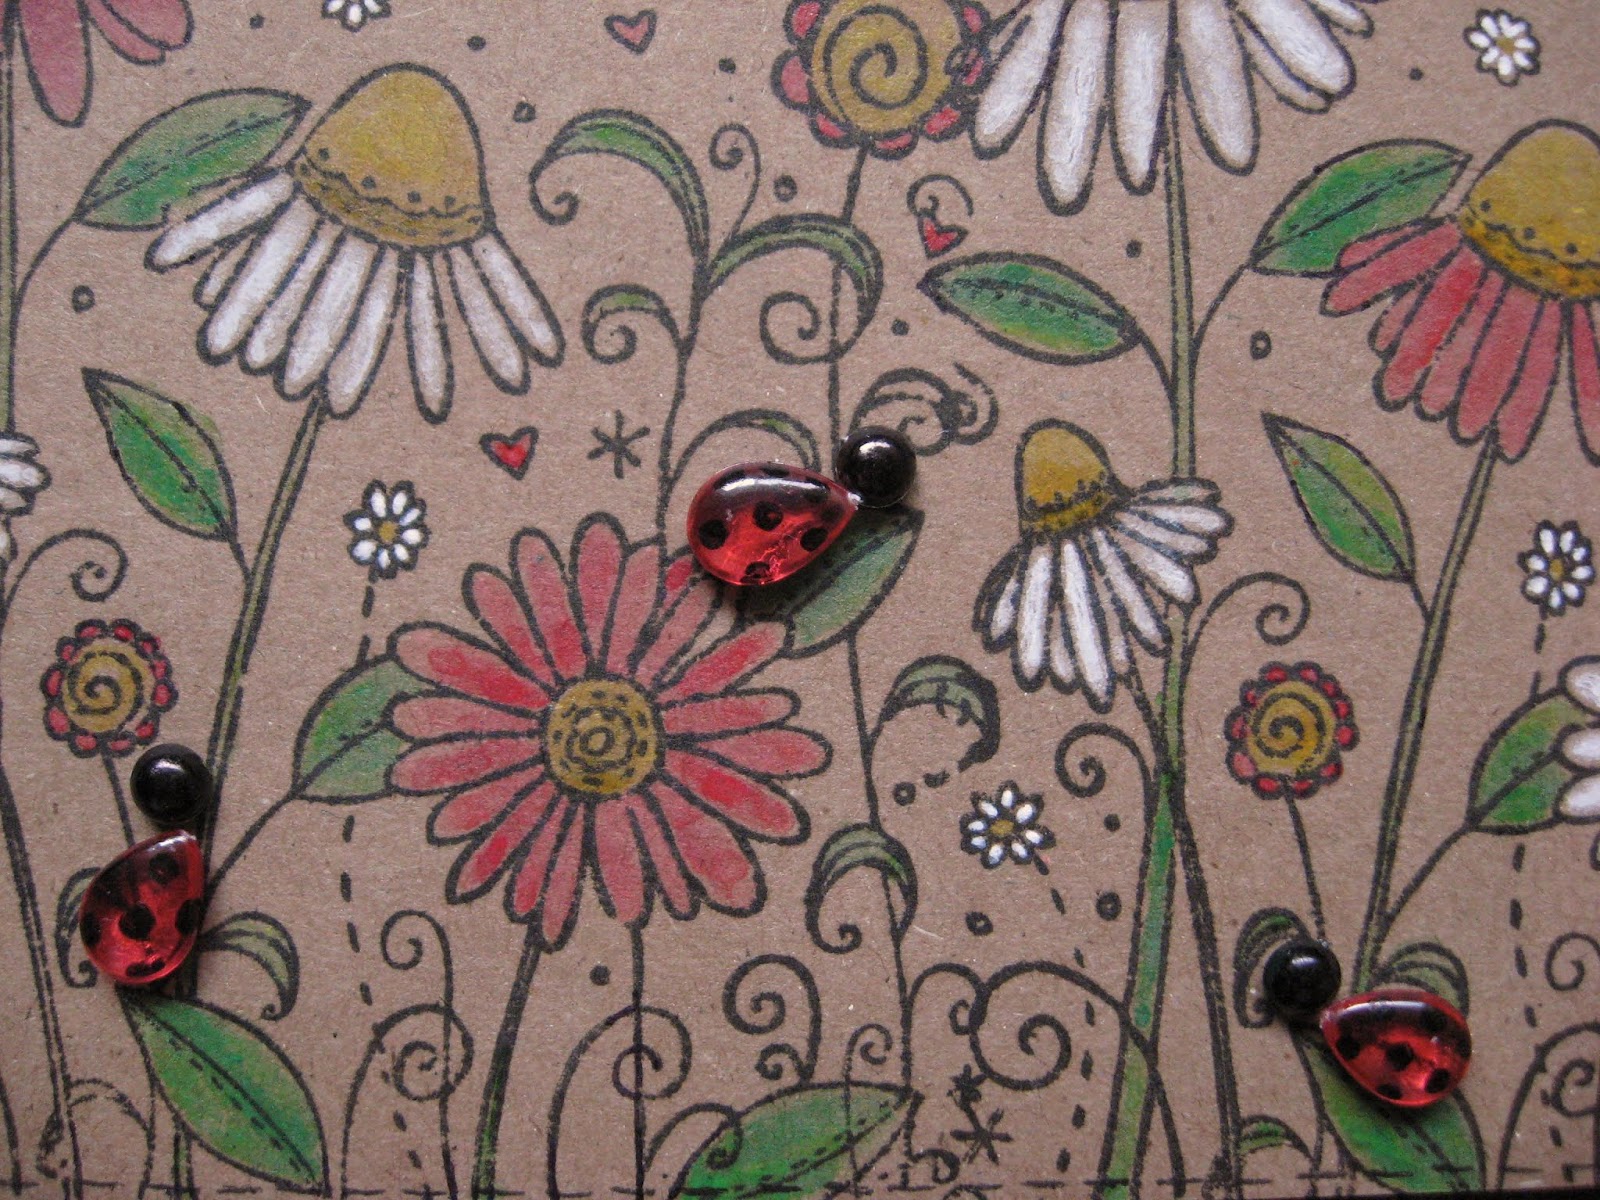
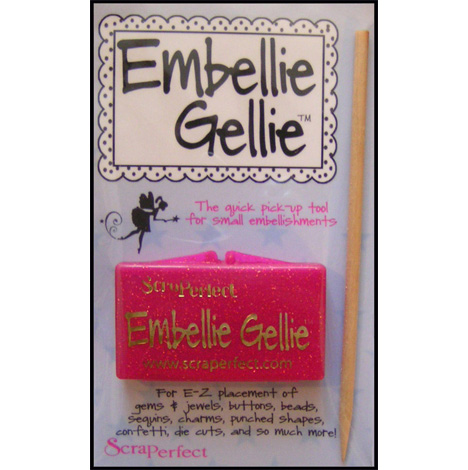
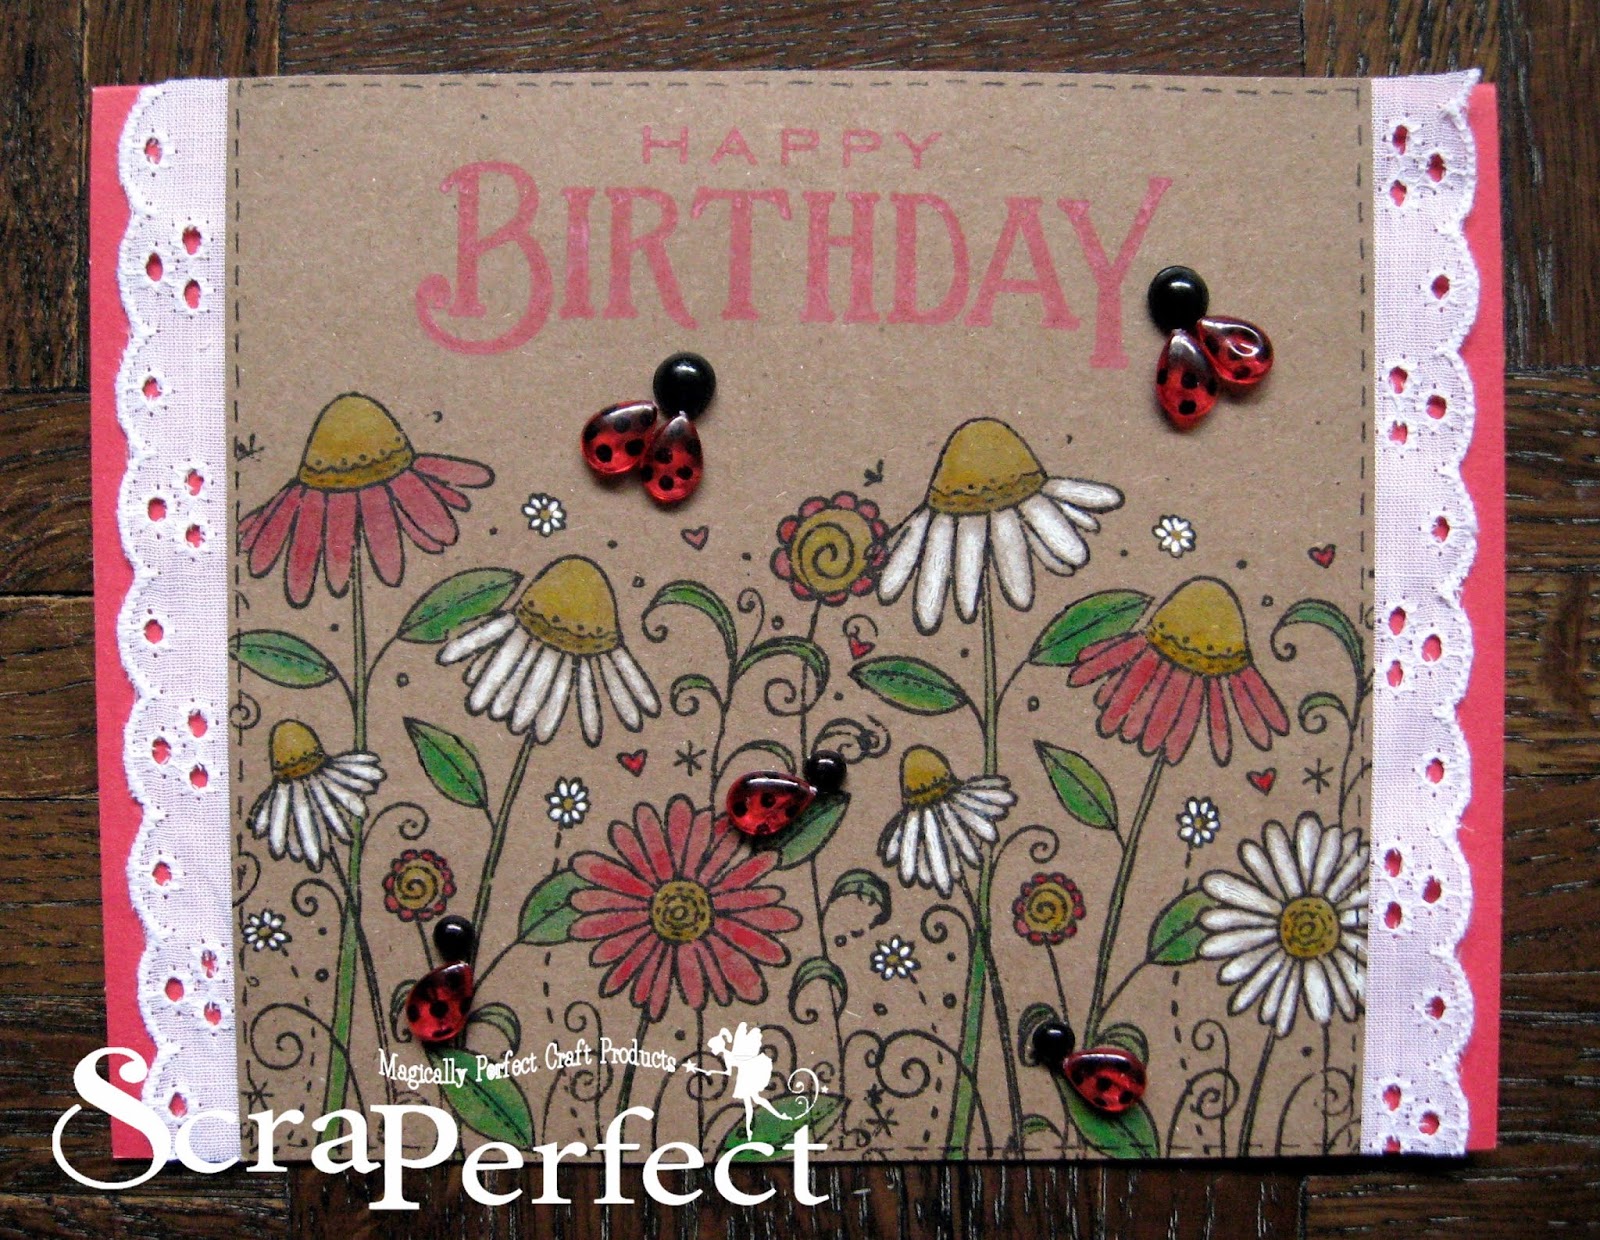
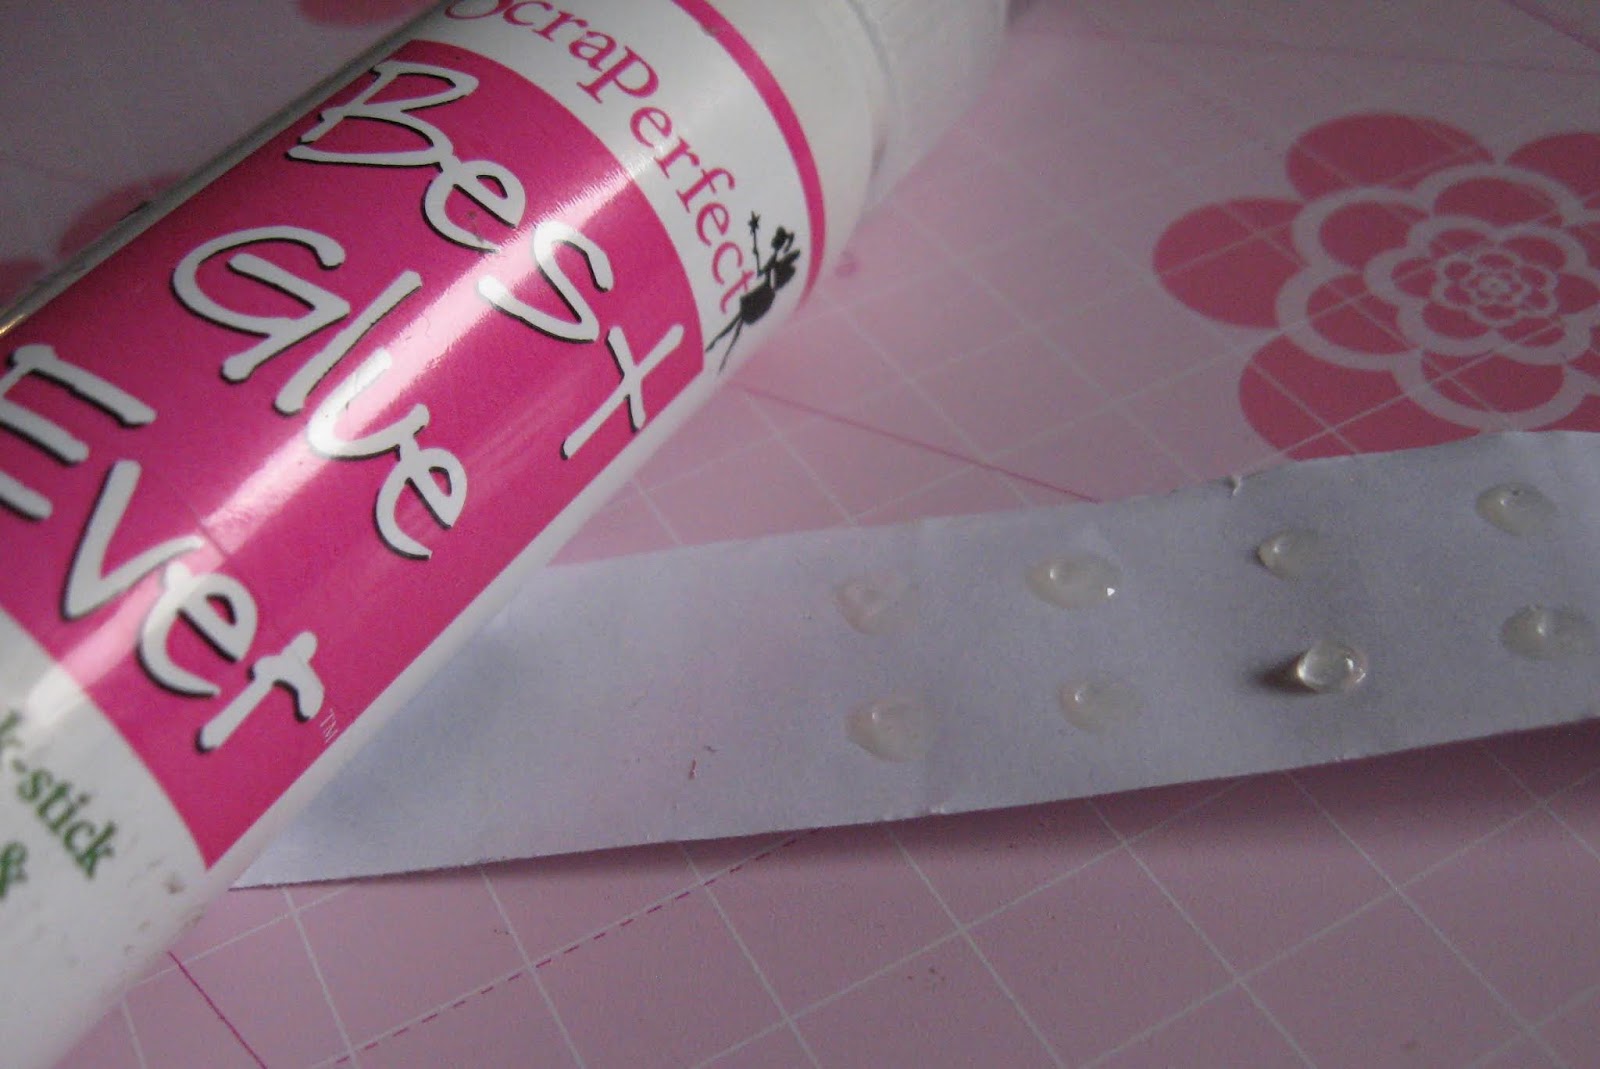
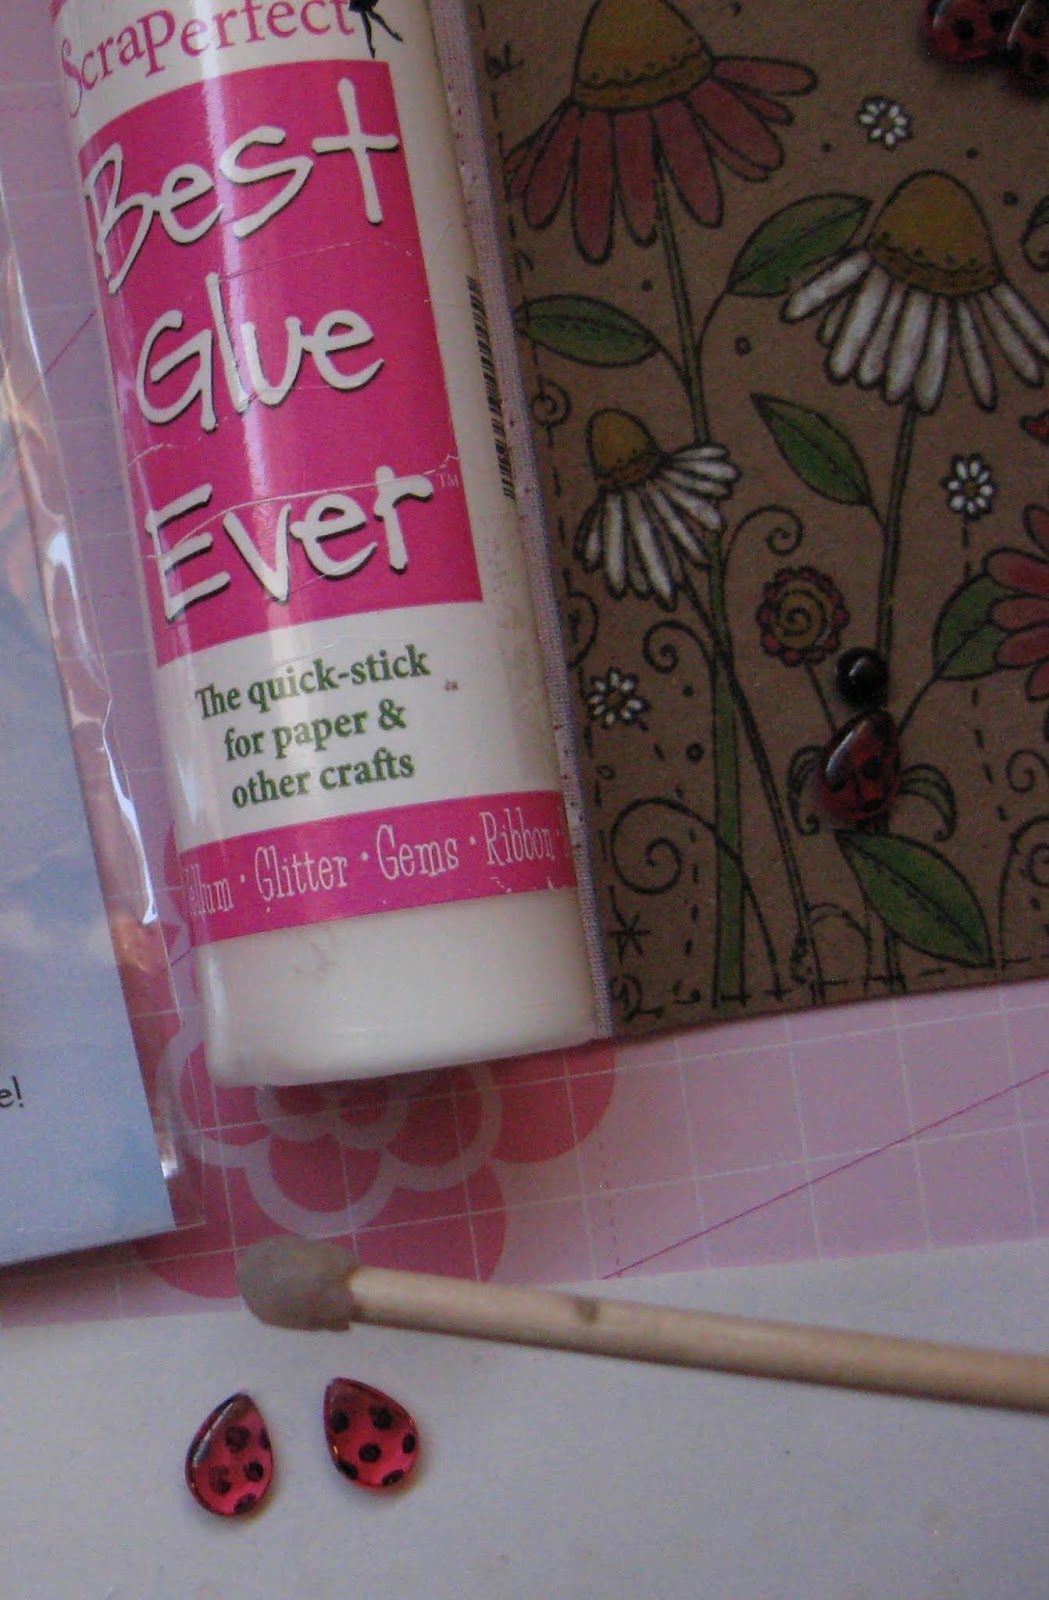
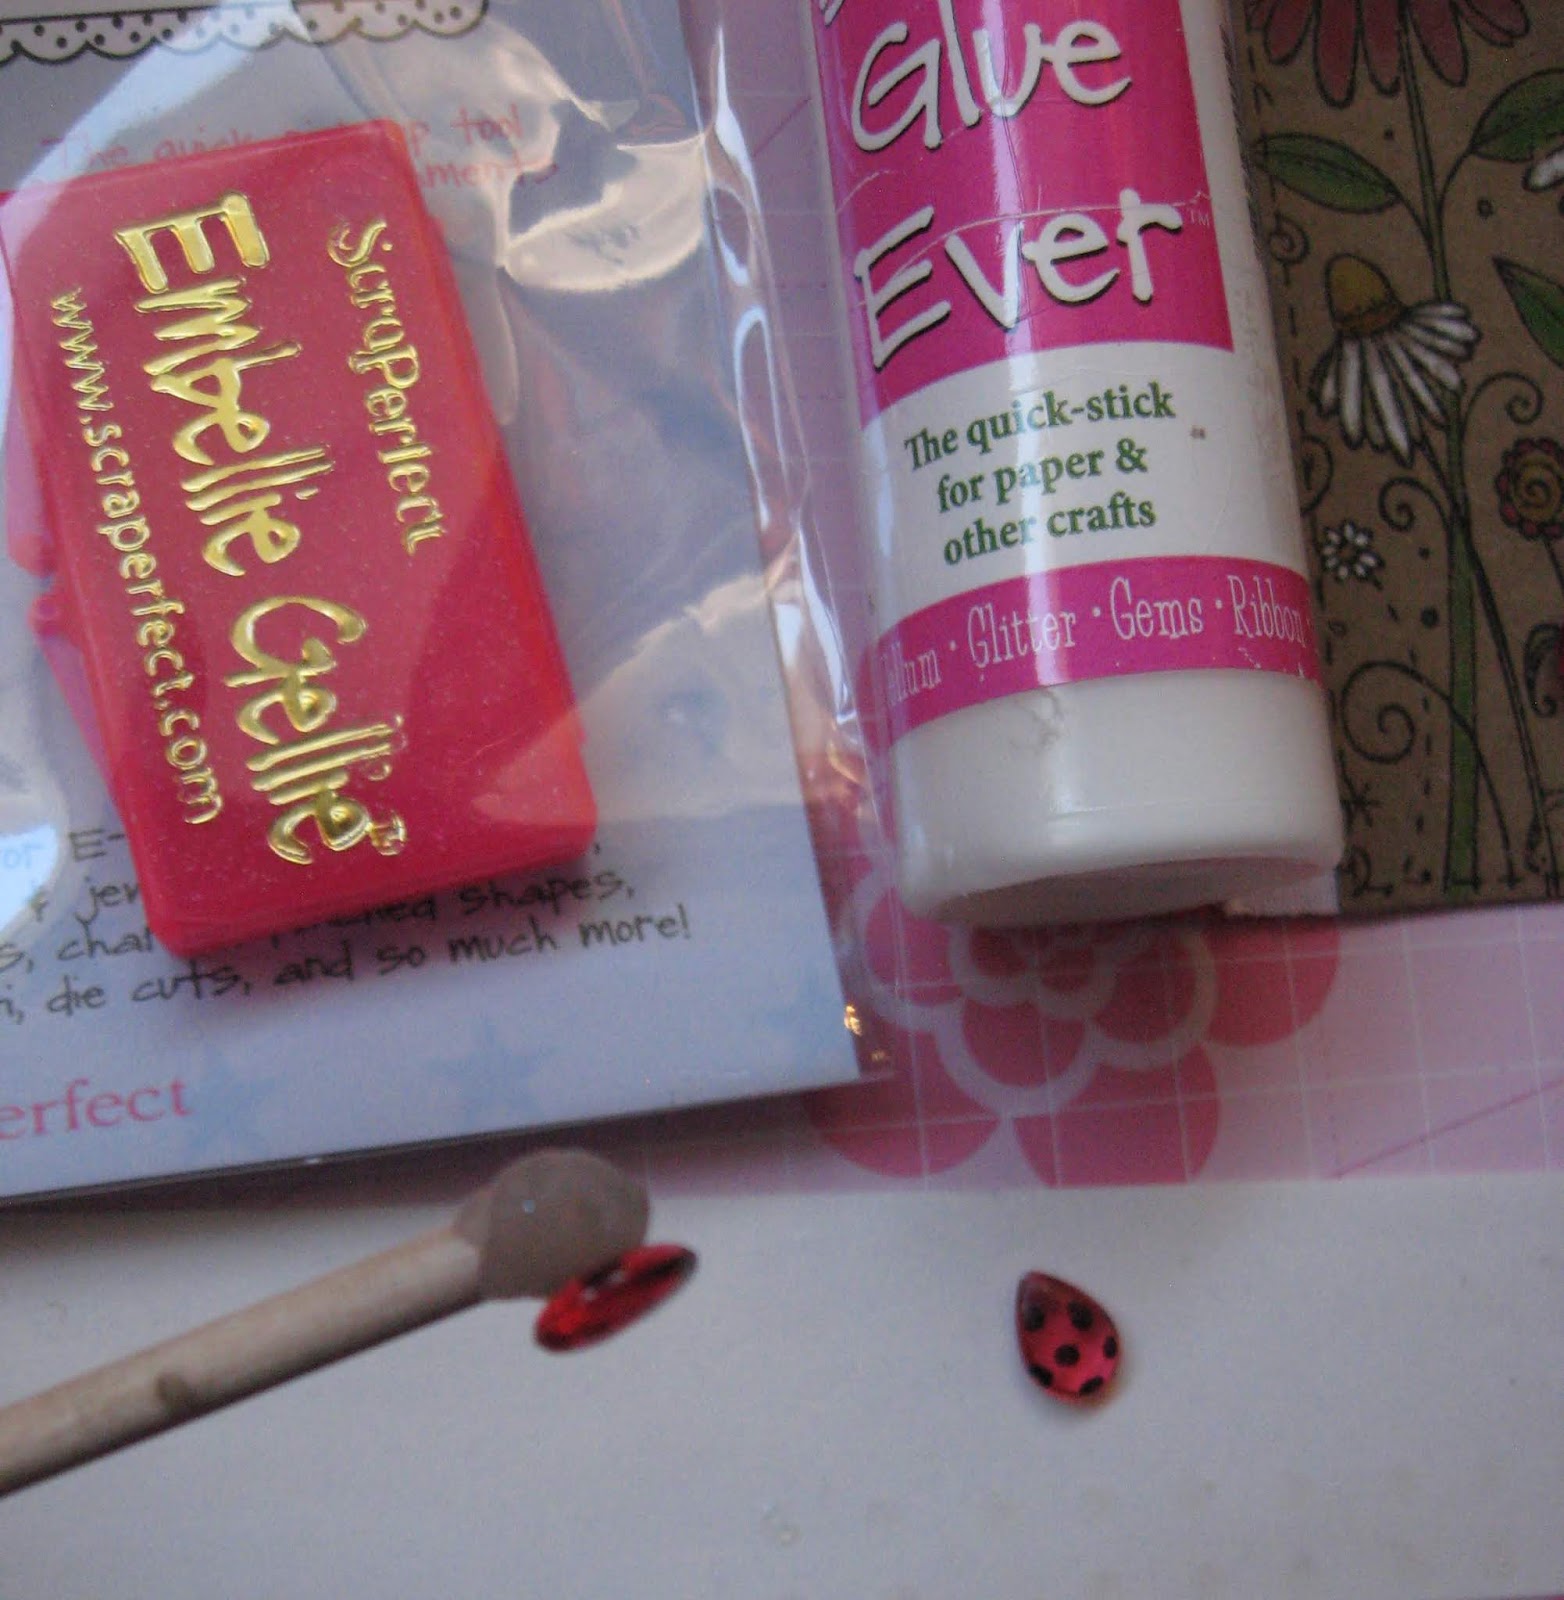
Karen here to share how I easily assembled these cute tiny ladybug embellishments.  I simply created my own glue dots with the Best Glue Ever and then used the Embellie Gellie tool to place them perfectly.  It makes it so simple and ends the frustration of trying to pick up tiny embellishments any other way.

BGE is great because it can be applied to trim without seeping through. A great benefit of BGE is when dry it is repositionable.  If you apply a trim crooked, you can remove it and try again. Most double sided adhesives do not allow you to correct mistakes and move an embellishment after it has been adhered without causing serious damage to theproject.

Directions:
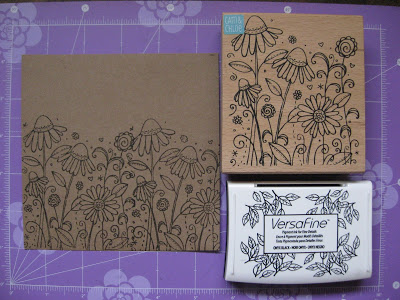
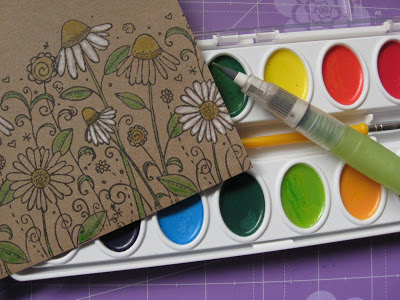
1.  Stamp a floral image along the bottom edge of tan card stock.  Carefully line up the image and repeat stamping to fill the entire space.

2.  Use watercolors to paint the design.  Alternatively, used a white gel pen to color the daisy flowers.
3.  Use a black permanent marker to add spots to the red tear drop gems.
4.  Create glue dots by applying small dots of the Best Glue Ever onto release paper. (the waxy paper that is on the back of stickers &
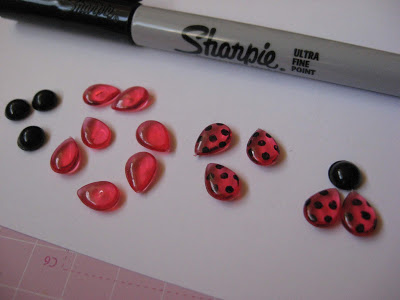
labels)  When the glue turns clear, it is dry; yet tacky.  Use the Embellie Gellie to transfer small gems onto the glue dots.
The clear glue dots on the left side are tacky and ready to use.
The 8 white dots on the right are still wet.

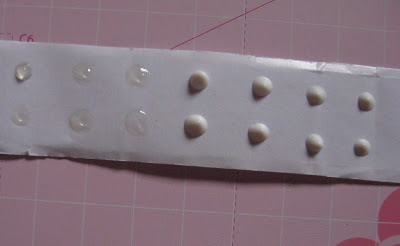
5.  Practice the arrangement of the ladybugs by placing the gems on the project temporarily without glue.  After you are satisfied with the placement, use the Embellie Gellie tool to transfer one gem at a time to the release sheet to acquire the adhesive dot and then transfer it back to the project.

6. Finally, stamp a sentiment and add a faux stitched border along the edge with a fine tip black marker.  Apply Best Glue Ever directly to the back of the trim. Set it aside and allow it 2-3 minutes to dry and become transparent yet tacky.  Attach the trim to the back of the stamped floral image and adhere to the card-base.
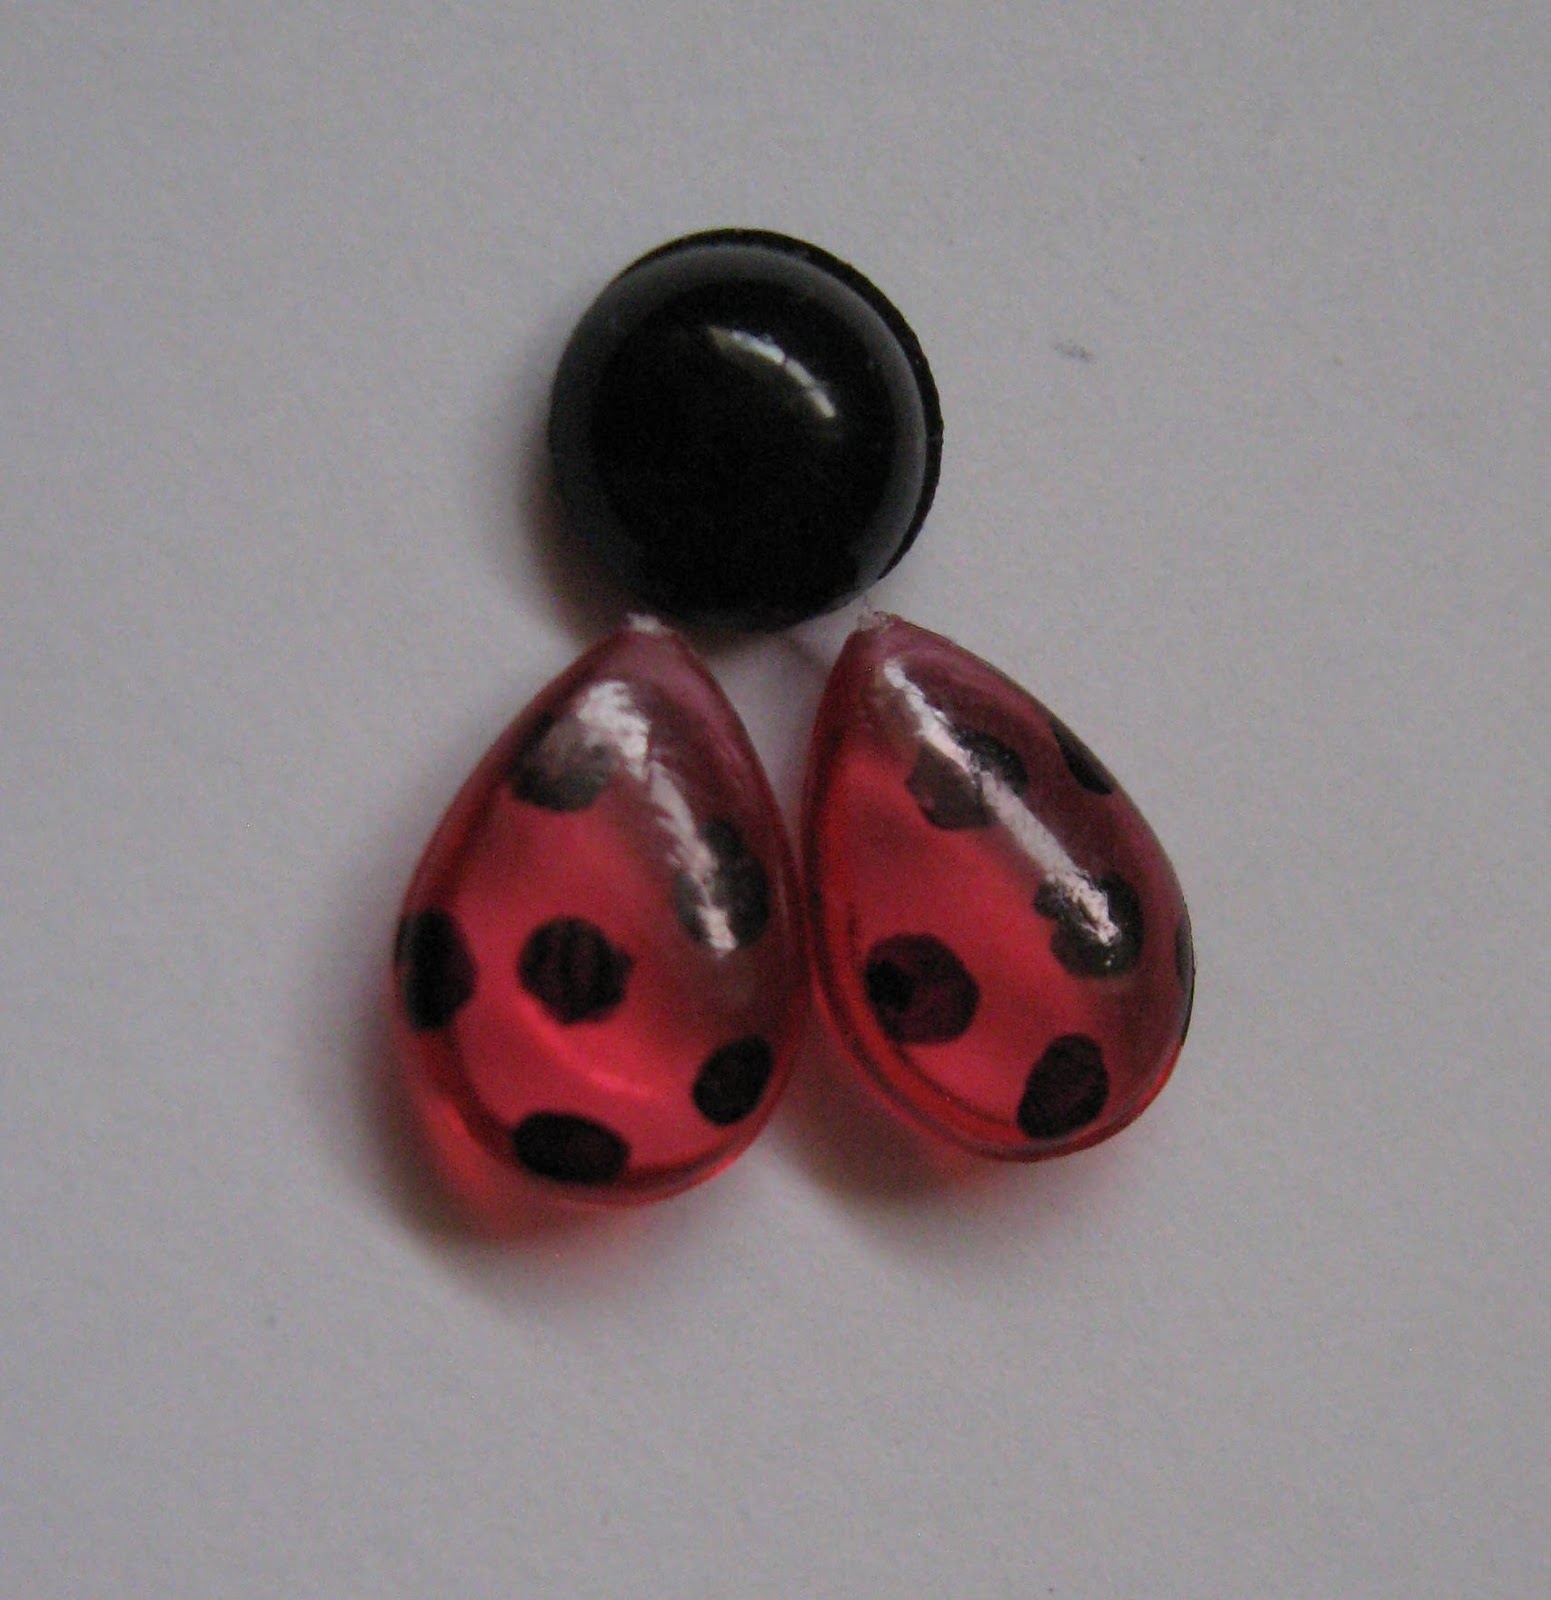
A Closer  Look:


Other Supplies: card base (5×7″)
tan card stock
floral & sentiment stamp
black ink pad
water color paints
paint brush
Dew Drop Gems
thin tip permanent black marker
eyelet trim
If you would like to see more of Karen’s projects, stop by her blog Art & Soul.
Thanks for visiting.  See you again soon!

Designer

Sign up for important notifications by email for Coupons, Events, Special Offers, plus ScraPerfect's tips, ideas and news!

Your information will *never* be shared or sold to a 3rd party.

Sign up for important notifications by email for Coupons, Events, Special Offers, plus ScraPerfect's tips, ideas and news!

Your information will *never* be shared or sold to a 3rd party.