Hello Crafty Ladies,
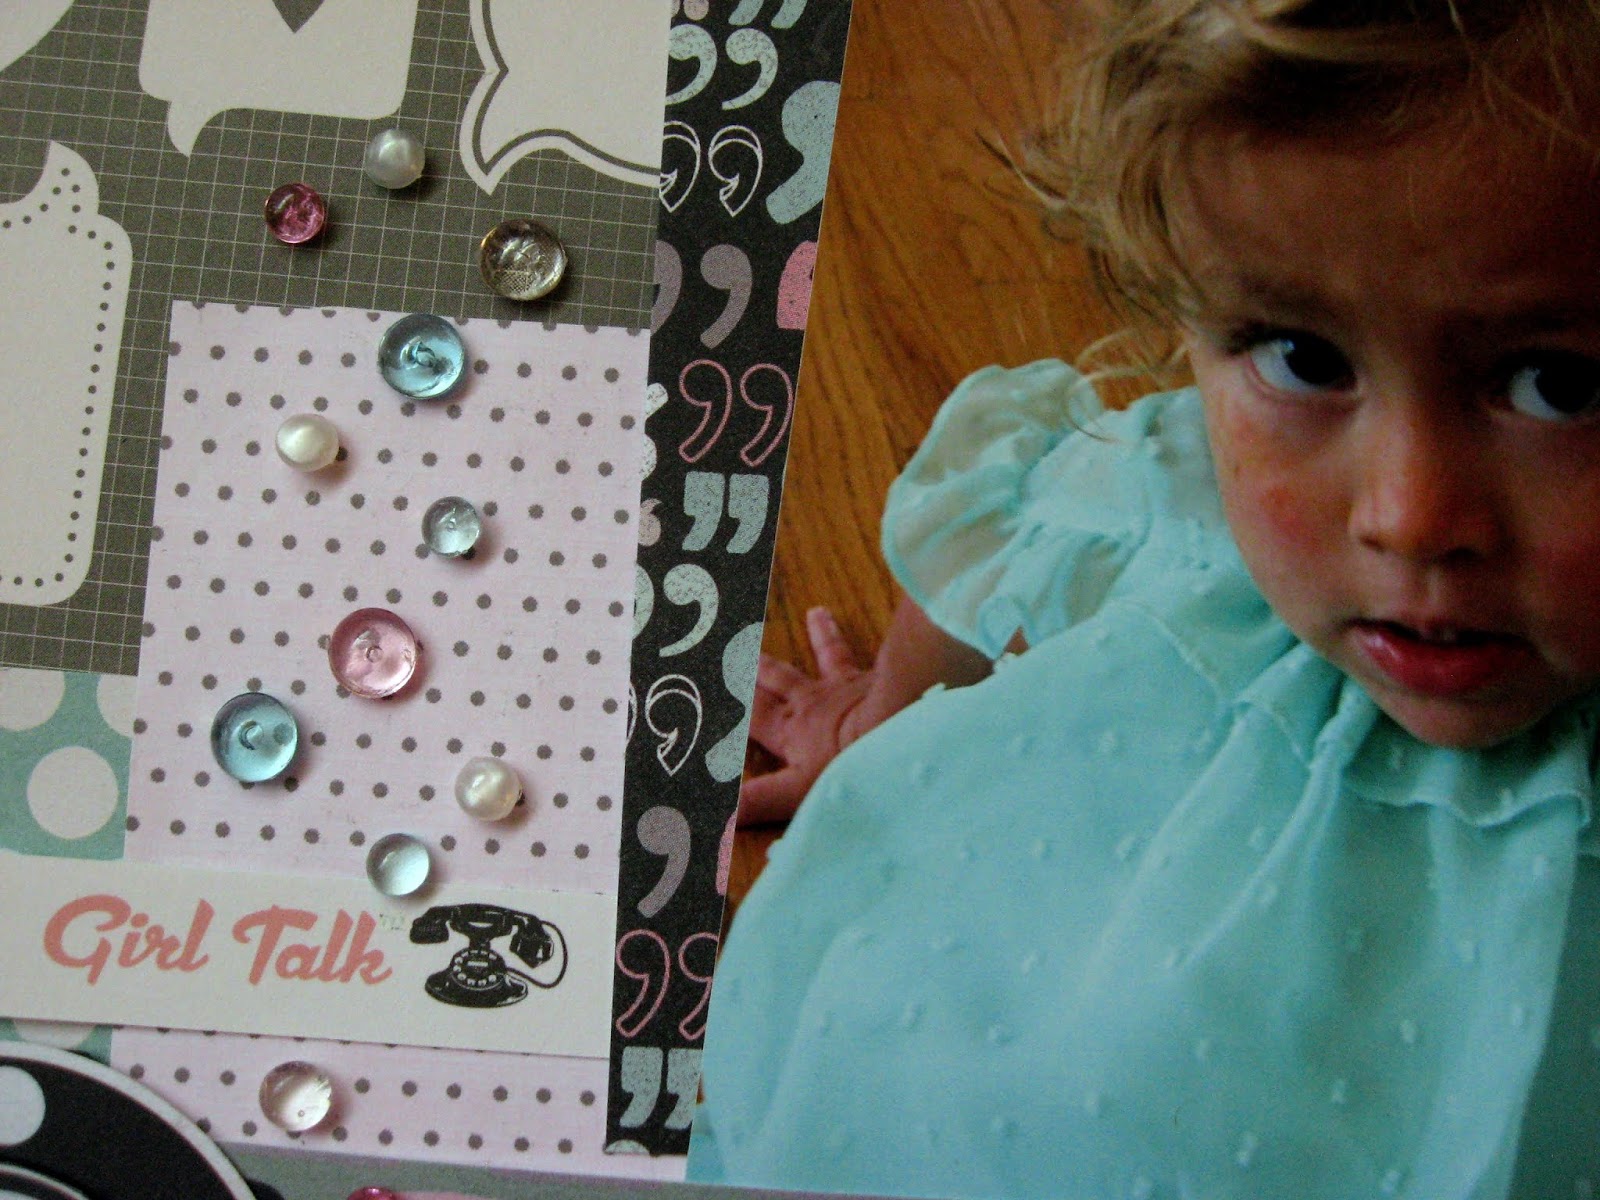
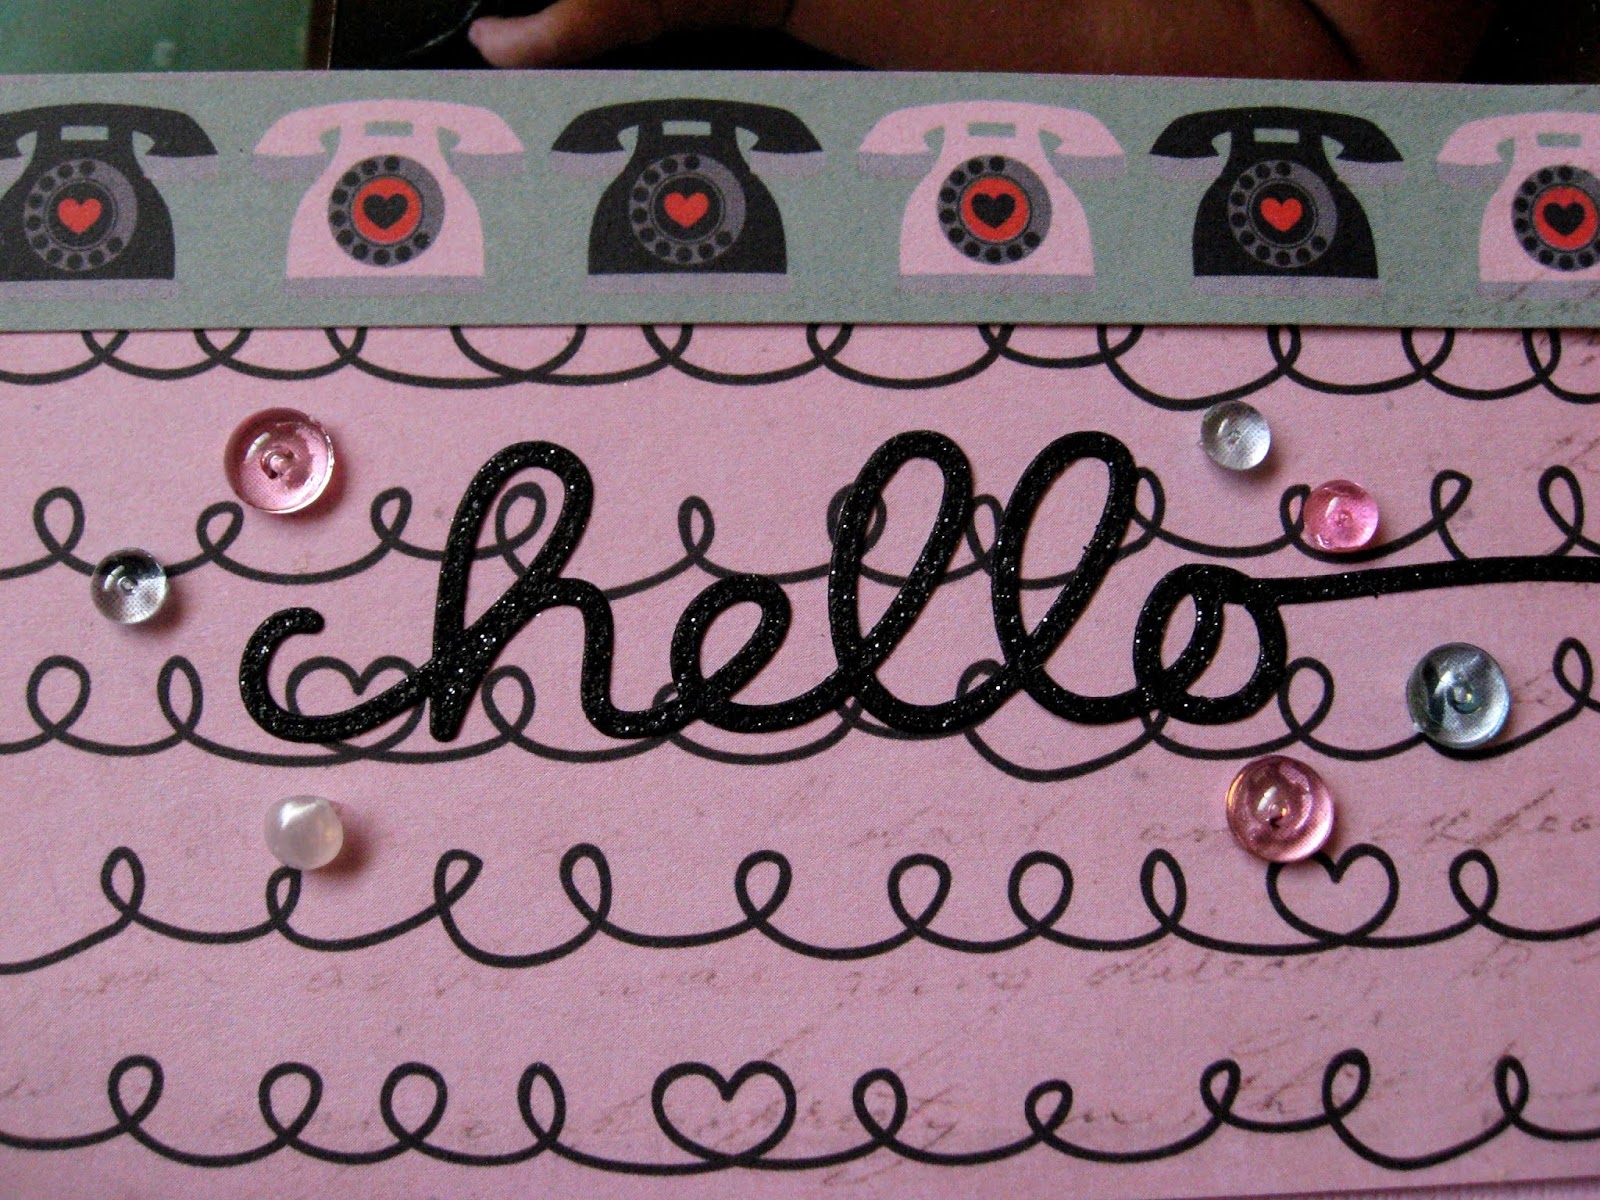
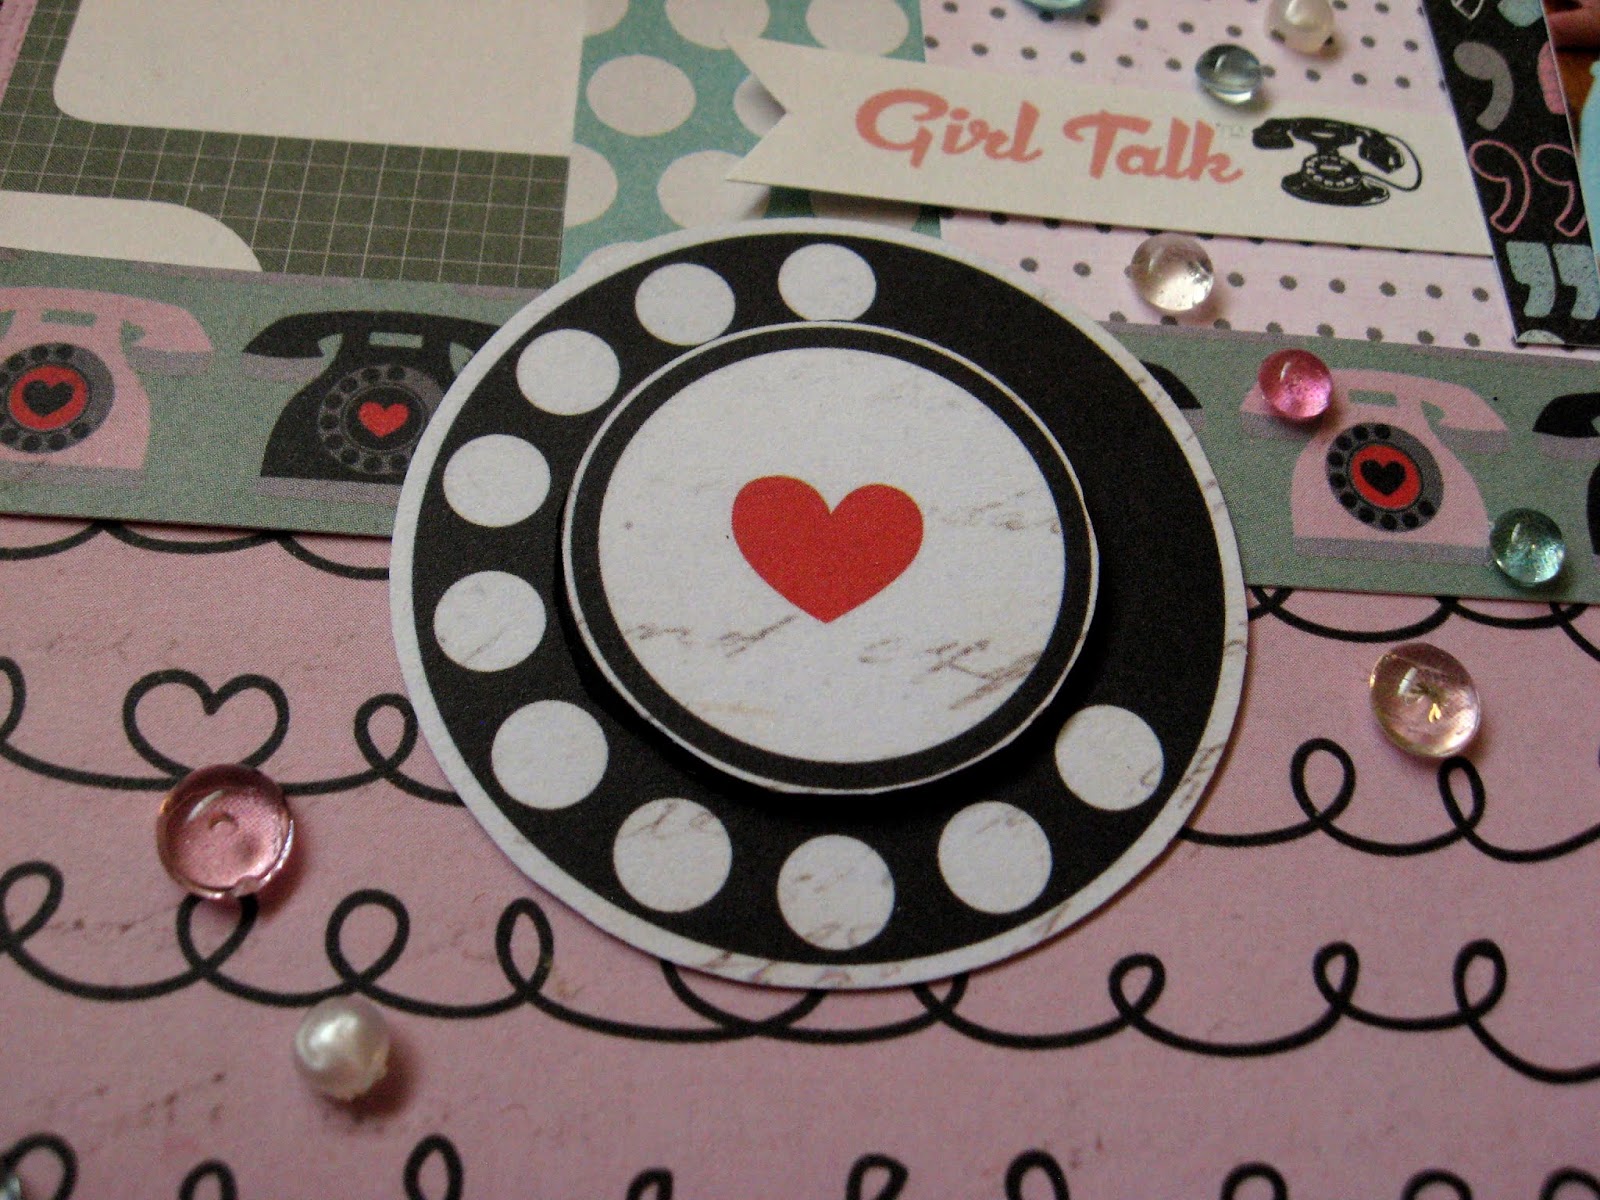
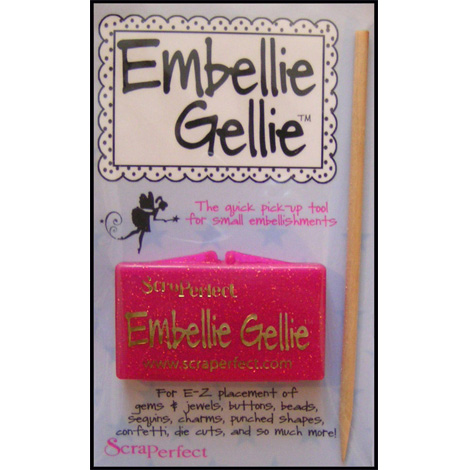
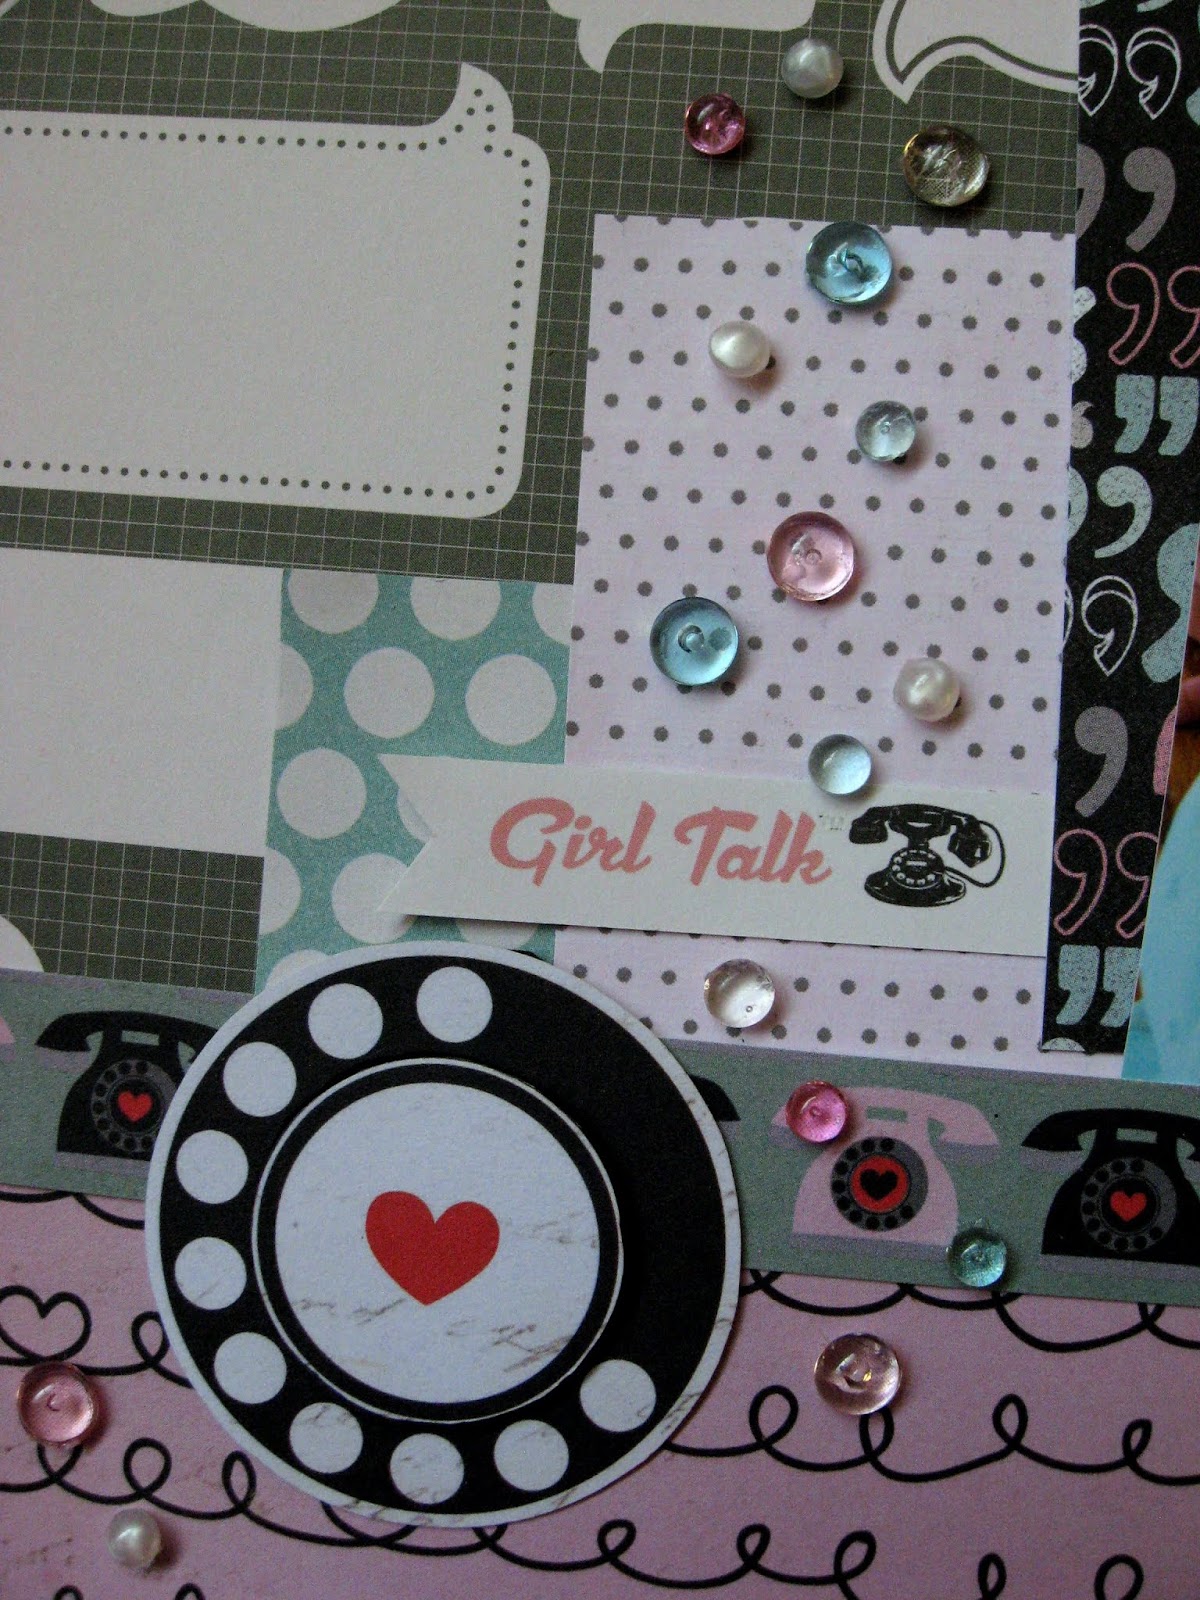
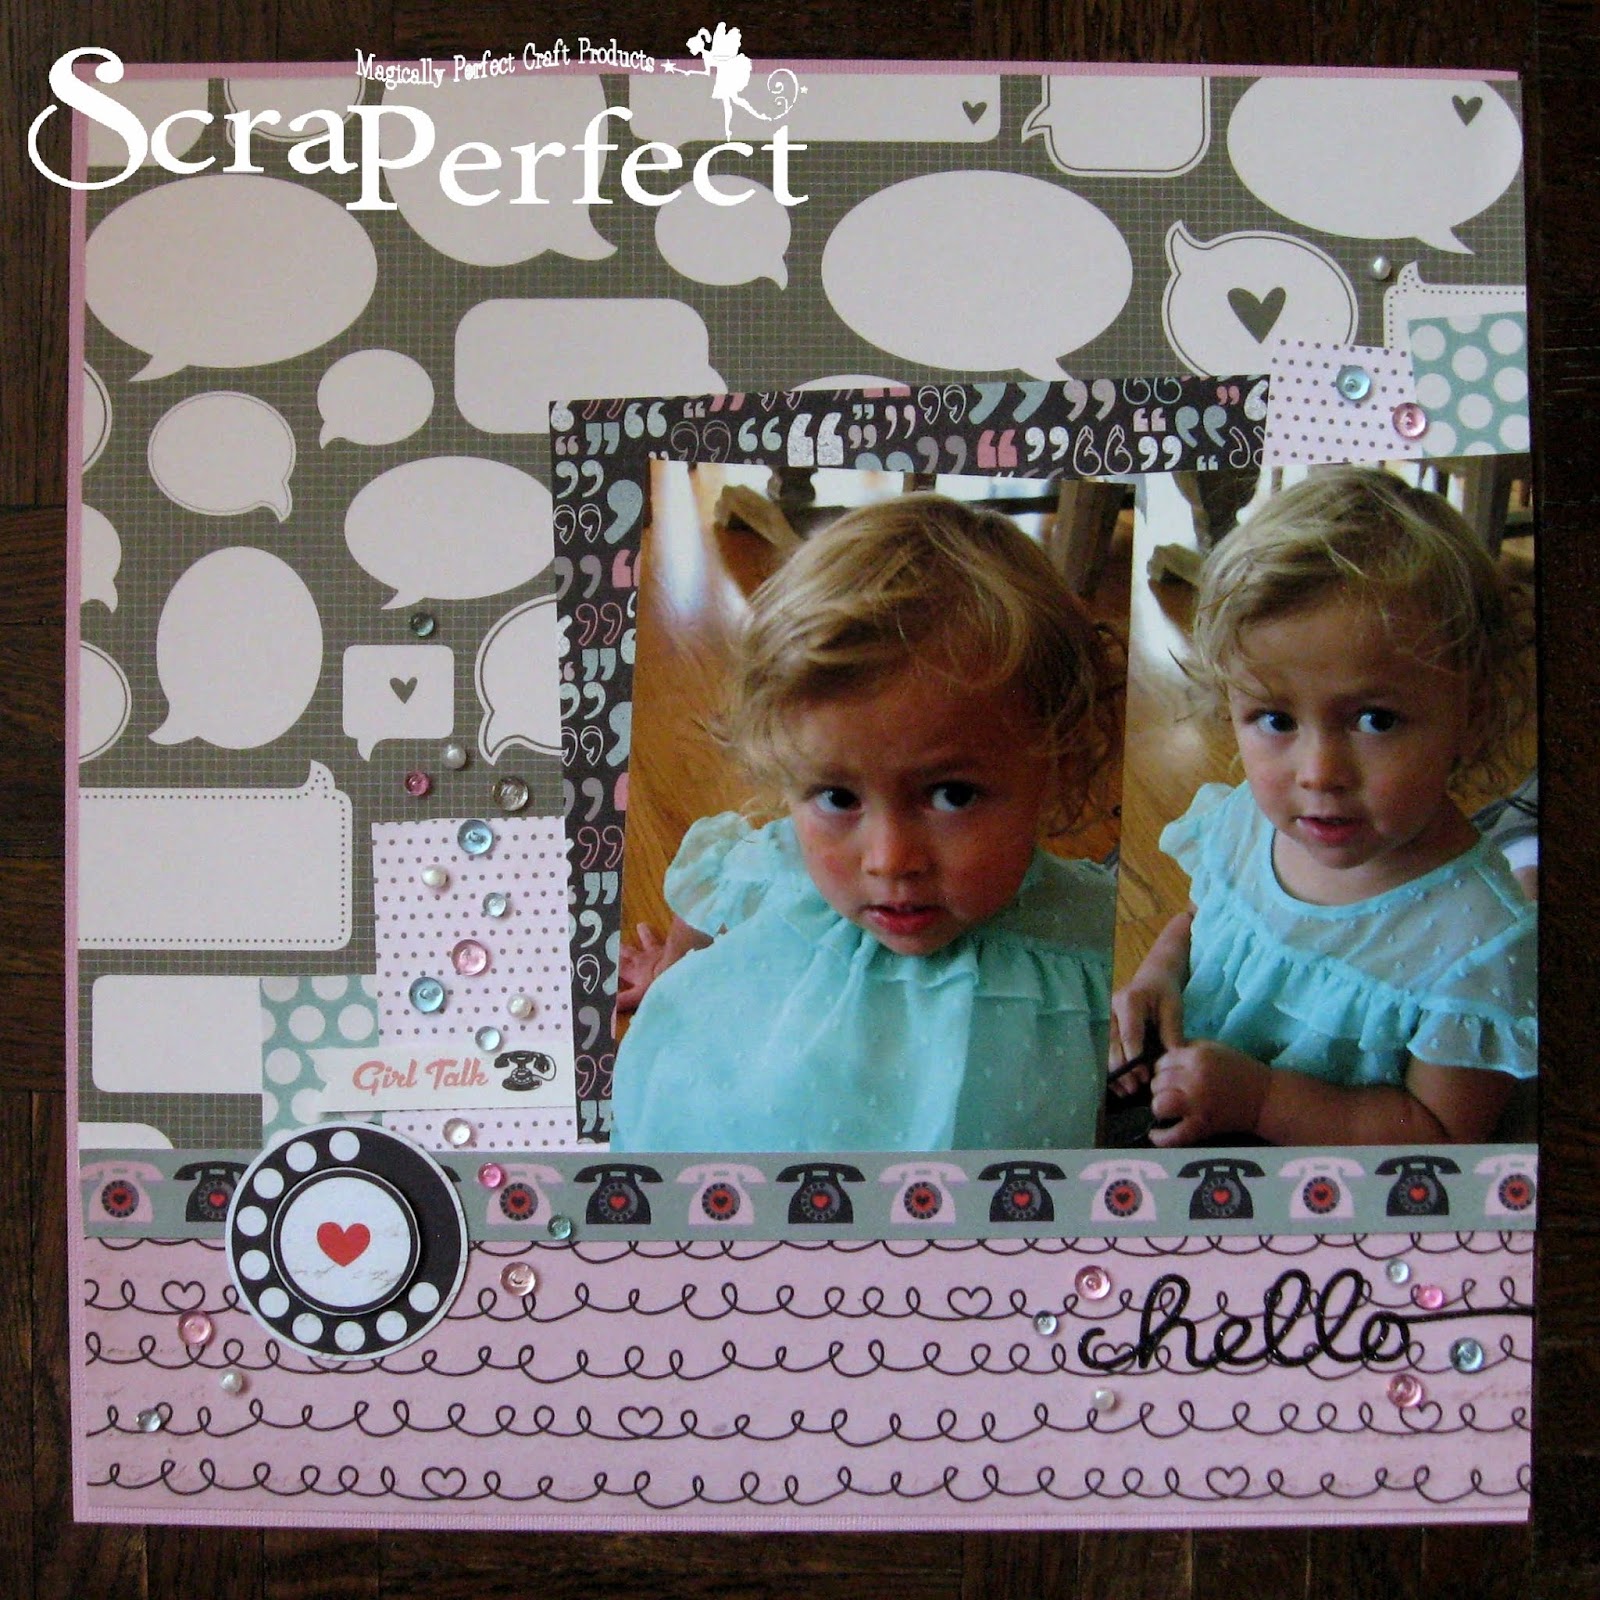
Karen here…to share a scrapbook layout of my cute little niece. I used the Embellie Gellie to quickly and easily add bubbly gems to enhance my layout. No mess and no frustrations!
transport, and place tiny embellishments perfectly. It is amazing how quickly and efficiently I can now embellish a project. I am totally
addicted to the convenience of the Embellie Gellie and with the Best Glue Ever, you can easily and cost effectively make your own glue dots. ScraPerfect Shop
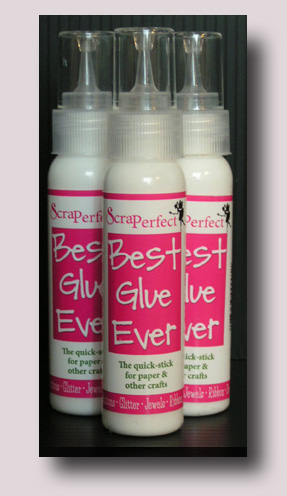
Best Glue Ever Embellie Gellie
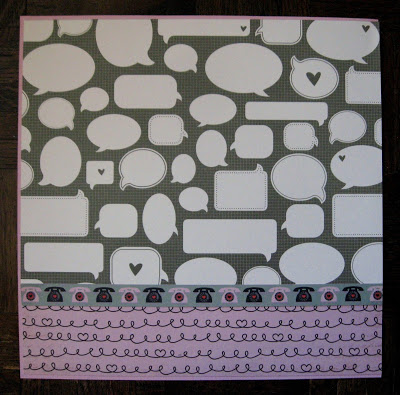
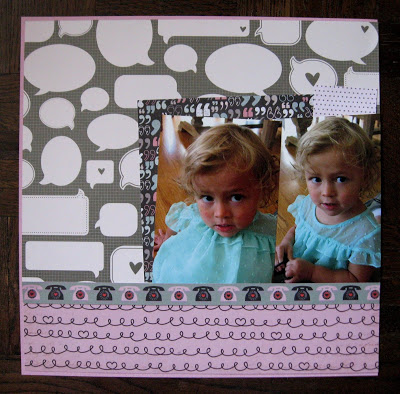
2. Carefully, slide 2 photos aligned against the right edge under the border strip. Add a few scraps of paper to peak out above the photos. Adhere the photos at slight angles to look casually tucked in so they appear to be held in place by the border strip. Then, apply adhesive to the remainder of the border strip and secure in place.
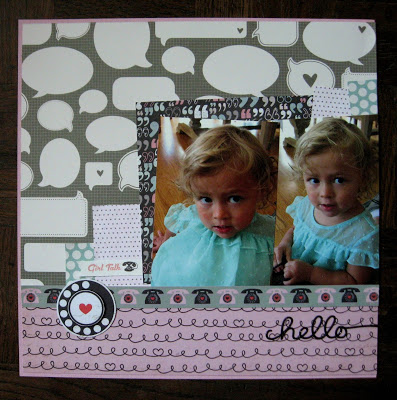
3. Embellish with a small cluster, banner, and sentiment.
4. Create glue dots by applying small dots of the Best Glue Ever onto release paper. (the waxy paper that is on the back of stickers & labels) When the glue turns clear, it is dry; yet tacky. Use the Embellie Gellie to transfer small gems onto the glue dots.
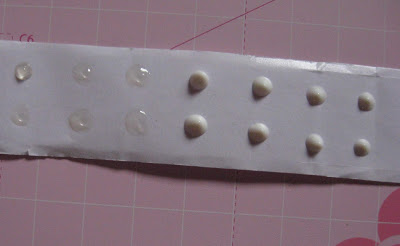
The clear glue dots on the left side are tacky and ready to use.
The 8 white dots on the right are still wet.


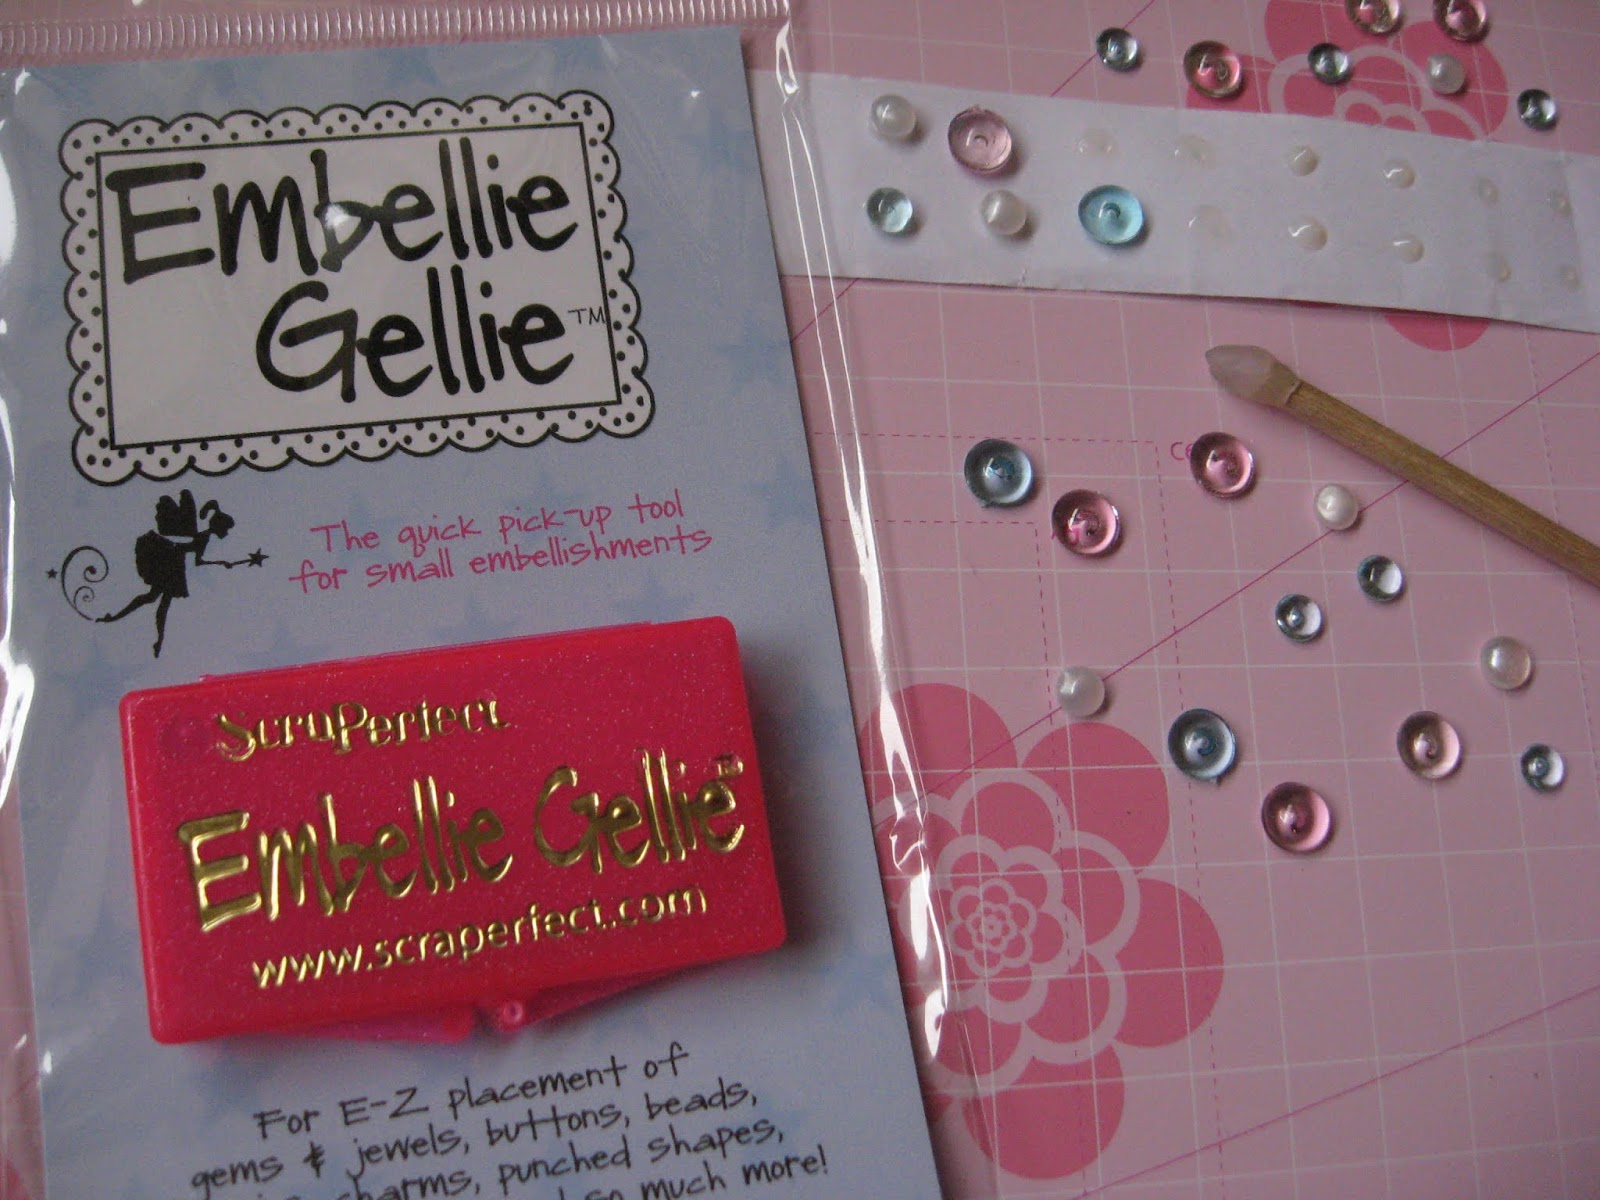
5. Form three distinct clusters of gems. To avoid disappointment and frustration, place gems onto the layout without glue to practice their
arrangement. Use 3 or 4 different colors and sizes of gems to add interest. When you are satisfied with the placement, replace the temporary gems one at a time with the gems with glue dots.
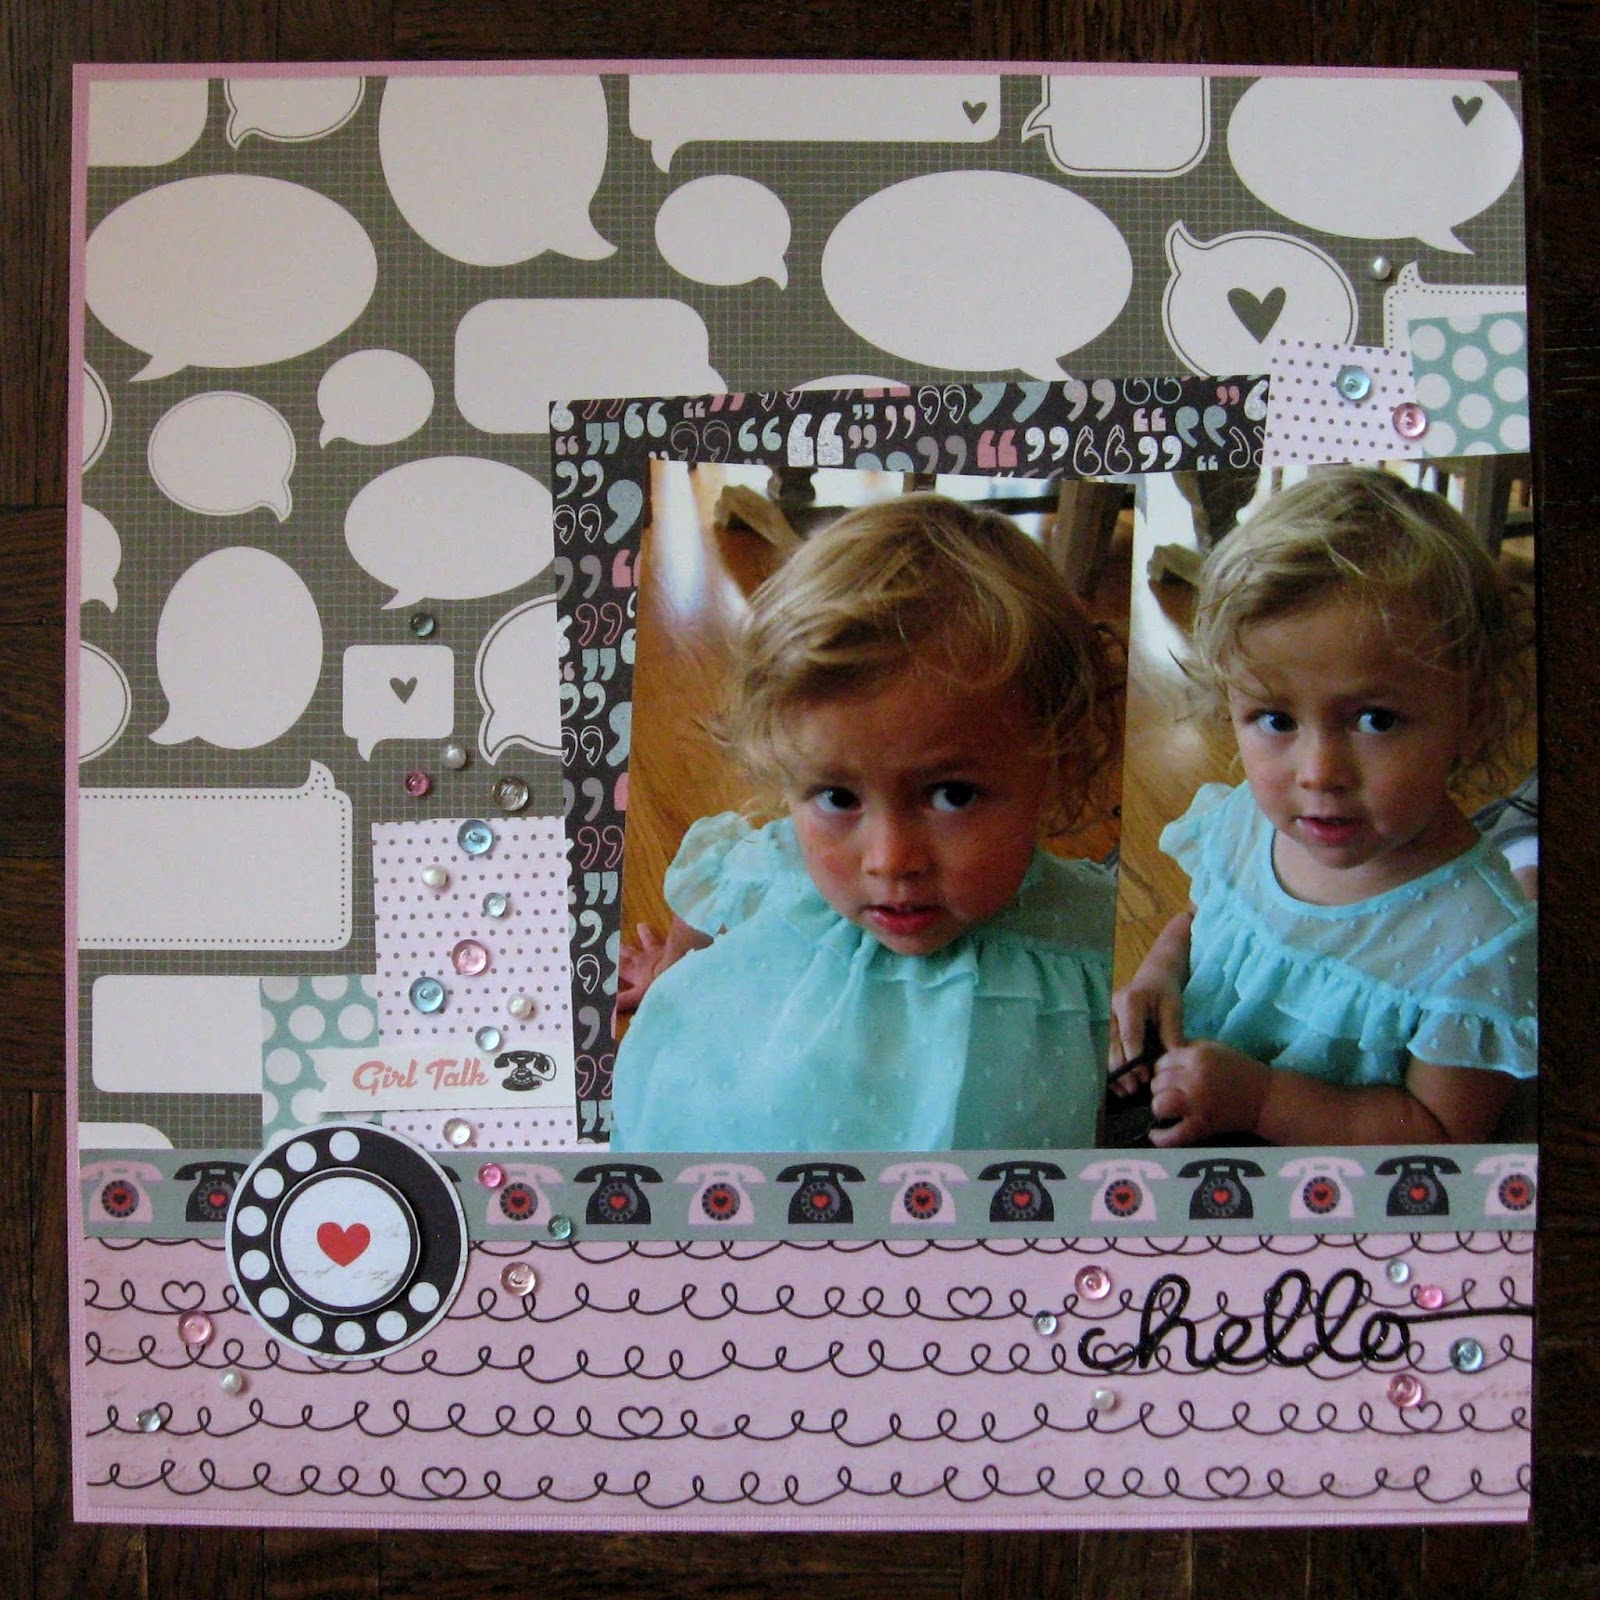 TIP: Take a photo of the layout before you move anything so that you can refer to it when you are ready to glue the gems into place.
