
Hi Friends,
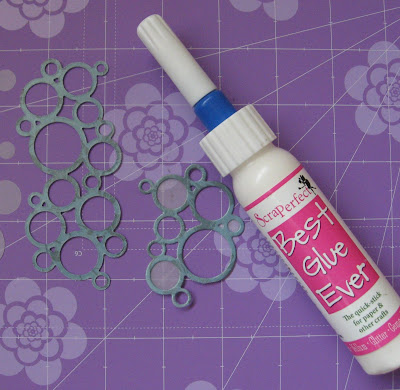
I’m Karen…and today I want to show you how to easily attach intricate die cuts to a fun summer layout. The No Clog Writing Cap will make it so simple to apply Best Glue Ever to thin die cut shapes you will wonder how you ever got along without it. The Embellie Gellie is the ideal tool for itsy bitsy embellishments. It also makes crafting with fragile bits so much easier. Let’s dive in!
If you struggle adhering intricate die cuts neatly or maybe you avoid them all together because they’re too much trouble, then the Embellie Gellie is the solution. The Embellie Gellie has the perfect amount of stickiness to transport an item and place it exactly where I want it accurately. I no longer have to struggle to pick up items with my fingernails. If you want to avoid the frustration of damaging small fragile die cut shapes, an Embellie Gellie is a must have tool.
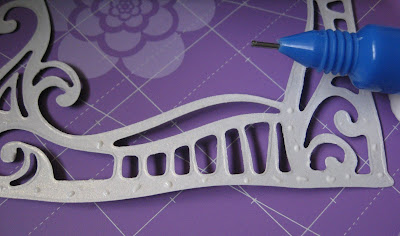
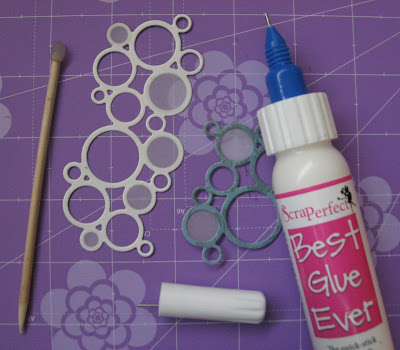
ScraPerfect Supplies: Best Glue Ever No Clog Writing Caps Embellie Gellie
Directions:
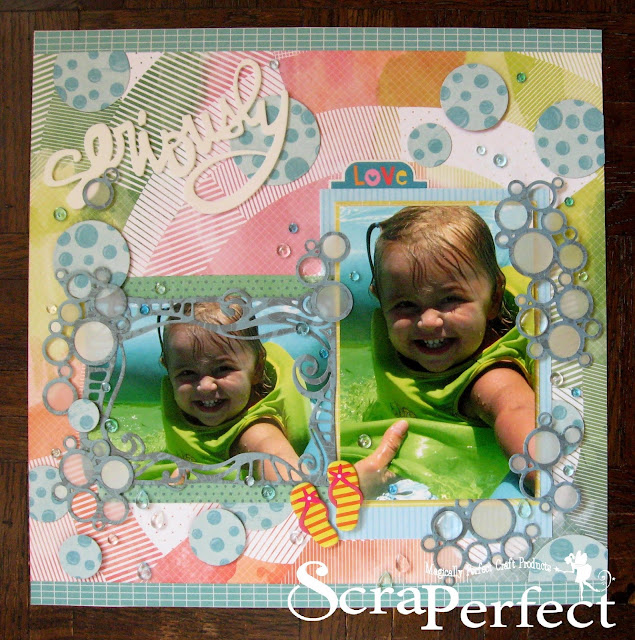
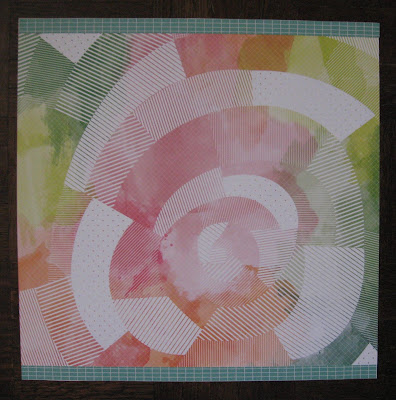
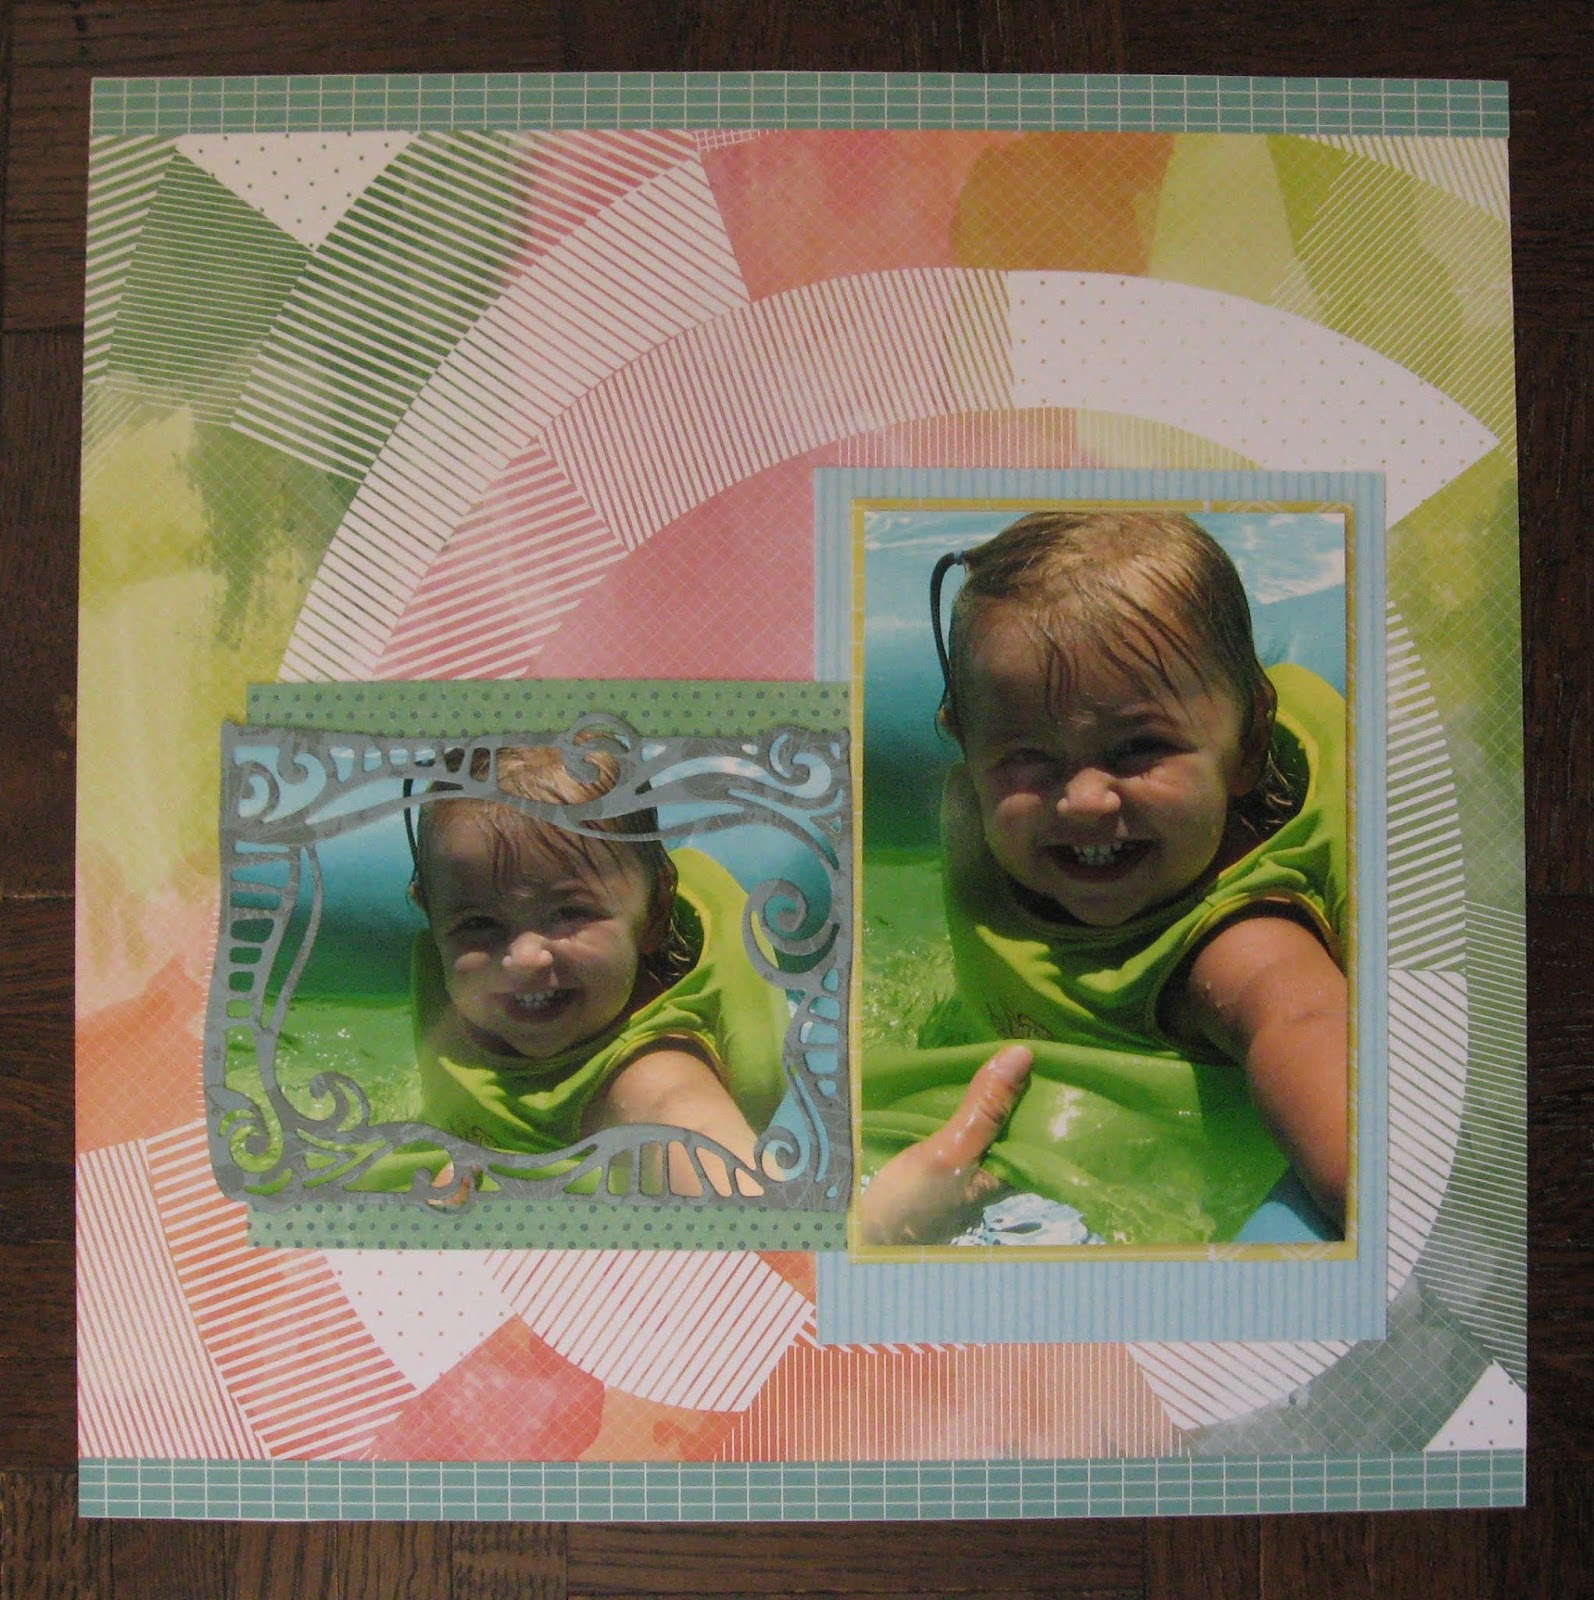
1. Add a border strip to the top and lower edge of a piece of patterned paper.
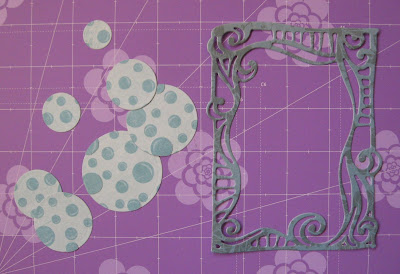
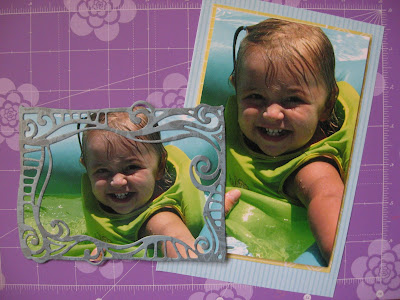
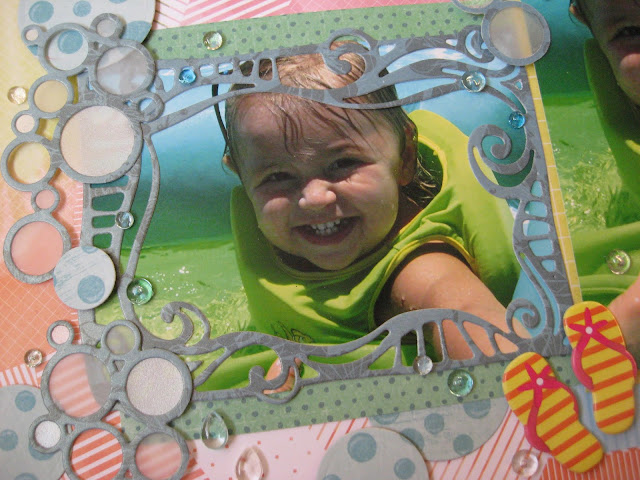
2. Cut out various size circles from patterned paper. Next, die cut a frame in coordinating color to highlight one of the photos.
3. Apply small dots of BGE around the edge of the frame and carefully attach it over the photo. Next, matte the second photo with two coordinating papers. Attach the photos to the layout. Trim away any excess overhanging photo.
4. Add a large title to the upper left side. Add a variety of sizes of circles to the layout. To add interest be sure to layer some circles under the photos and have some circles go off the page. For added depth, adhere some with foam tape.
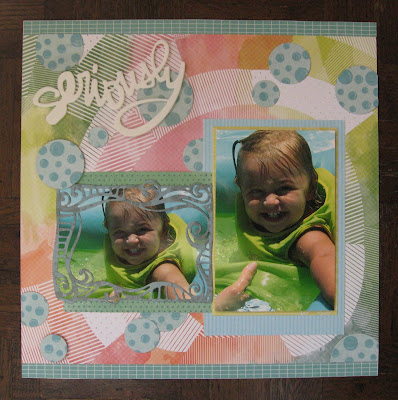
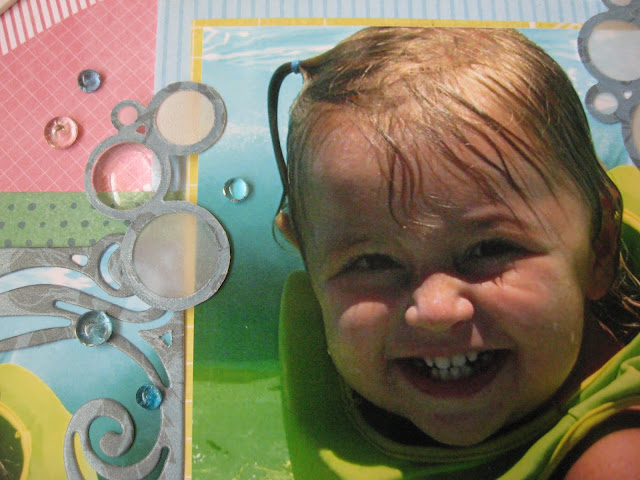
5. Use a die cutting machine to cut some bubble clusters. Apply tiny dots of BGE to some of the circles and then attach vellum circles. Use the Embellie Gellie to transport and adhere the delicate vellum without damaging it. (TIP: to get more variety from one shape, invert the paper so that you get a mirror image design. Also, I cut apart some of the bubble shapes into smaller clusters.)
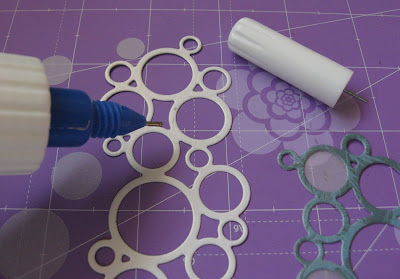

6. Use BGE to adhere the bubble clusters to the layout overlapping some of the photos and larger bubbles.

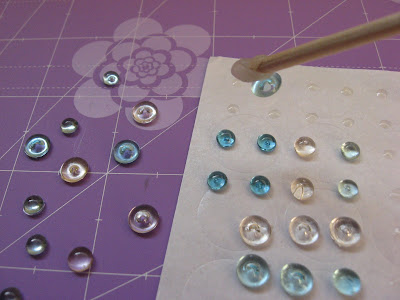
6. Use a piece of release paper and BGE to make your own custom size glue dots. Remove any excess stickers from a sheet of labels to reveal a waxy paper.
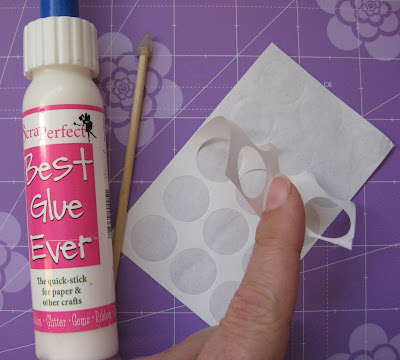
7. Apply rows of dots of glue that matches the size of the gems you want to use onto the release paper and set aside to dry. When the dots turn clear in 4-5 mins, they will be extremely tacky and ready to use.
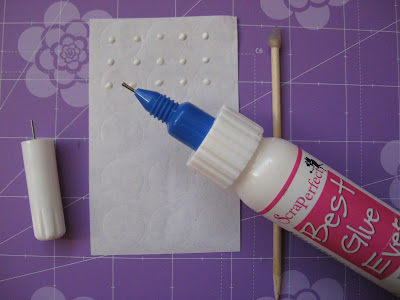
8. Use the Embellie Gellie tool to select and transport gems to the transparent glue dots. Next, add the gems to the layout scattered randomly to appear like water droplets. Finally, select some additional coordinating embellishments. (flip flops, tab)

A Closer Look:

Other Supplies:
2 photos (4×6″)
pattern paper / card stock / vellum / release paper
frame die cut & bubble die cut
Dew Drops (The Robin’s Nest)
circle punches
embellishments: borders, flip flops, tab, large alphabet stickers

If you would like to see more of Karen’s projects, stop by her blog Art & Soul.

