
Hello Friends,
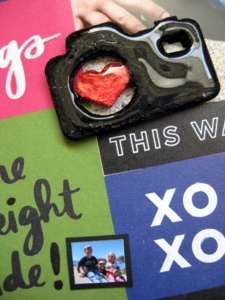
It’s Karen and I am here to share how quick & easy it is to personalize wood embellishments with Transfer Foil. I took a plain wooden camera die cut and transformed it into a lustrous eye-catching embellishment. I used both black & red metallic Transfer Foil and a black permanent marker to color the edge of the wood. Glassy Accents works together perfectly with Transfer Foil to create a unique ceramic glaze finish.
![]()
Supplies:
Transfer Foils
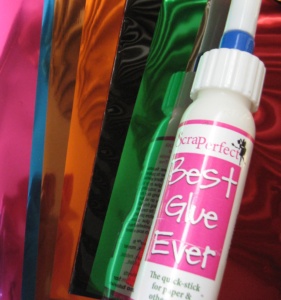
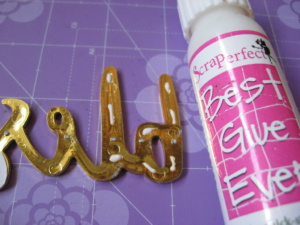
Best Glue Ever
No Clog Writing Caps
Perfect Cleaning Cloth
Directions:
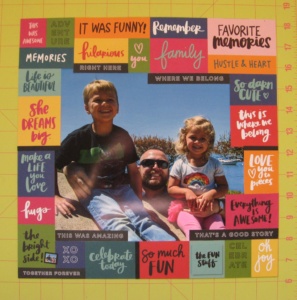
1. Assemble a frame of word tiles around the edge of 12×12 paper. Adhere the photo and continue adding word tiles until the photo is enclosed. Glue in place with a tiny line of BGE because a little is all you need.
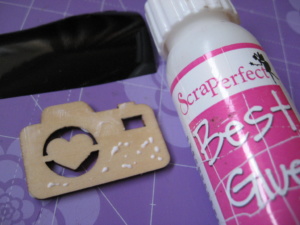
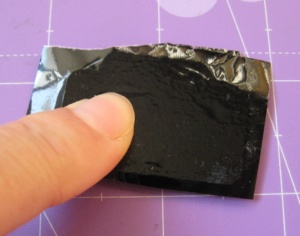
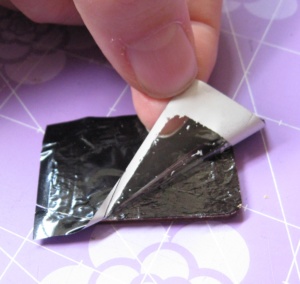
2. To avoid waste, place your wooden shape onto the Transfer Foil and cut off an amount only slightly larger than your shape. Apply BGE to the wooden shape and spread a light even coating with your finger. When the glue is tacky, apply the transfer foil grey side down and rub lightly with the pad of your finger. Slowly lift the transfer foil and peel it away to reveal the new metallic embellishment.
Apply BGE to the part of the design you want a different color Transfer Foil and repeat the process. Only apply the glue for one foil color because each color needs to be applied separately. The more colors you want, the longer the project takes to complete because you have to wait for the glue to dry in between adding each new color.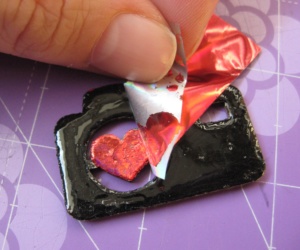
3. Apply Glossy Accents over the completed embellishment to create a gem-like luster over the Transfer Foil. When dry you can apply an additional layer of Glassy Accents to really build the glass-like shine. I used 3 layers letting it thoroughly dry in between each layer. (TIP: Make sure to take time to find any air bubbles that appear in the liquid and pop them with a pin to create a flawless surface.)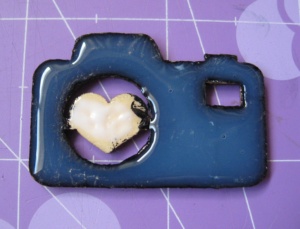
4. Selectively accentuate some of the words or phrases on the frame with Glossy Accents. Because the fonts were very thin, add a No Clog Writing Tip to the Glossy Accents bottle for a super accurate way to apply it. Set aside to dry.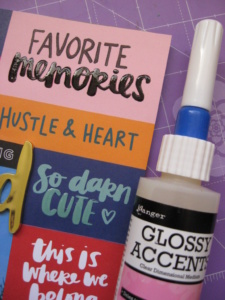
5. Apply BGE to the title and adhere it overlapping the photo.
 (TIP: Don’t crop your photos too closely because you can usually find a space to add a title that doesn’t obstruct important details of the photo. For example, a cleverly placed title can effectively cover grass, sky, or people’s legs and emerge from the photo creating a lovely sense of added depth to the layout.)
A Closer Look:
 Grab your Perfect Cleaning Cloth to wipe over the photo removing any lint or stray bits of glitter that tend to show up uninvited.

Other Supplies:
1 photo 8×8″
pattern paper
large letters or sentiment
wooden camera die cut
black permanent marker
Glossy Accents Medium
 Thanks for visiting!
Sadly this will be my final post with the ScraPerfect Design Team
but do come visit me anytime on my blog, Art & Soul
Happy Crafting!

