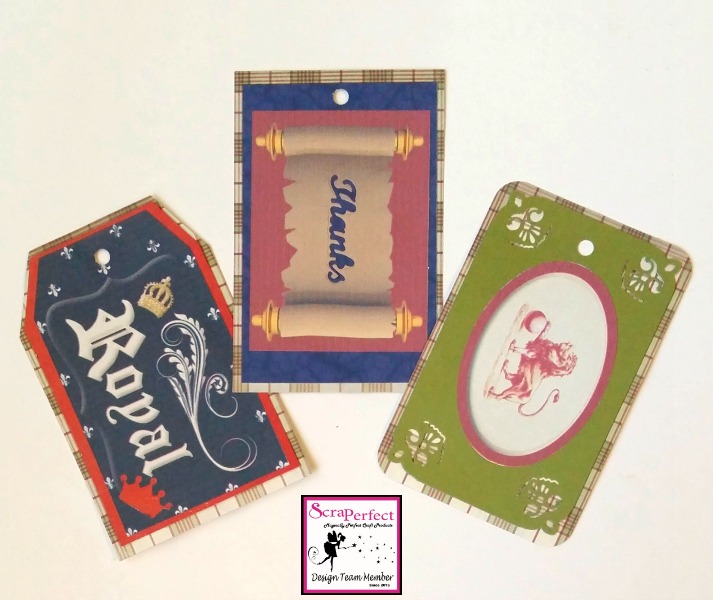
Here’s how to make an attractive yet simple gentleman’s gift tag for the minimalist in your life. Charity here, my male friends aren’t too happy with all the frills and sparkle. They get positively green around the gills when they watch the bits of glitter drift towards the floor.
~ Gentleman’s Gift Tags ~
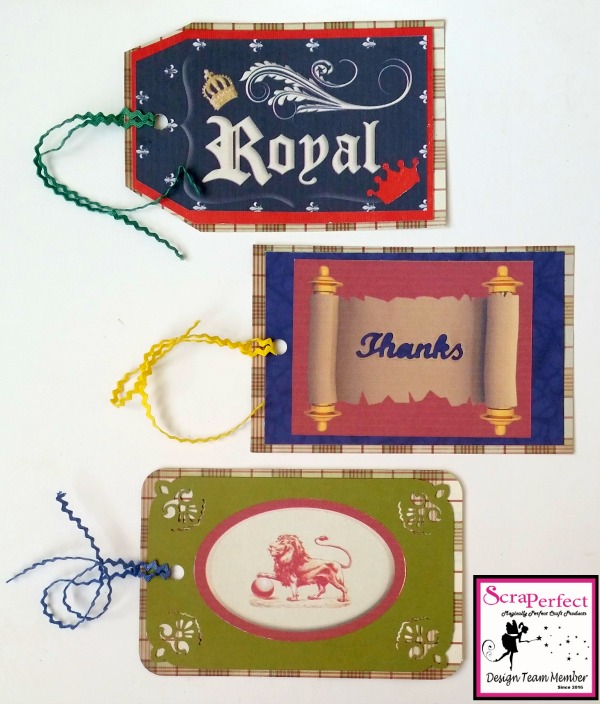
Even with a ban on glitter, a gift tag doesn’t have to be plain. For this trio of tags I used primary colors, punches, and layers of paper. This kept the tags simple without being too basic.
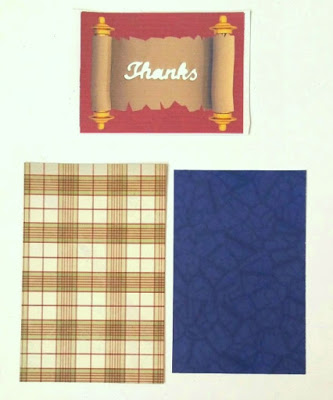
The base layer is cut to 5″x 3.25″.
The middle is 4.75″x 3″.
The top is a sticker in complimentary colors.
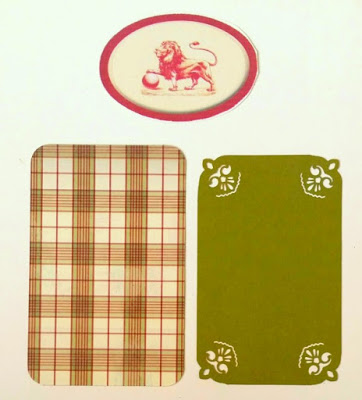
The base layer is cut to 5″x 3.25″.
The middle is 4.75″x 3″.
The top is a sticker in complimentary colors.
For the Lion Tag the corners of the middle layer are punched
with a decorative punch, and the base layer corners are rounded.
with a decorative punch, and the base layer corners are rounded.
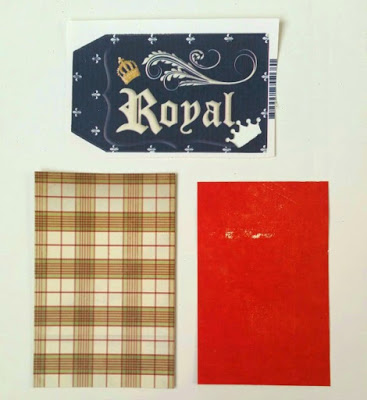
For the Royal Tag I used the Kreaxions crown punch on the lower corner.
This allows the red of the middle layer to show through
This allows the red of the middle layer to show through
To assemble the tags I used ScraPerfect’s Best Glue Ever.
This glue is super strong so a little bit goes a long way.
Not only that, but it never wrinkles the paper!!!
After assembling the tag I trimmed the top corners so the layers lined up.
I cut down on the frills by using ric-rac to hang the tag.
I cut down on the frills by using ric-rac to hang the tag.
The boys need never know it is from my collection of vintage trims.
That will be our little secret!
The vibrant papers and stickers for these tags are from the Robin’s Nest Store.
Check my blog Scrappin’ Chaos for a list of supplies.
Check my blog Scrappin’ Chaos for a list of supplies.
Scrap On!
~charity~


