How To Make A Beautiful Card With A Stunning Stencil

Charity here with a beautiful card that uses a stunning stencil to deliver delight.
The card base, sentiment, and large die-cut are from the same sheet of 12×12 cardstock. This trick simplifies the design and lets me spend more time on the background and layering.

Parts and Pieces:

Card base 4×6″
Patterned Paper Card Front: 3 ¾ X 5 ¾”
Stencil
Dye Ink and Applicator
30” RicRak
Craft Foam
Die-cut Doily, Teddy Bear, and Sentiment
Best Glue Ever
No-Clog Writing Cap

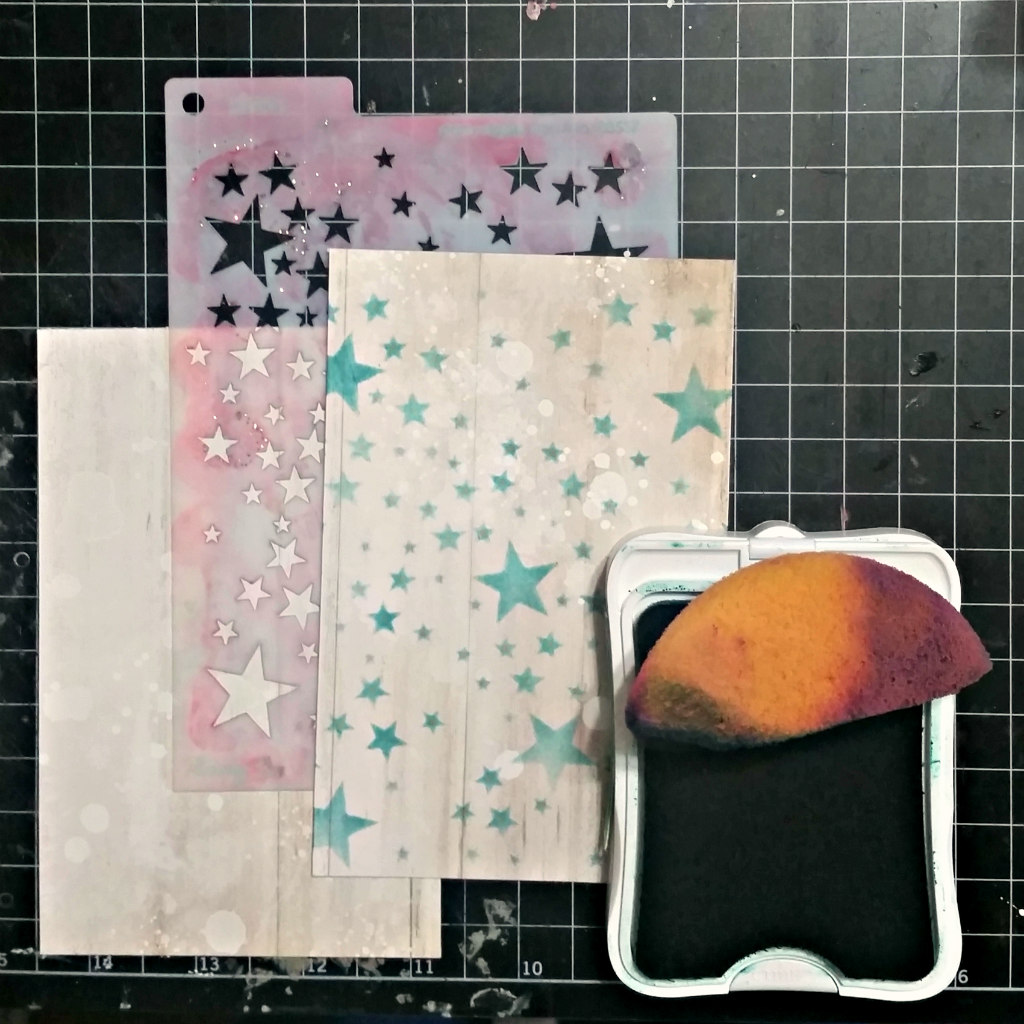
Step 1:Dab ink through stencil placed over card front. 

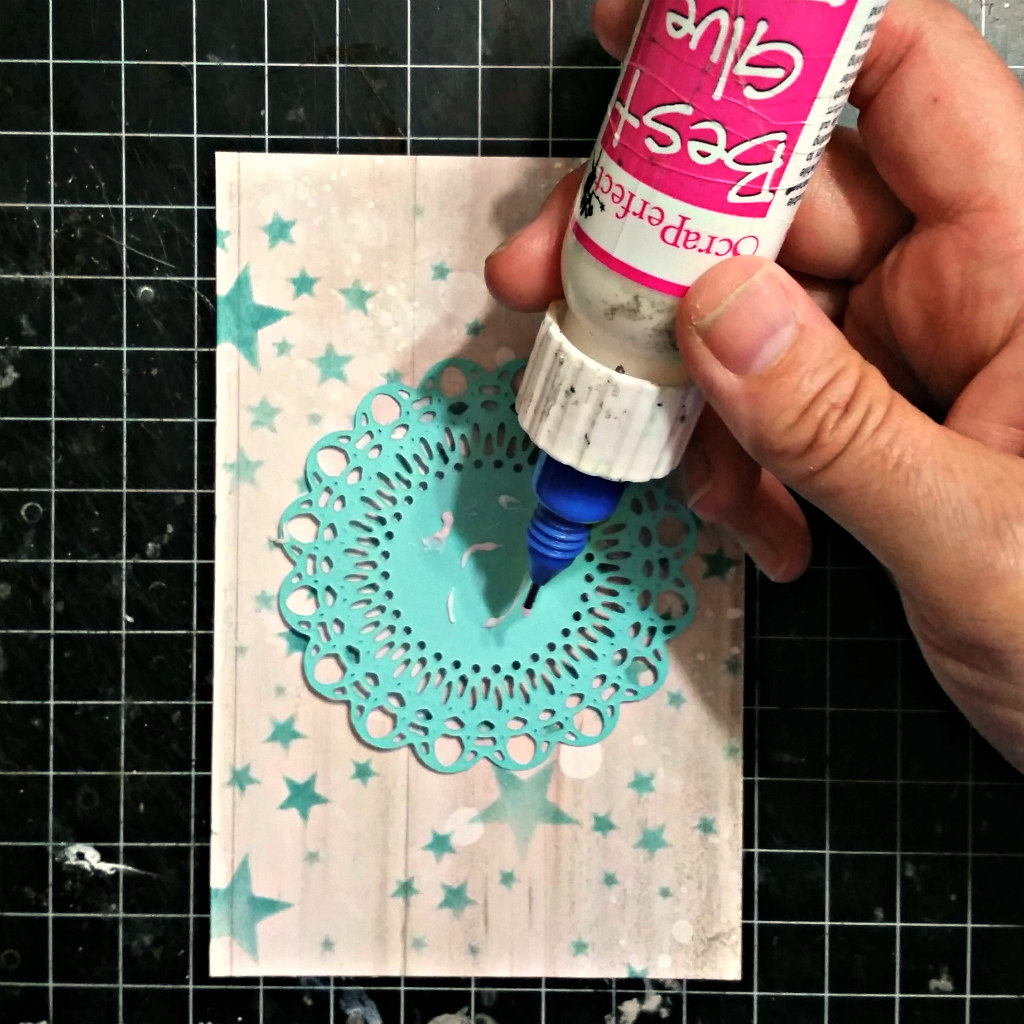
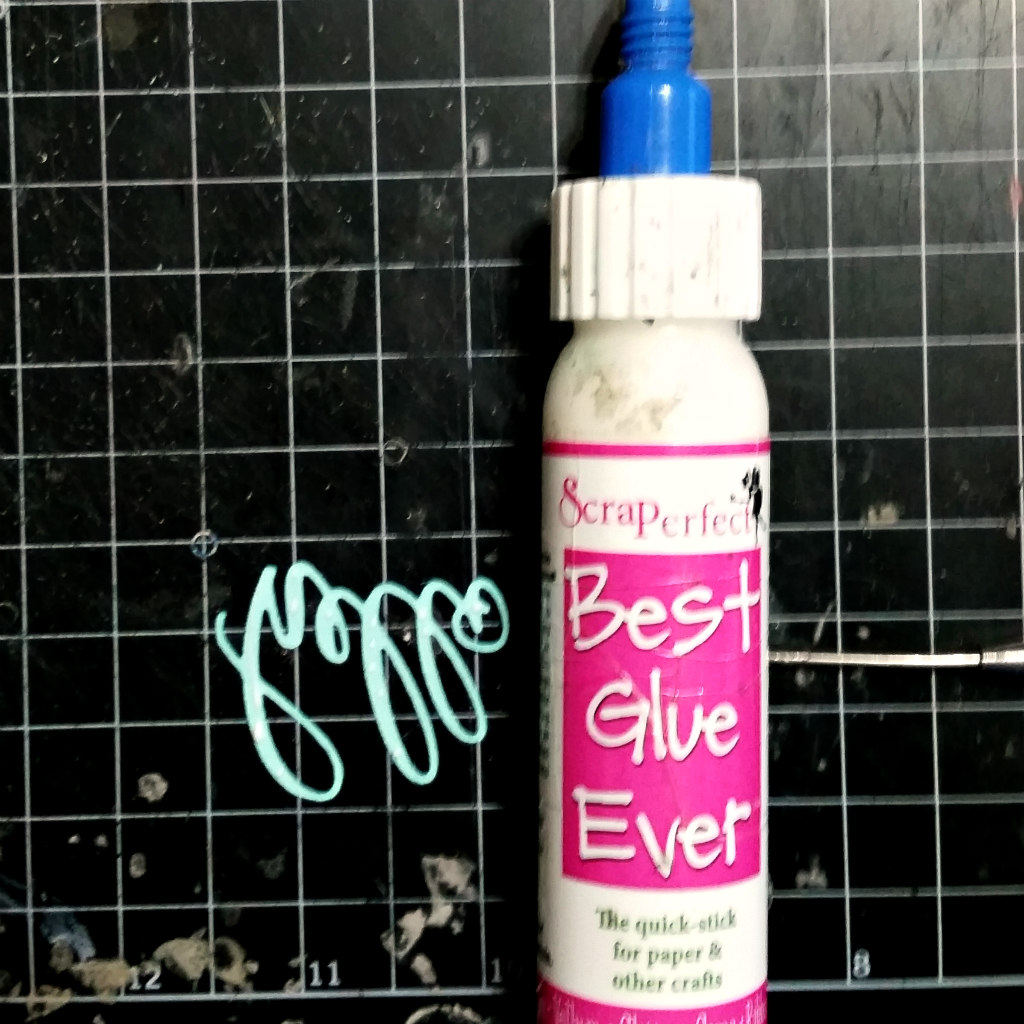
Step 2:Adhere doily to card front, center. When layering a card I use ScraPerfect Best Glue Ever at the center but not around the edges. As it dries the doily edges will lift off the card front. This keeps the card from looking too flat and pressed together.

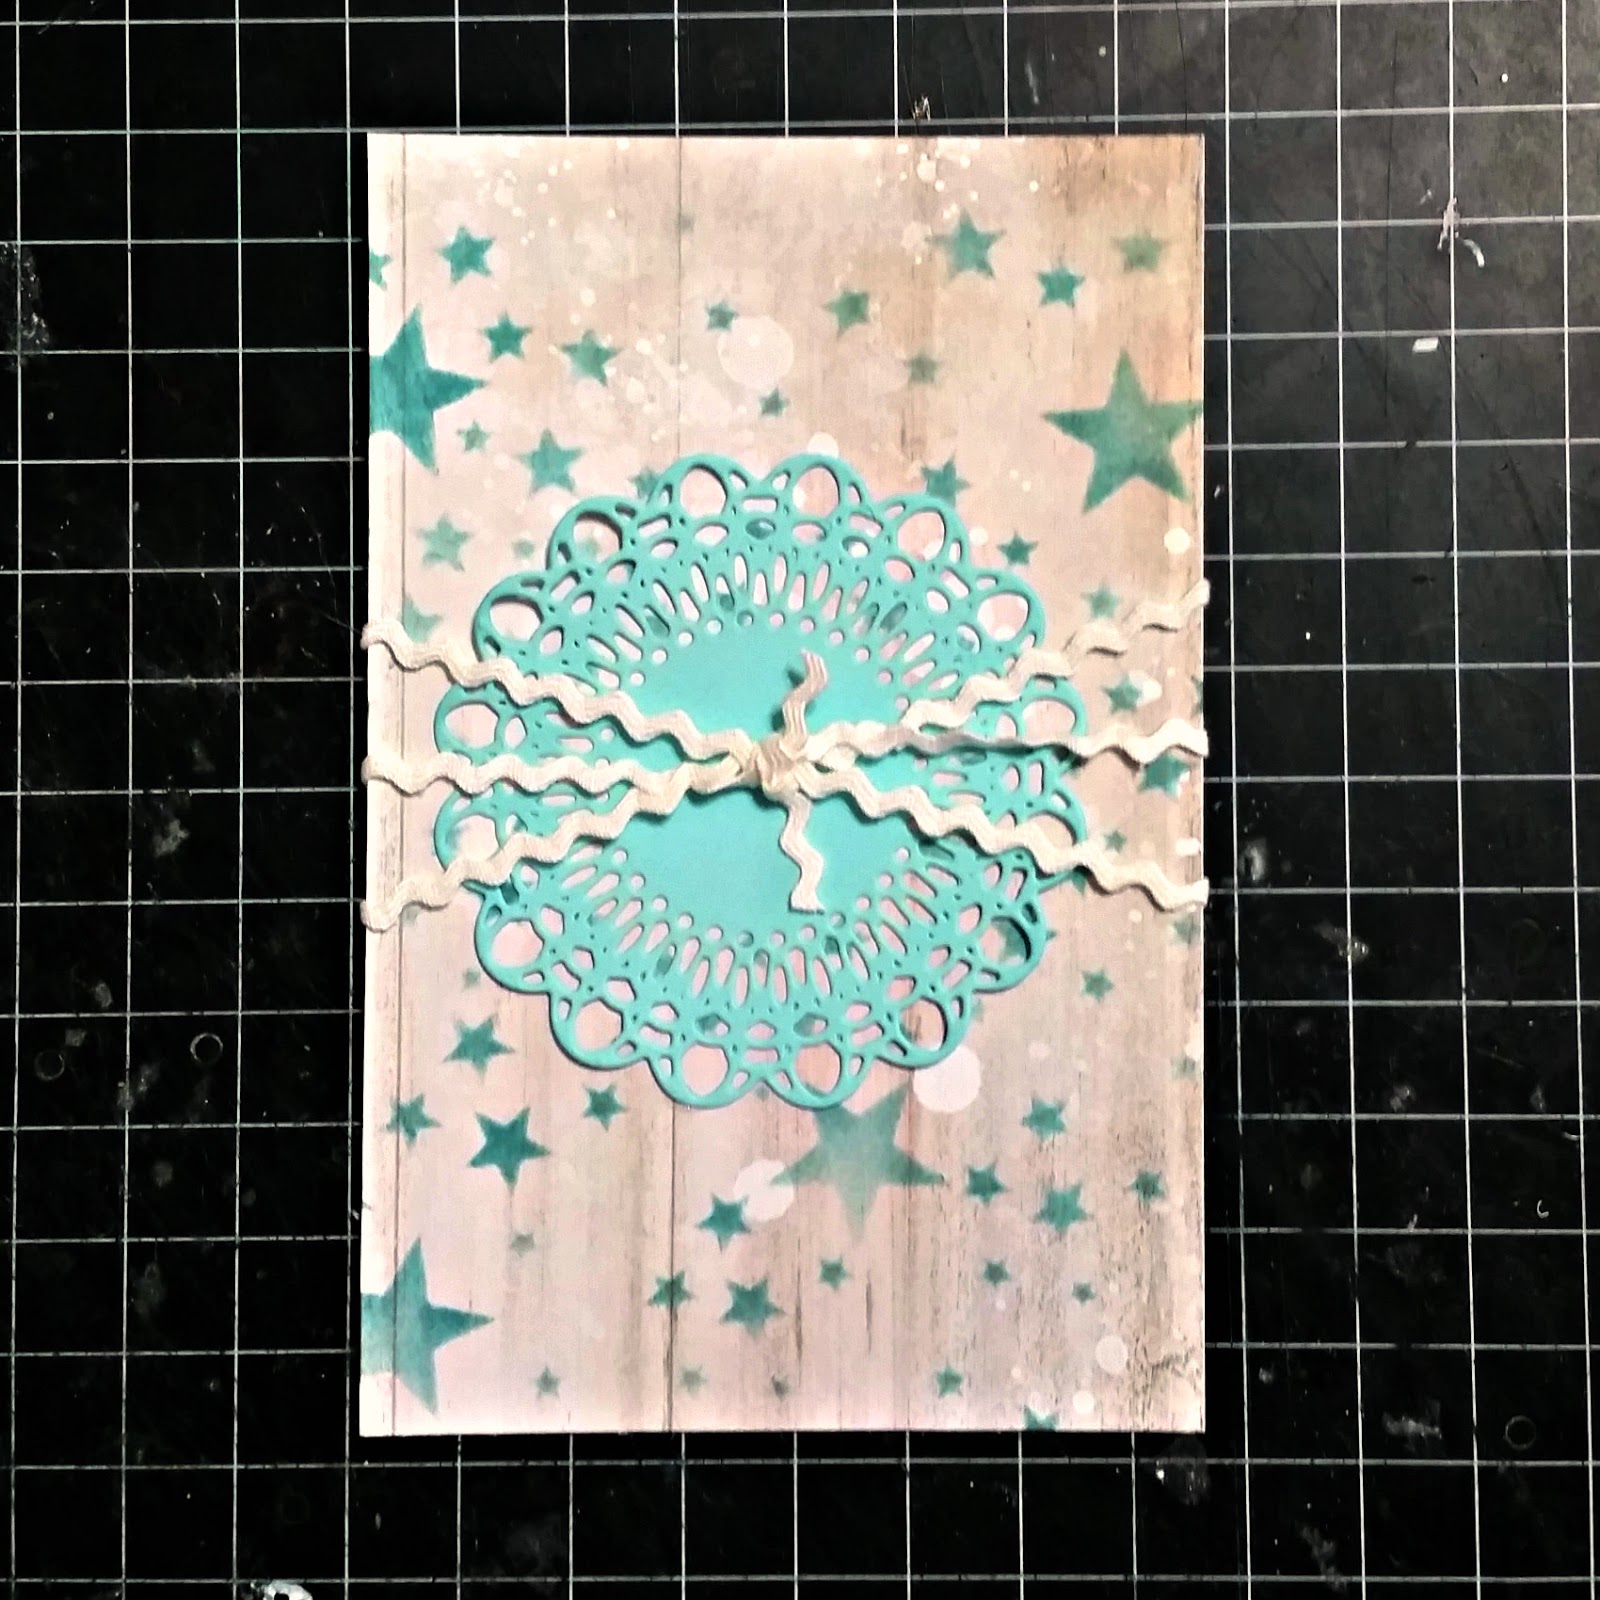
Step 3:Wrap ricrak around card front, tie at center, keeping knot low profile for layering over.

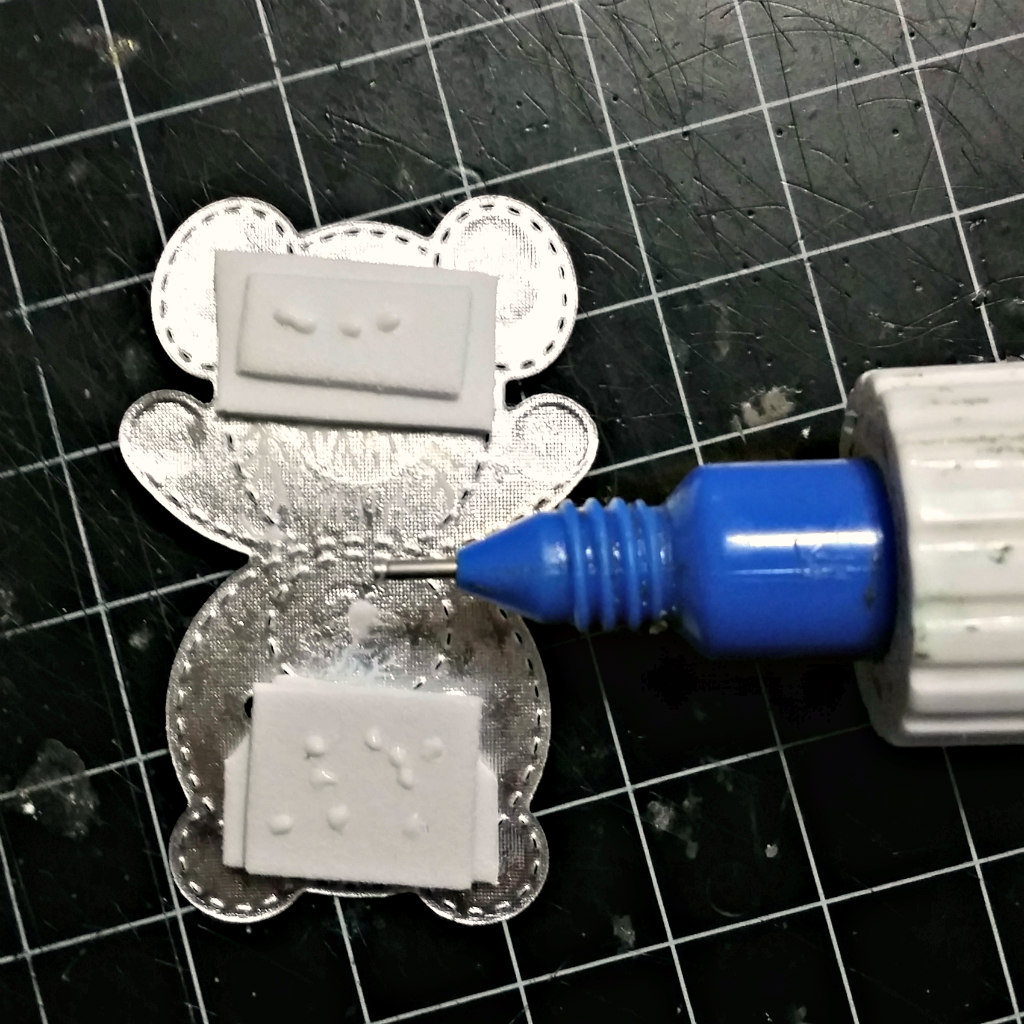
Step 4:Using Best Glue Ever and craft foam build a bridge on the back of the die-cut to span the knot. Leave to dry.

Step 5:Adhere die-cut to card front, then card front to blank.

Step 6:Use a No-Clog Writing Cap to adhere sentiment to card front.

The pale blues, grays, and silver tones of this card had me planning to send it off to a new mother. My daughter had other ideas. She swooped my pretty blue and silver card up and just HAD to have it to give to a teacher. I deemed that a worthy cause and off she went with her prize.

Check my blog Scrappin’ Chaos for a list of supplies.
Scrap On!


~Charity Hotrum~

Designer

Sign up for important notifications by email for Coupons, Events, Special Offers, plus ScraPerfect's tips, ideas and news!

Your information will *never* be shared or sold to a 3rd party.

Sign up for important notifications by email for Coupons, Events, Special Offers, plus ScraPerfect's tips, ideas and news!

Your information will *never* be shared or sold to a 3rd party.