Do you need to know how to make a breathtaking journal with foiled paper? Charity here from Scrappin’ Chaos with a gift idea for the friend who has everything. Journaling encourages self expression and is exceedingly therapeutic. There is no better place to write down one’s thoughts after a chaotic day than in a beautiful book.
~ Octopus Journal ~
Adding a personal touch to a blank notebook steps up the appeal without decreasing the efficiency. But how do you get the most lovely of papers to lay smoothly on a run-of-the-mill diary? Well there’s a simple solution for that!
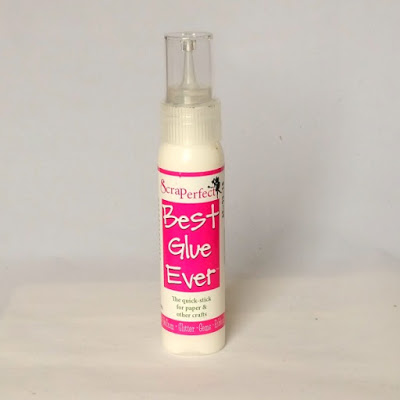
That’s right, the barest amount of ScraPerfect’s Best Glue Ever sticks those papers down with not a wrinkle in sight. To demonstrate this ability of BGE I used two colors of wrapping paper and an embossed foiled paper.
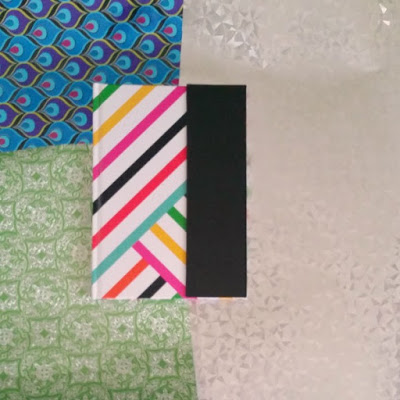
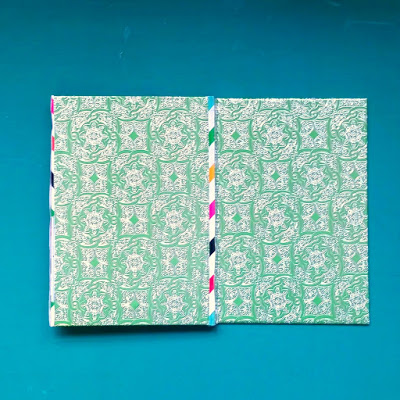
First I cut three pieces of the green paper for the front, back, and magnetic flap of
this lined journal. I cut them large so there would be extra paper to fold over the edges.
I also cut two strips of silver wrapping paper for the spines.
this lined journal. I cut them large so there would be extra paper to fold over the edges.
I also cut two strips of silver wrapping paper for the spines.
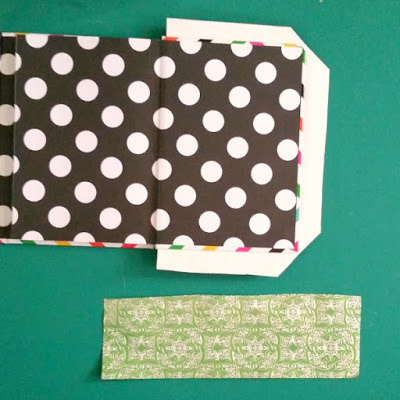
After sparingly applying BGE to the diary I smoothed the paper over the glue. I left a 1/2 inch gap
between the edge of the foiled paper and the spine. I cut the corners of the excess paper diagonally so
the flaps would fold nicely to the inside. I applied BGE to the flaps and folded them inward.
between the edge of the foiled paper and the spine. I cut the corners of the excess paper diagonally so
the flaps would fold nicely to the inside. I applied BGE to the flaps and folded them inward.
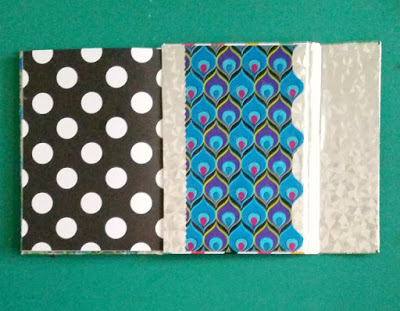
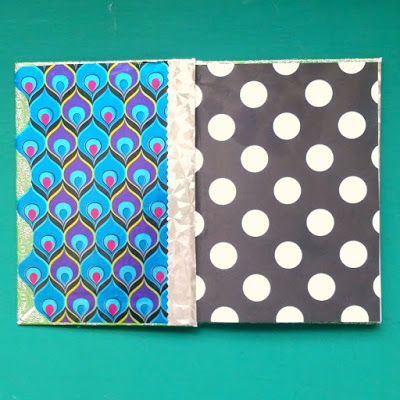
For the inside of the cover I cut silver and peacock patterned wrapping paper. Once again I very
sparingly applied BGE to the diary and smoothed the paper over the glue in overlapping layers.
I added the paper while the glue was very wet so that I had time for repositioning.
sparingly applied BGE to the diary and smoothed the paper over the glue in overlapping layers.
I added the paper while the glue was very wet so that I had time for repositioning.
I cut around the design on the peacock paper and used pinking shears on the edge of the silver paper.
I covered each spine with a strip of silver paper then trimmed it close.
I covered each spine with a strip of silver paper then trimmed it close.
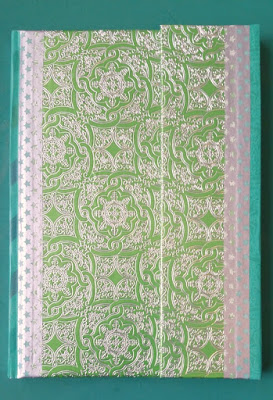
The remaining gap I covered with washi tape. The hinge part of the binding tends to wrinkle
and stress the paper so that it wears out easily. Washi tape better handles this constant bending.
and stress the paper so that it wears out easily. Washi tape better handles this constant bending.
I used a dark green tape over the edge of the binding and a silver tape
to cover the edges of the green tape and the foil paper.
to cover the edges of the green tape and the foil paper.
The journal was fully covered at this point and the magnetic strip still worked because
I had used thin wrapping paper. However, I still wanted a focal point for the front.
I had used thin wrapping paper. However, I still wanted a focal point for the front.
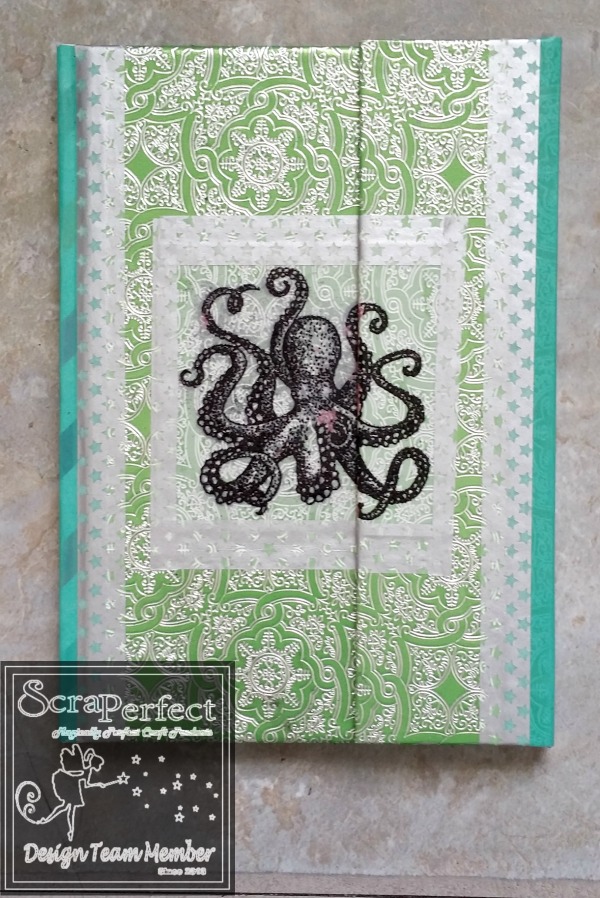
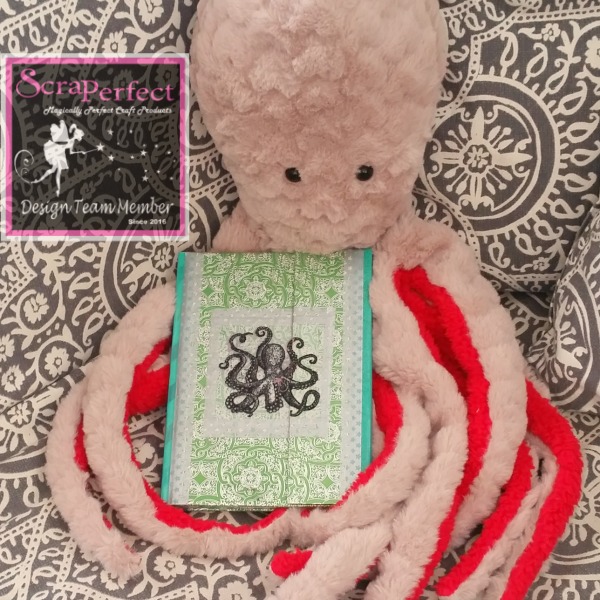
Because the journal was gifted with a stuffed Octopus I used that as my subject. I stamped and heat
embossed an octopus onto vellum. I stamped it twice so that the design could continue onto the flap.
I used BGE to attach the vellum then topped the edges with more silver washi tape.
embossed an octopus onto vellum. I stamped it twice so that the design could continue onto the flap.
I used BGE to attach the vellum then topped the edges with more silver washi tape.
Both the vellum and the thin wrapping paper went onto the cover without a wrinkle.
ScraPerfect
and the Best Glue Ever made this exceptional gift possible.
ScraPerfect
and the Best Glue Ever made this exceptional gift possible.
Check my blog Scrappin’ Chaos for a list of supplies.
Scrap On!
~charity~


