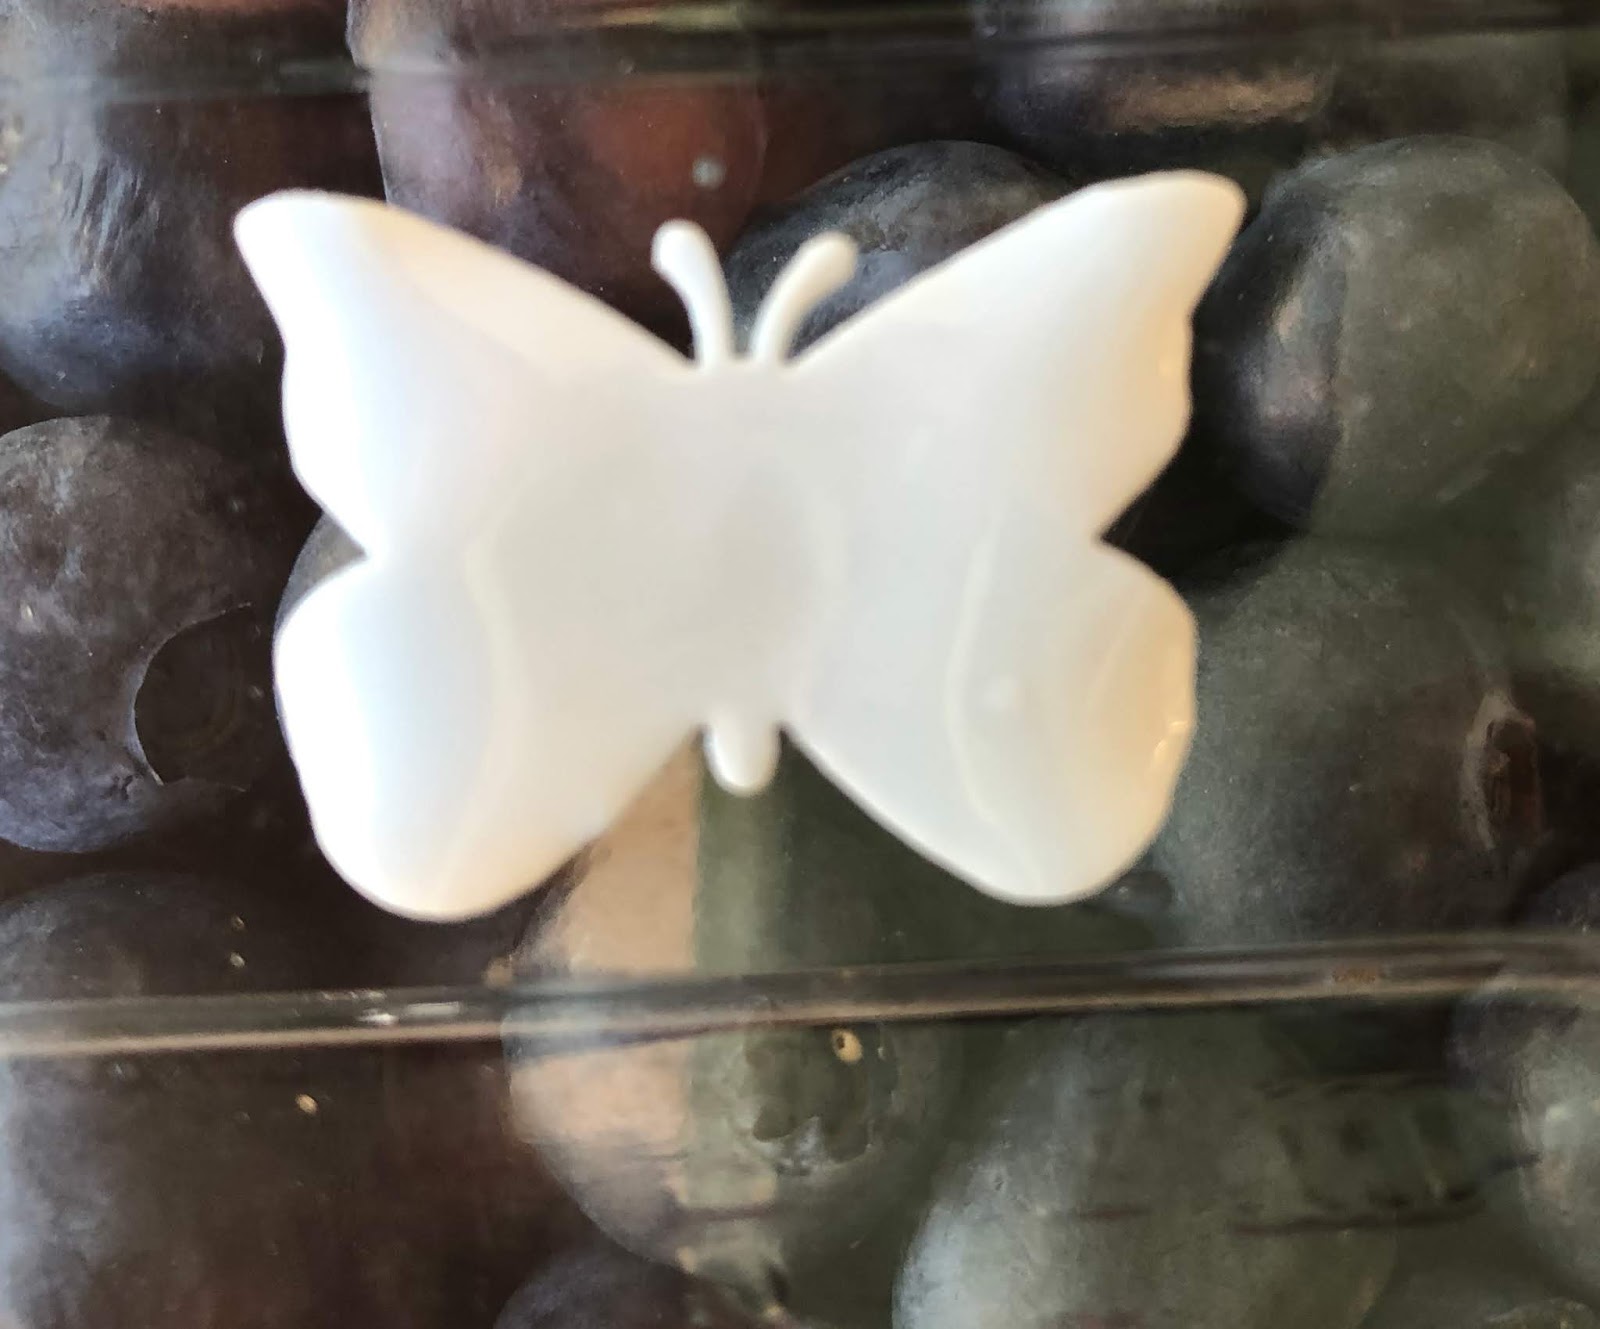
If you are familiar with Shrinky Dinks™, then you already know how it works. If not, after shapes are cut from a plastic sheet, they are heated in an oven where they shrink and thicken to a hard, plastic “charm”. Check out the ideas (below) on how to create, embellish, and colorize the shapes, but try freehand cutting and baking without adding color. HAVE FUN!
SUPPLIES
* Plastic take-out or clamshell containers. (See comment below about what type to use.)
* Scissors or a punch
* Aluminum foil or parchment paper
* Optional:
Markers, colored pencils, ink,
Small hole punch or awl
STEPS
1. CREATE THE SHAPE
• Cut it out:
Use scissors to cut out a shape, or fussy-cut around a traced or stamped image. Alternatively, use a strong, sharp paper punch, die cutter, or paper trimmer instead of scissors. (Be sure the device you use is designed to cut through thin plastic, and eye protection is always a good idea.)
• Color or embellish, if desired
~Use colored pencils, markers, or ink. Permanent markers and solvent ink work really well.
~ Color intensifies after the item shrinks. .
~ Use patterned stamps. (Use permanent, solvent ink or see the hint above for dye ink.)
~ Experiment with alcohol ink.
~ If smudging is a problem when adding color, use both sides of the plastic.
~ To use water-based markers or dye ink pads, try using sandpaper to roughen the surface or apply ScraPerfect’s Perfect Crafting Pouch™ before coloring to prevent the ink from beading up.
• Make a hole
IF you want to hang the shape (such as for jewelry or keychains, make a hole before heating. Use a small-sized hole punch or awl.
2. BAKE
Preheat oven or toaster oven to +/-350° F. Place plastic shape on foil or paper and bake for 3-7 minutes. The shape may begin to curl, and will probably uncurl. It may become pure white or possibly return to clear. The shape may shrink about one third, or only a minimal amount. The shape may distort or stay perfect. Experimentation revealed that much of this depended upon the temperature and the length of time. If you want absolutely perfect, consistent results, you may need to buy the real stuff. But much of there fun is in experimenting!
3. FINISH
Remove shape from oven. Press to flatten, if necessary. Remove shape from the foil quickly. Add jump ring, chain, earring wire, or string to make it dangle.
Safety Concerns: If you are doing this with kids, obviously they will need help around a hot oven. While warnings don’t seem to exist about baking plastic in a food oven, fumes should be a consideration; therefore, using a small toaster oven kept solely for crafts is advisable, as is avoiding inhaling the fumes by baking outside or in a very well ventilated room.
Environmental Notes: In addition to reducing trash, DIY crafts reduces packaging materials, production waste, and transportation energy while saving money by not purchasing “new”. If your family is growing your own produce or buying from a farmer’s market, that is even better for the earth, and you might have to ask a neighbor for their plastic clamshells which they will probably be very happy to give to you! If you are doing this craft with kids, consider using this opportunity to brainstorm ways your family can reduce your contribution to waste stream and help the environment.


