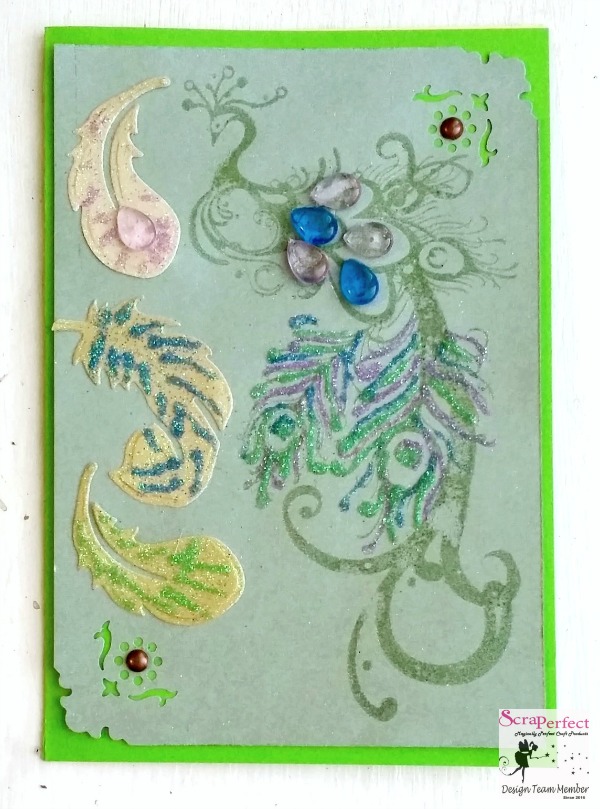
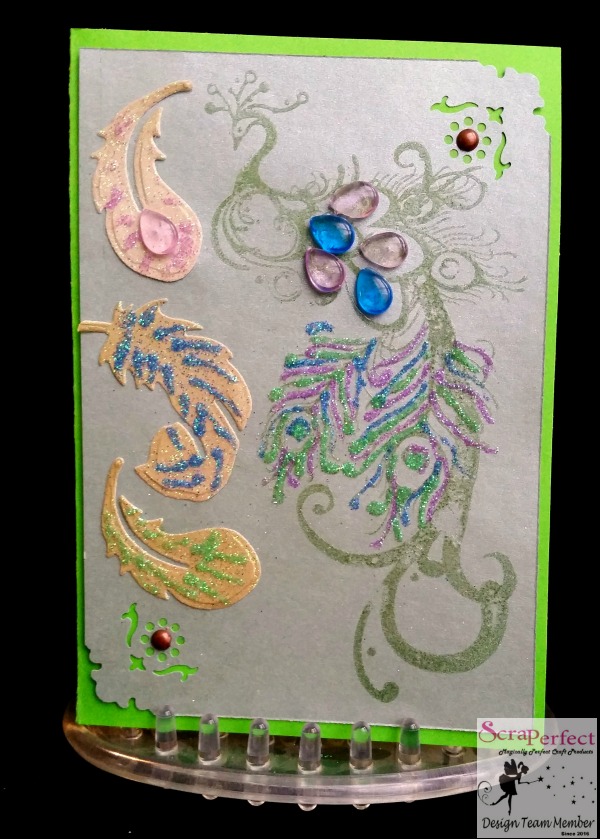
With the right tools and a bit of glitter I can show you how to make a luxurious peacock card that is stunning!
Charity here from Scrappin’ Chaos with a card for this months ScraPerfect Card Challenge.
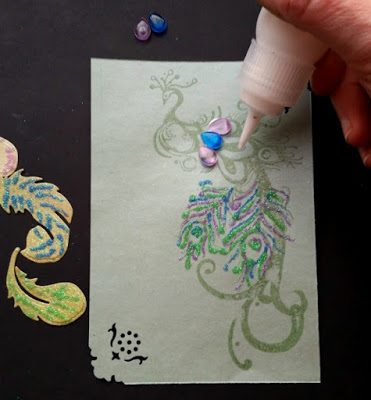
I used the No-Clog Writing Cap from ScraPerfect for the first time
and I am thrilled with the results.
Charity here from Scrappin’ Chaos with a card for this months ScraPerfect Card Challenge.
I used the No-Clog Writing Cap from ScraPerfect for the first time
and I am thrilled with the results.
~ Peacock Glitter Card ~
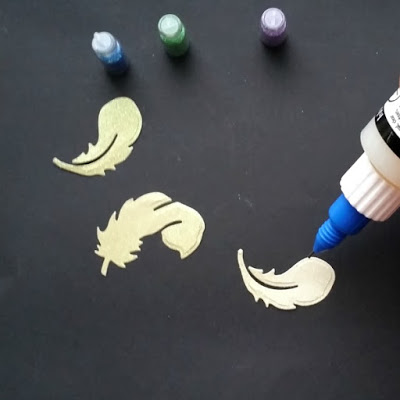
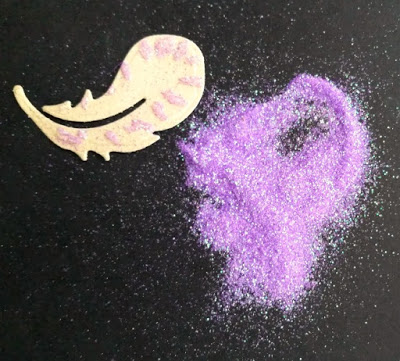
My first step was to die cut feathers and add glitter to them. I received the medium
No-Clog Writing Cap in my DT kit which fits RANGER, Glossy Accents.
No-Clog Writing Cap in my DT kit which fits RANGER, Glossy Accents.
I drew thin lines along the edges of the feathers and dusted them with glitter.
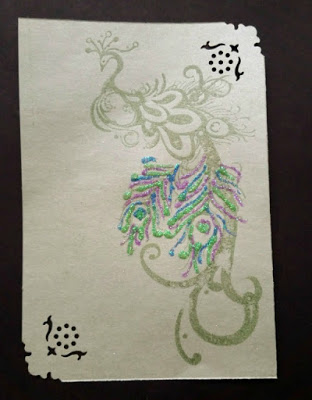
I used the same process to add glitter to the peacock image
stamped and heat embossed on my card front.
The final step was adhering the peacock to the card base using an adhesive
that always sticks and never wrinkles the paper…Best Glue Ever to the rescue…
and adding brads to the decorative corners.
that always sticks and never wrinkles the paper…Best Glue Ever to the rescue…
and adding brads to the decorative corners.
Stop by my blog Scrappin’ Chaos for a list of supplies.
Scrap On!
~charity~

