
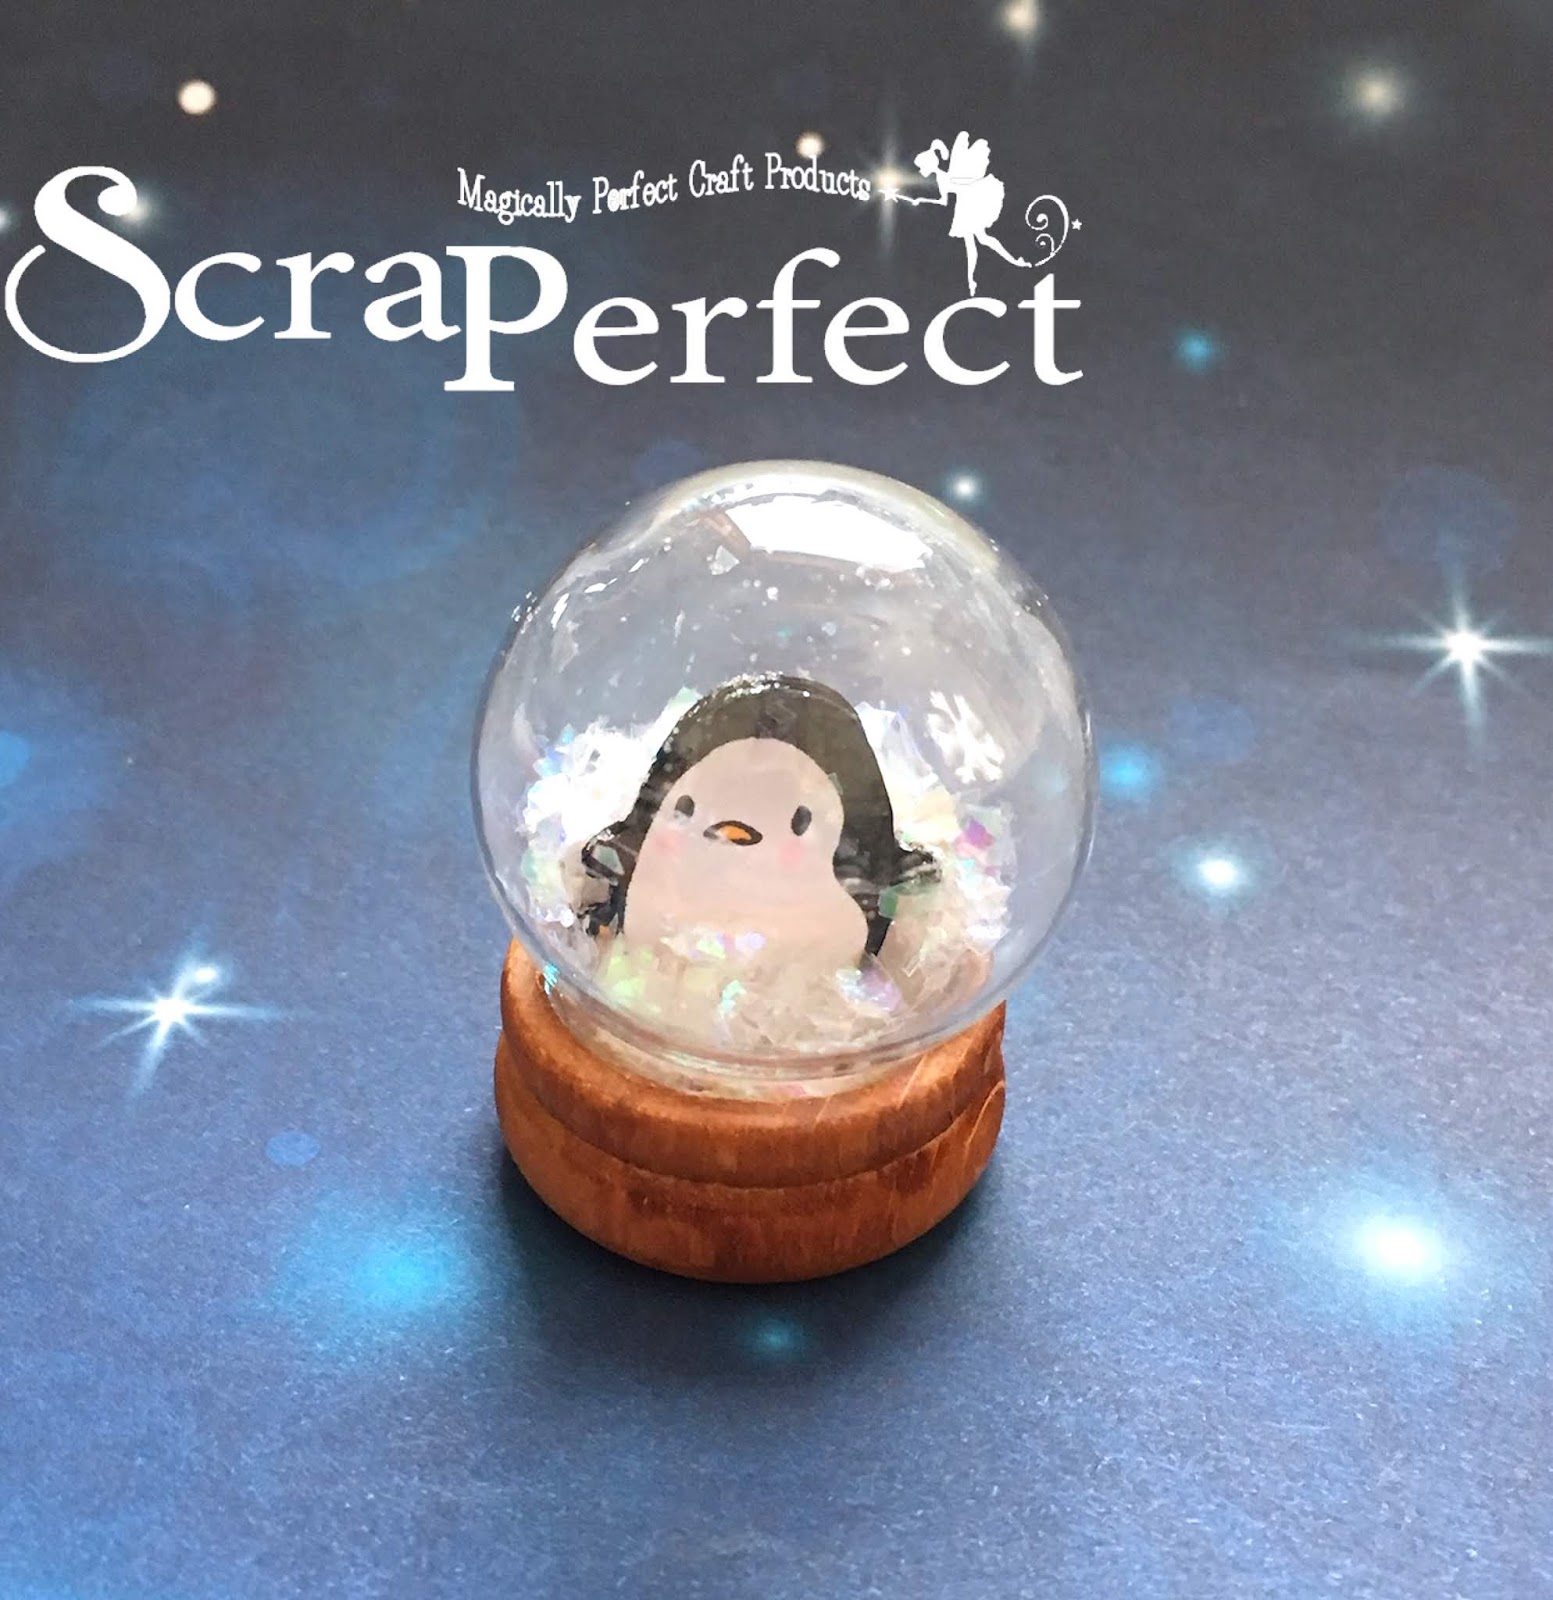
Hello everyone! Betsy here today sharing with you how I made this
adorable Penguin Mini Snow Globe!
Using products from ScraPerfect made putting this project together so easy! The
first step was stamping out my little penguin. I used heavyweight white card stock and
a black hybrid ink. I stamped him 9 times and colored in his beak, feet and cheeks with
markers. Then I fussy cut the images out. Because the image is so small and not very
complicated this took no time at all.

Using the Best Glue Ever I adhered the little penguins together one on top of another. I
trimmed up so the edges matched. After they were adhered and dry, I took a black marker and
went around all the edges so they would all be black. And I used the marker on the
back of the bottom one in the pile, as you will be able to see it in the finished project.
Next I took the Best Glue Ever with the No-Clog Writing Cap and used it on the wooden base of the snow globe. I used a Q-tip to spread it around a bit. I just needed a thin layer to do the job.
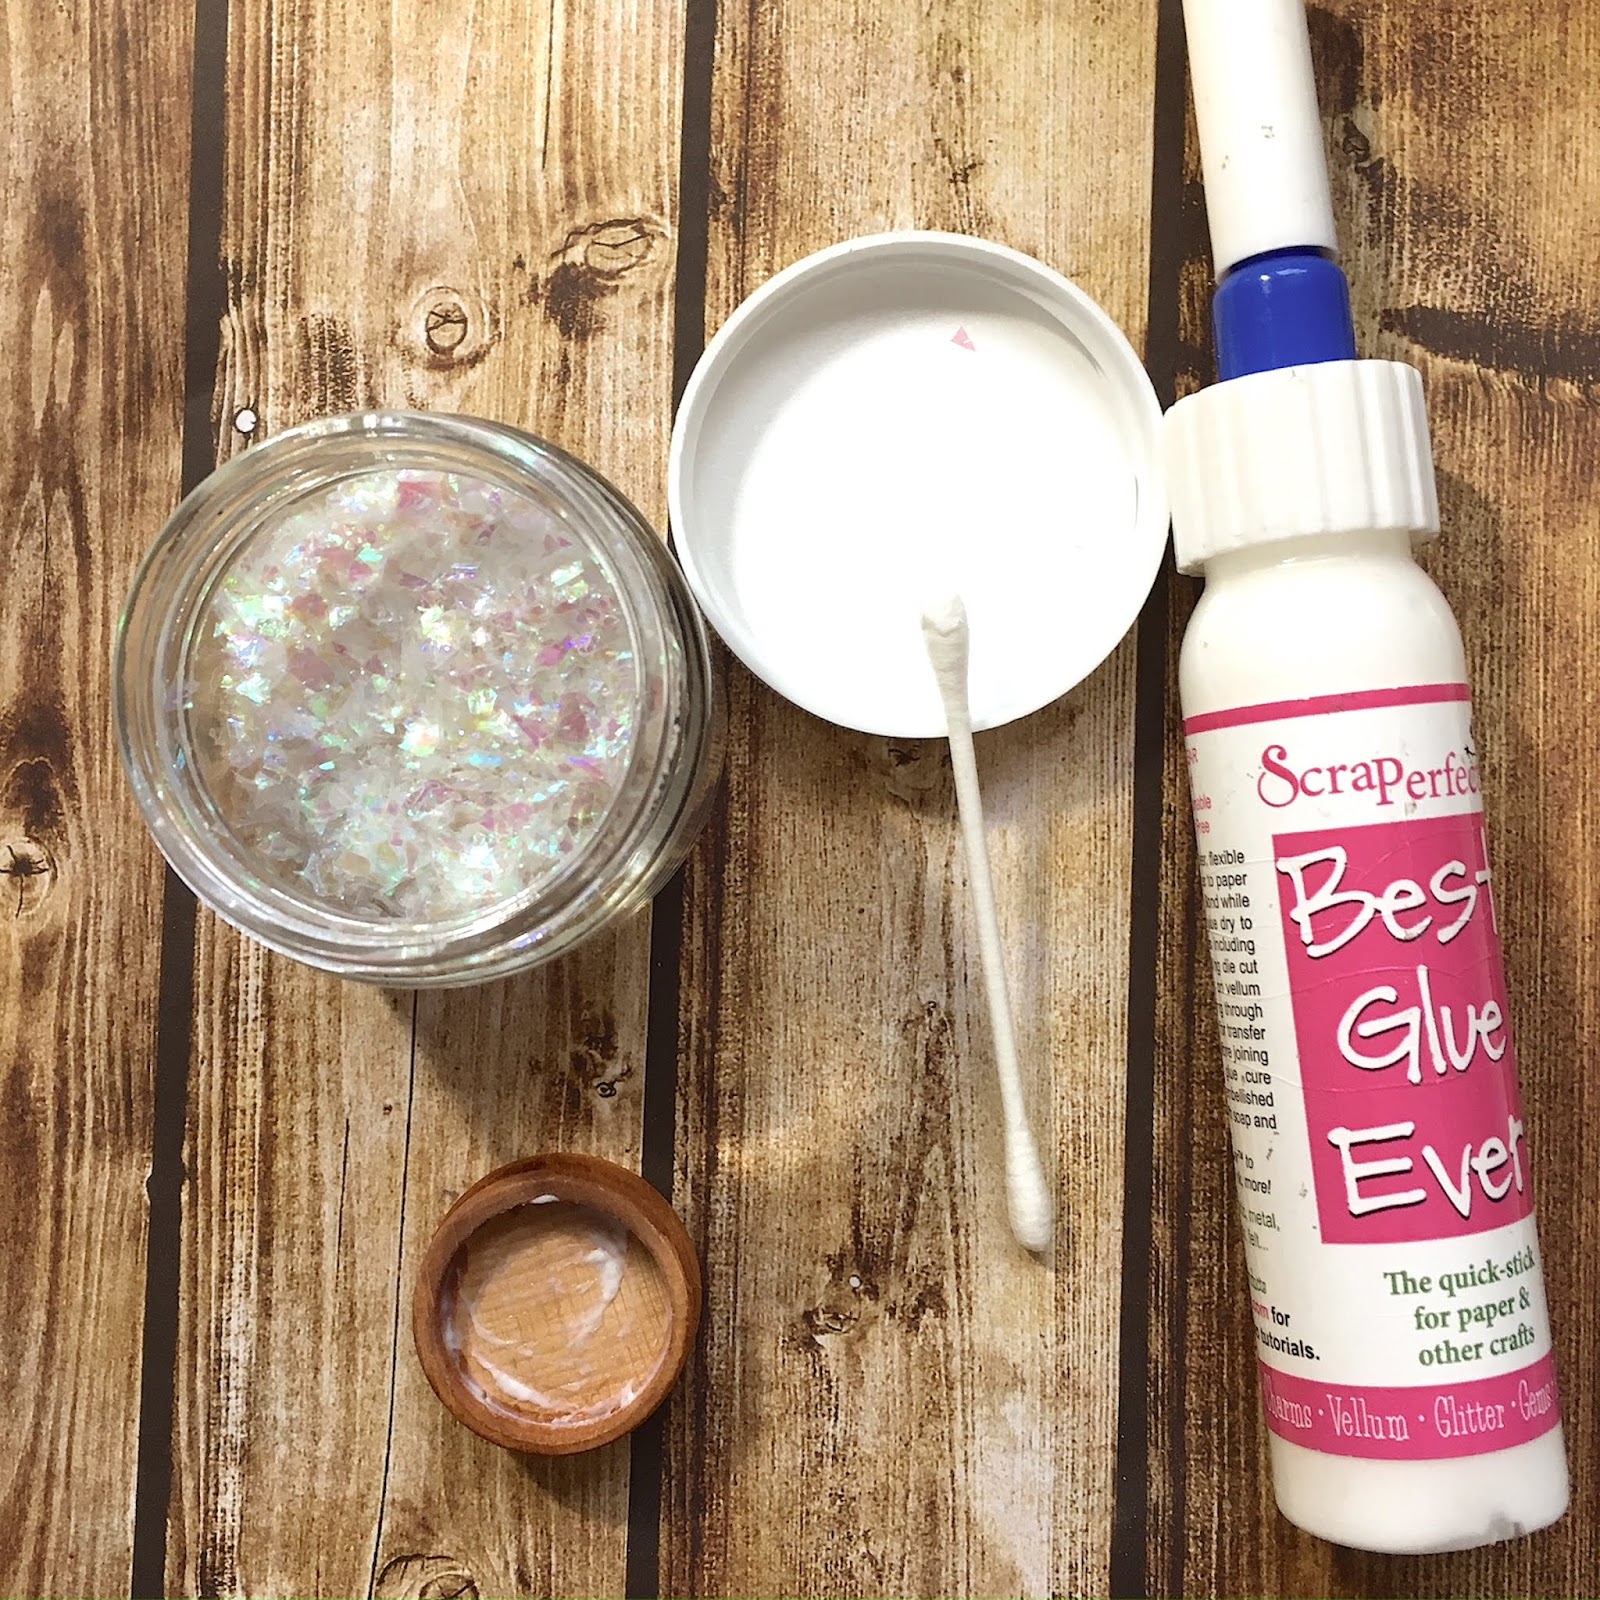
Next I took some snowflake shaker fill and put in a small amount, just enough to
cover the bottom.

Now it was time to glue my little penguin on. I put one dab of the Best Glue Ever with
the No-Clog Writing Cap right in the center.

I placed the penguin’s foot on top of the glue and held it there for a minute until it could
stand on it’s own. At this point, I left it overnight. I don’t think you really have to, but
I wanted to make sure that everything would hold fast once it was put together.
I next prepared the glass globe by first tapping in some powder using the
Perfect Crafting Pouch. With so much dry air I knew I would have a static problem
if I didn’t use it.
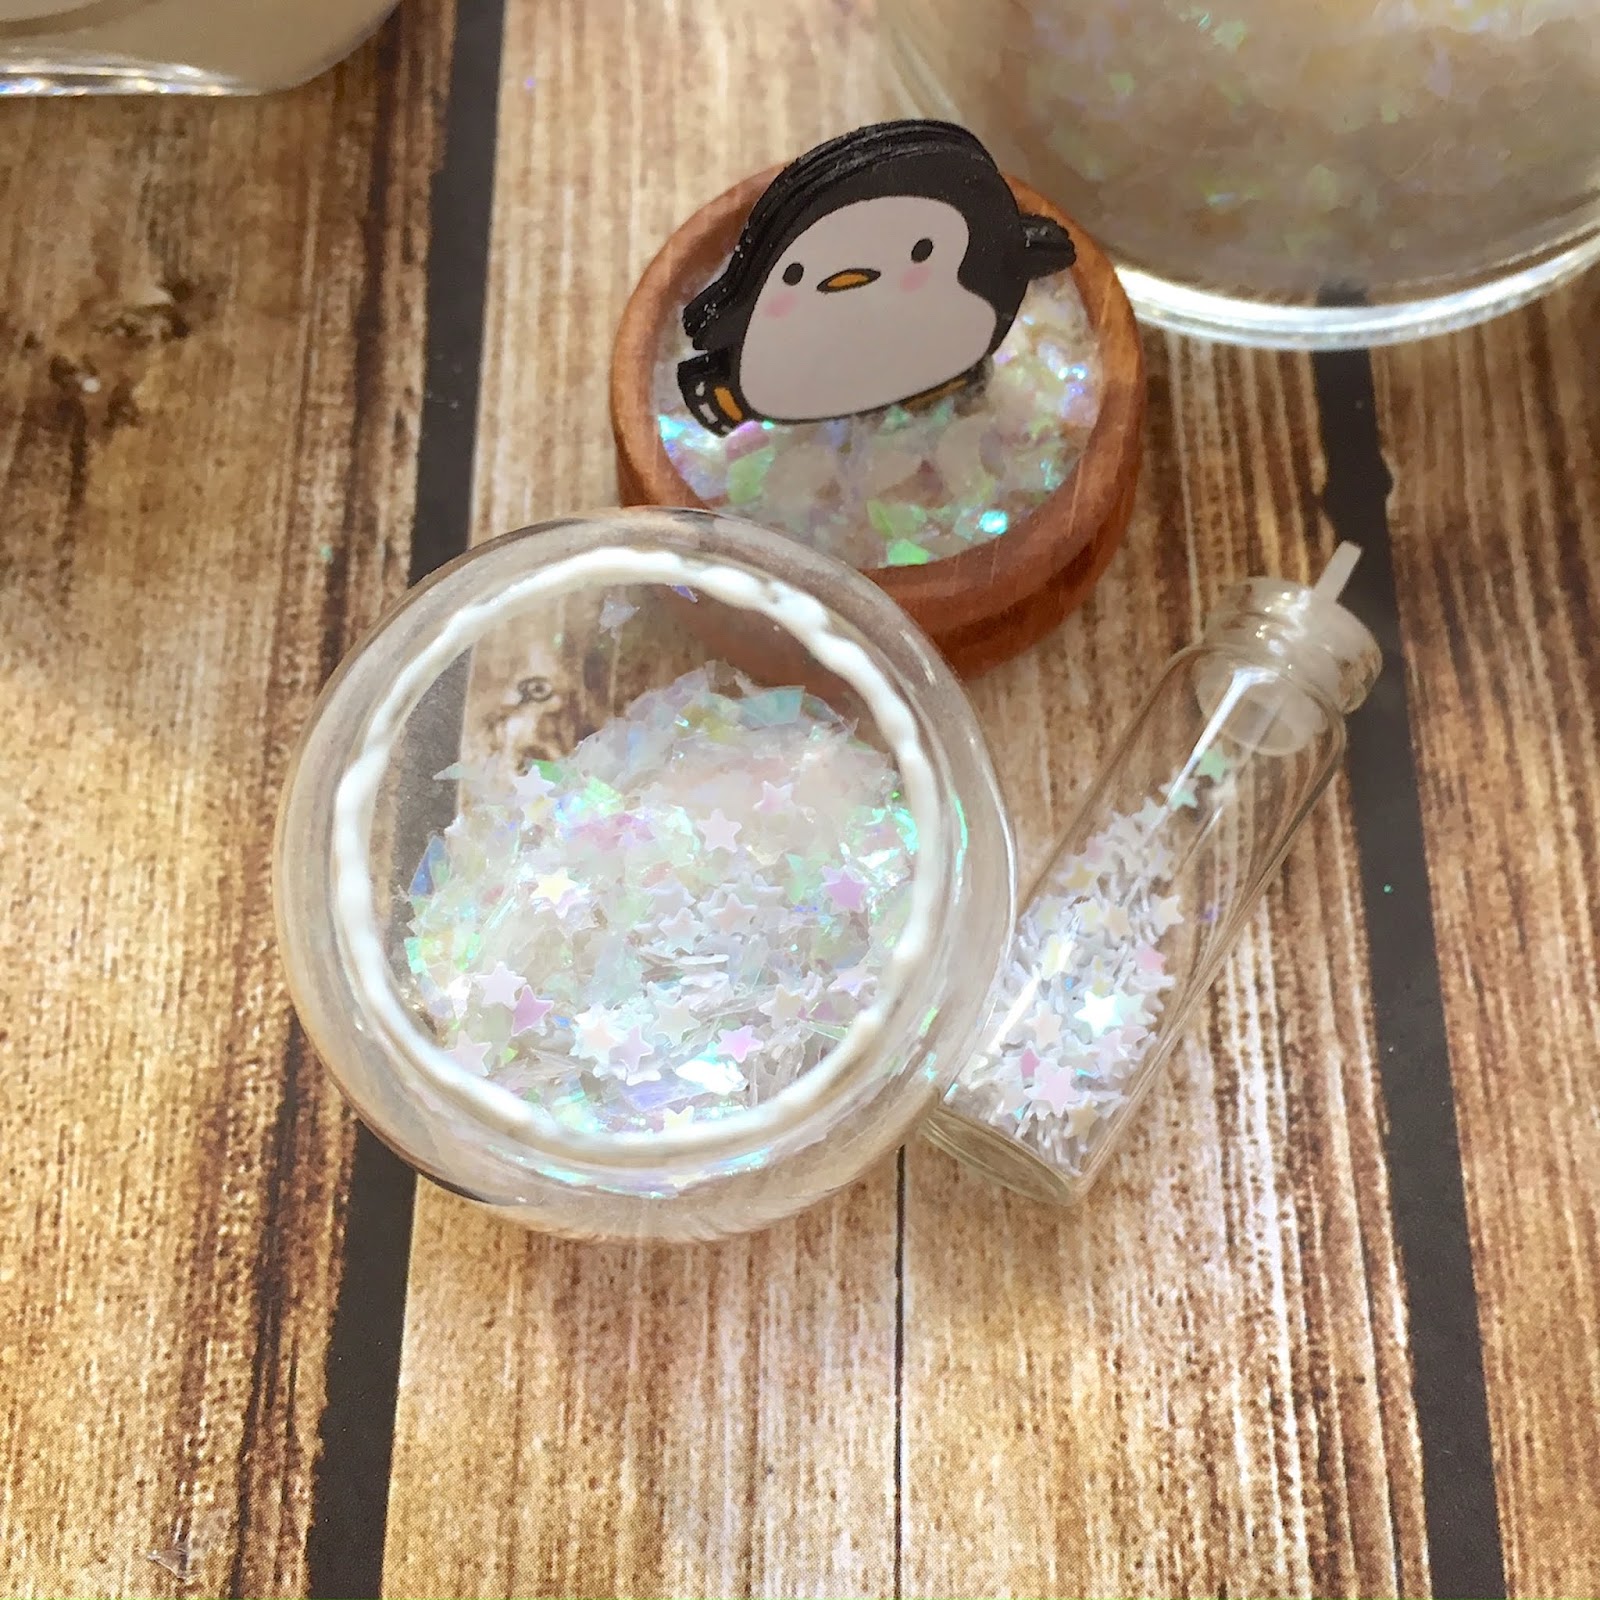
I then put my shaker elements into the glass globe. I used some snowflake shaker fill, glitter and
Tiny Taller Bottles of Embellies. There was one bottle with tiny white iridescent stars.

Next came adhering the glass globe to the wooden base. First I tipped the base upside down
and made sure nothing was coming off – and it wasn’t! Everything was secure.
Next I ran a bead of glue around the base of the glass globe. I made sure it was a continuous
bead with no gaps.
Then I gently flipped the base upside down and lowered into the glass globe. I flipped it
upright and held it together for a few minutes. I wanted to make sure no
glitter would escape!
And that completed my mini snow globe!

ScraPerfect Products Used:
Other Products Used:
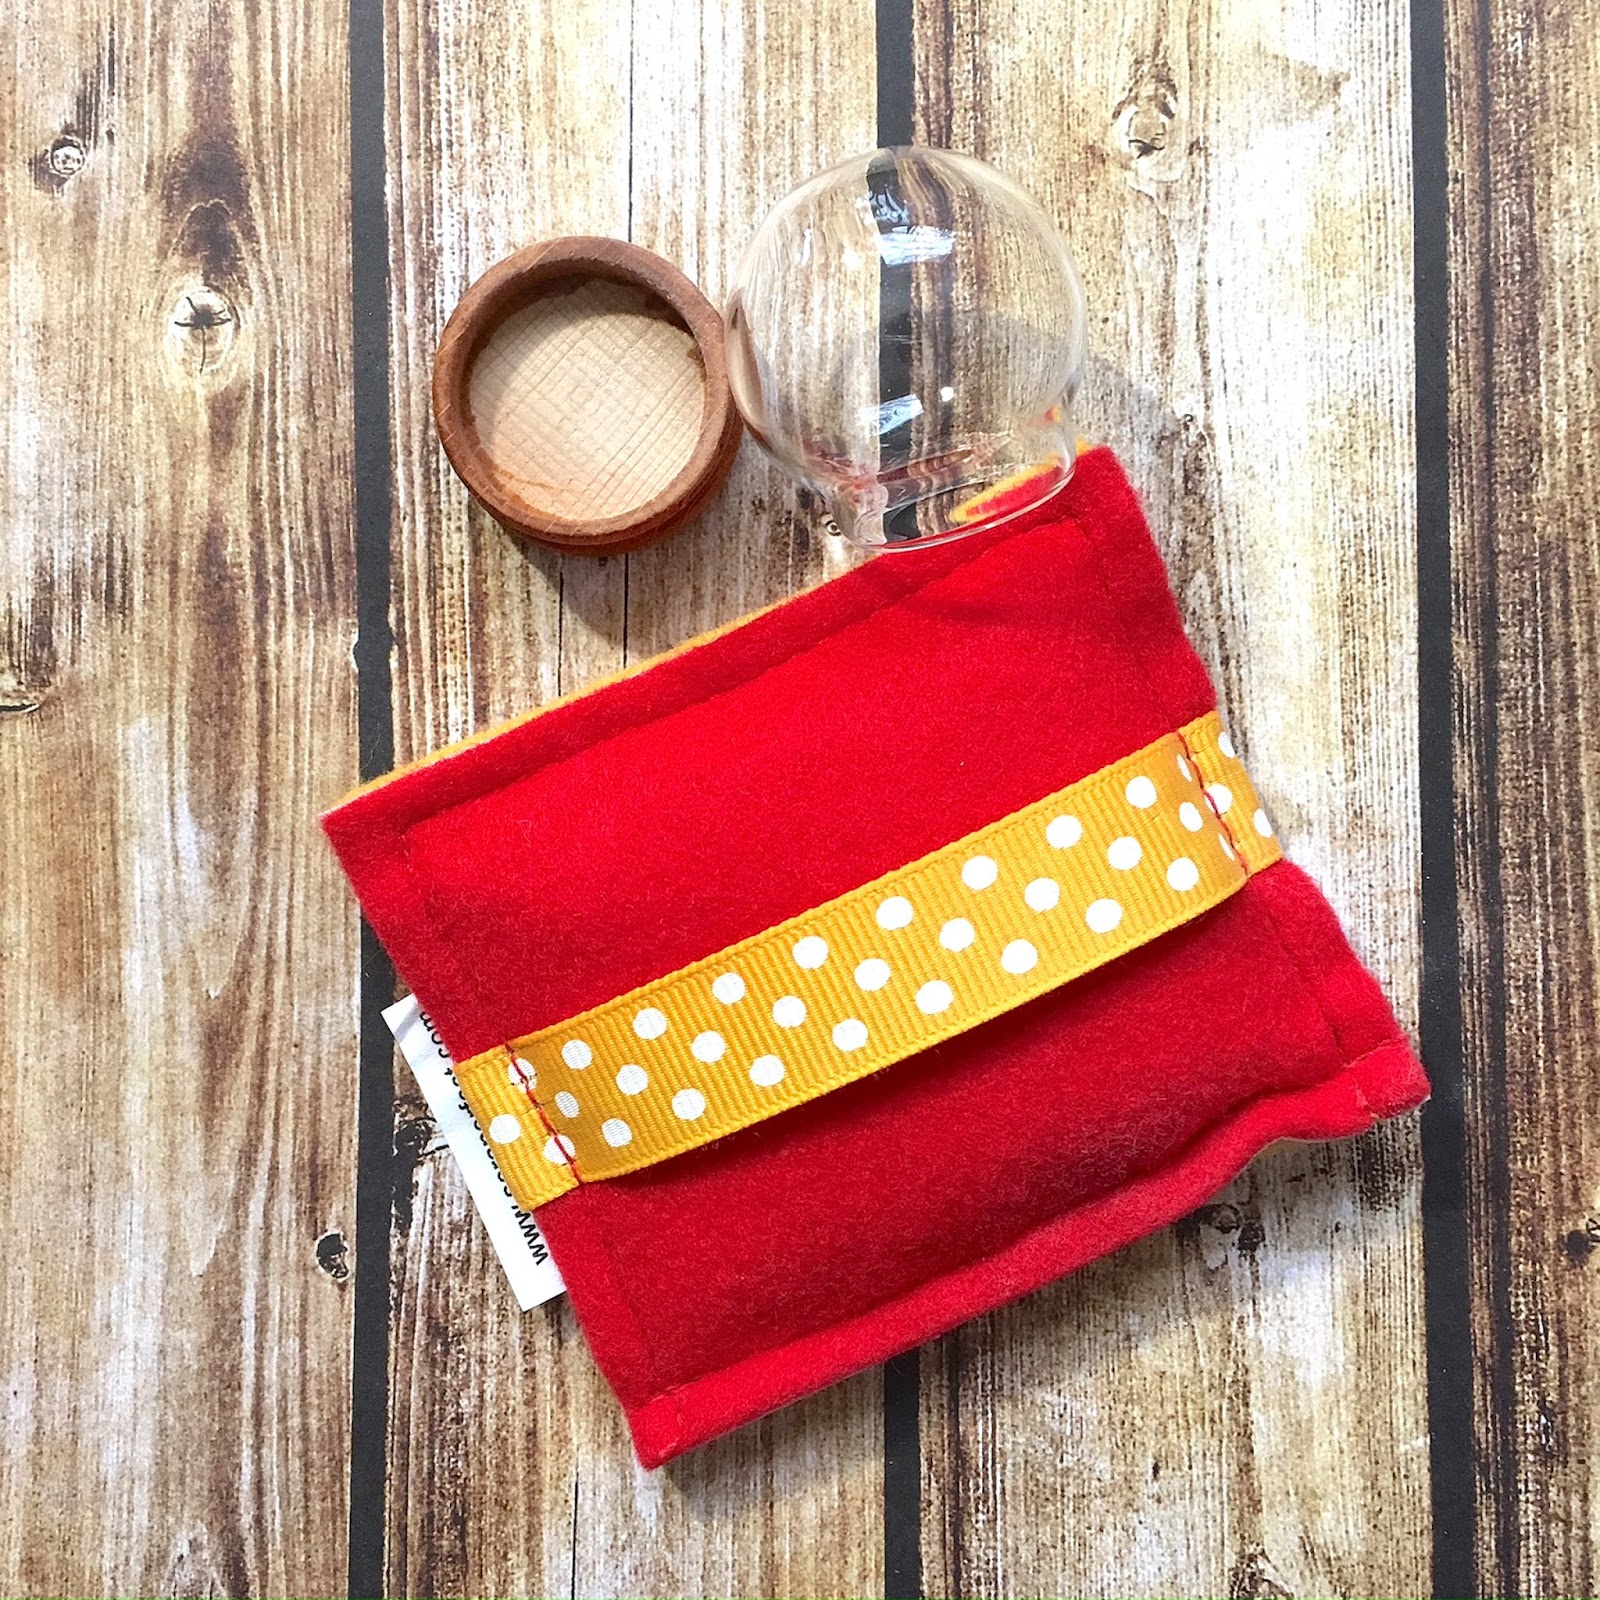
Empty Snow Globe and Base
White Heavyweight Card Stock
Penguin Stamp
Hybrid Black Ink
Copic Markers
White Iridescent Glitter
Snowflake Shaker Fill
Black waterbased Marker
Thanks for stopping by today!
If you would like to see this post and more of my work, please visit my blog:

