Robyn Coburn, guest designer, with some luxurious looking party favors made from the most work-a-day item, TP rolls.
I have an annual Oscar party and I like to gift my guests with a party favor to take home. This year I decided to make a simple style of favor, inspired by different places on line. These favors are very sturdy by being made from cardboard tubes. (It is possible to make the rolls themselves from scrapbooking papers, but they are much less strong.)


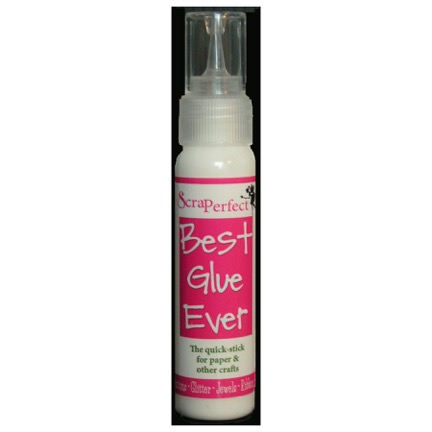
First, having measured my rolls, I cut my glossy paper to size allowing a small overlap at the seam. I put on a few drops of Best Glue Ever, and used my silicon glue spreader (you could use a small spatula or old credit card) to spread it into a thin film along the four edges. Less is more! You definitely do not need to saturate the paper. I let it get a little tacky. Then I carefully lined up the paper to top and bottom edges of the TP rolls, and smoothed the paper on to the rolls.

You know I always like to work in an assembly line fashion when I have a bunch to make. I held the paper for just a moment for the BGE to grab.
Then I used my stapler to close the top of the rolls. I hid the staples under washi tape. I punched a couple of tiny holes at either end of the closed edge and then made a handle out of wire threaded with a few plastic beads in coordinating colors. Then I filled each roll with wrapped candies.
 |
| My bone folder helped to make the shape. |

The next part is what makes the pyramidal shape. Turn the roll 90 degrees to close the other end perpendicular to the first seal. I used more staples and washi tape.

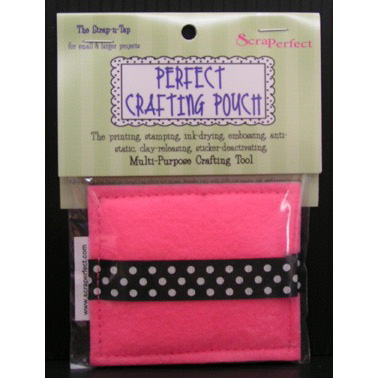
Then the fun embellishing part. I had a bunch of thick paper “sayings” stickers in my stash, but I didn’t want to just stick them on flat, so first I stuck a craft foam shape to the sticker. Then I used the Perfect Crafting Pouch to remove the stickiness left around the borders, and finally put three or four spots of Best Glue Ever on to the foam pad. It is essential to be patient and let the BGE become clear and tacky, or it can soak into the craft foam. (If you use cardboard or this purpose you won’t need to wait as long.) But once it is clear it holds like crazy!
I also adhered some “Admit One” raffle style tickets to add to the visual appeal.