Hello there creatives!
Welcome to the ScraPerfect blog.
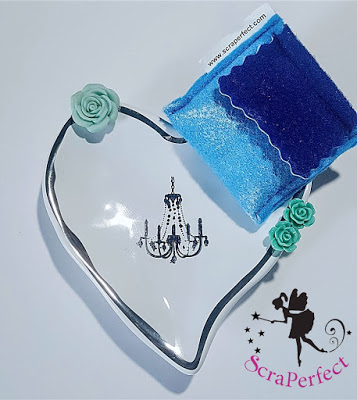
Michelle here today to share re-hab
project for a small damaged dish, to serve as a ring/jewelry dish,
soap dish, or even a dish to lay your Perfect Crafting Pouch on!
(Thank you Kim Lippincott for inspiring this idea!)

The month of March, the ScraPerfect Design Team is sharing how to make embellishments using products from ScraPerfect.
I wanted to share how AMAZINGLY embellishments work using the ScraPerfect family of products.
And if these products work this great for pre-made embellishments, imagine the embellishments you can make with these products!
While having a day out with my mom this past weekend, I stumbled across
the perfect size dish to lay on my work table, to lay my Perfect Crafting pouch on when not in use, and for easy access when needed.
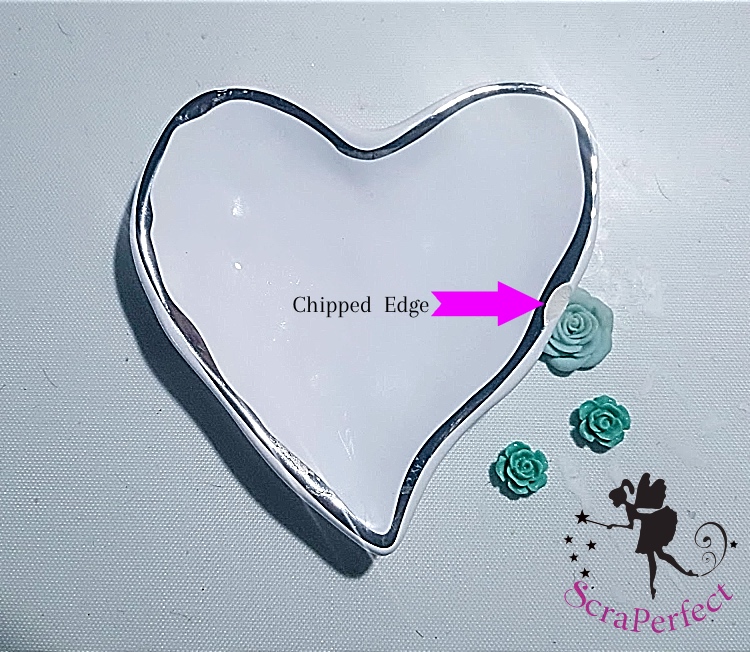
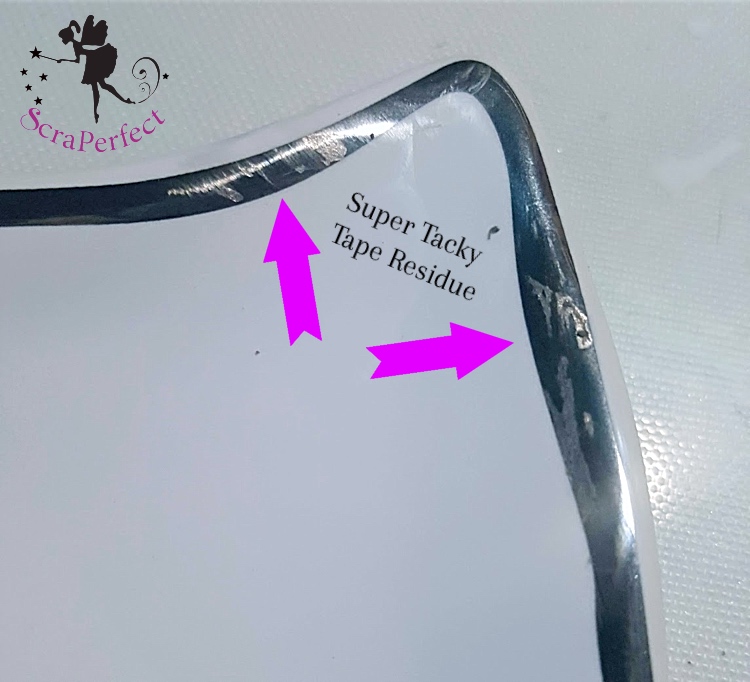
However this dish had a good size chip along the top of one side, but at a price of $.80 how could I go wrong?
As you can see by these pic, “chroming” the damaged edge would most likely cost more than the dish was worth. So instead, I decided to use resin roses to camouflage this rather large “blemish”.

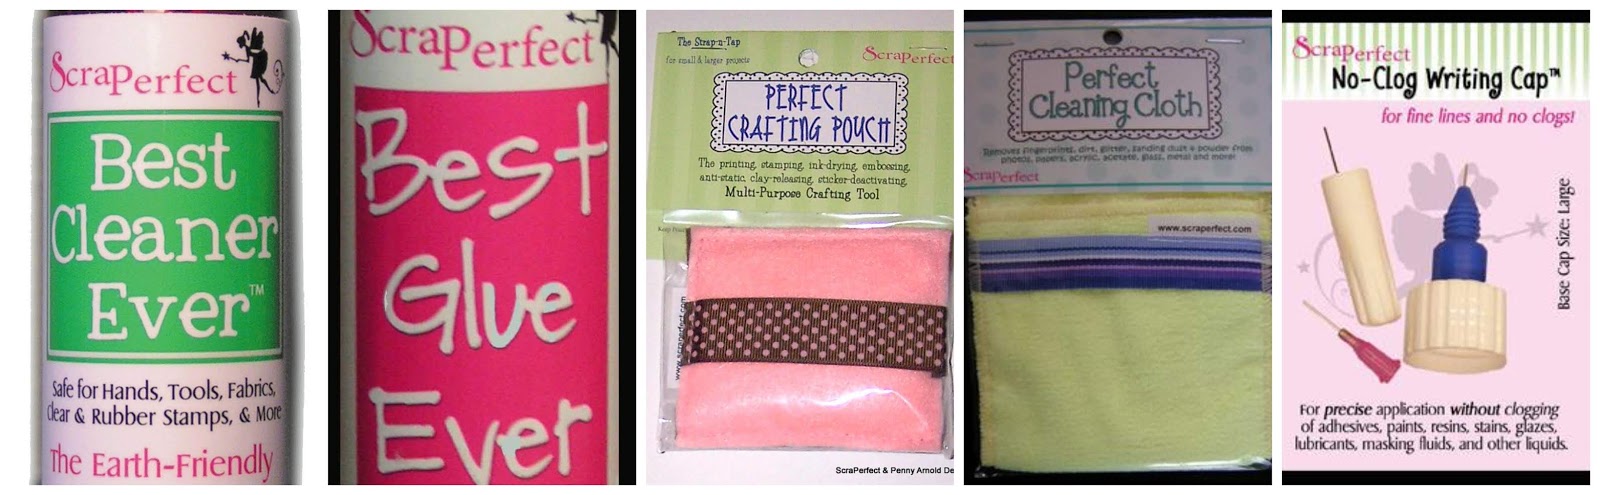
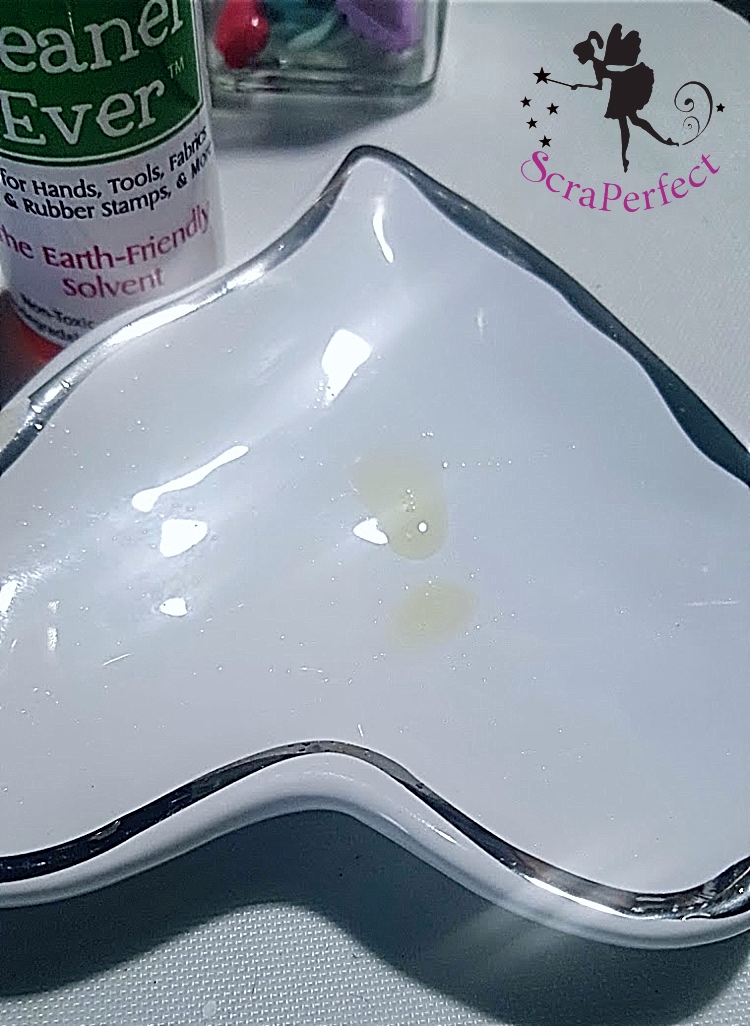
The dish also had layers of price markdown stickers, that left an awful, tacky residue, so the first step was cleaning the dish entirely, using Best Cleaner Ever & the Perfect Cleaning Cloth.

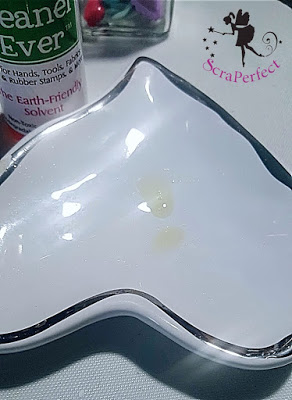

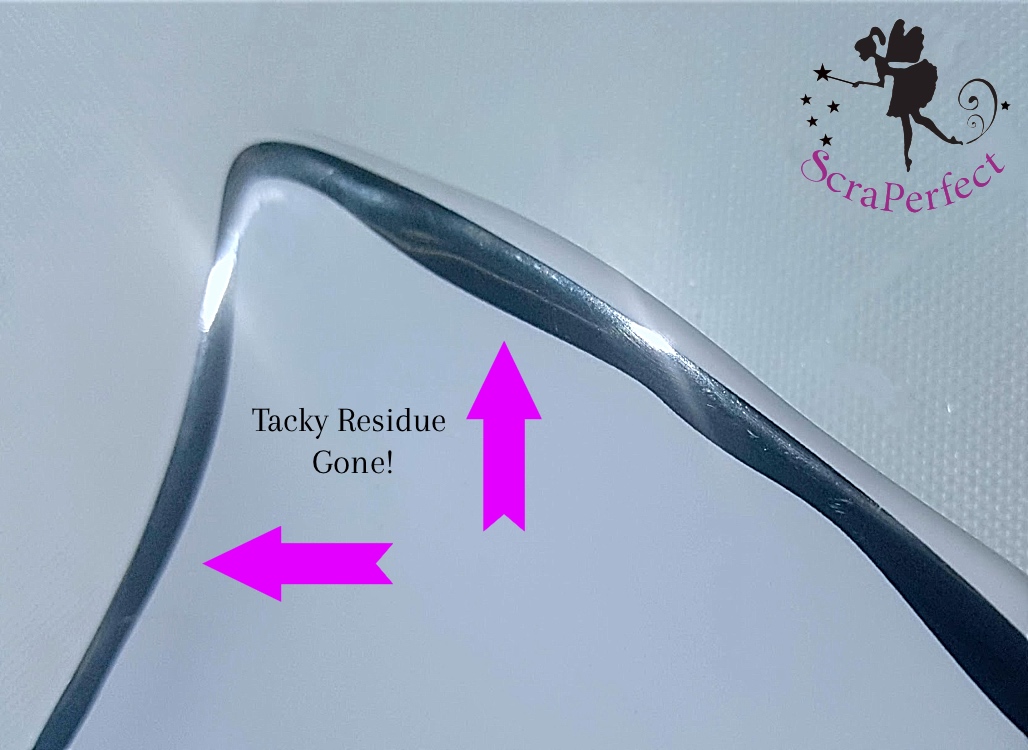
After spraying only a couple of dollops of Best Cleaner Ever, I used my fingers to work it over the front, and the back of the dish. Set it aside about 5 minutes, then used a paper towel to wipe away the cleaner and tacky residue, and used
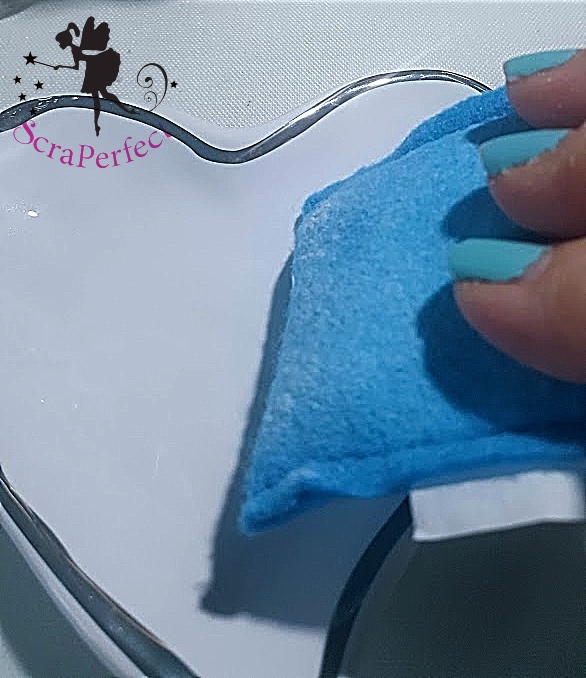
the Perfect Cleaning Cloth to remove any cleaner that may have been left over.
I decided that I wanted to decorate the center of the dish, so I pulled out my Perfect Crafting pouch, lightly tapped it on the center surface of the dish, and a miniature chandelier stamp from my stash.
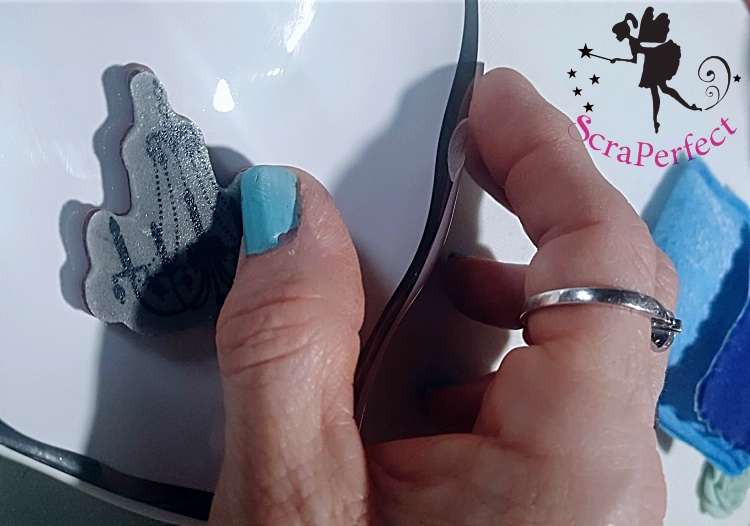
Using a archival black ink, I stamped the image, and used a heat tool to set the ink.
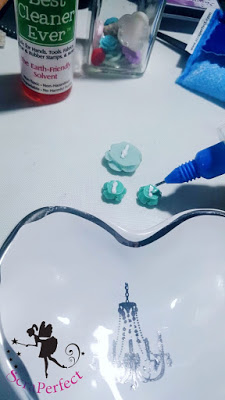
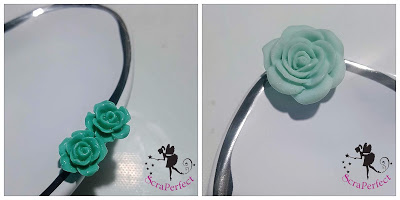
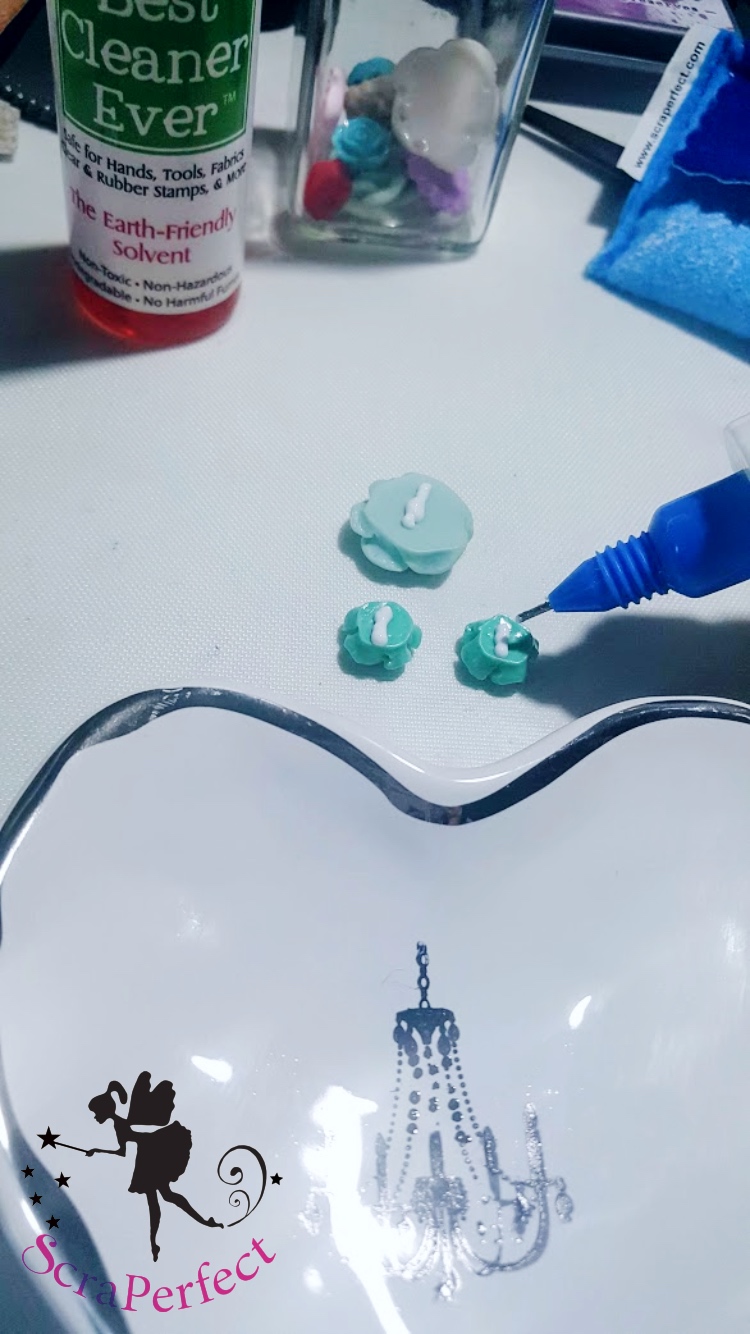
To finish the dish, I glued the mini resin roses to the chipped area of the dish, using the Best Glue Ever and No-Clog Writing Cap together, and added a larger resin rose to the opposite top side as well.

To further secure the roses, I waited 24 hours, then turned the dish upside down, and added more glue to the area of the roses closest to the adhering point from the day before, and allowed it to cure also for 24 hours.
And VOILA! I now have a “perfect” decorated dish to use for my
Perfect Crafting Pouch!
For the entire ScraPerfect line of products I used in making this ugly duckling dish into something beautiful, please visit ScraPerfect at:

To find more inspiration, follow this blog, or visit ScraPerfect on Facebook, Twitter & Instagram.
Thanks so much for visiting today, until next time………
Live Creatively!