
 |
| Notecard, stamped and die cut. |
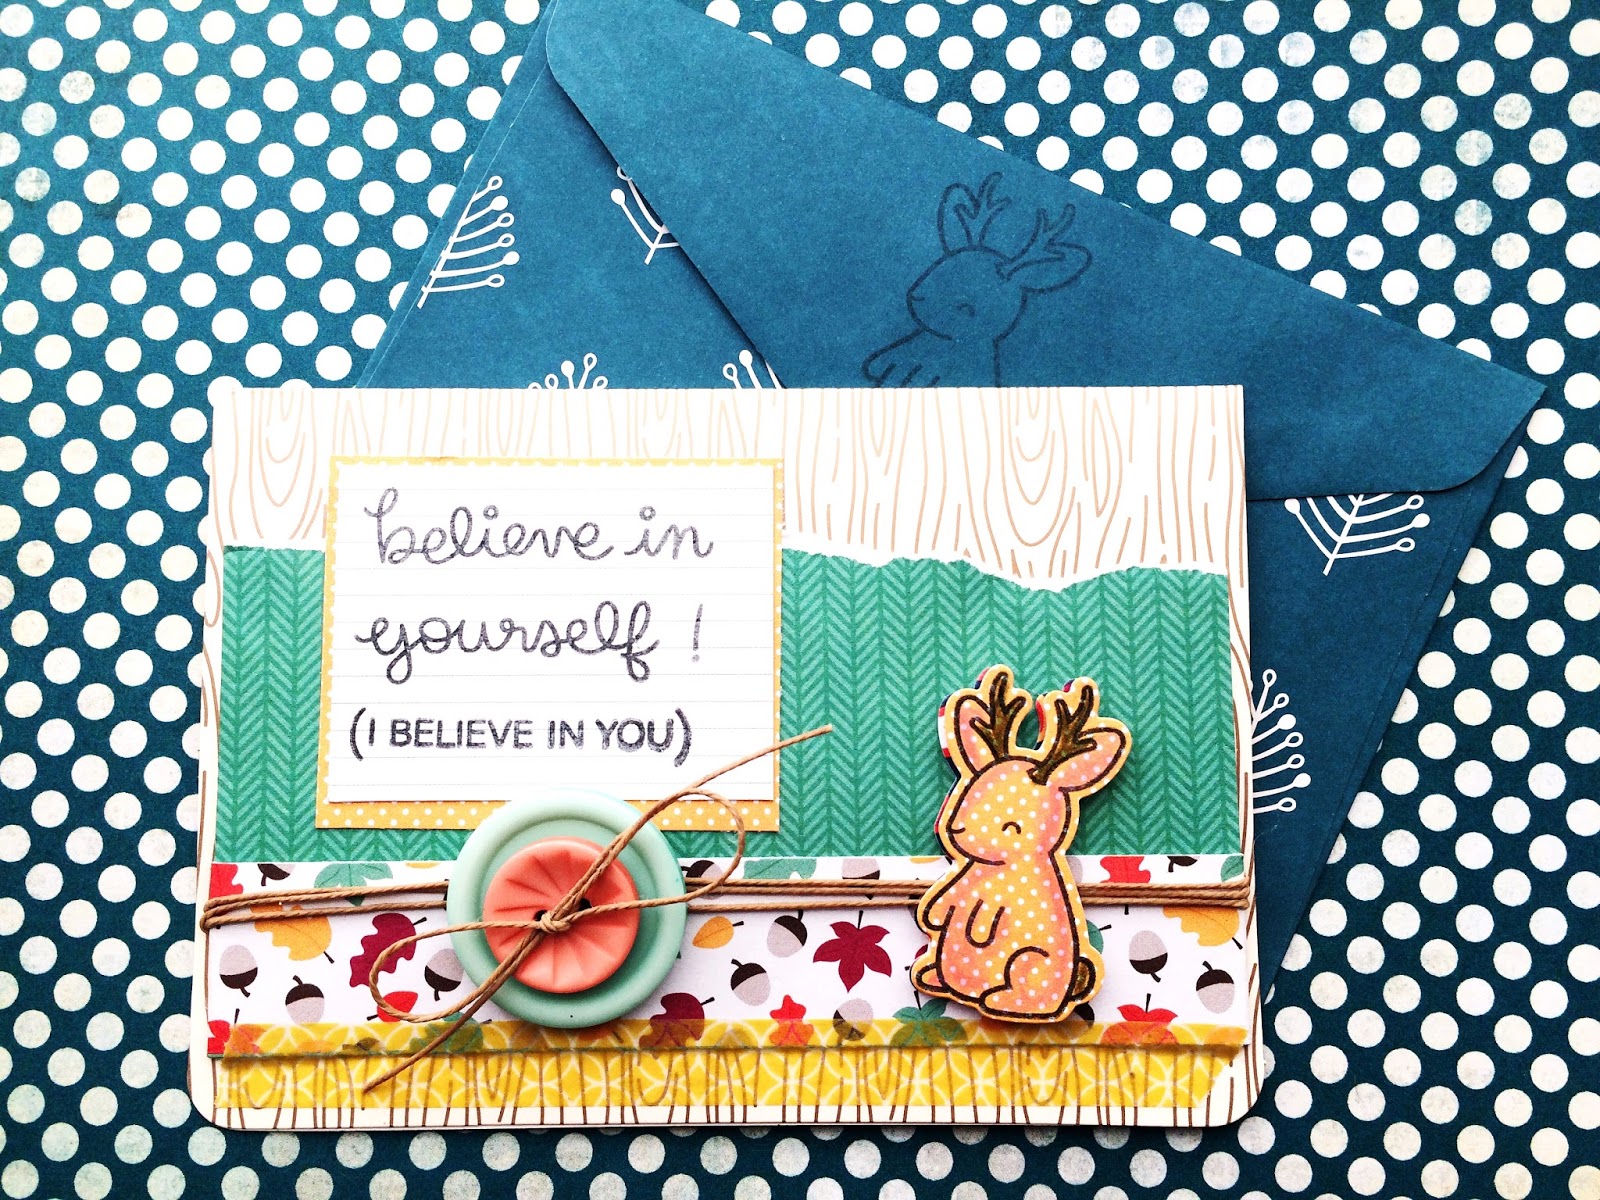
Hi, Robyn Coburn here with another guest design post using my sweet Lawn Fawn set, “Believe in Yourself” and the Sweater Weather mini Paper Pack. I’ve made an embellished note card to send to my dear stepfather, who is battling cancer like a champ and has already confounded his doctors by outliving all projections. He loves cute critters.
As the base card, I had a pack of unbranded note cards with a woodgrain print. You can get similar cards from Lawn Fawn. Other elements are Color Box inks, washi tape, colored pencils, some buttons from my stash along with some waxed thread and scraps of craft foam as risers. Tools were Best Glue Ever, Cuttlebug, Embellie Gellie to help place elements, my Tiny Attacher just for the thread, my Westcott paper cutter, and of course Best Cleaner Ever and Perfect Cleaning Cloth to clean the stamps.

I die cut a jackalope in one of the dark papers for a shadow. I stamped the critter in black ink on the tiny polka dot yellow paper and then ran it through with the die. I used colored pencils to give it some dimension and colored in the wee horns. I attached the image to the shadow with the craft foam risers and just a few tiny spots of Best Glue Ever, letting it get a bit tacky for about a minute.
For the background I cut a strip of the leaf and acorn design – I love the scale of the mini papers prints. Then I trimmed and tore the green, keeping it slightly narrower than my card width. Even the monochromes have a bit of texture in the print. I wrapped my strip around the green, securing with BGE. I attached the bunny, then I fed the waxed thread several times through the gap between the foam bits. I secured the thread with the tiny attacher, then stacked two coordinating vintage look buttons over the staple and tied a bow. I glued the whole shebang to the front of the card and added a strip of washi tape as a trim.
* Full disclosure, I was intending to just use the washi tape to hold the piece down until the glue grabbed, as I knew it would even though the back of the piece was uneven with string and layers. But then I liked the look of it, so I left it there.
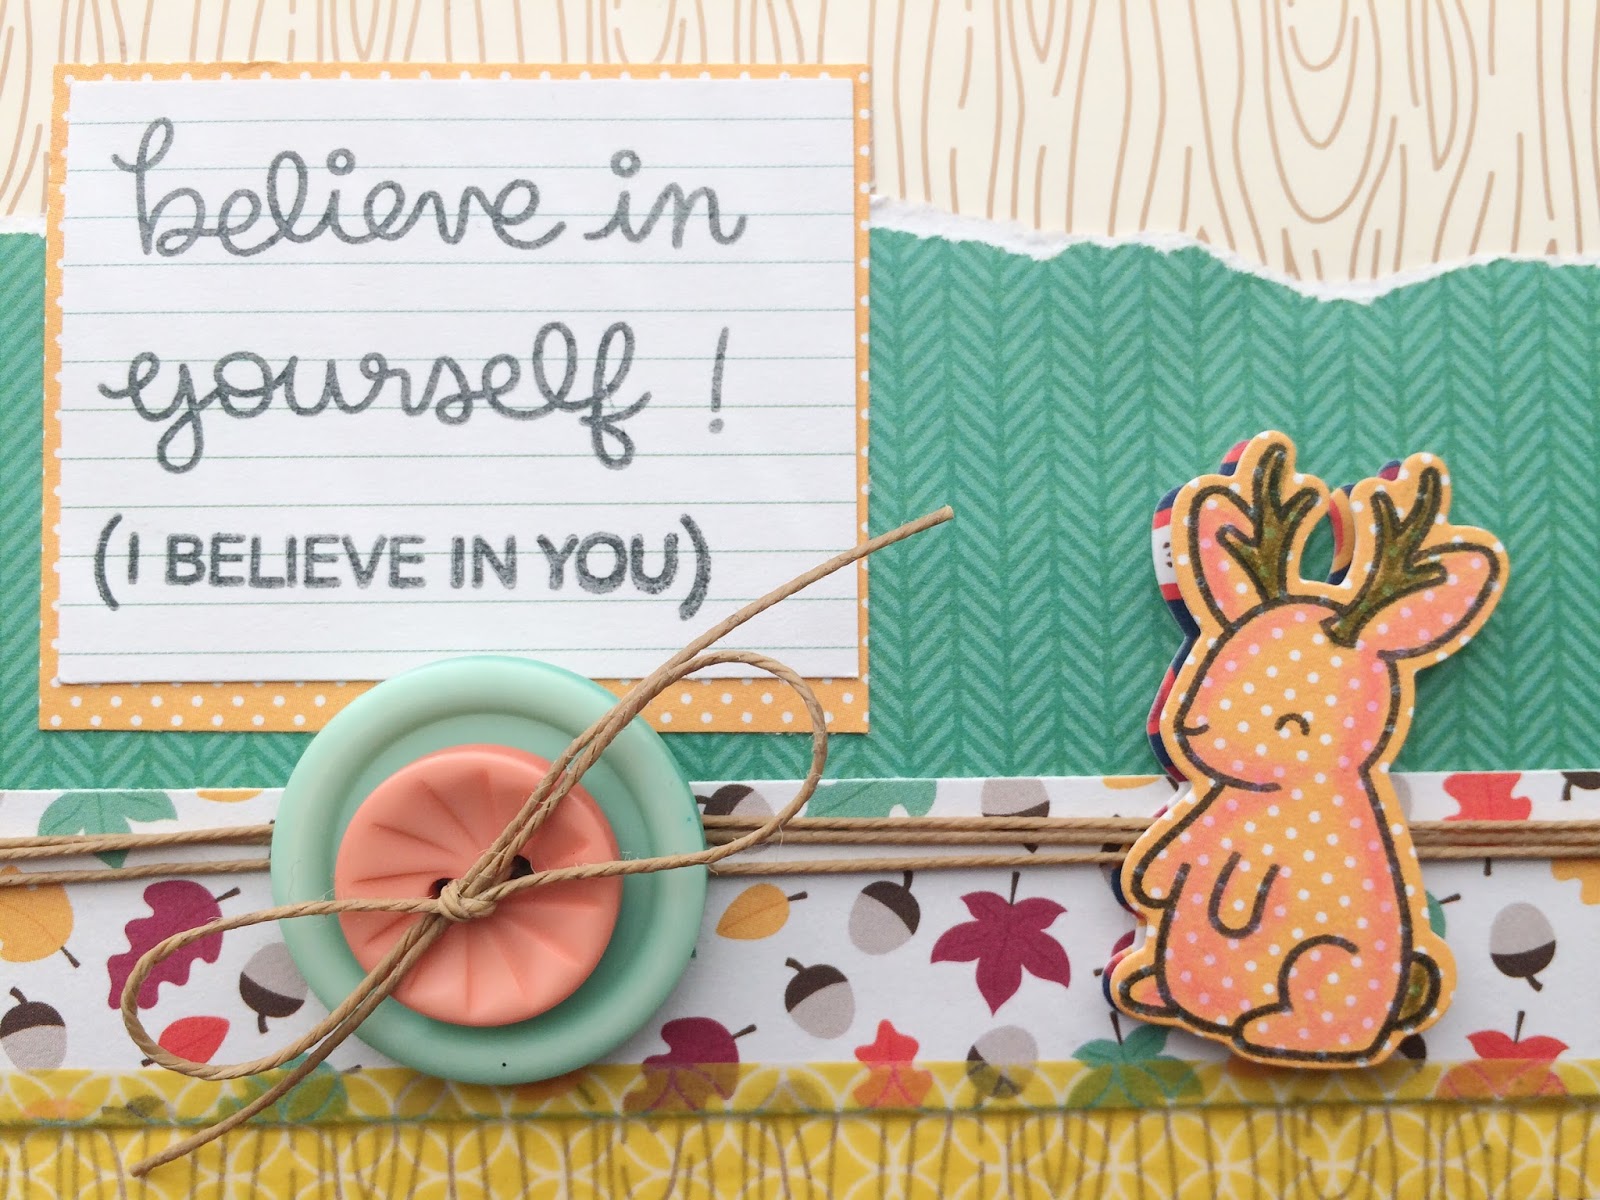
I stamped my sentiment on the lined paper, layered it with a trimmed mat of the same polka dot, and glued it in place.
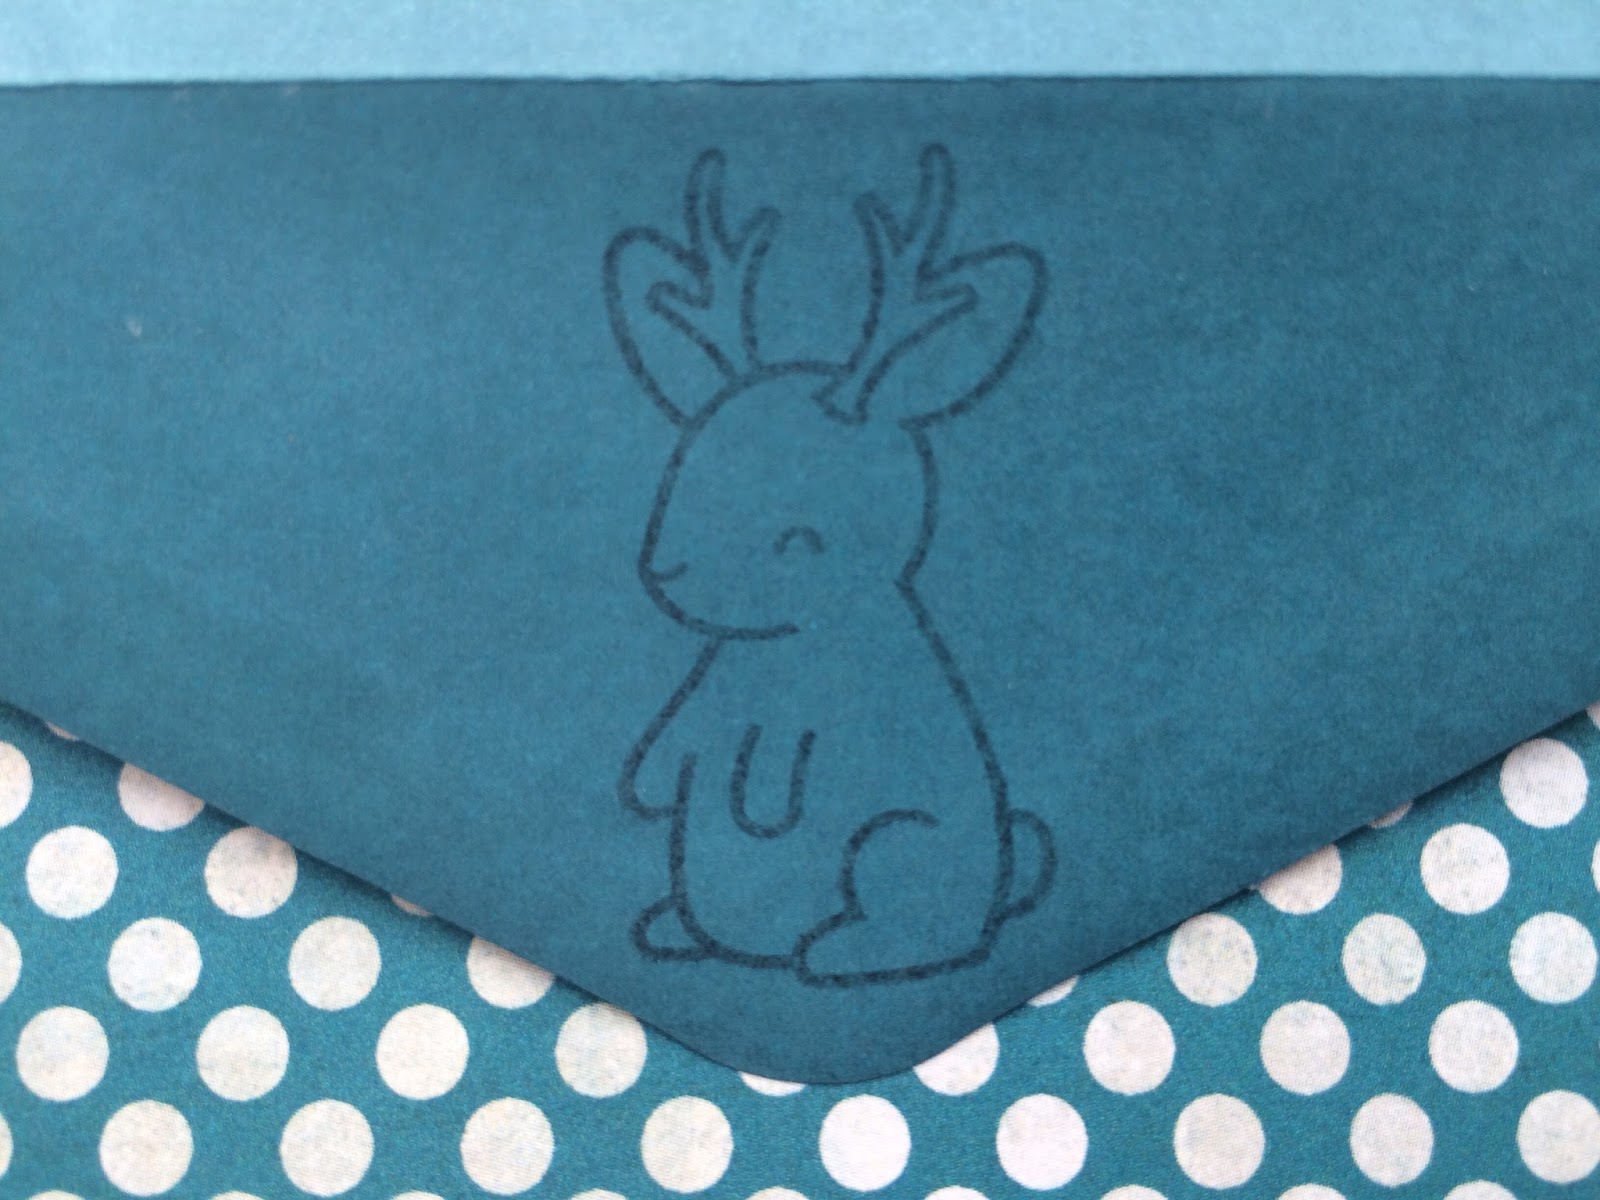
Finally I stamped the jackalope onto the flap of the coordinating envelope that came with the card.
Very simple and quick.
Tip: To save myself some time later, I have stamped and then die cut a bunch of the little guys, and shadows, ready to color with different pencils.
#ScraPerfectGetsDowntoEarth

