
Hello! How are our ScraPerfect Friends? Chelsea here. Today I would like to share with you an adorable Post It Note holder.


Materials Needed :
– Best Glue Ever
– Perfect Crafting Pouch
– Best Cleaner Ever
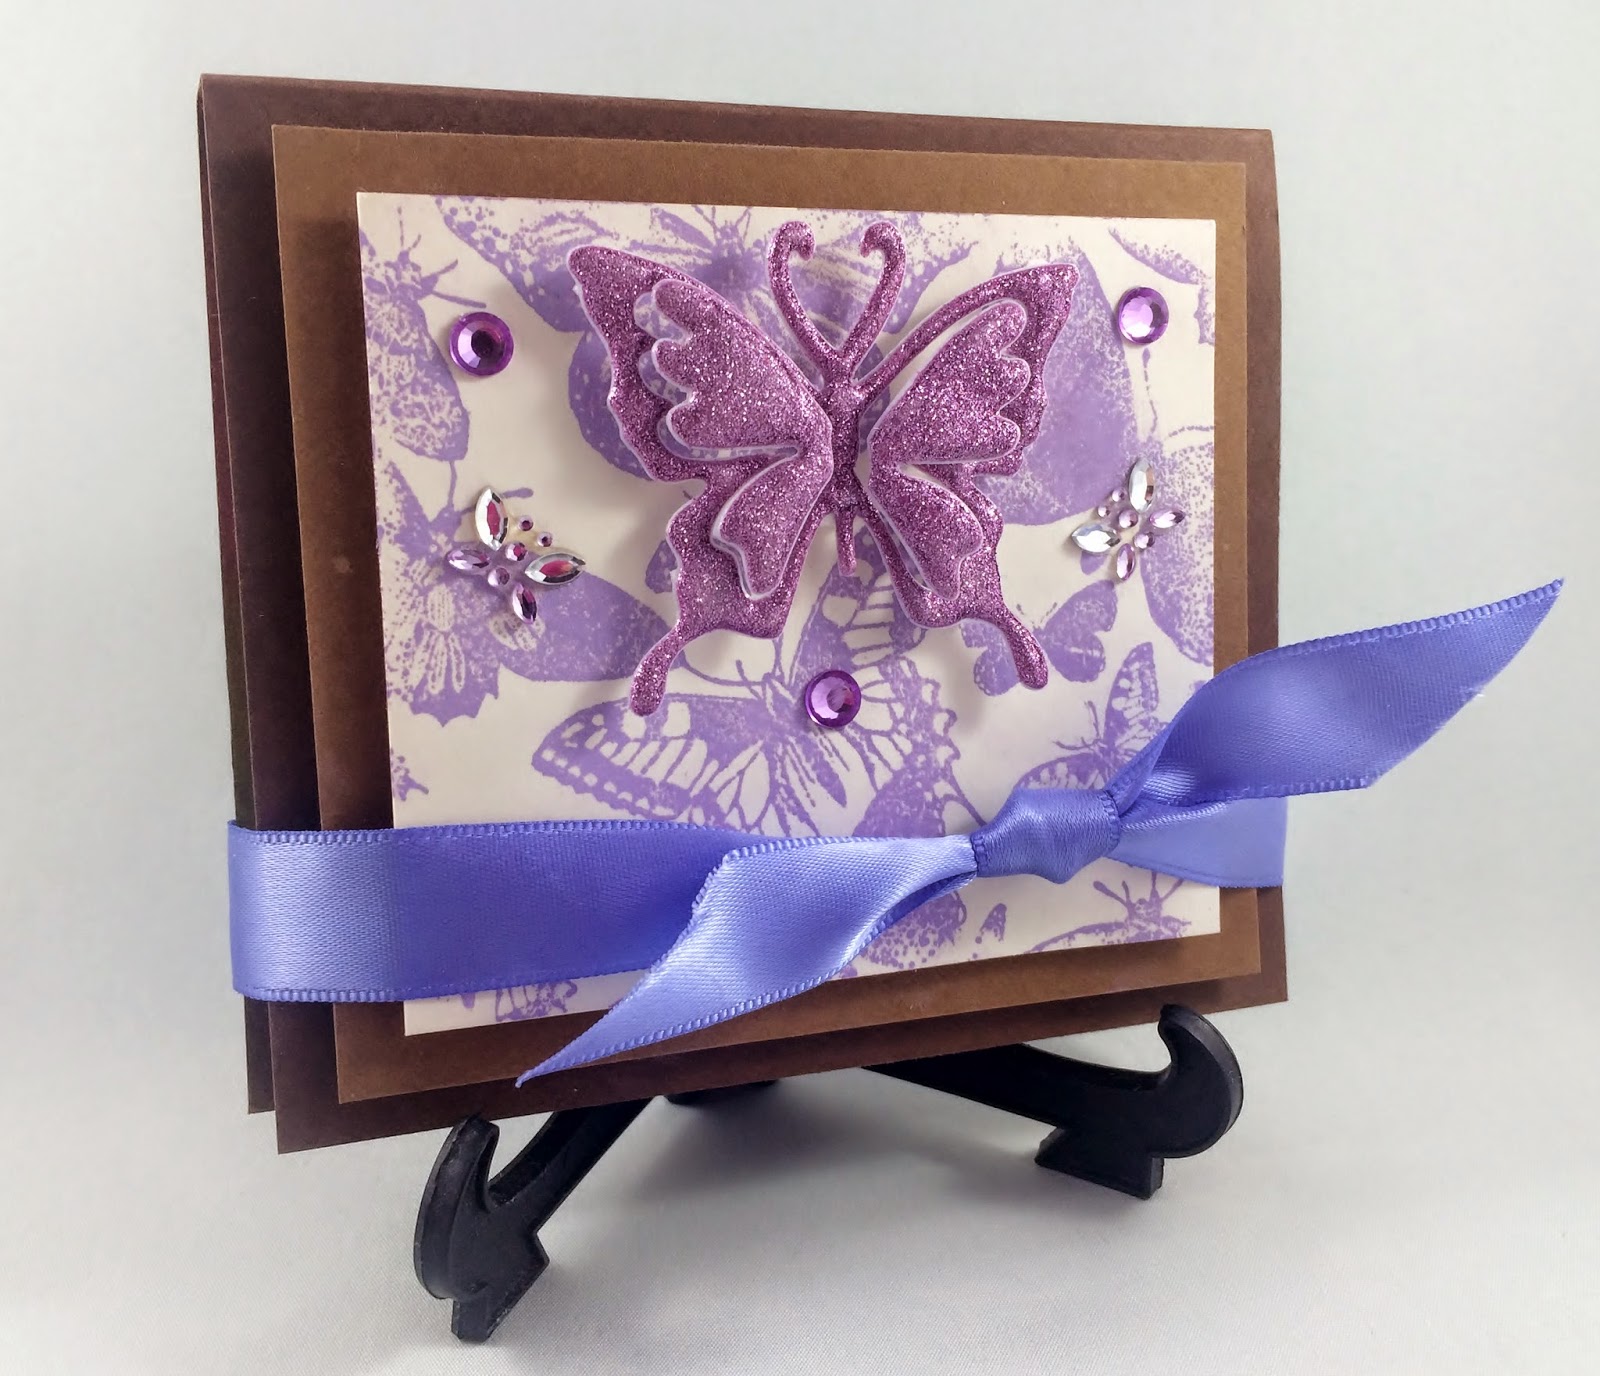
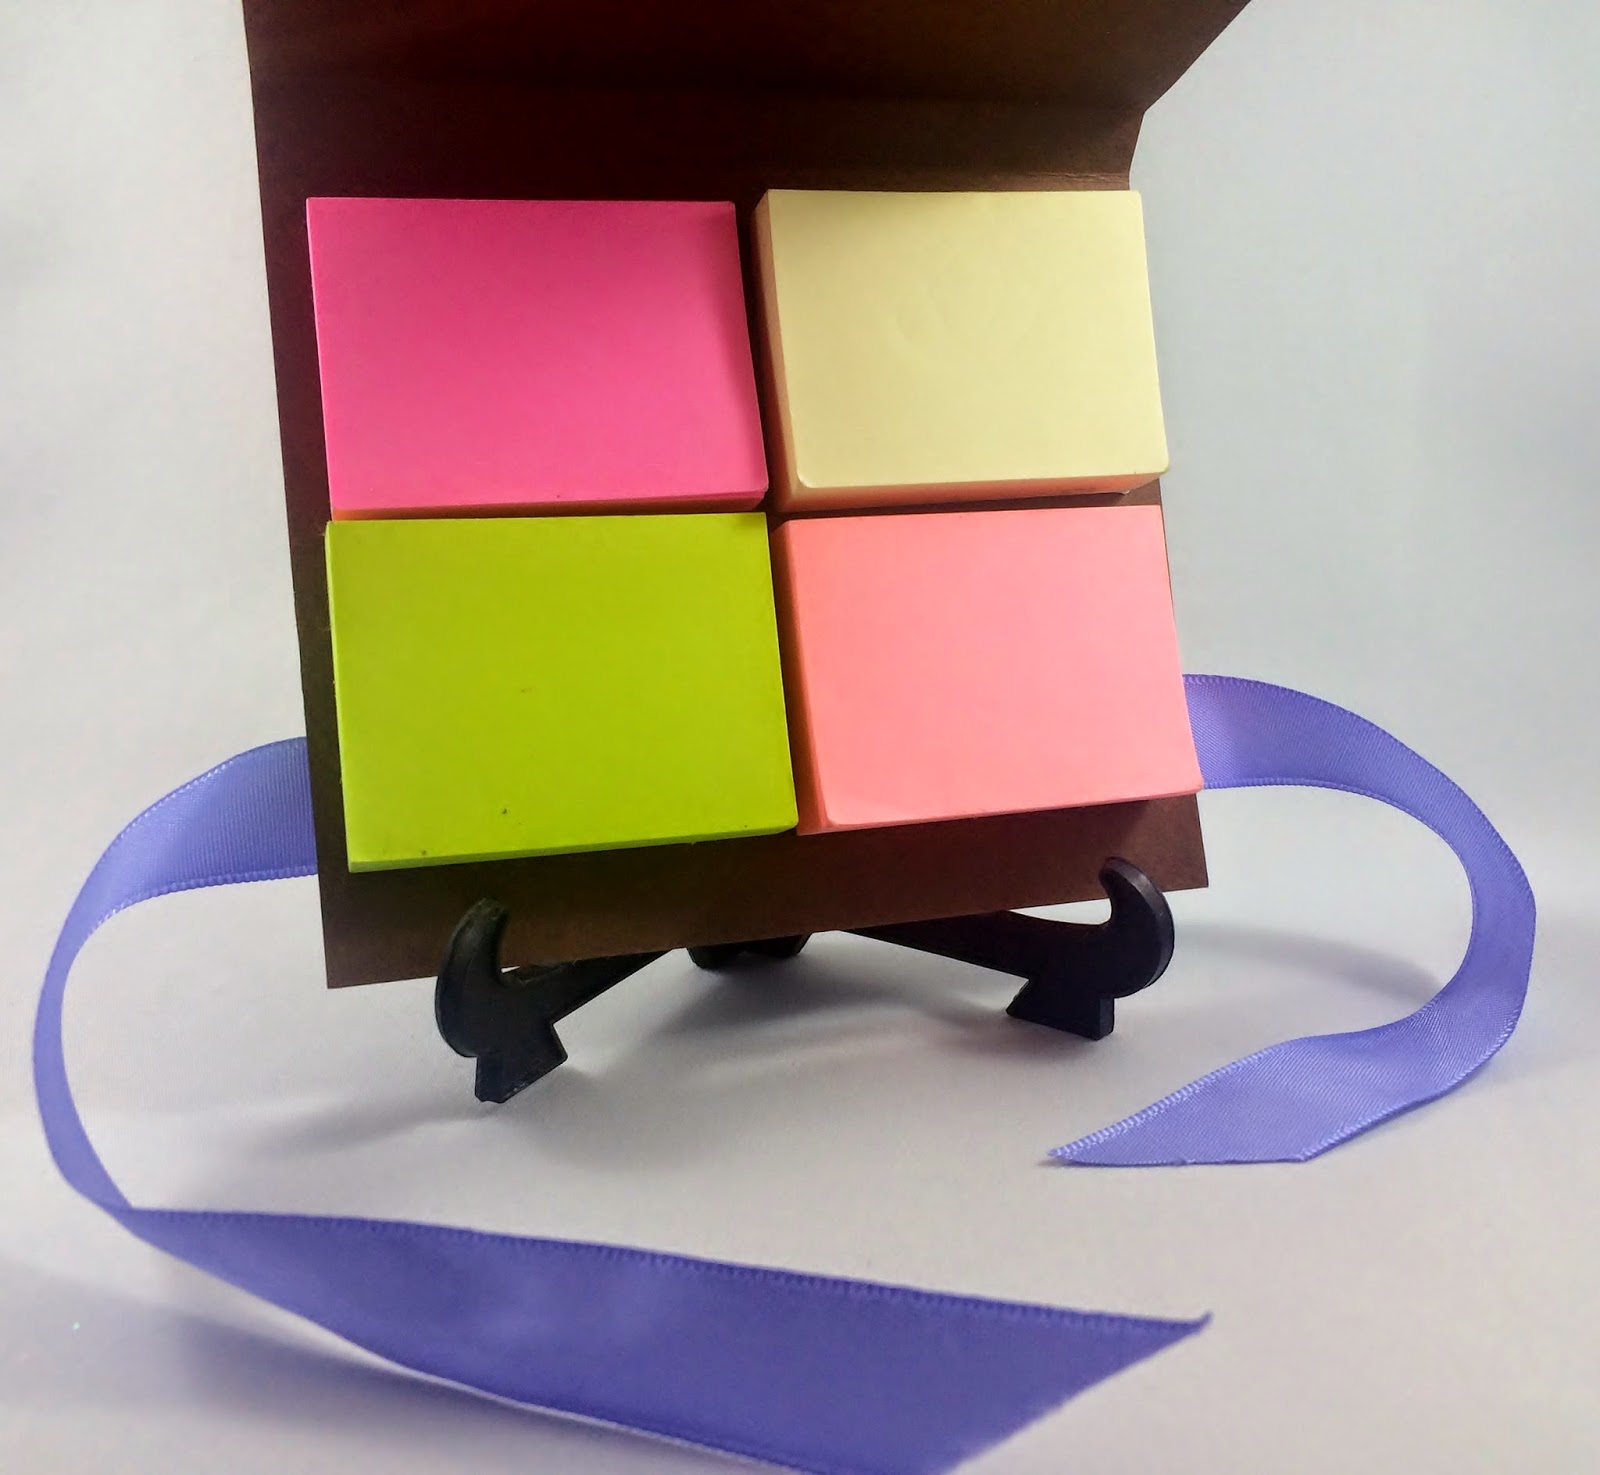
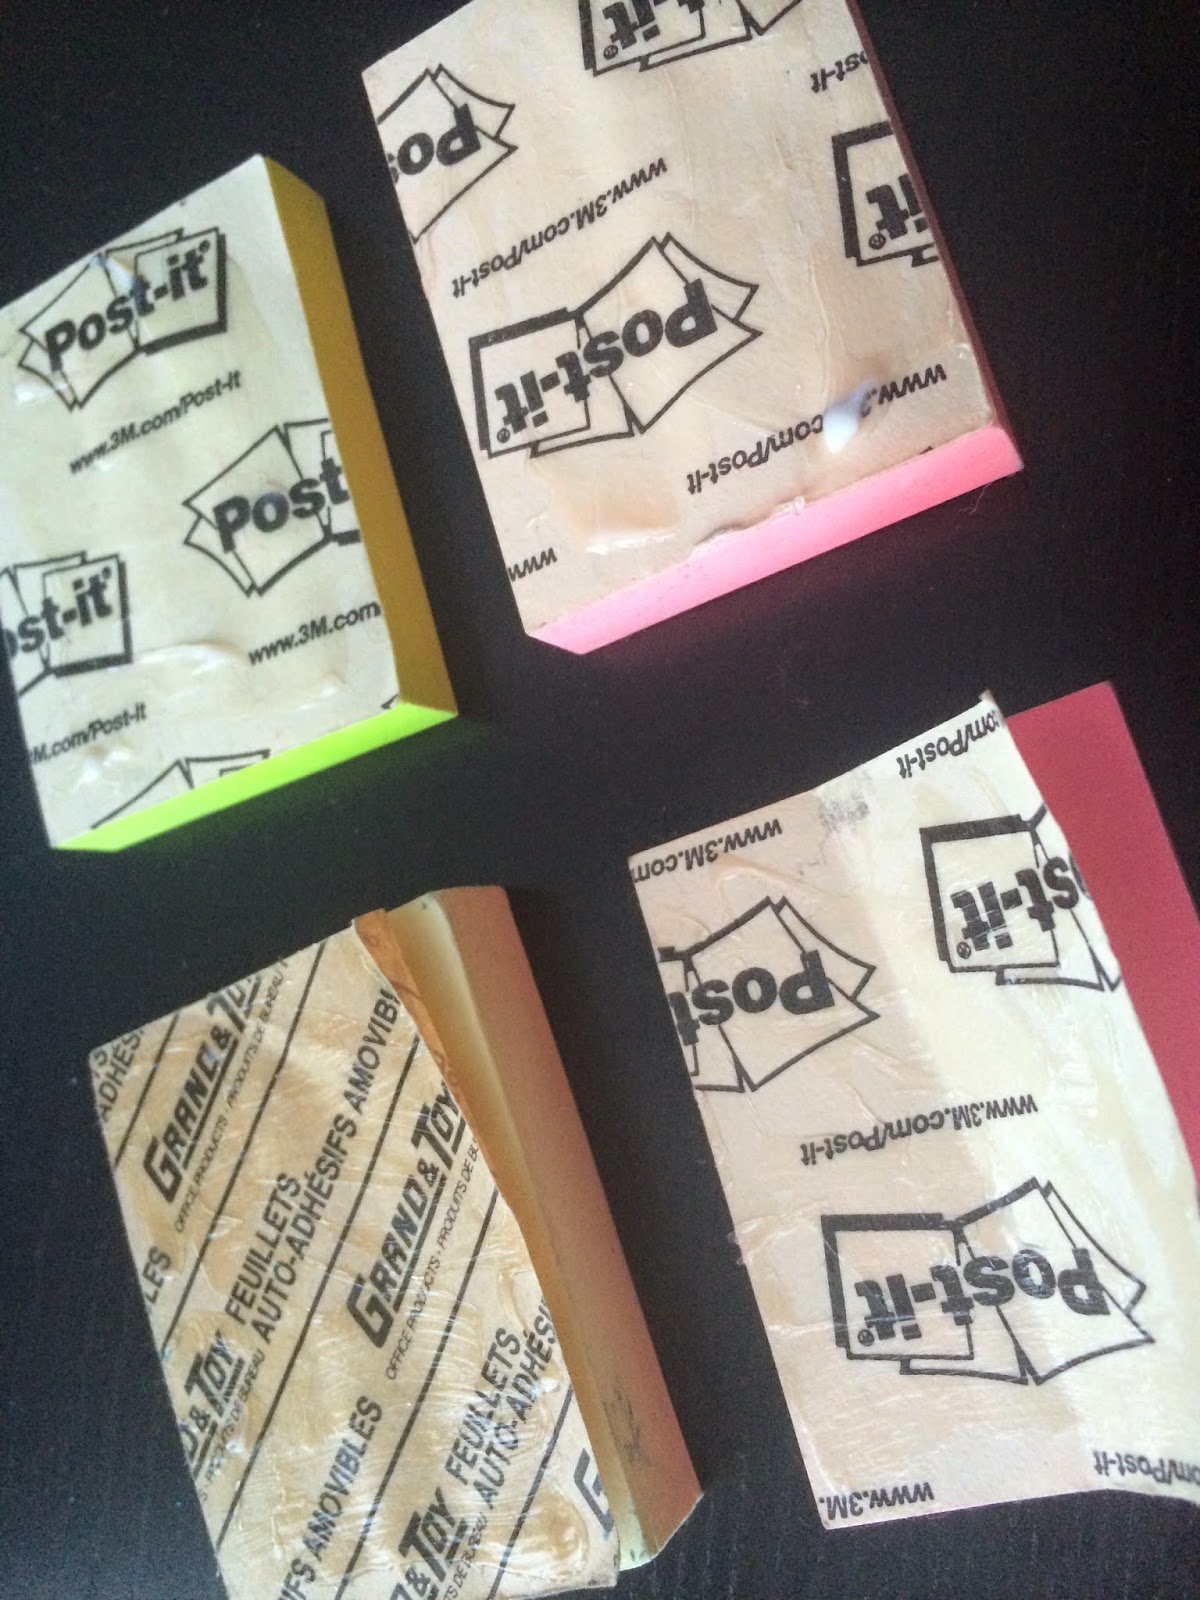
Let me break down some of the elements where I used the ScraPerfect products. To begin, choose which Post It notes you plan to use (4 mini (2 x 1 1/2″ each), or 1 large). I chose to use 4 mini (2 x 1 1/2″ each) Post It notes for my project. My finsihed Post It note holder measures 4 x 4 1/2 x 1/4 “.
I began by preparing my card stock for stamping. No matter which type of paper I use, I always prepare it by applying my Perfect Crafting Pouch. Swipe the Perfect Crafting Pouch over your piece of paper to ensure all stamping will adhere cleanly and also dry instantly.
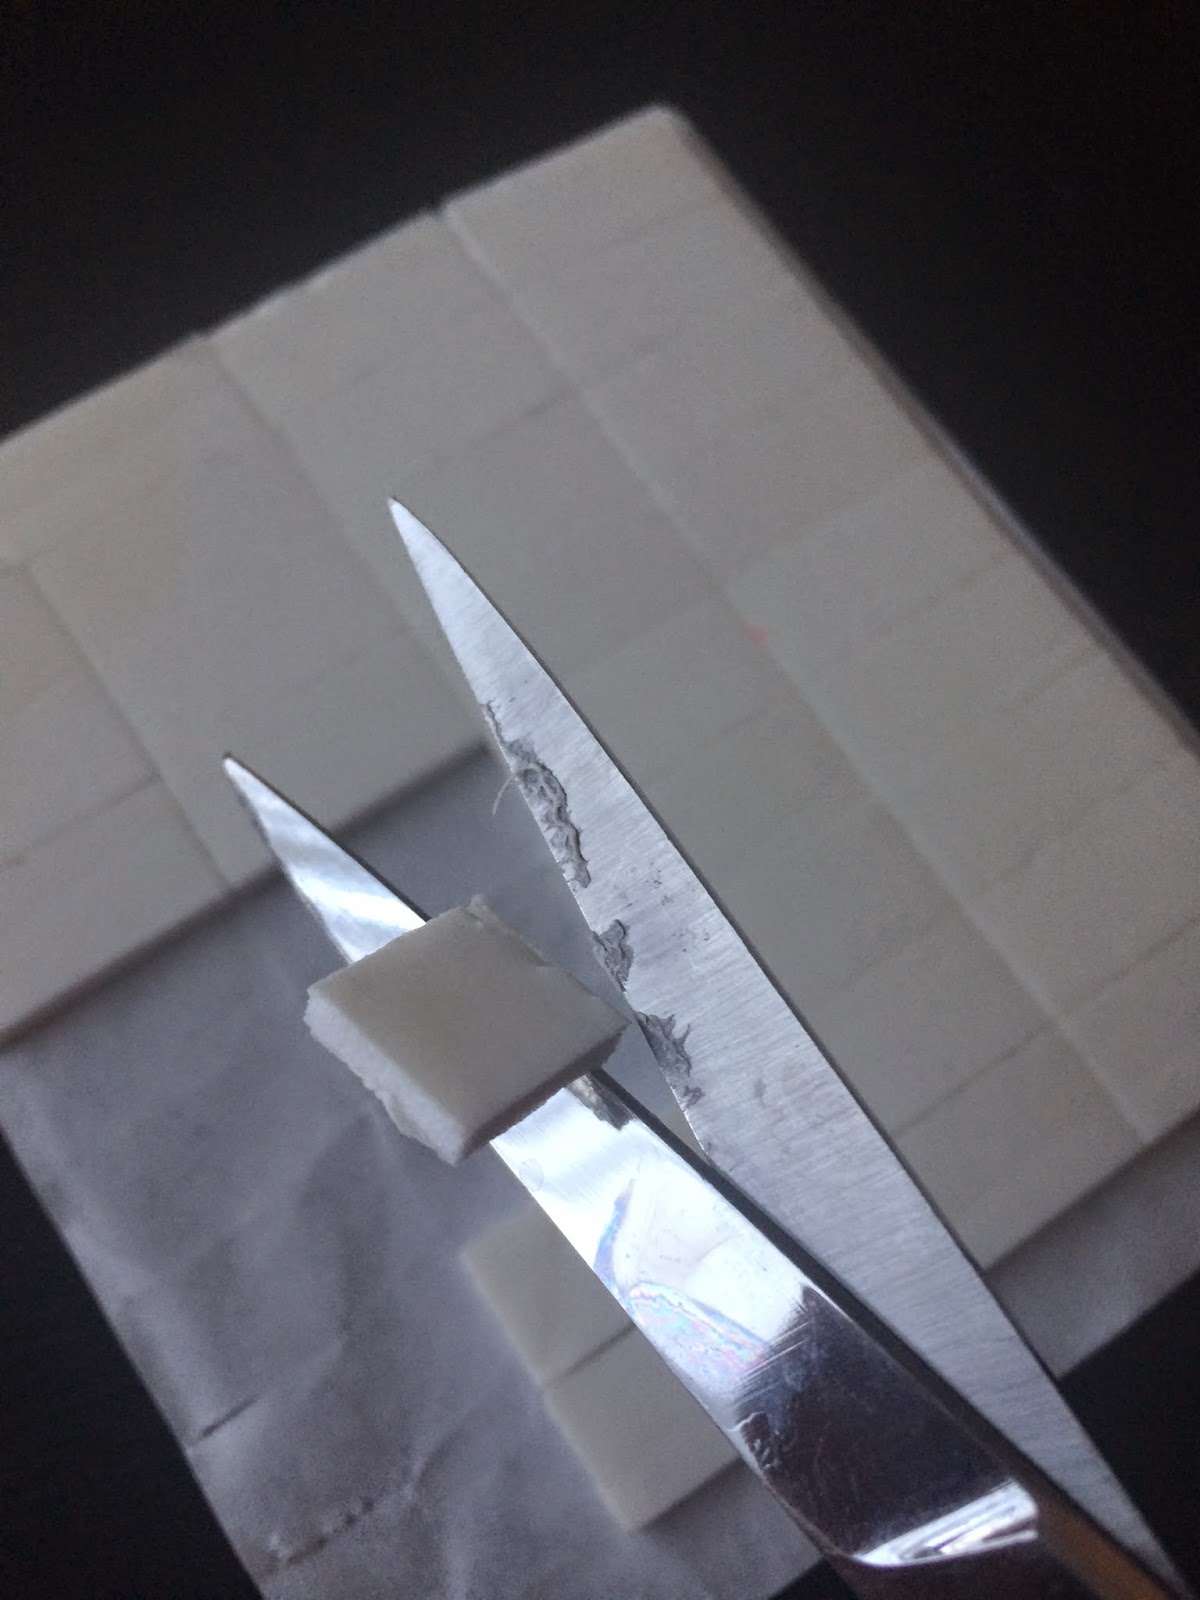
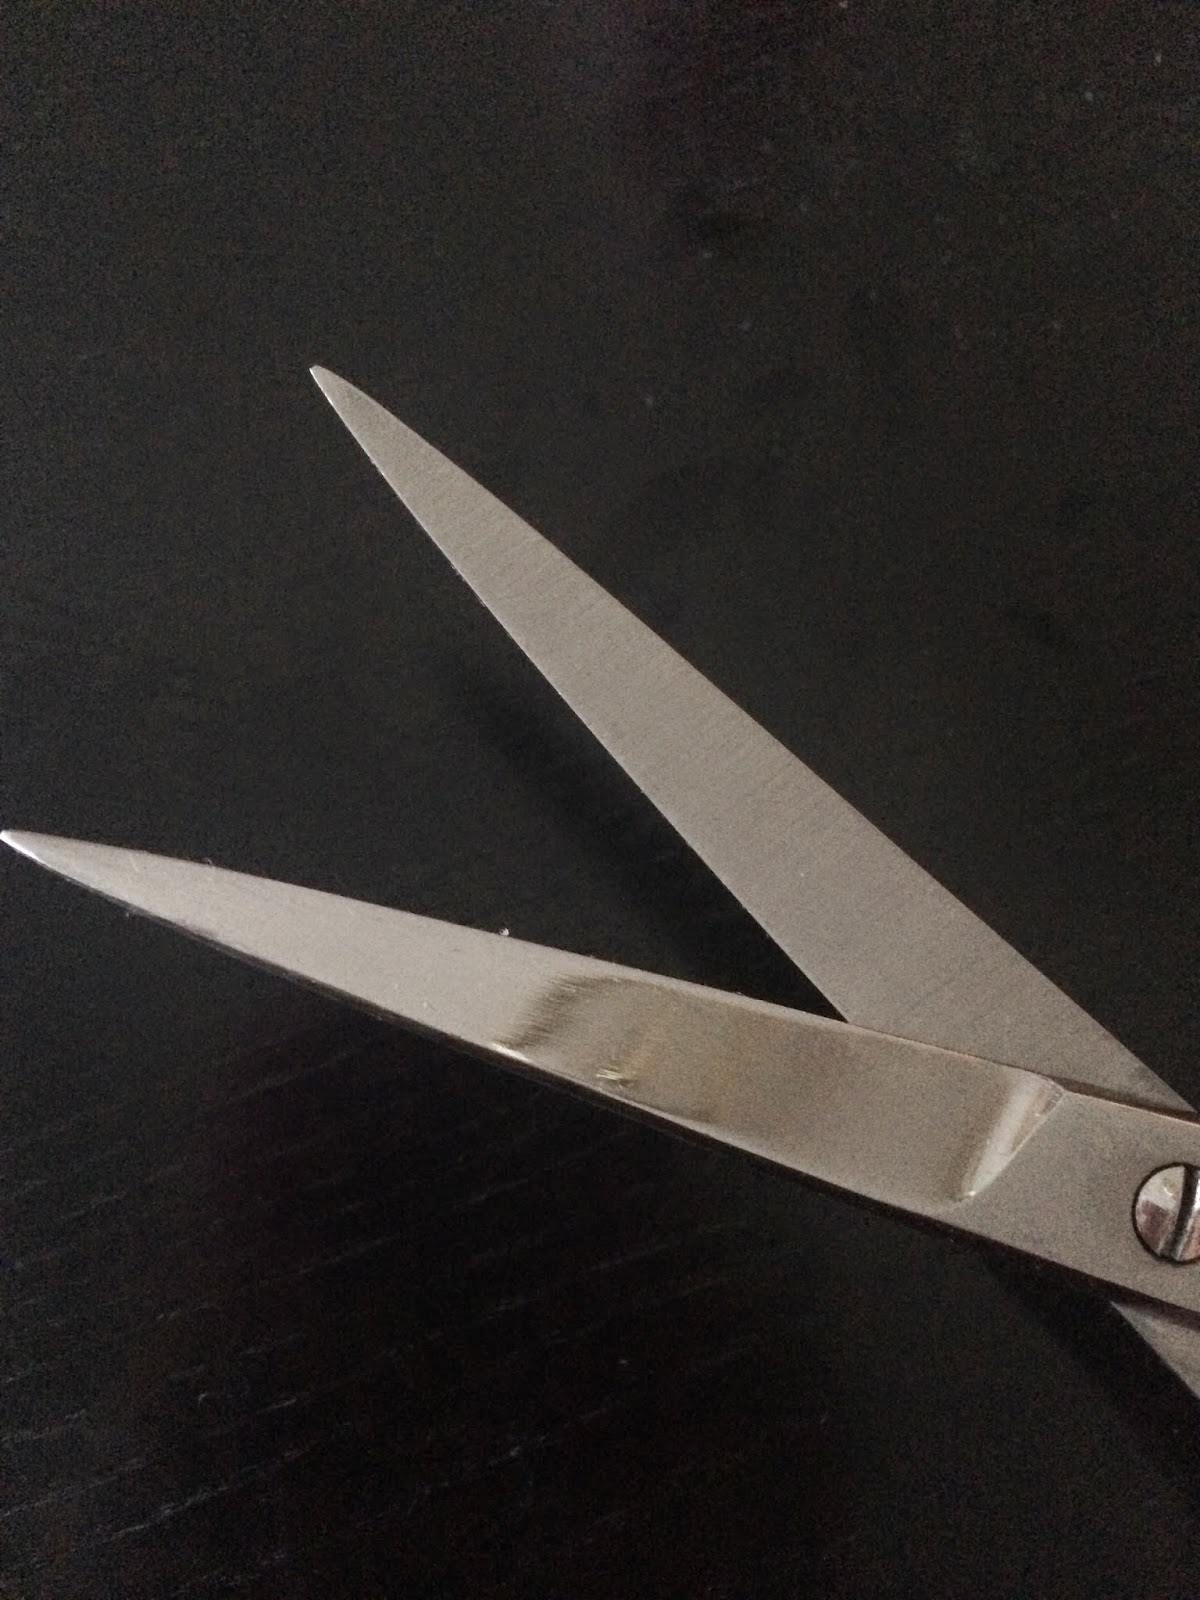
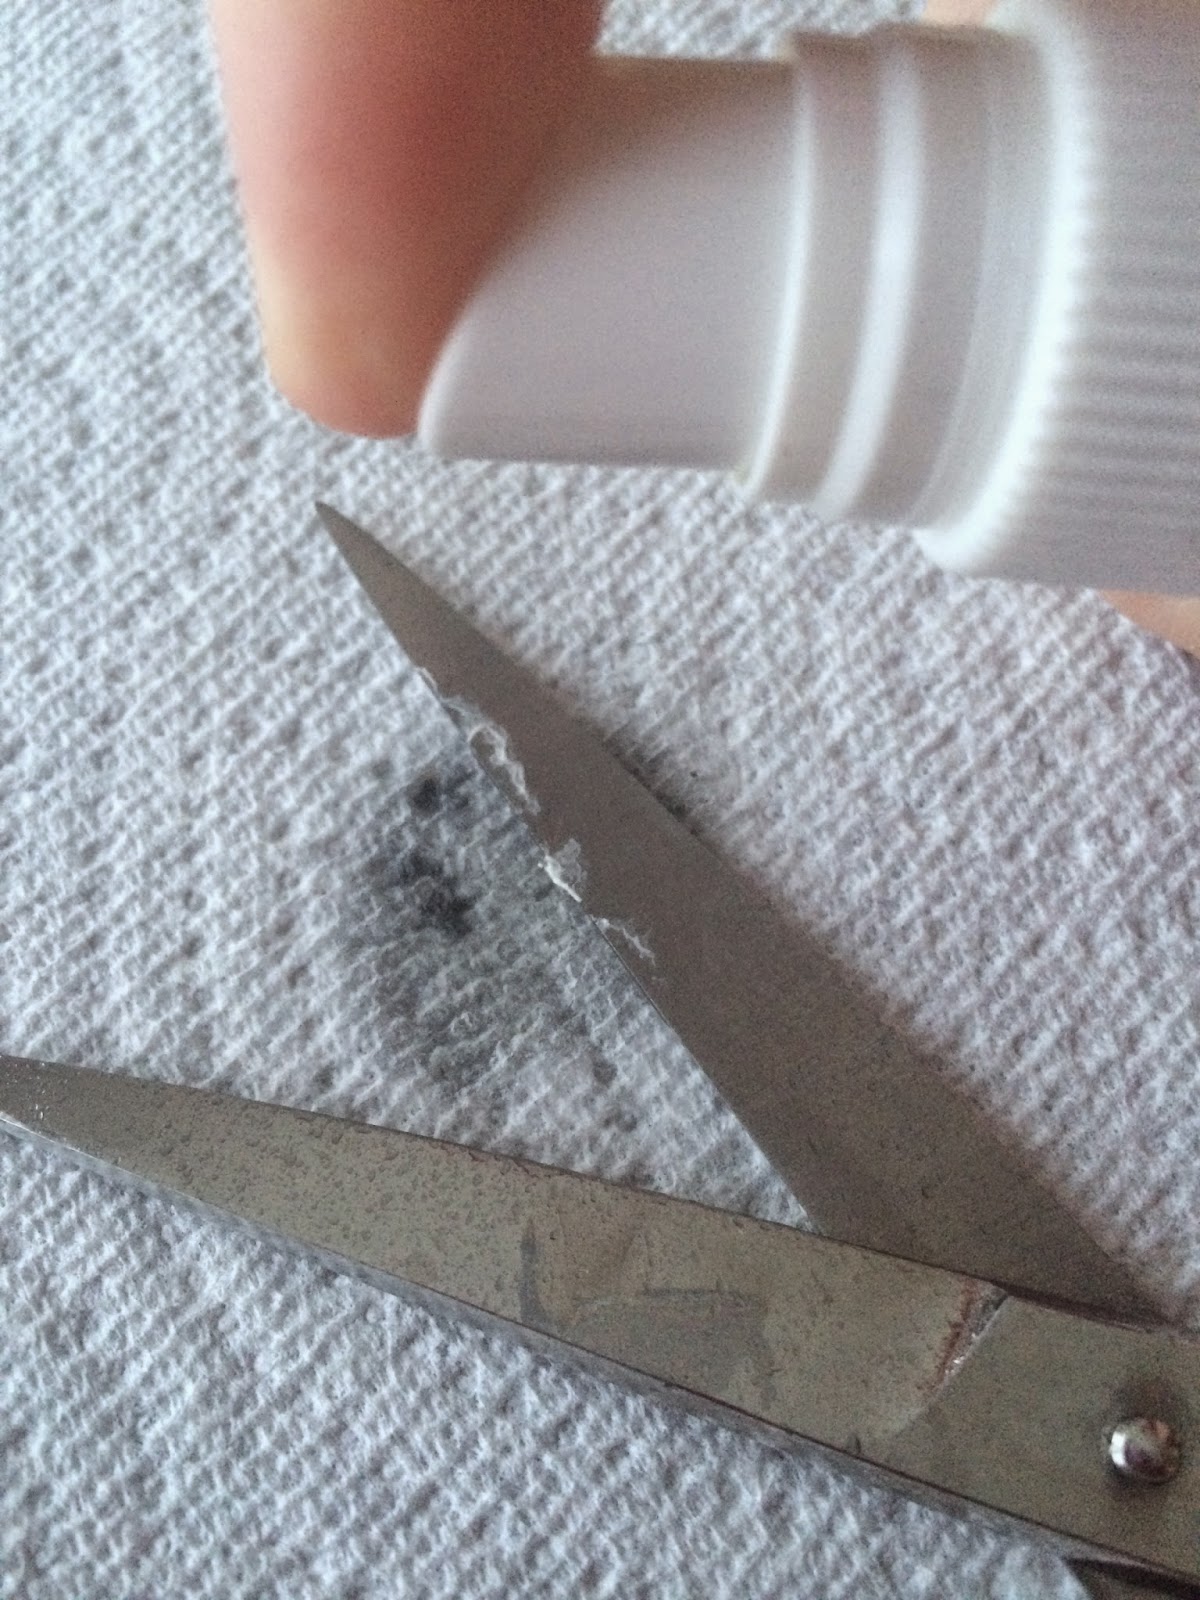
To attach my layers of card stock on the front I used pop squares. Alas, I discovered that as I was cutting through my pop squares my scissors were covered in sticky residue. I sprayed the scissors with Best Cleaner Ever and set them aside for a few (3-4) minutes and then wiped my scissors clean with dry paper towel!


I had some gorgeous butterfly stickers that I thought would match perfectly with the butterfly stamped image that I stamped earlier; but, I wanted to pop the sticker off the page. The Perfect Crafting Pouch can unstick sticky stickers (destickify) – unstick sticky stickers, unstick sticky stickers, unstick sticky stickers – ha ha! Cool eh? All you have to do is brush your Crafting Pouch on the sticky side of the sticker and instantly create a unsticky sticker; embellishment. Now you are able to use pop dots etc for a 3D image.


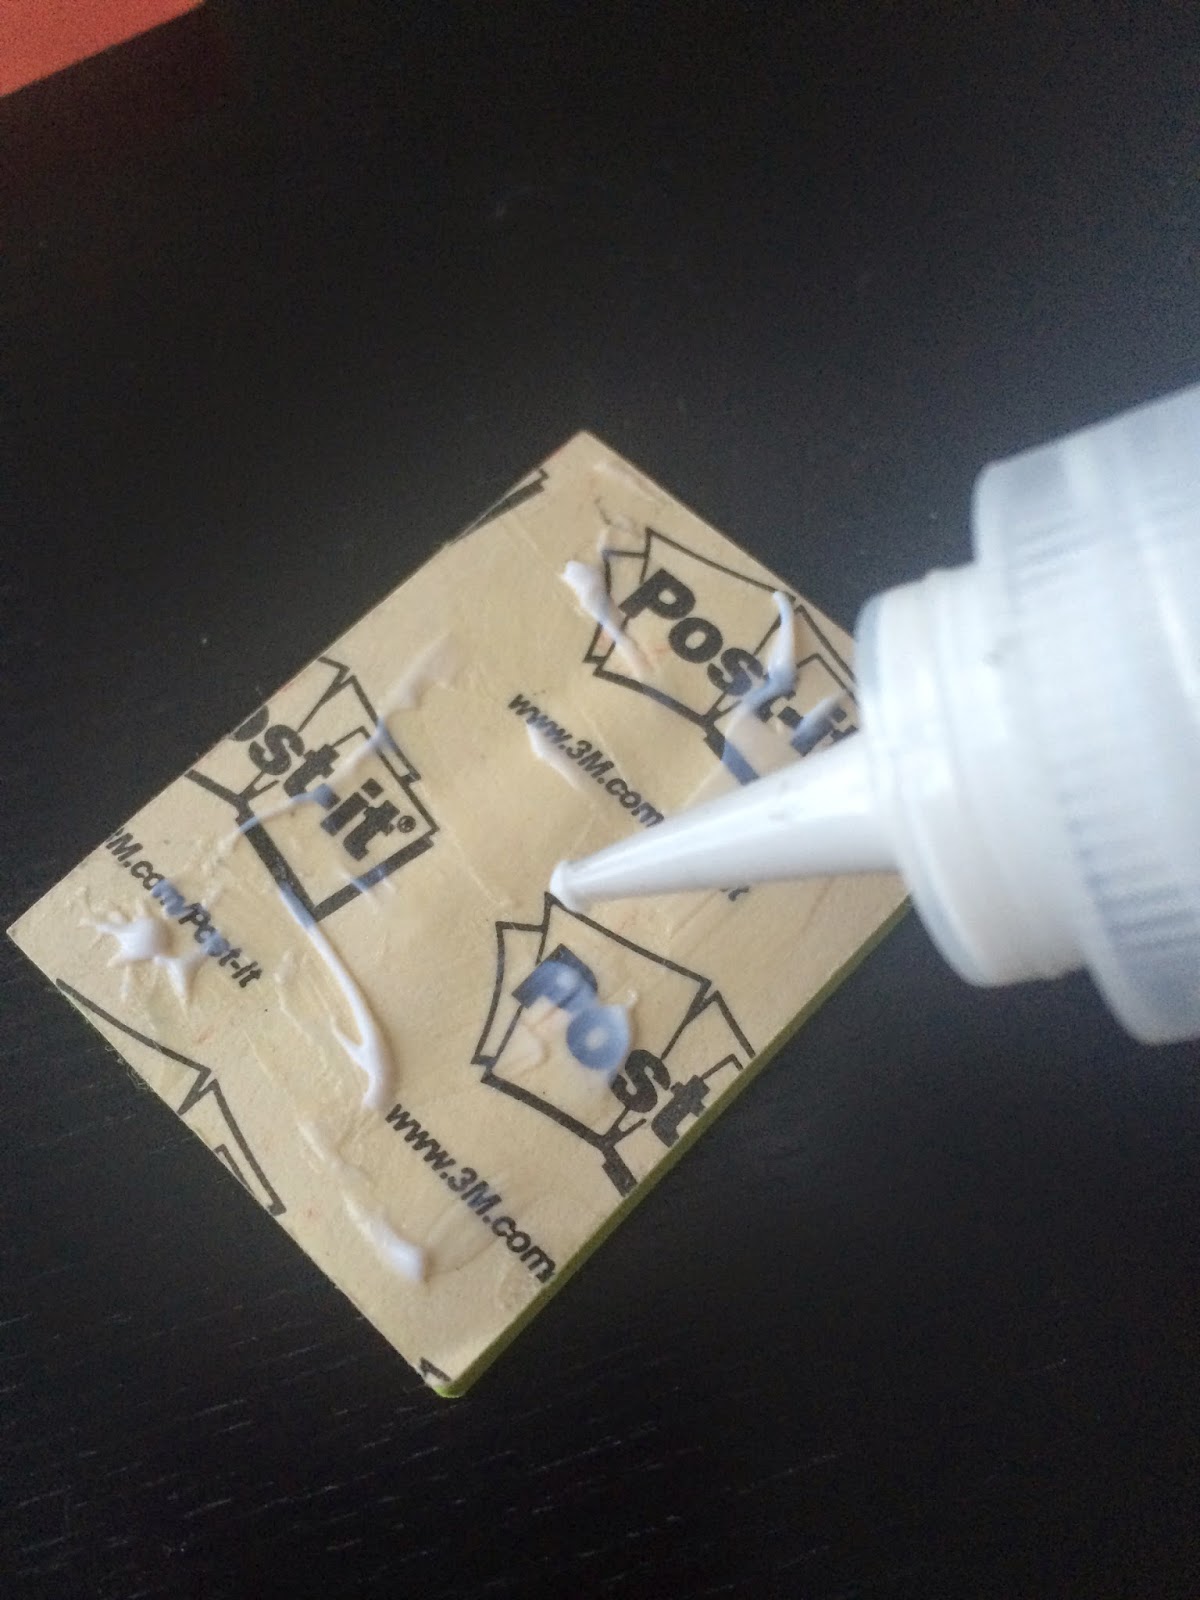
To apply the Post It notes inside your paper case apply a thin layer of BGE on the back page and let dry clear. If we had used the temporary adhesive from the post it notes it would not permanently stick and would fall off.


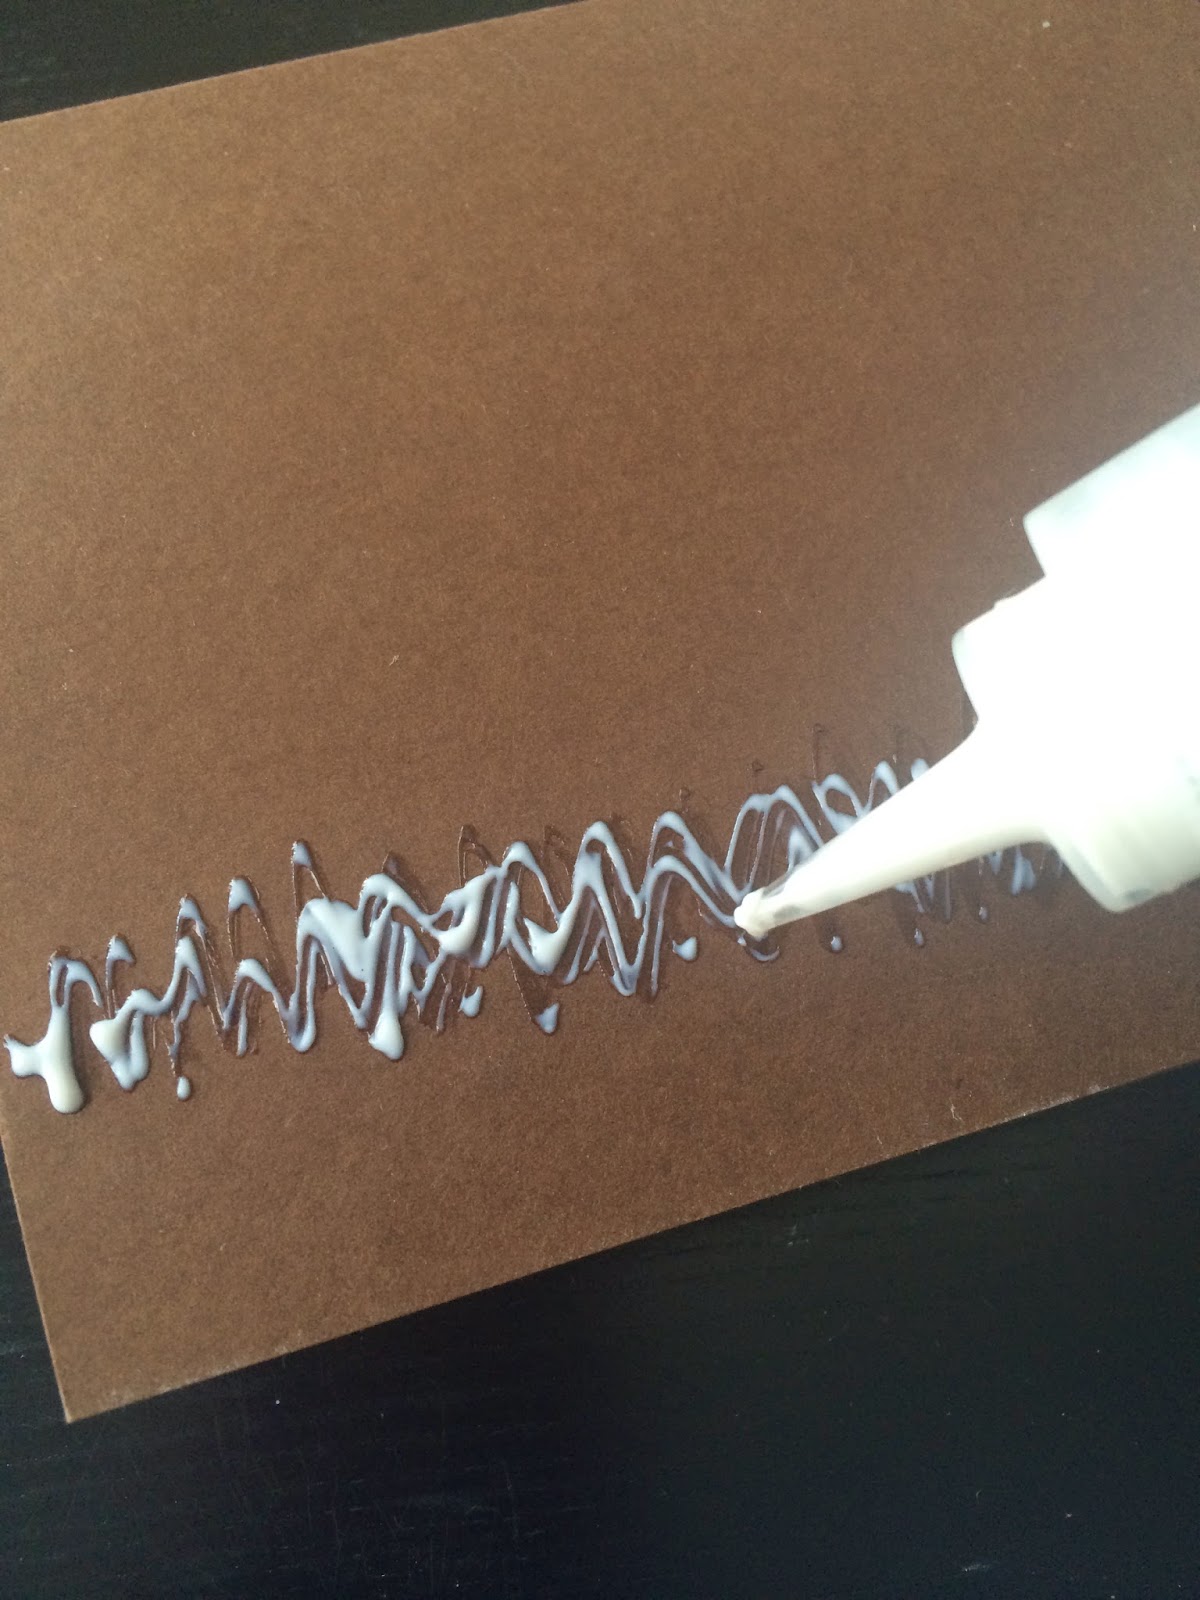
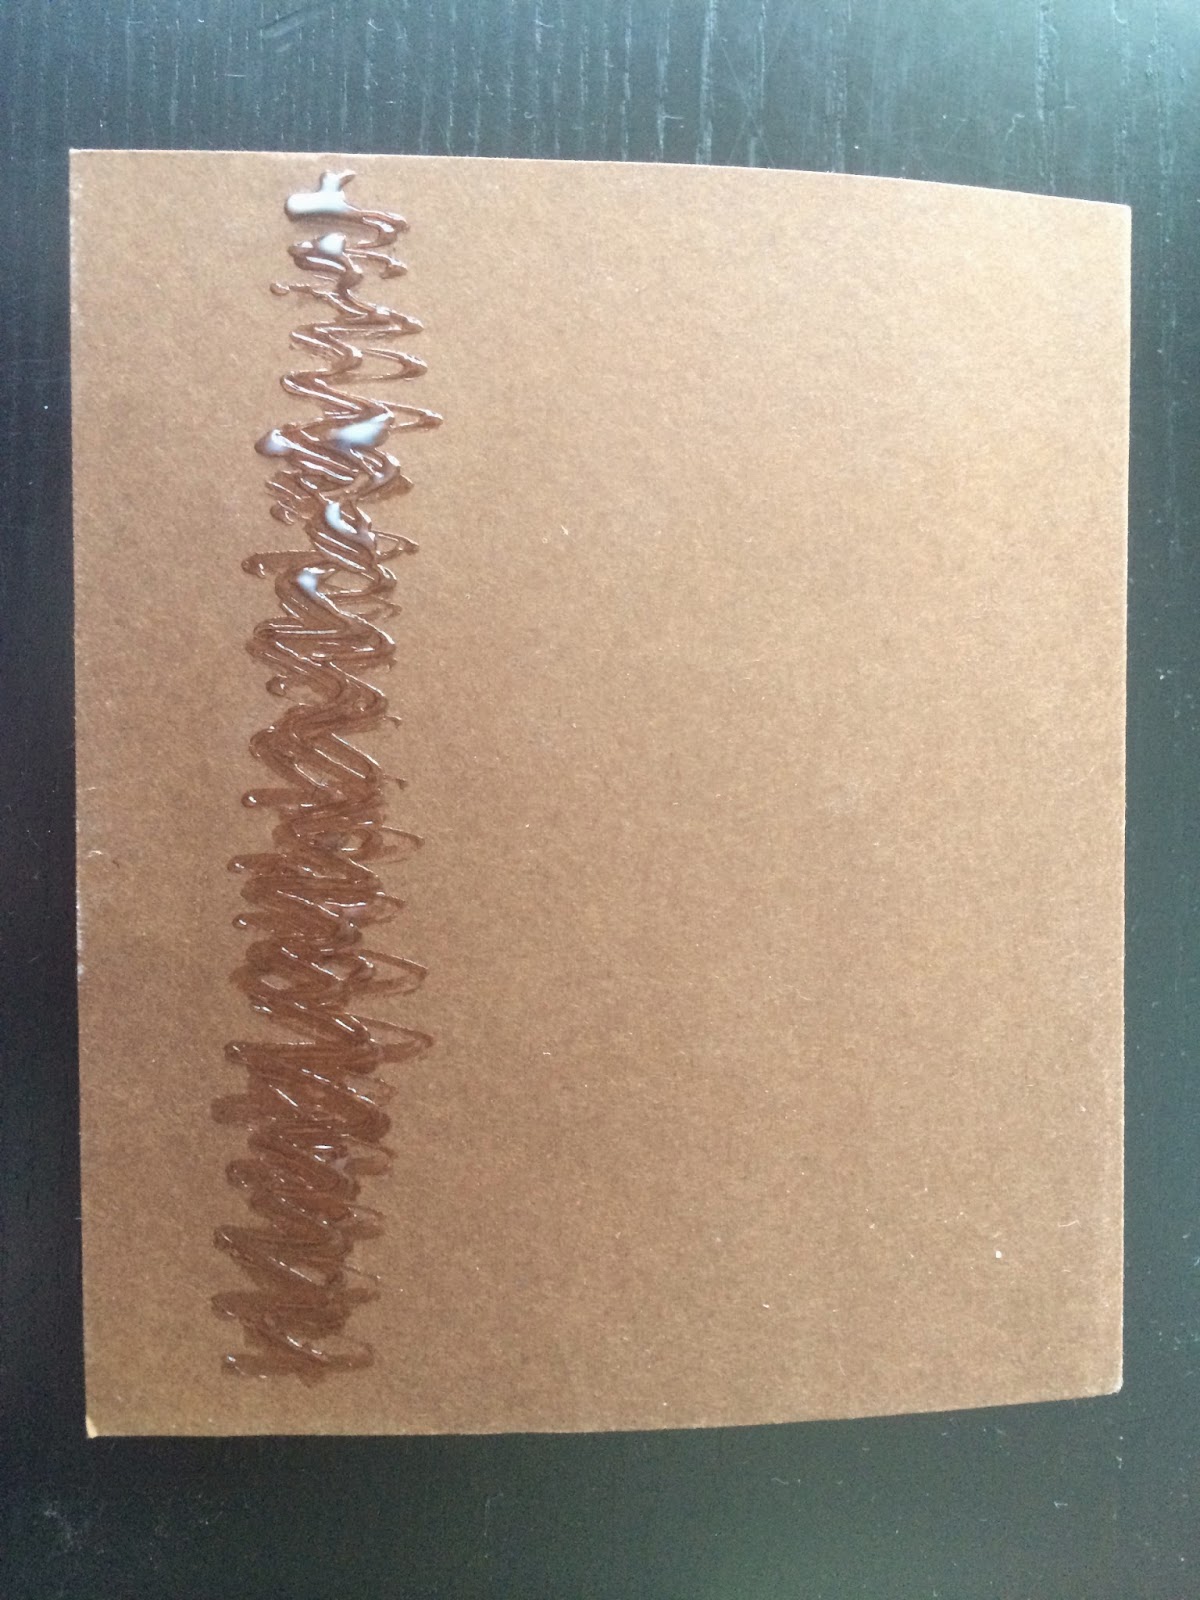
In the meantime let’s prepare the adhesive to attach the ribbon. Apply the BGE directly to the paper on the back of your project so the ribbon will wrap around to the front and tie your project together. Apply the BGE in the position where you wish the ribbon to adhere to. This is to avoid leaking and staining through the silk ribbon itself. Set this aside and let dry clear.


Give both the ribbon glue and Post It Note glue time to dry clear for a few (3-4) minutes. It won’t take long as we only apply a thin layer.
Adhere your ribbon to the glue on the back of your project first, pressing firmly. If you do not get it straight the first time do not panic. You can easily lift the ribbon and re-position it. That is the magic of the BGE! Now flip your project over to face the front. Adhere your post it notes to the interior of your Post It notes holder.

This is a perfect gift for a teacher or anyone who may need reminder notes!
Thanks for stopping by, see you next time!
Chelsea 🙂

