

I found a burlap picture frame at Home Goods on clearance and I thought it’d be perfect for a memo board next to my computer. However, it was cushy underneath the burlap and wouldn’t hold any pins.
I carefully pried the one edge up to see what was underneath — foam.
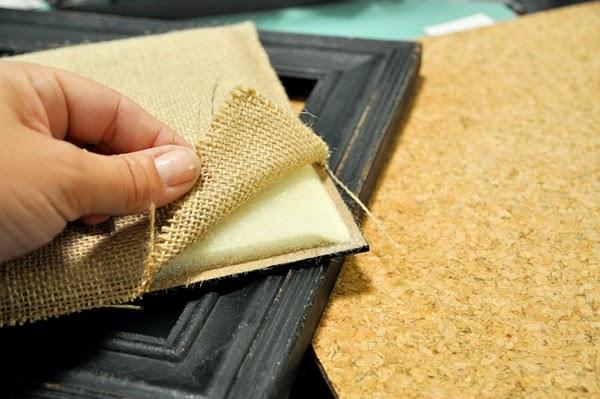
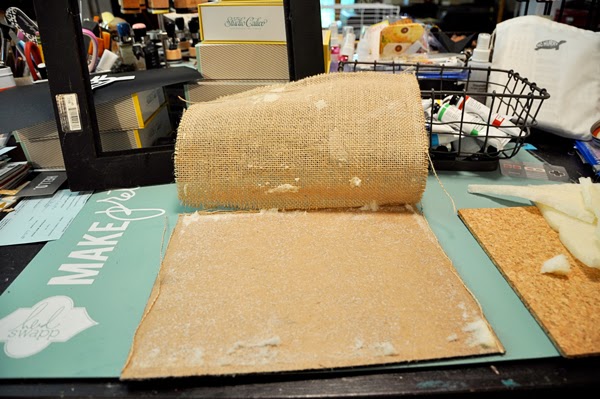
So I kept on going. The burlap was probably held by a spray adhesive and some of the foam stuck to it. Once the burlap was free I removed the foam from the bottom of the backing.
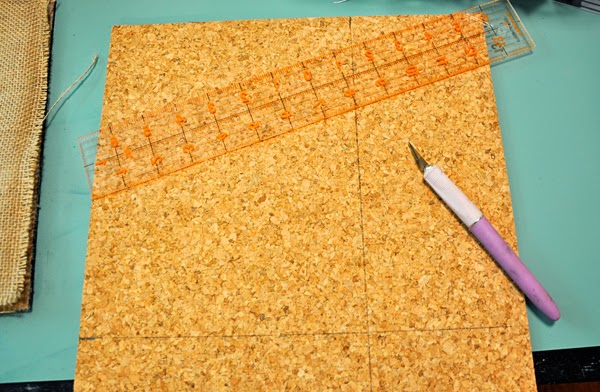
The next step was to take a cork square and cut it to fit the back. I initially cut it to the same size as the foam, but in placing it into the frame realized I needed to trim the edges a bit so it would fit (as cork doesn’t give like the foam). The cork was thin and part of a set of four than can be stuck to the wall. Cutting cork is really easy with just a ruler and craft knife.
After my piece was cut I applied the Best Glue Ever to the back of the cork and placed it in the frame. I decided at playing around with the frame that I could place the foam on top of the cork and the burlap would just fit under the edge. The advantage of reusing the foam was a better appearance of the final project.

To help put everything together, I used a line of the Best Glue Ever around the edge to hold the burlap.

Once the back was on the frame I was able to add picture wire and hang it on the wall. Now it’s functional and pretty!

