
Hello,
I’m Karen, one of the new Designers starting this year and this is my first post for ScraPerfect. I am thrilled to have been invited to share with you all the wonderfulness of the ScraPerfect tools & products. I started with the most basic thing every crafter needs “glue.” So let’s get going!
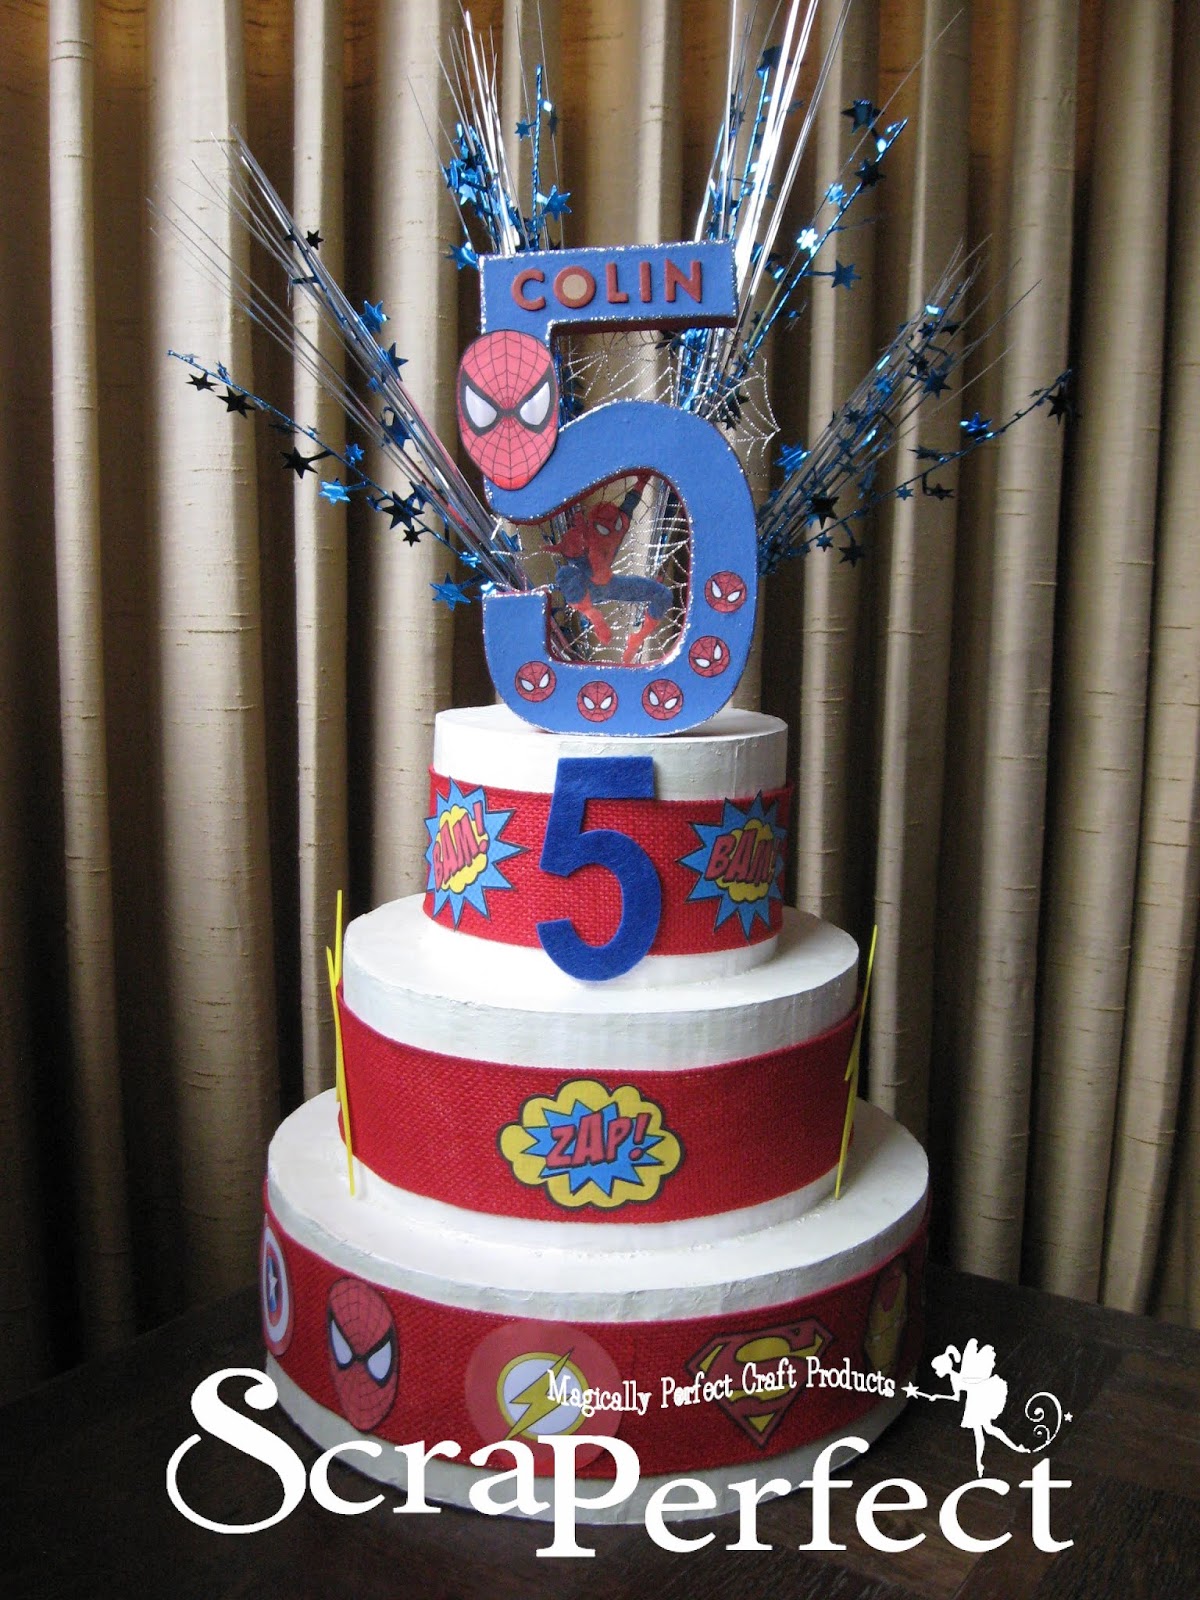
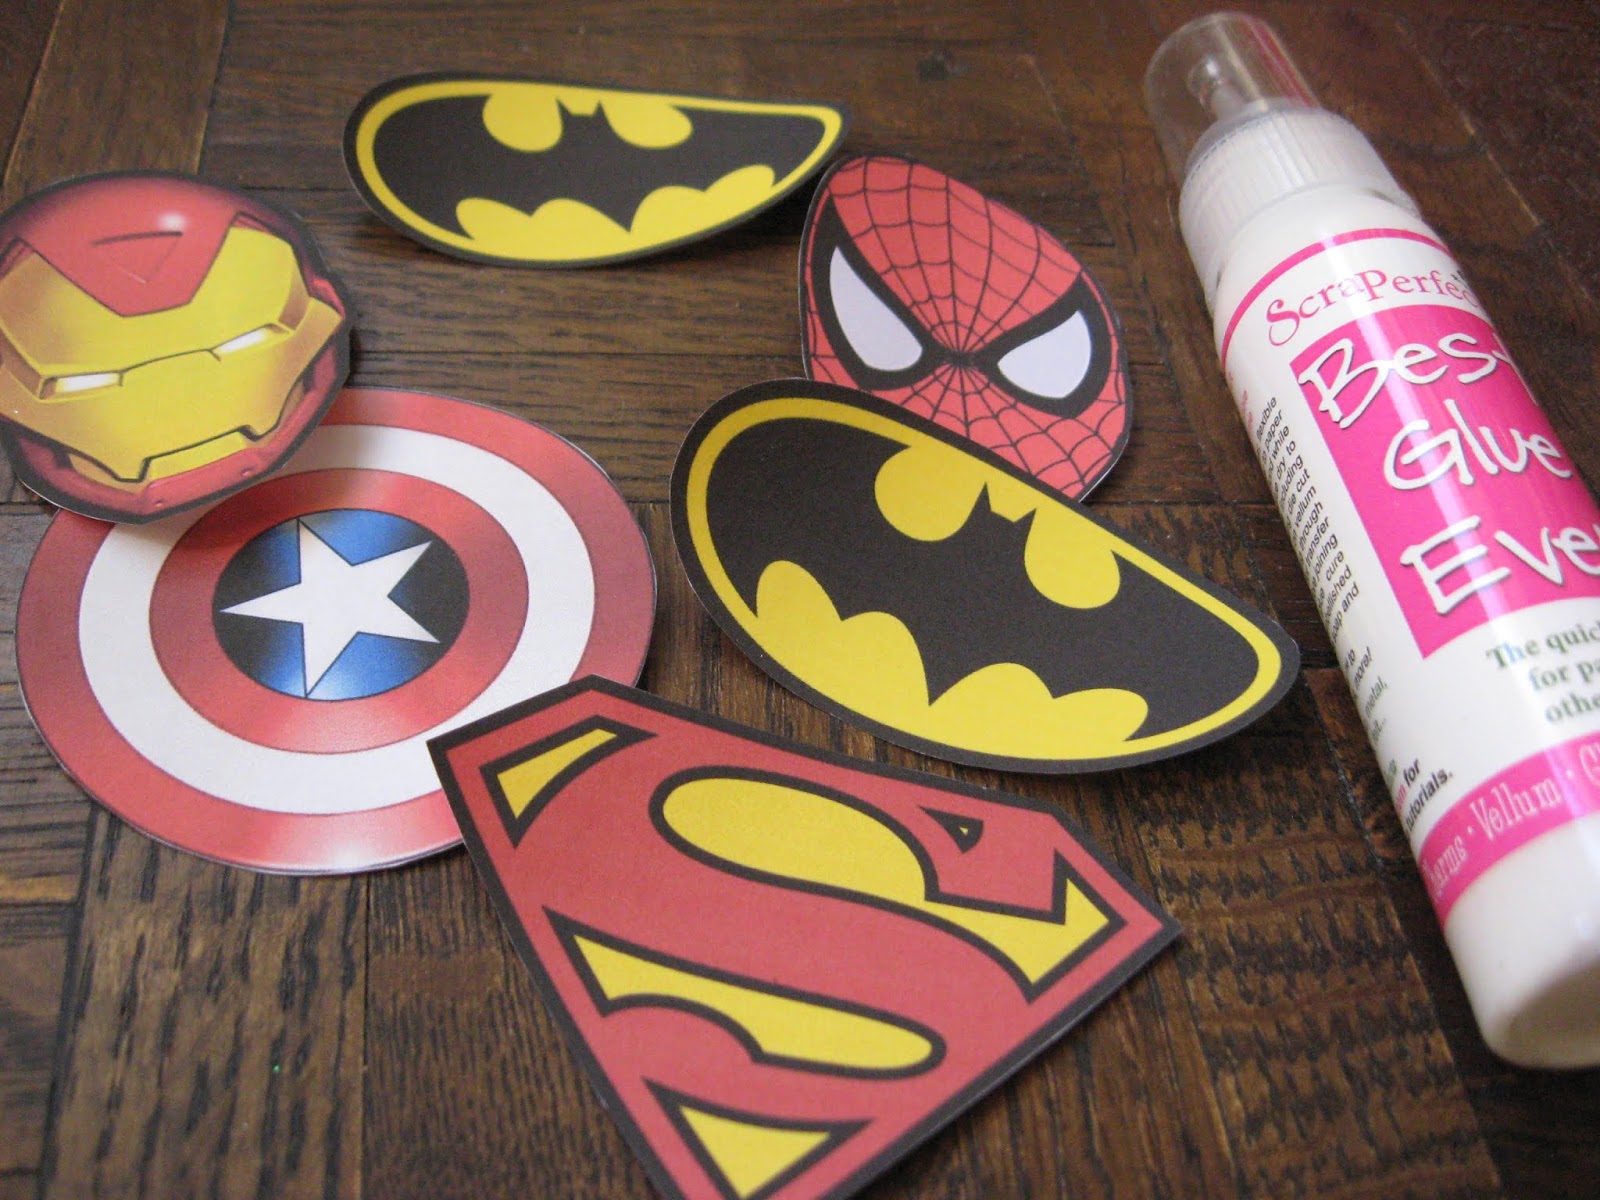
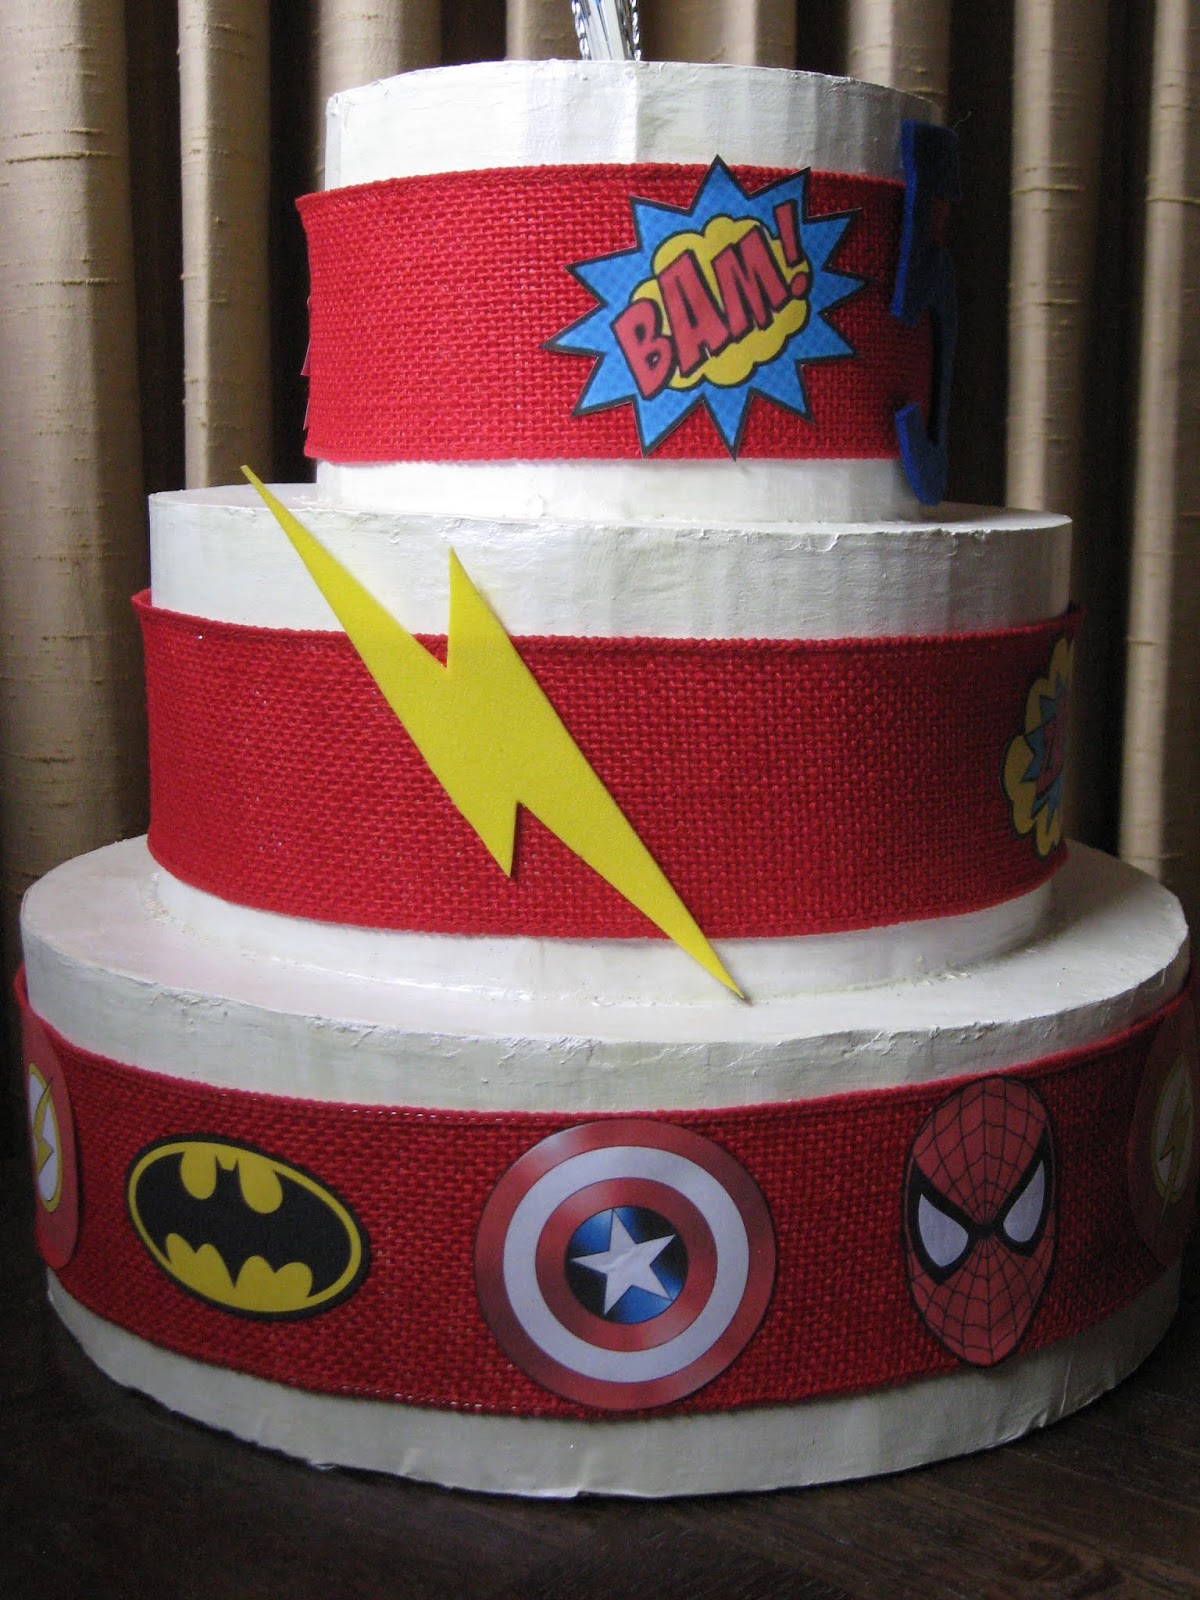
Best Glue Ever really is a “Super” glue. That is perfectly fitting since I used it to make decorations for a 5 year-olds Super Hero birthday party. My nephew couldn’t pick just one Super Hero as his favorite. Oh no, he had to have them all. (well, maybe just 6 or 7) Here is my Super Hero center piece, as well as some tips & insights I share along the way.
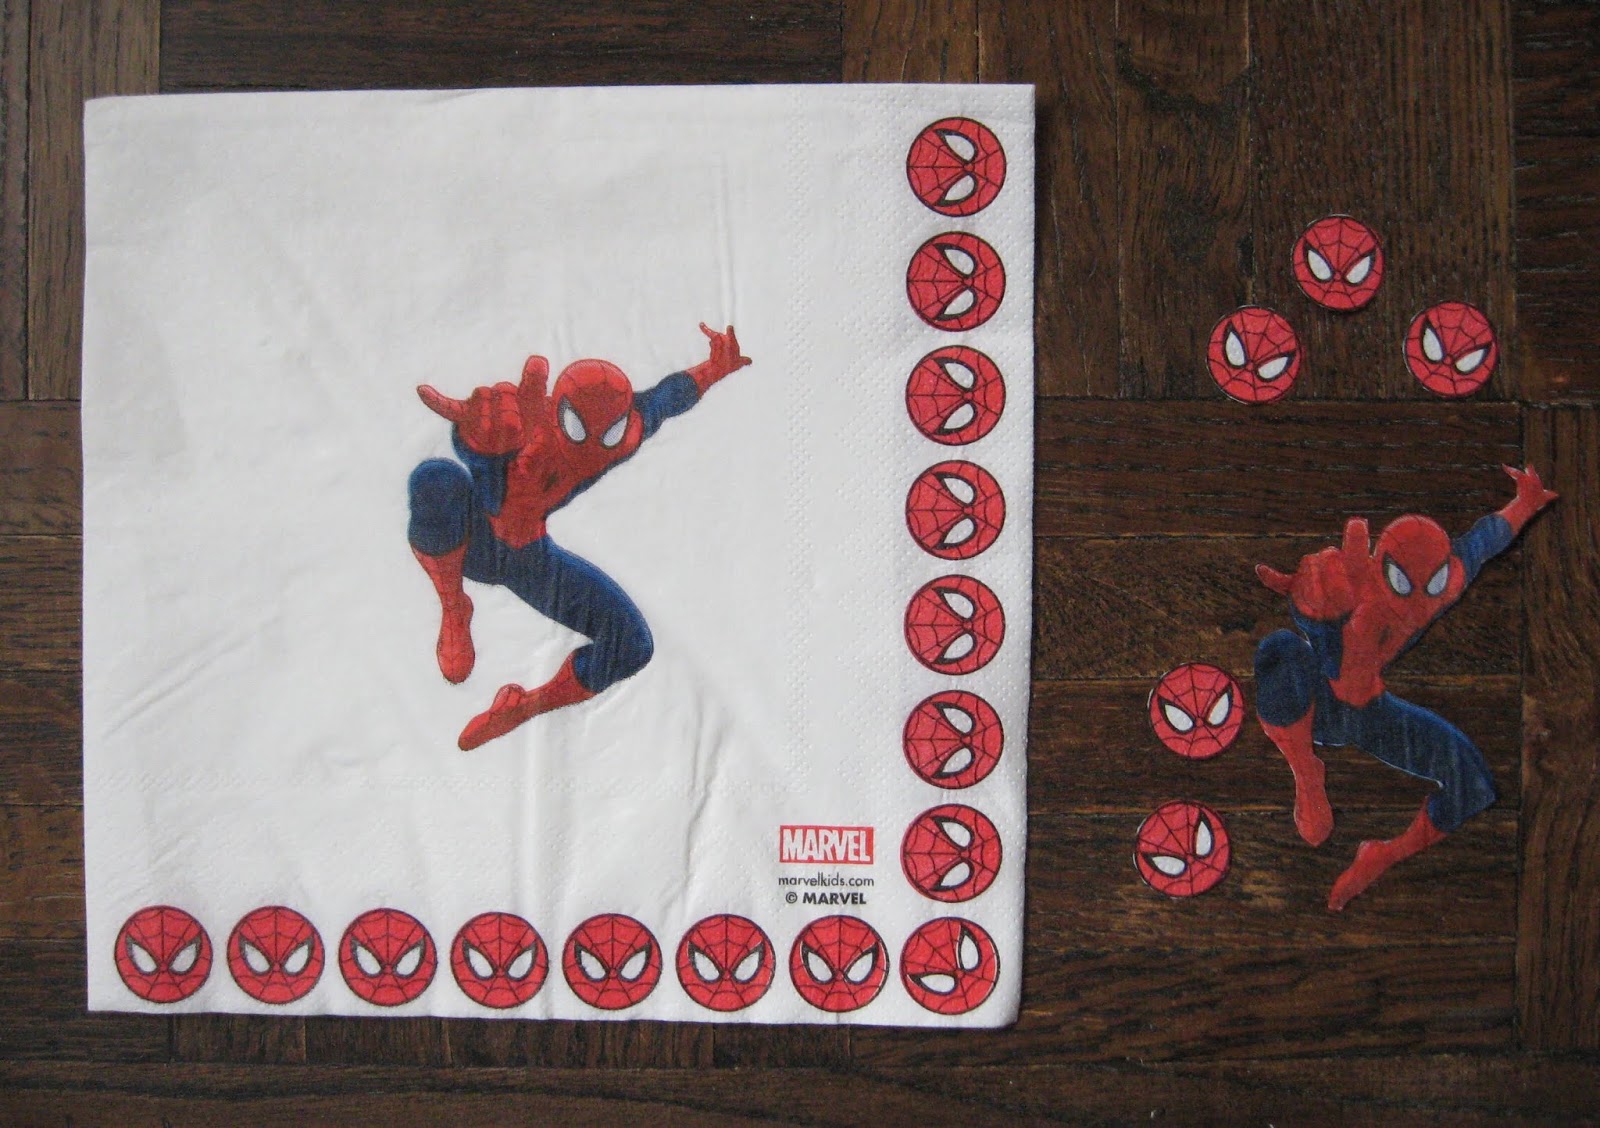
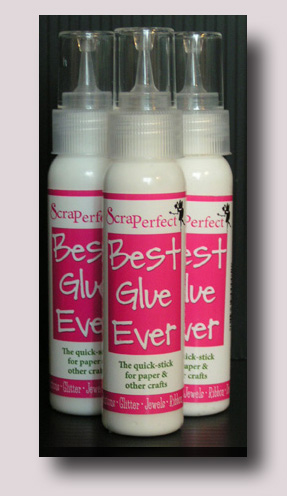
Best Glue Ever is a multi-purpose glue and can handle adhering just about any material with superior results. My project had a variety of different materials that needed to be adhered. Using the Best Glue Ever, I glued paper, felt, foam, burlap, tulle, chipboard, & paper mache. The Best Glue Ever was even successful at attaching images from delicate napkin tissue. After only using this product once, I could see how easily it could replace all my specialty glues with this one bottle of miracle product. Mind blown!
Directions:
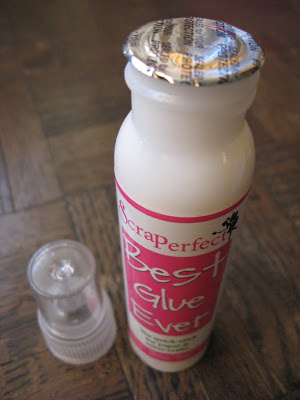
1. If you have a new bottle of glue, first unscrew the tip and remove it from the bottle. Peel off the silver foil cover and then simply reattach the tip. Turn the bottle upside down and give it a few hard shakes to move the glue into the tip. Or if you prefer a finer tip, attach a No Clog Writing Cap.
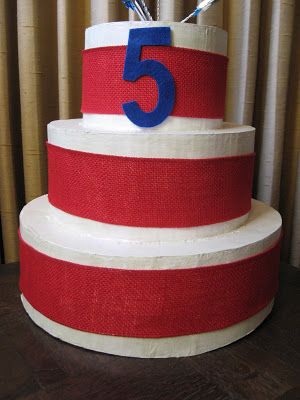
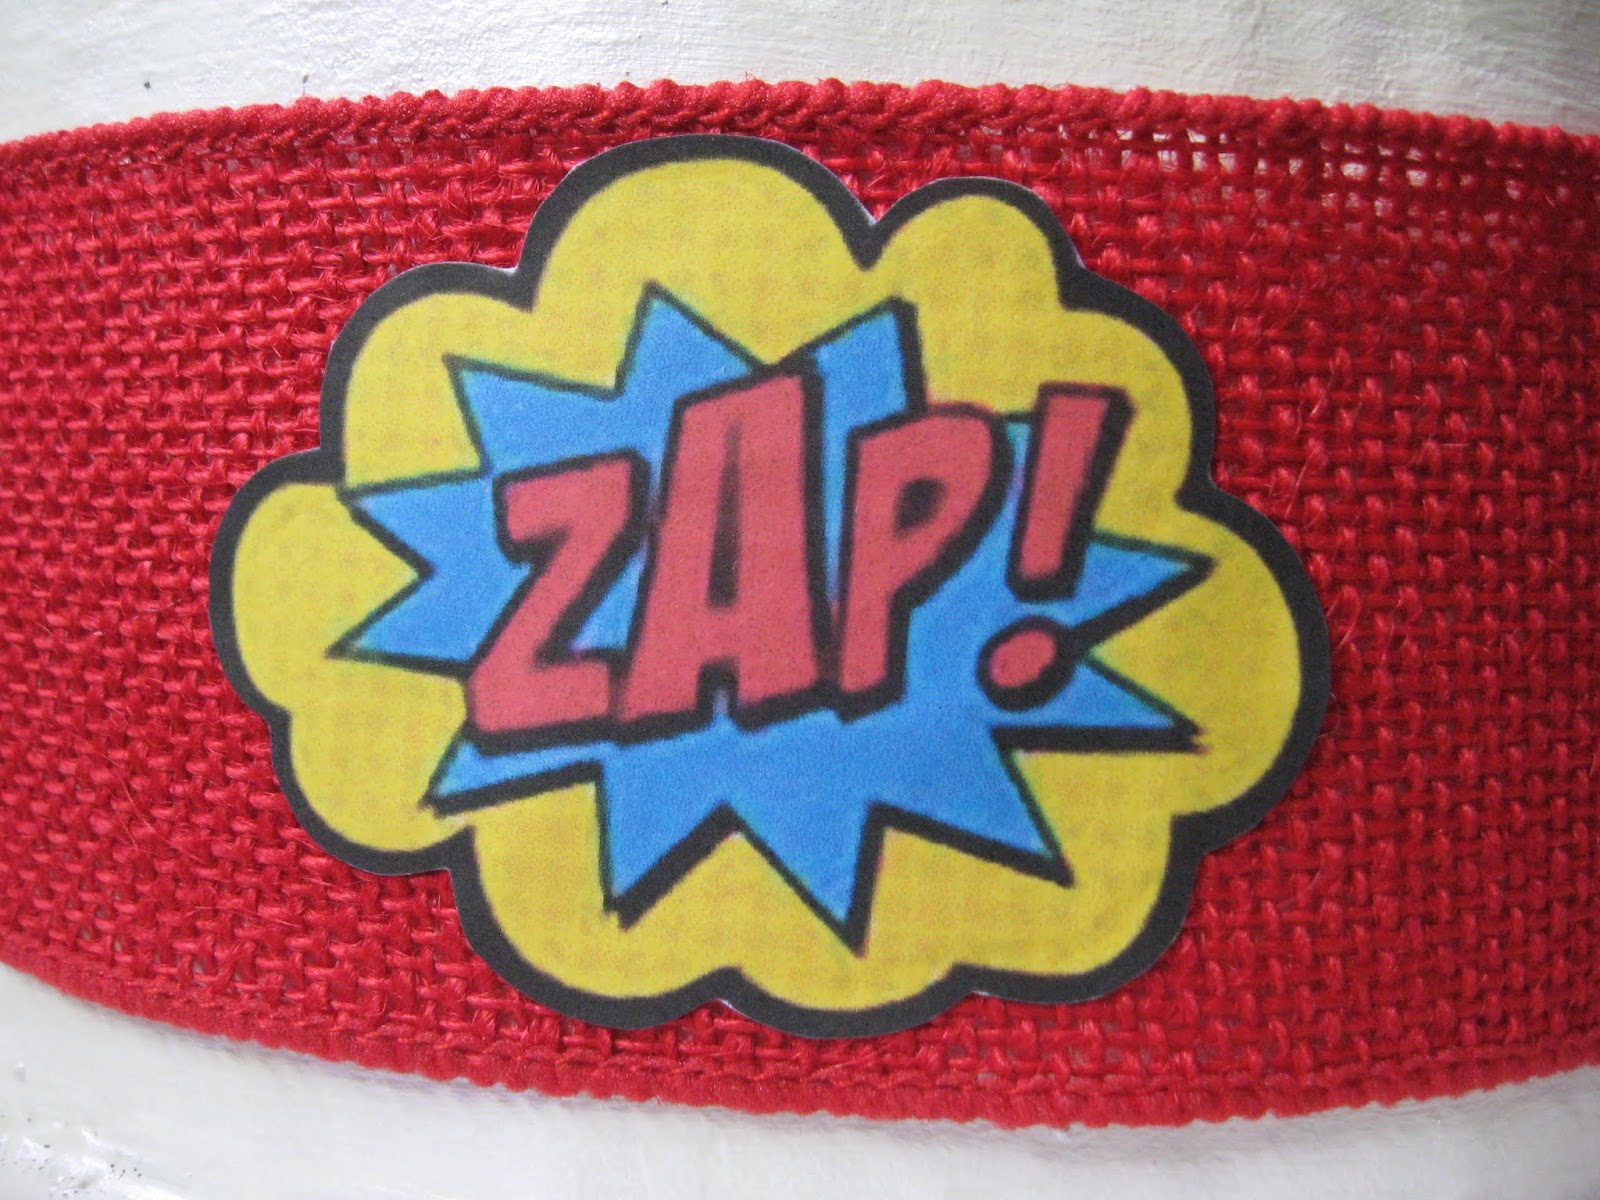
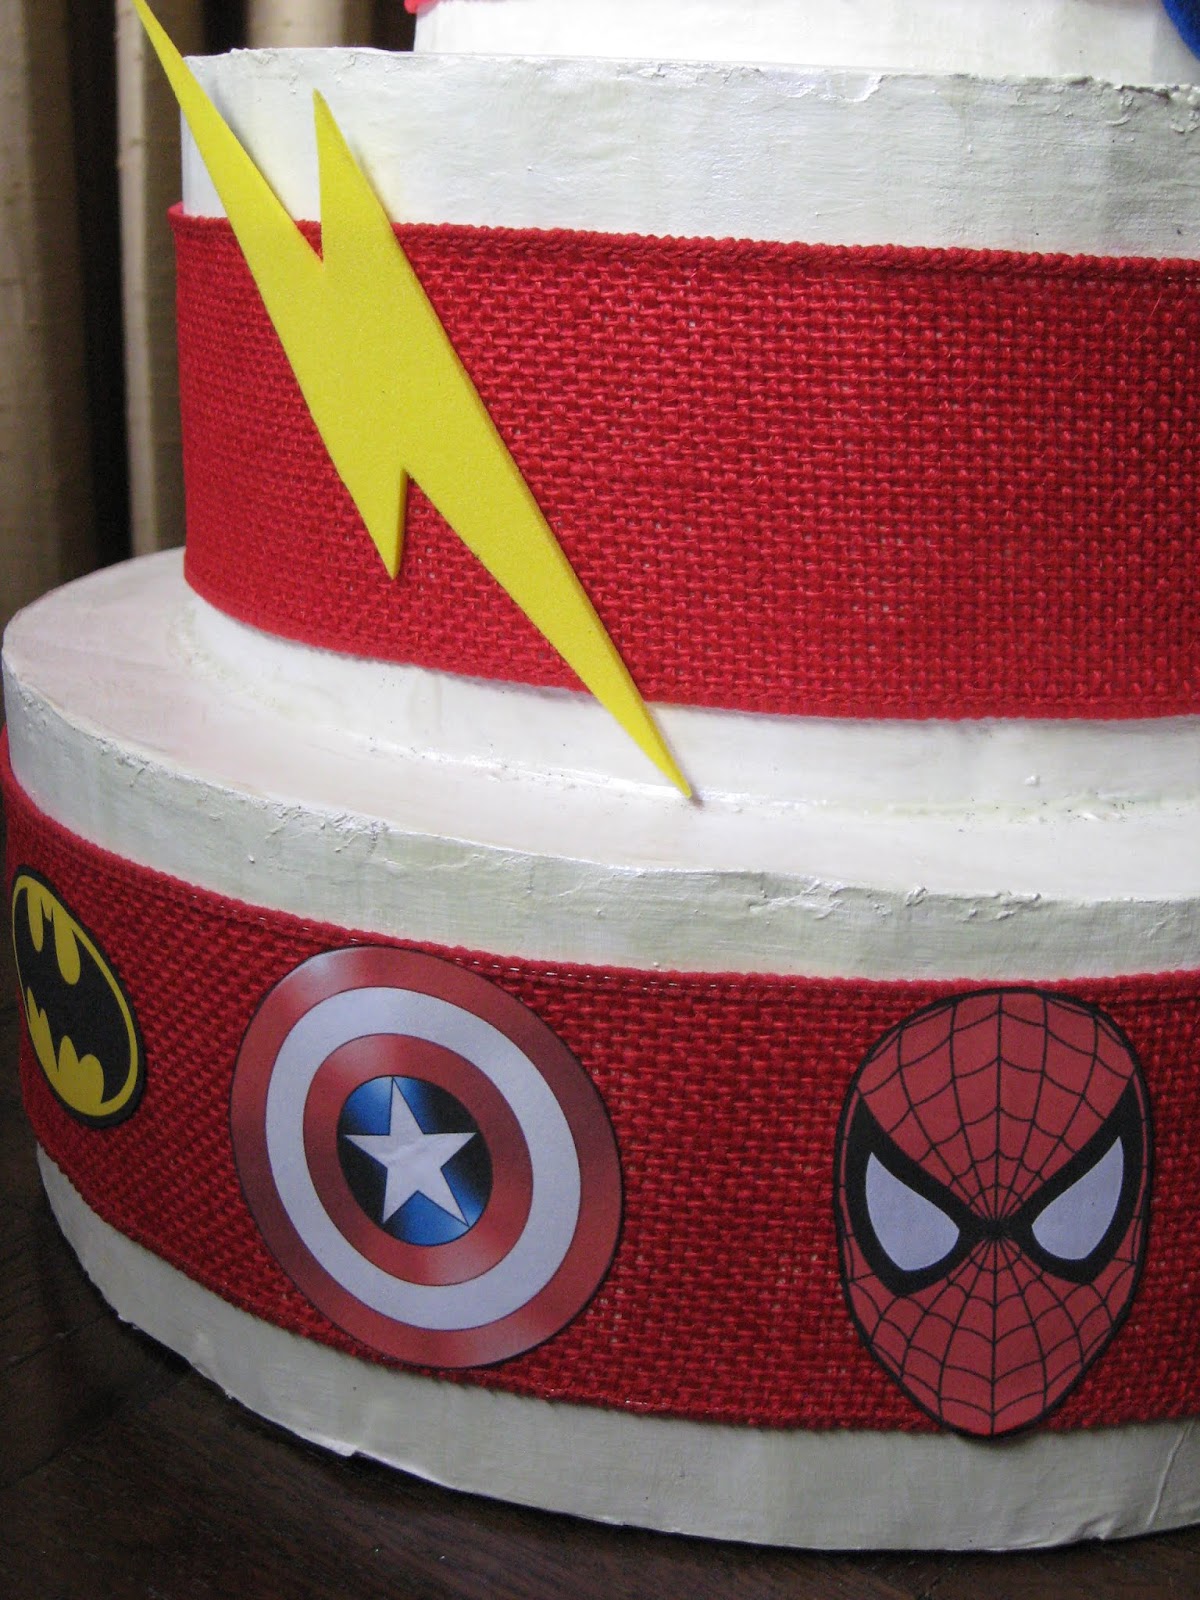
2. I planned to decorate a cardboard cake with a Super Hero theme as the centerpiece for the table. I already had a cake from a previous party and decided to add red burlap ribbon around each layer. Then I printed a collection of super hero images and logos I found online and carefully cut them out. As you can see, the ink from the printer made the thin copy paper slightly curvy so I was a bit nervous to use a liquid glue. In the past, all liquid glues I have used before dimple and warp the paper. The Best Glue Ever did not disappoint!
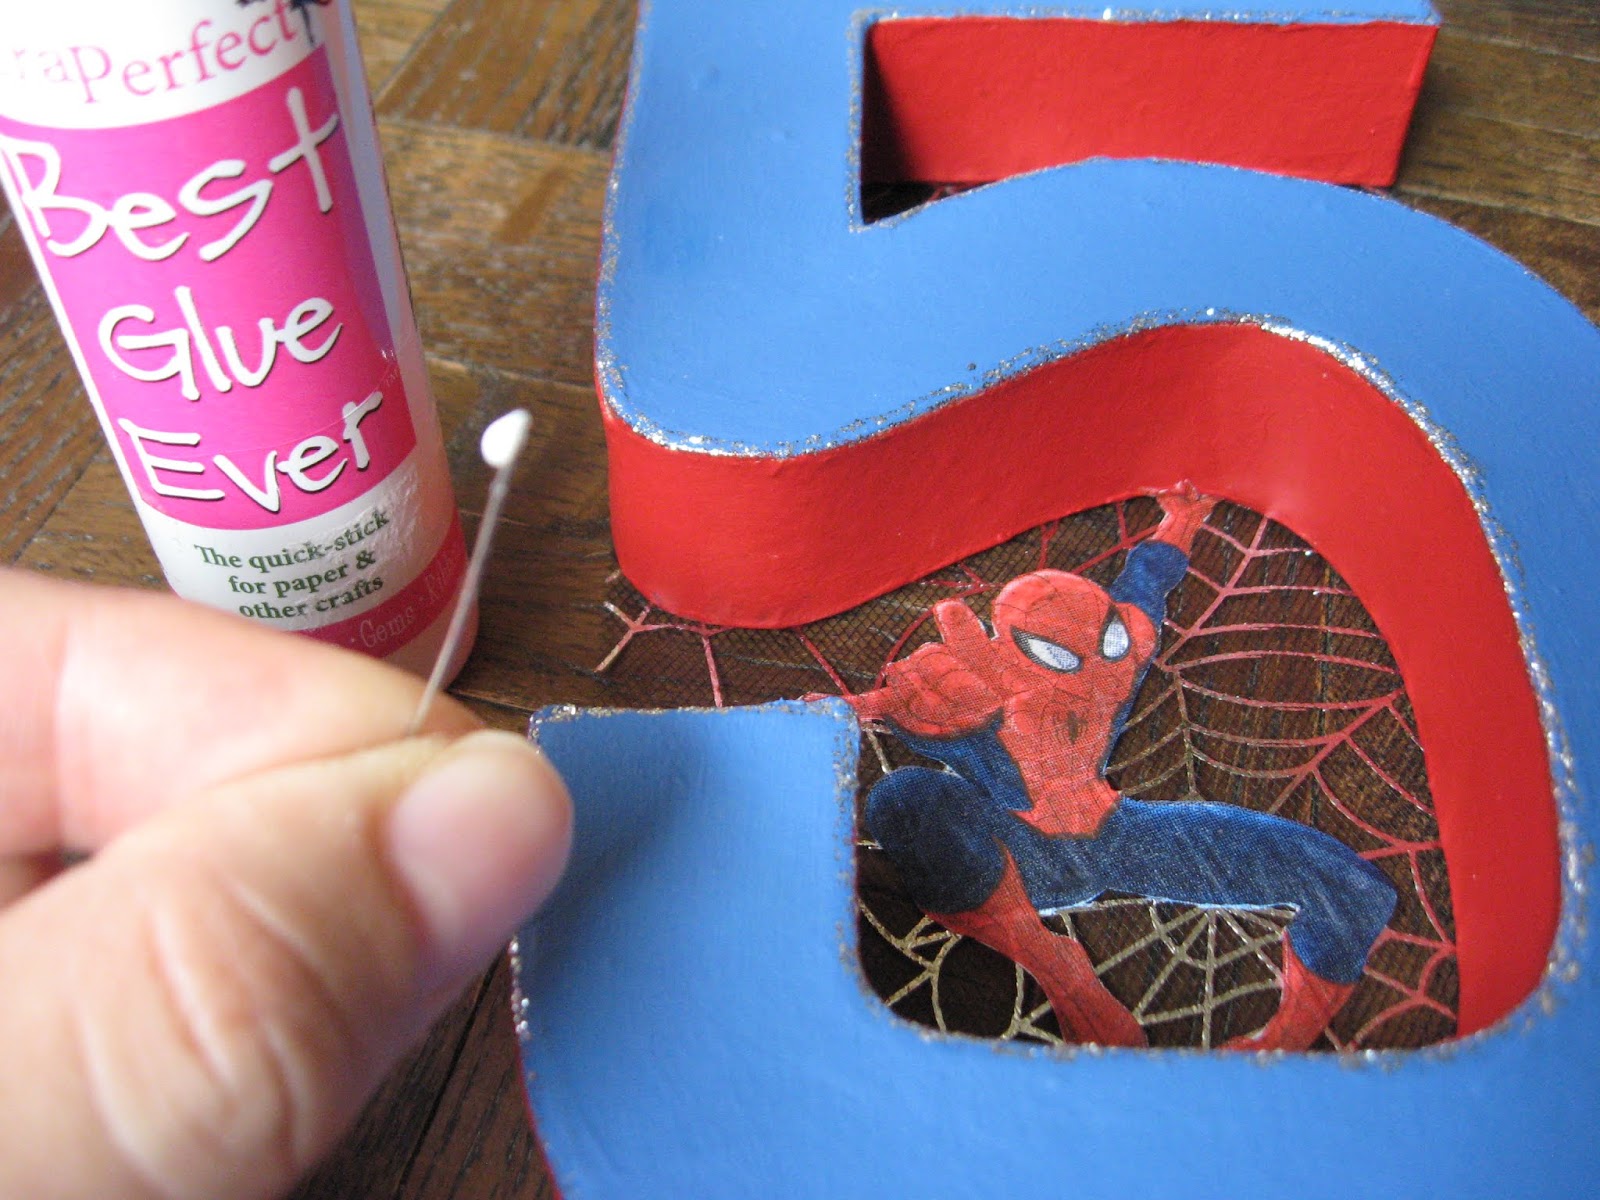
3. Because I was adhering the designs to a curved surface, I applied a very thin line of glue close to the edge of the image using the nozzle tip to help spread the glue even thinner. Don’t worry if the glue dries (turning clear), it will still be very tacky and adhere easily.
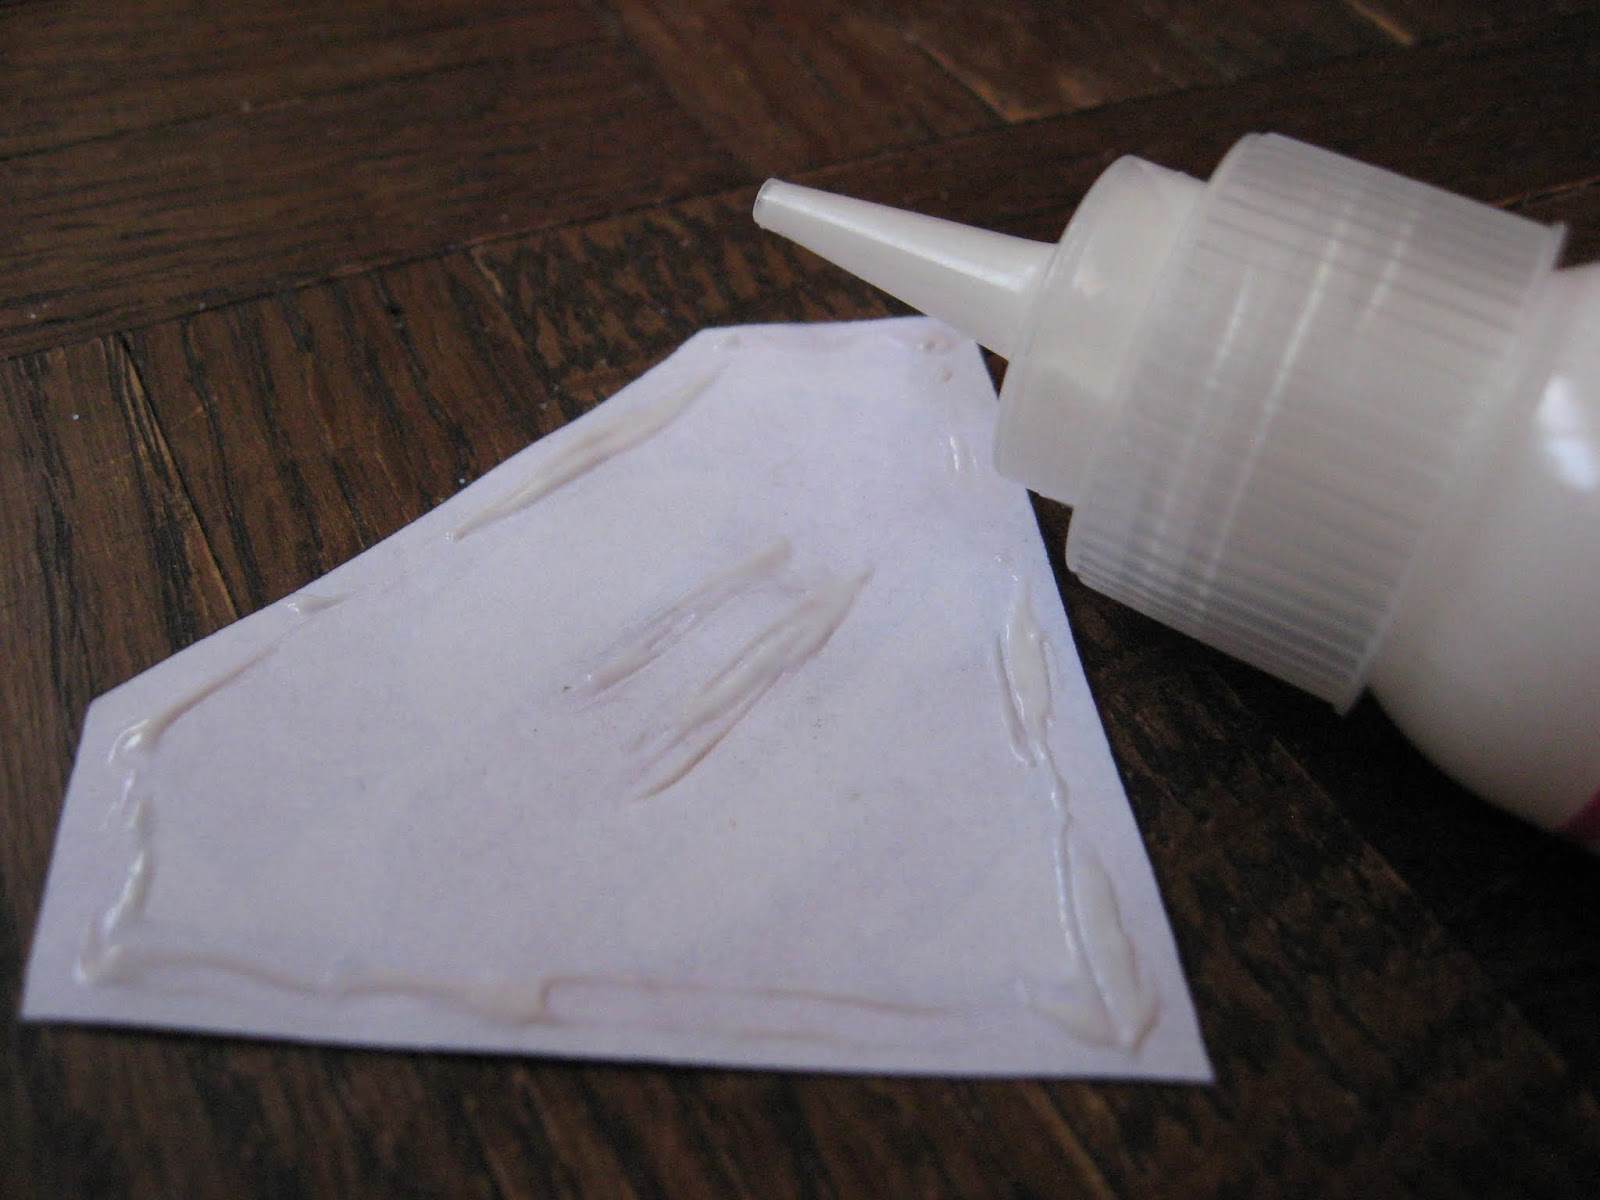
To my amazement, the Best Glue Ever did not cause
warping, wrinkling, puckering or any distortion of the texture of the paper.
What a “Super” glue! Simply superior!
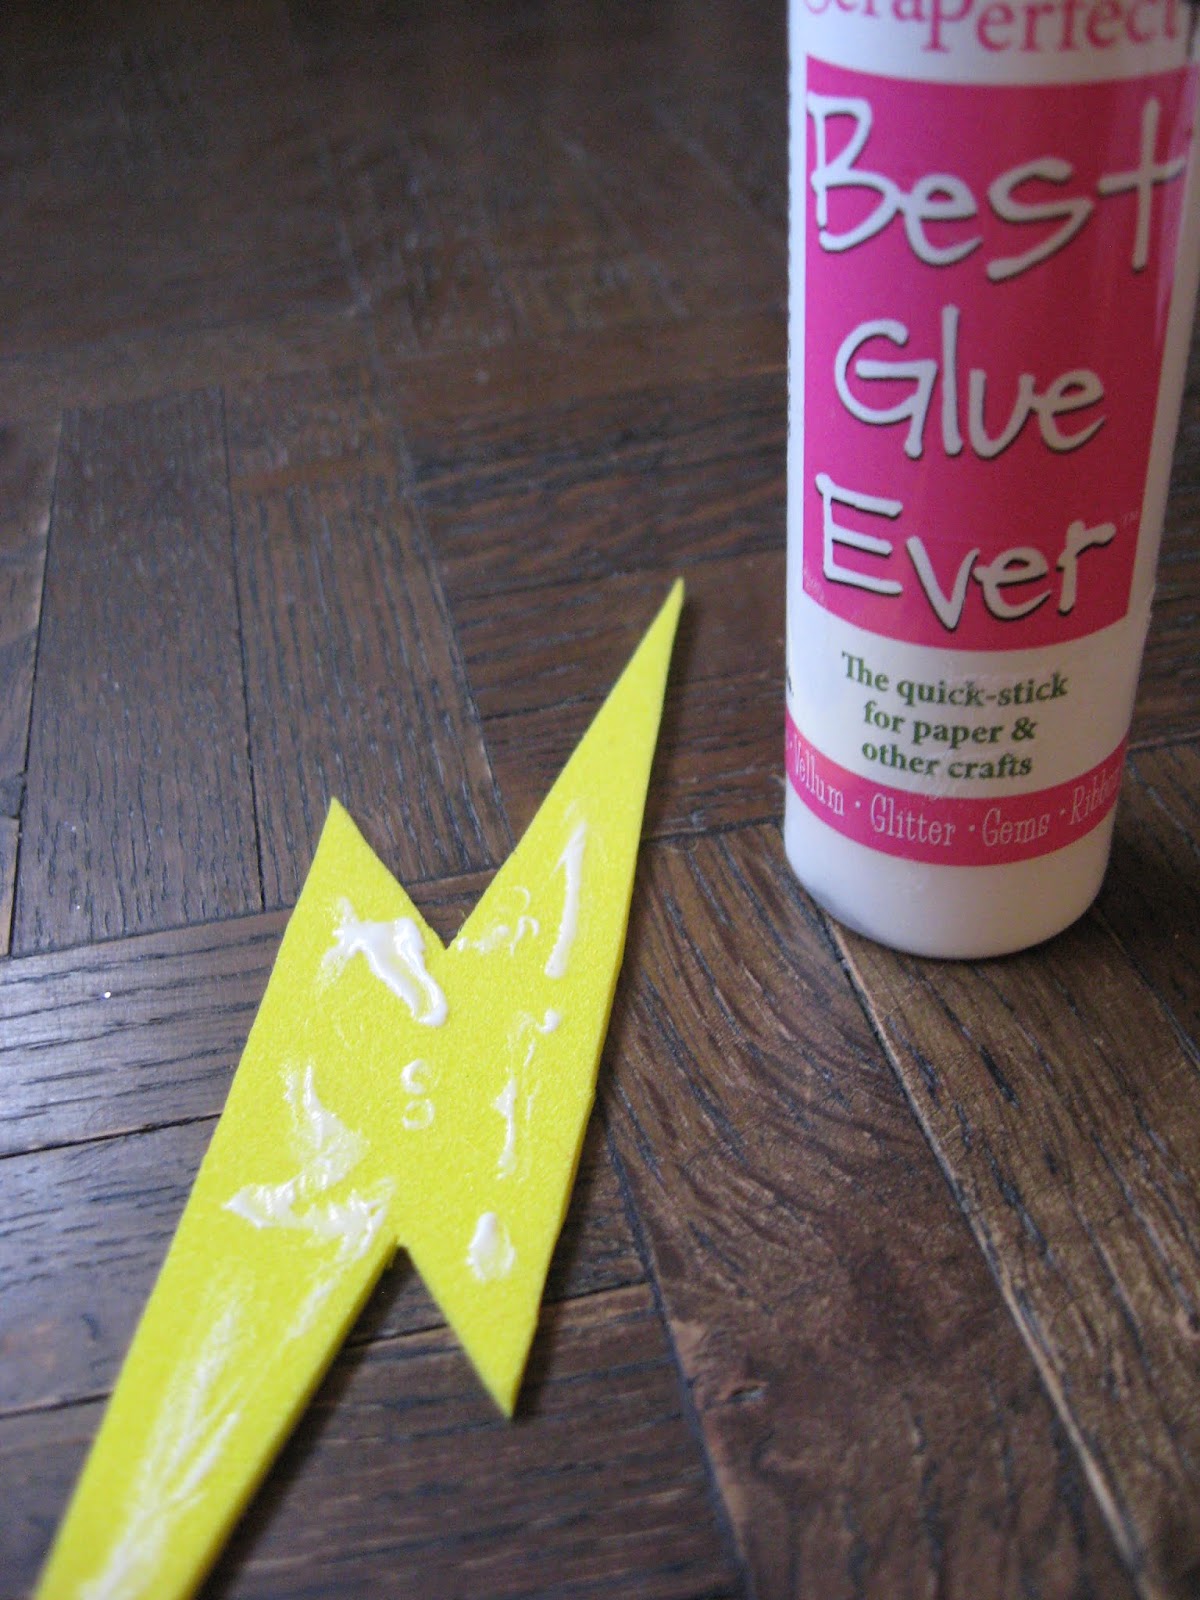
4. Next, apply glue to foam shapes and adhere them to the burlap ribbon. The decorations only need to be held in place 5-10 seconds and then they will be firmly attached.
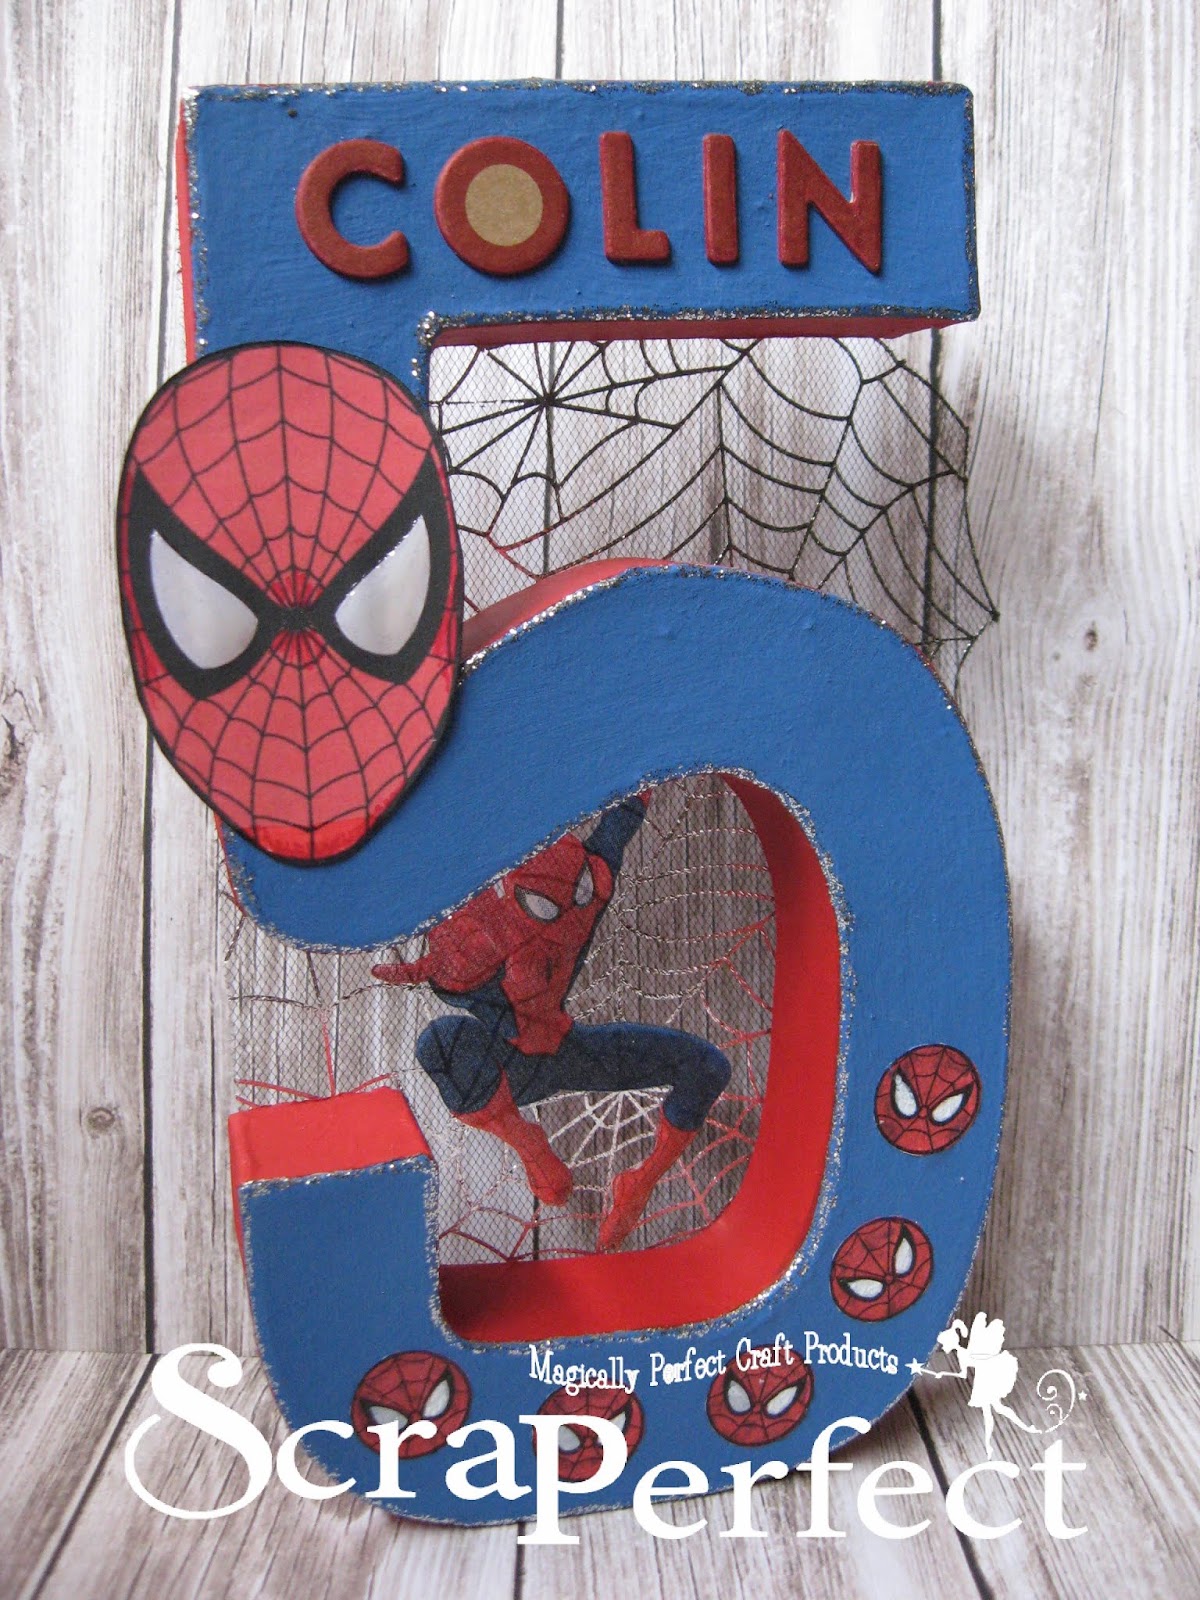
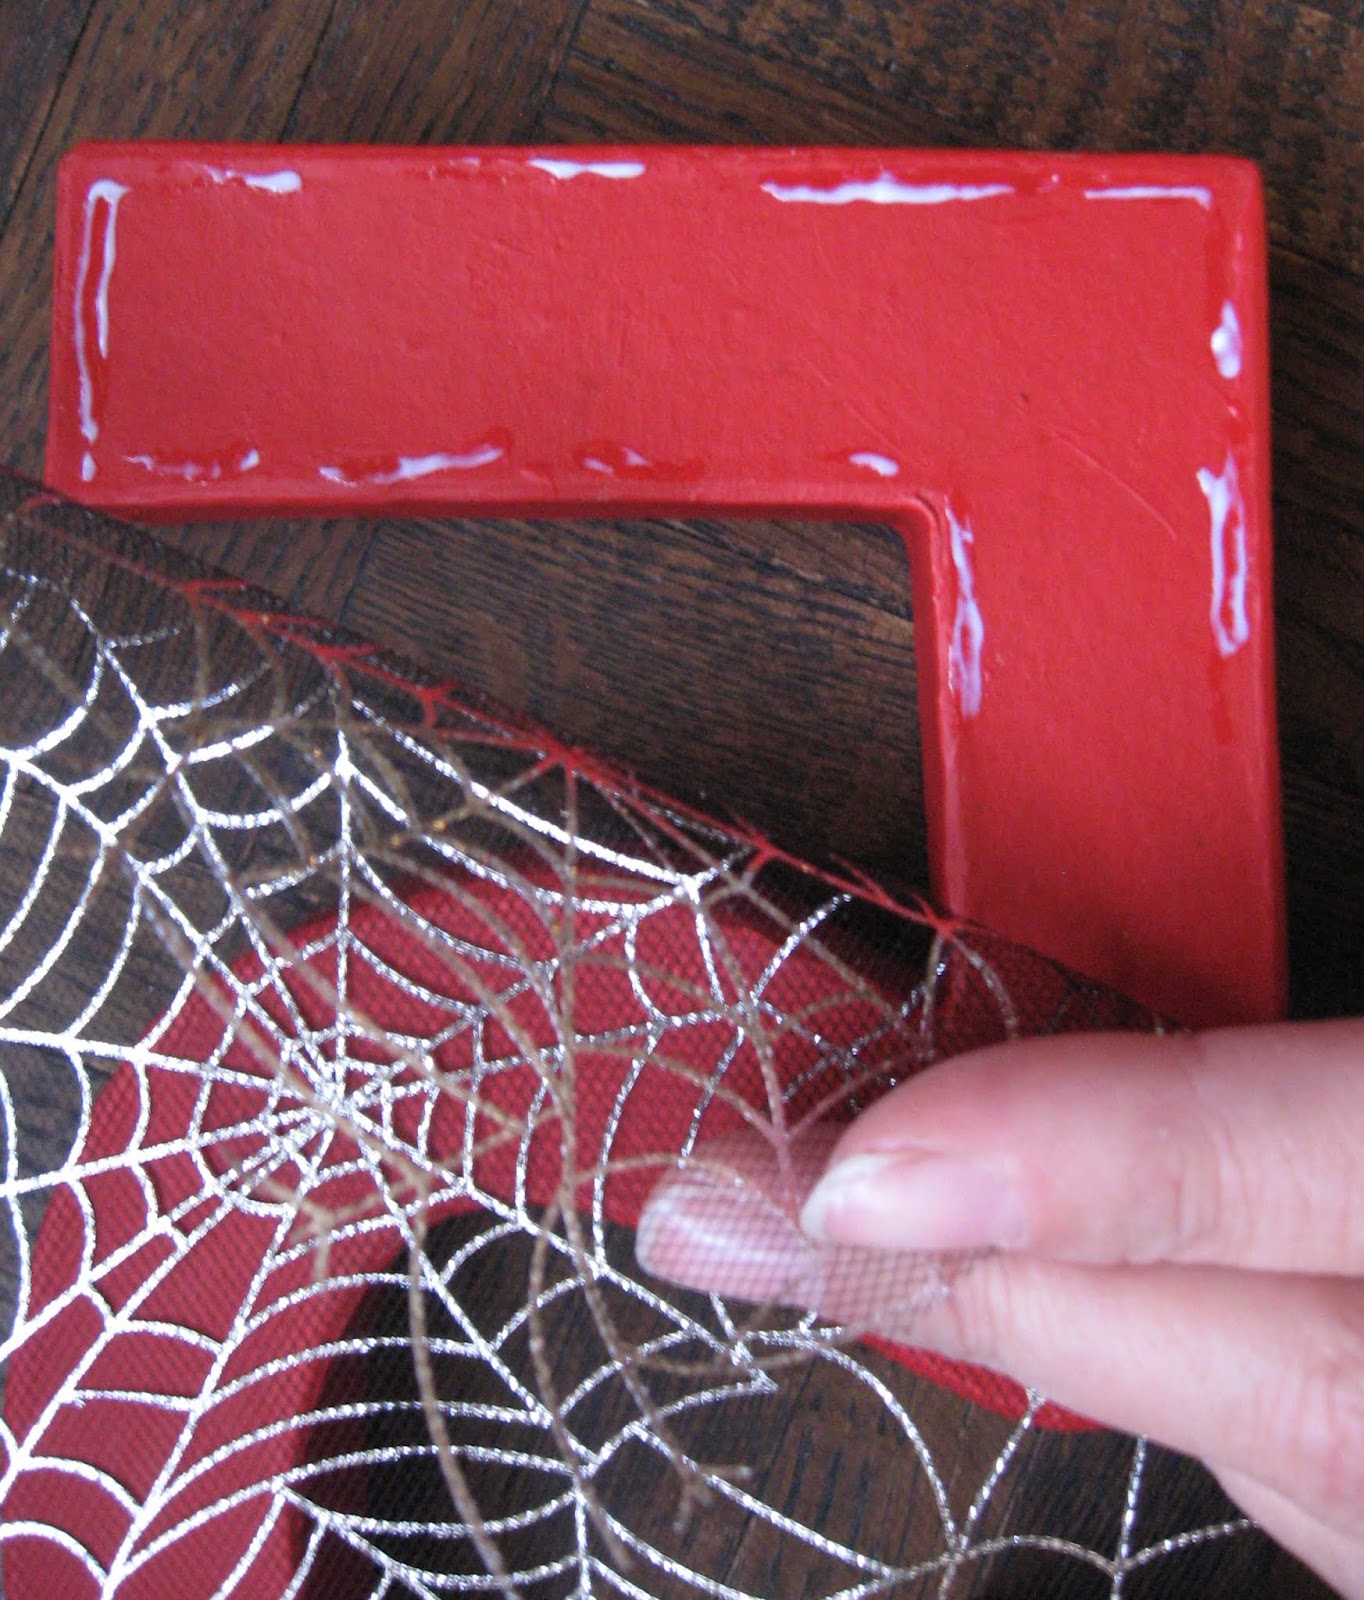
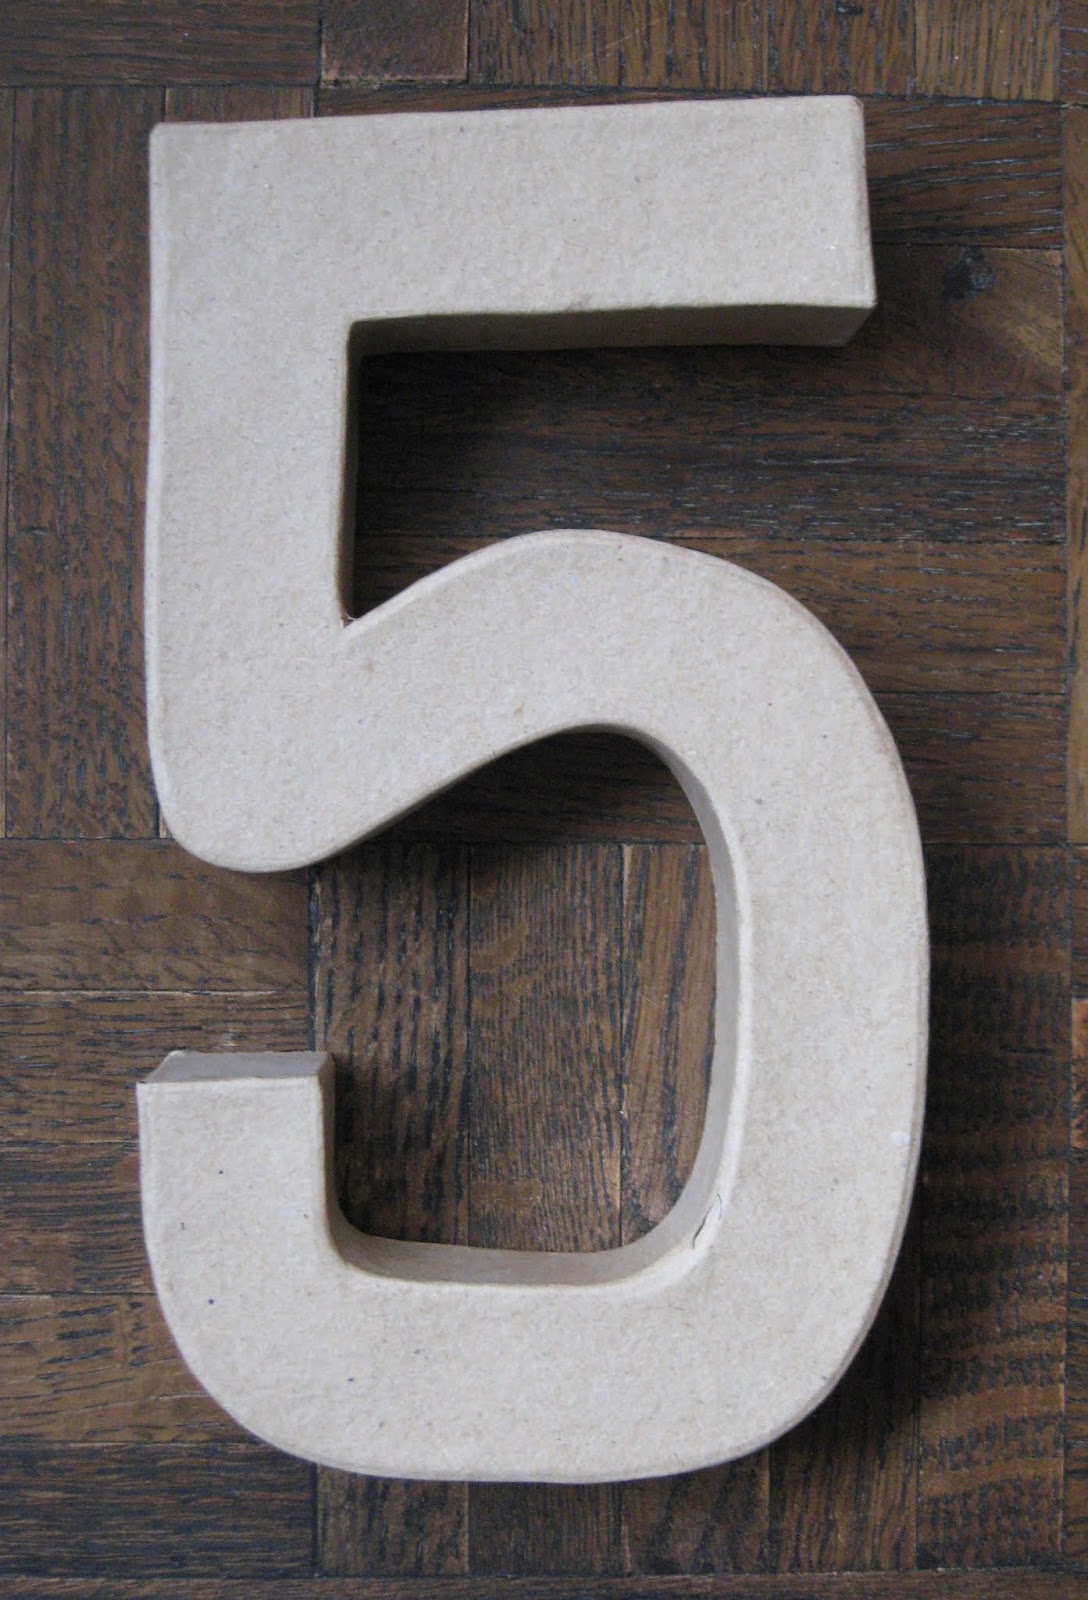
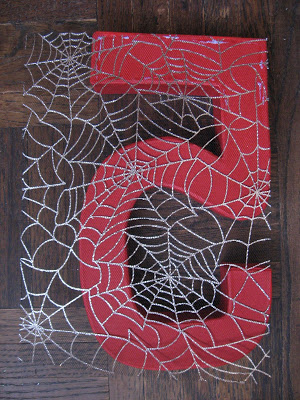
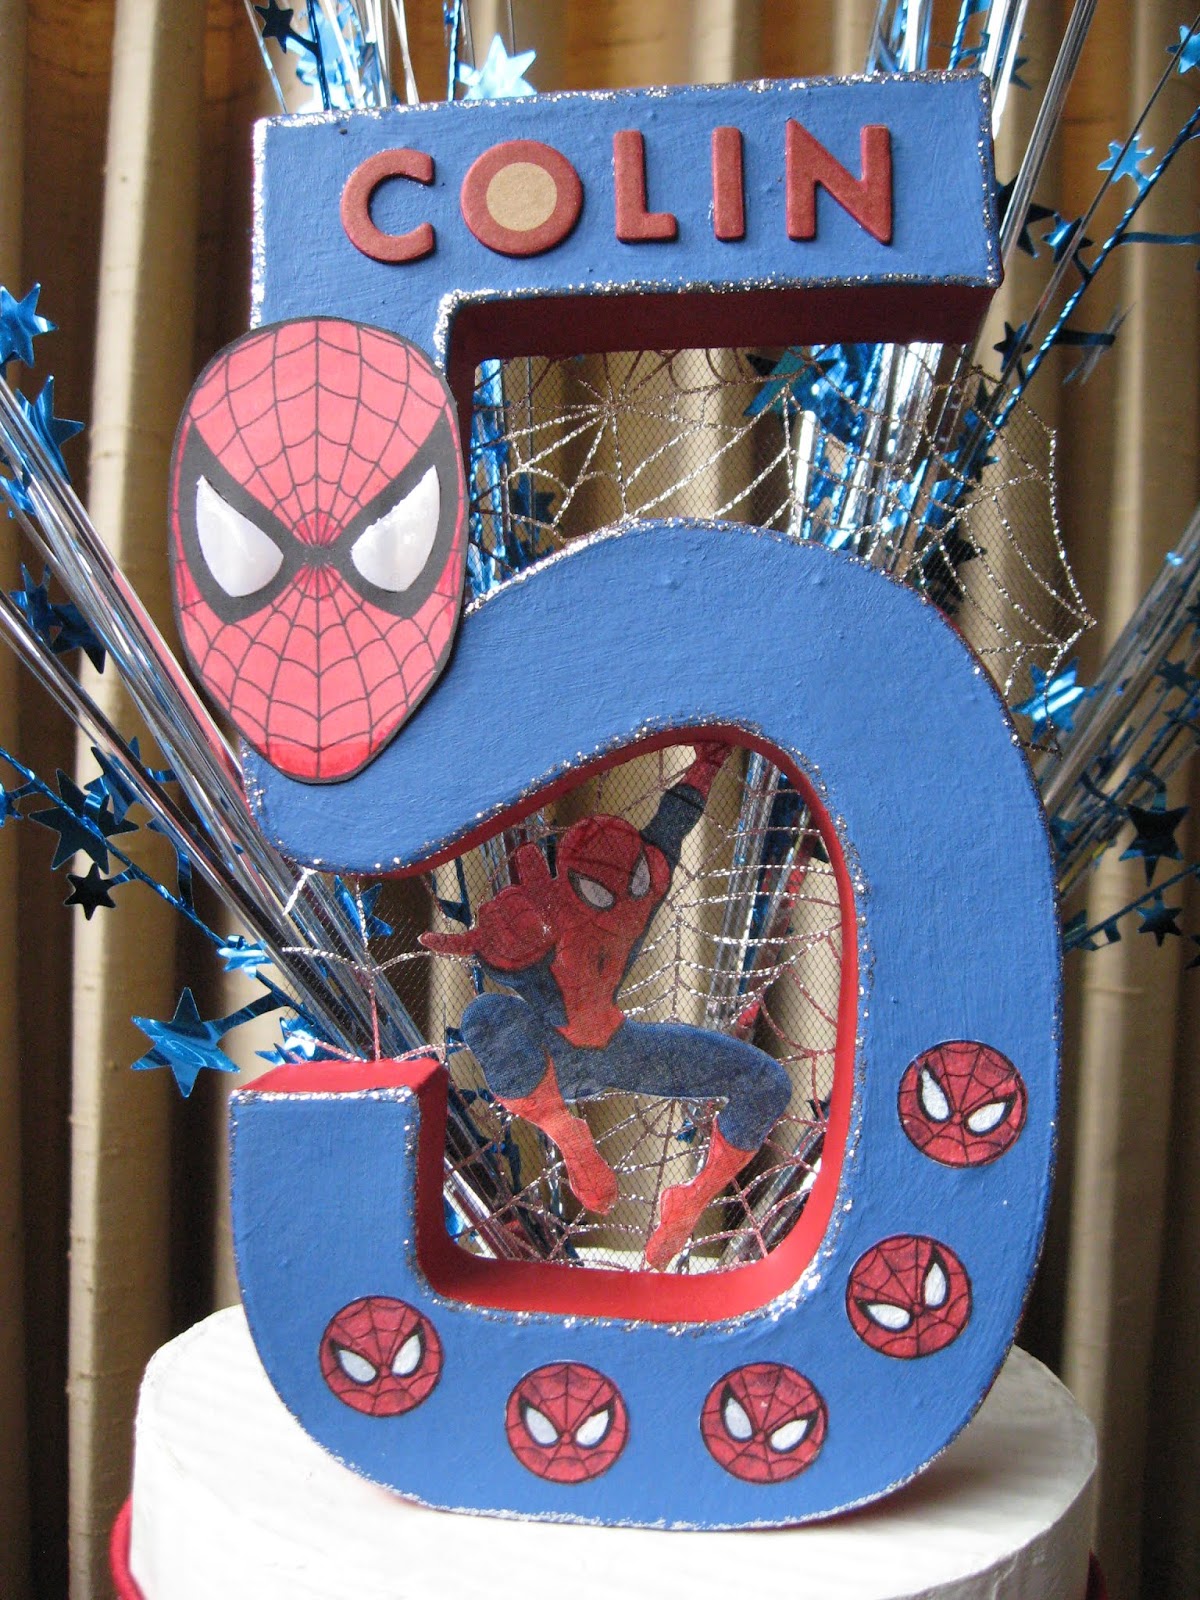
5. Next, I decorated a paper mache #5 for the top of the cake. First paint the #5 with acrylic paint and then outline the edge with glitter glue. When dry, flip it over to the back and apply BGE sparingly along the edge. The thinner you apply the glue, the faster it will dry. When the glue turns clear, it will be very tacky. Finally, place a piece of tulle to cover the whole number and carefully trim the excess tulle along the edges.
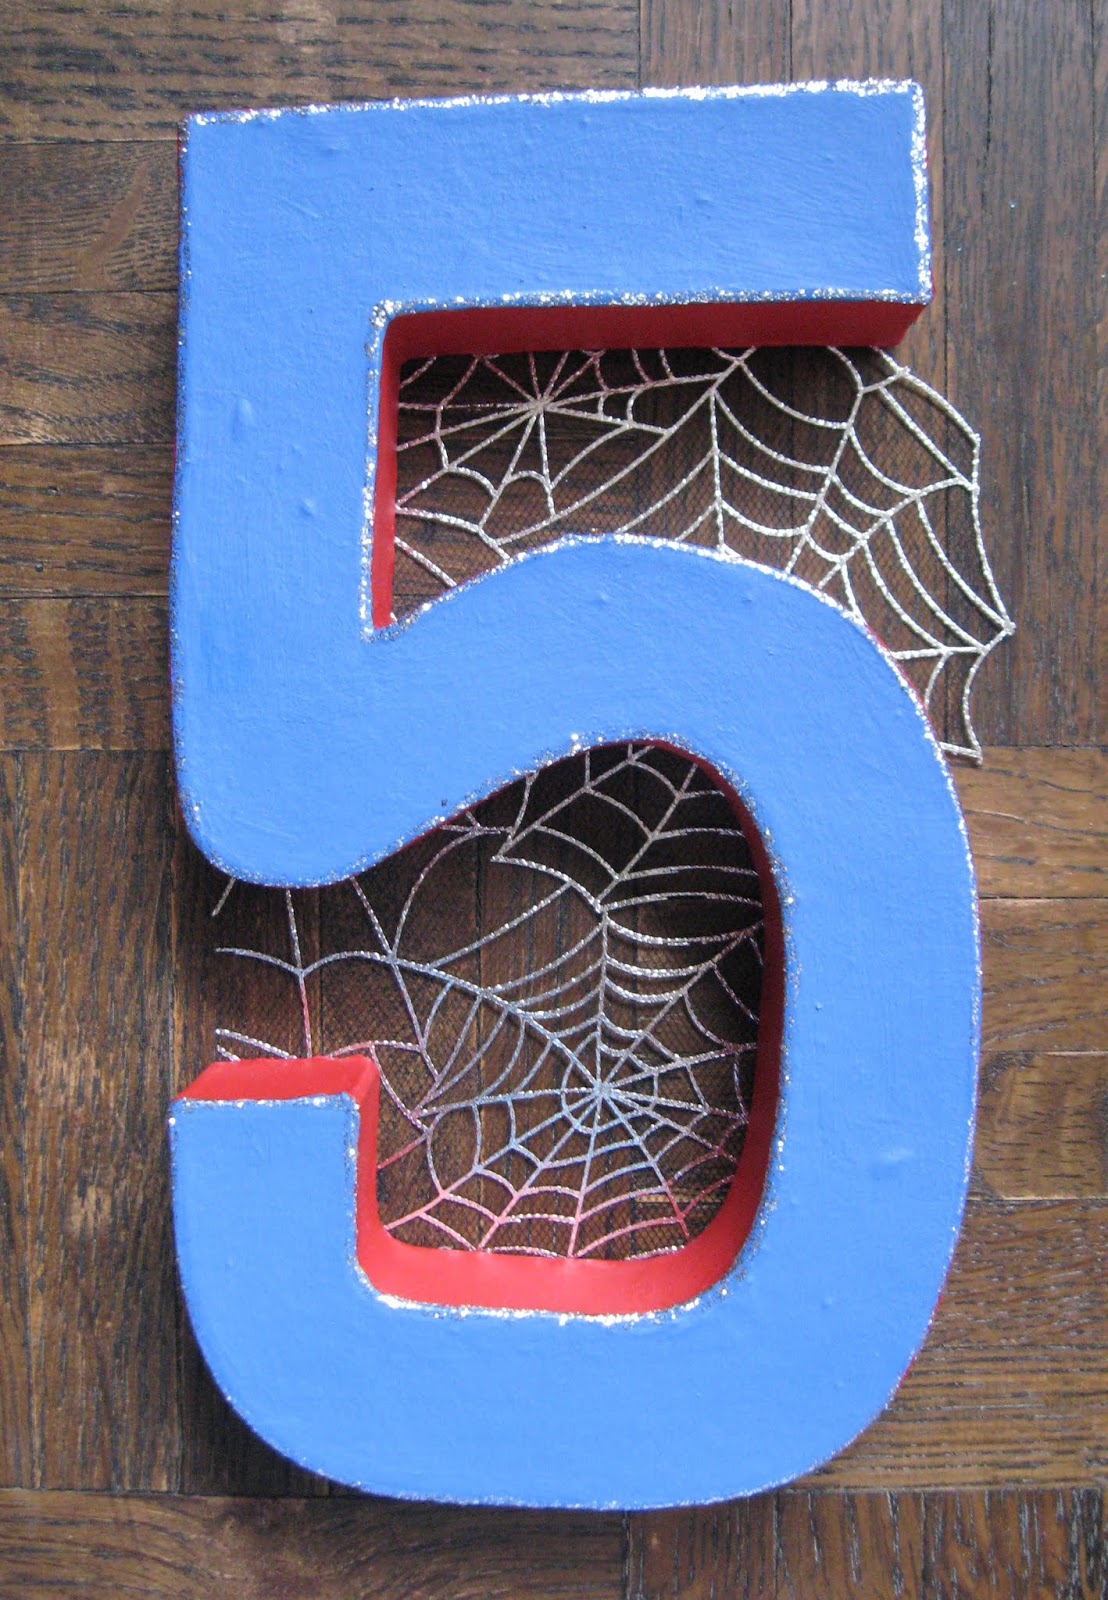
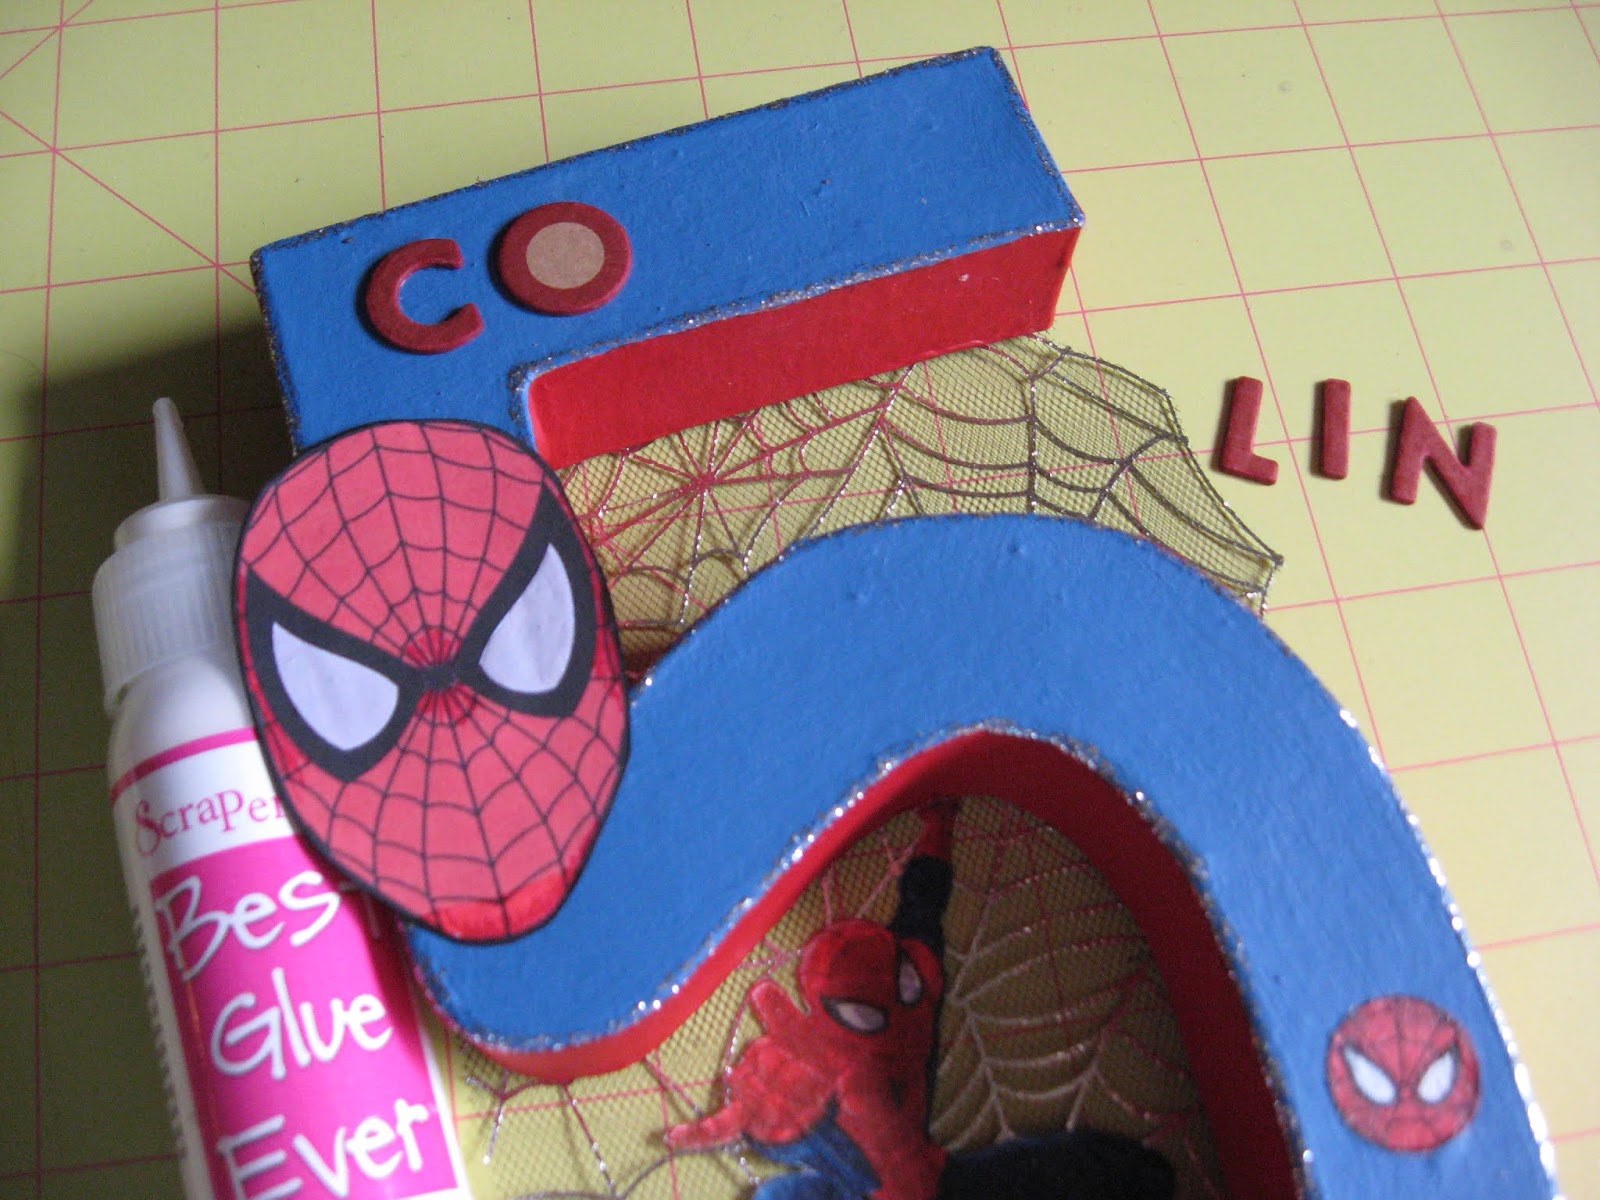
7. Embellish the #5 with a large Super Hero image to the left side slightly overhanging the edge. Finally, use the Best Glue Ever to attach the chipboard letters of the birthday boy’s name across the top.
TIP: As a first time user of the Best Glue Ever, I wanted to see how the tip that came on the bottle dispensed glue. If you want more precise control of the application of the glue, you may want to consider changing the tip to a No Clog Writing Cap.
A Closer Look at the Details:

Other Supplies:
3″ ribbon
acrylic paint & brush
paper mache number
chipboard letters
tinsel & star picks
If you would like to see more of Karen’s projects, stop by her blog Art & Soul.

