Hi Everyone, Kim L. here today to share with you a 3 part series. I got some paper mache plates and have been having a blast altering them and using my ScraPerfect products. It’s so much fun to think about all of the possibilities for these plates. This is the first plate in the series, I hope you like it. I believe it would make a great gift for Mother’s Day!
:
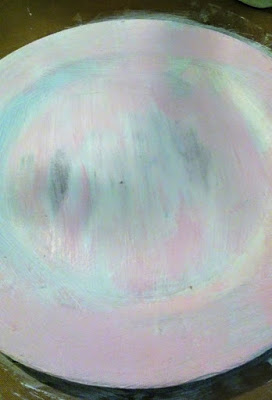
To start, I covered the paper mache plate with a coat of white gesso, front and back. Then I lightly went over the still damp gesso with sweeping brushes of pink acrylic paint, careful not to cover the whole plate. That is how to get the shabby chalky effect. This is what it looked like:
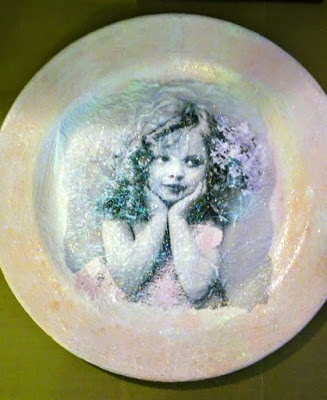
Next, I got a paper napkin and separated the one ply that had an image on it and tore the edges. I then decoupaged the napkin to the plate with Sparkle Mod Podge, adding the glittery coating. Here’s the napkin on the plate after decoupaging:
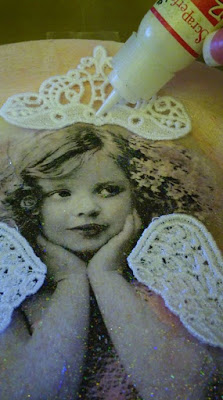
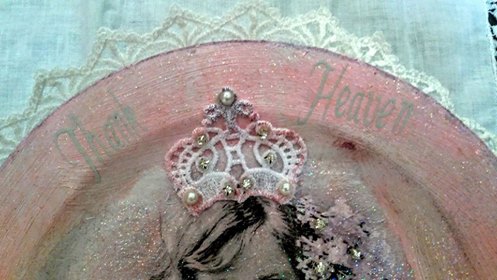
Now the fun part…embellishing! This is where the amazing ScraPerfect products proved their worth. I took a pair of lace wings and a lace crown and applied the Best Glue Ever to the back. Then, and this is important, WAIT. The glue will turn more clear than white and that is when I placed the lace items in my plate. The Best Glue Ever gave an amazing hold and is truly a project you can’t live without! I lightly rubbed the edges of the lace items with some pink and lavender metallic rub ons from my stash.
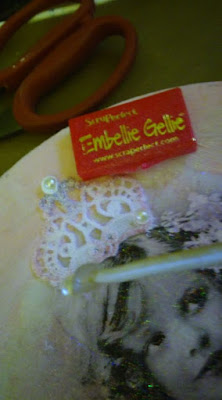
The other star product of this project is Embellie Gellie, which I used to add the tiniest pearl and rhinestone embellishments to the lace crown and wings. It works like a rock star every time, I love this product!
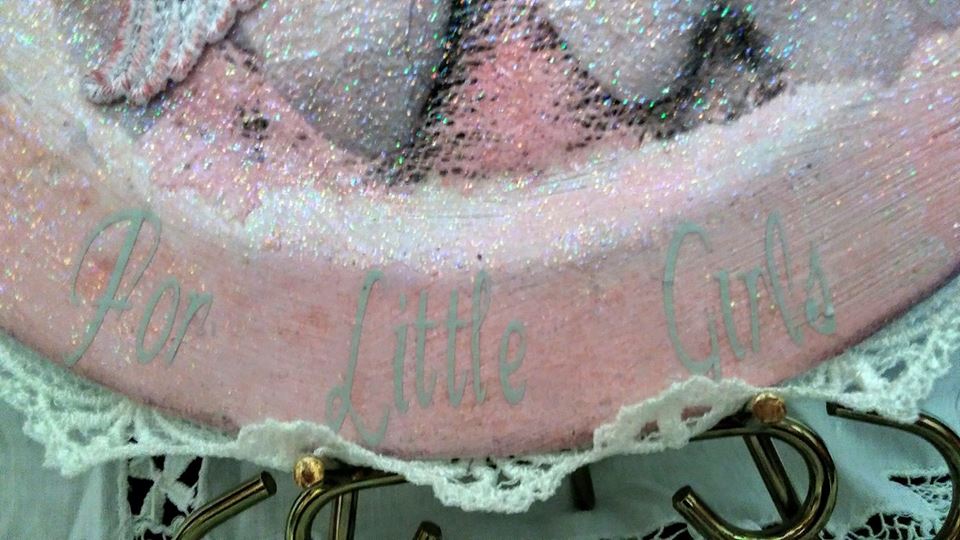
To add interest, I used my Silhoutte machine to cut a saying out of vinyl and added it to the rim of the plate. It is hard to see because of my color choice in the vinyl, but it says, “Thank Heaven For Little Girls”. I brushed a coat of sealer over the entire non lacey part of the plate. Using the Best Glue Ever, I added two flower shaped blingy embellishments to the sides of the plate and some lace trim around the entire plate. As I do at the end of every project, I squirted my hands with Best Cleaner Ever to remove any messes.
Thank you so much for stopping by today, please be sure to check back for more in my paper mache plate series! Please leave a comment and and be sure to check out the entire amazing family of products at;
ScraPerfect. If you would like to see more of my work, pop over to my blog at:Vintage Rose Creations By Kim.
Until Next Time,
Kim Lippincott


