
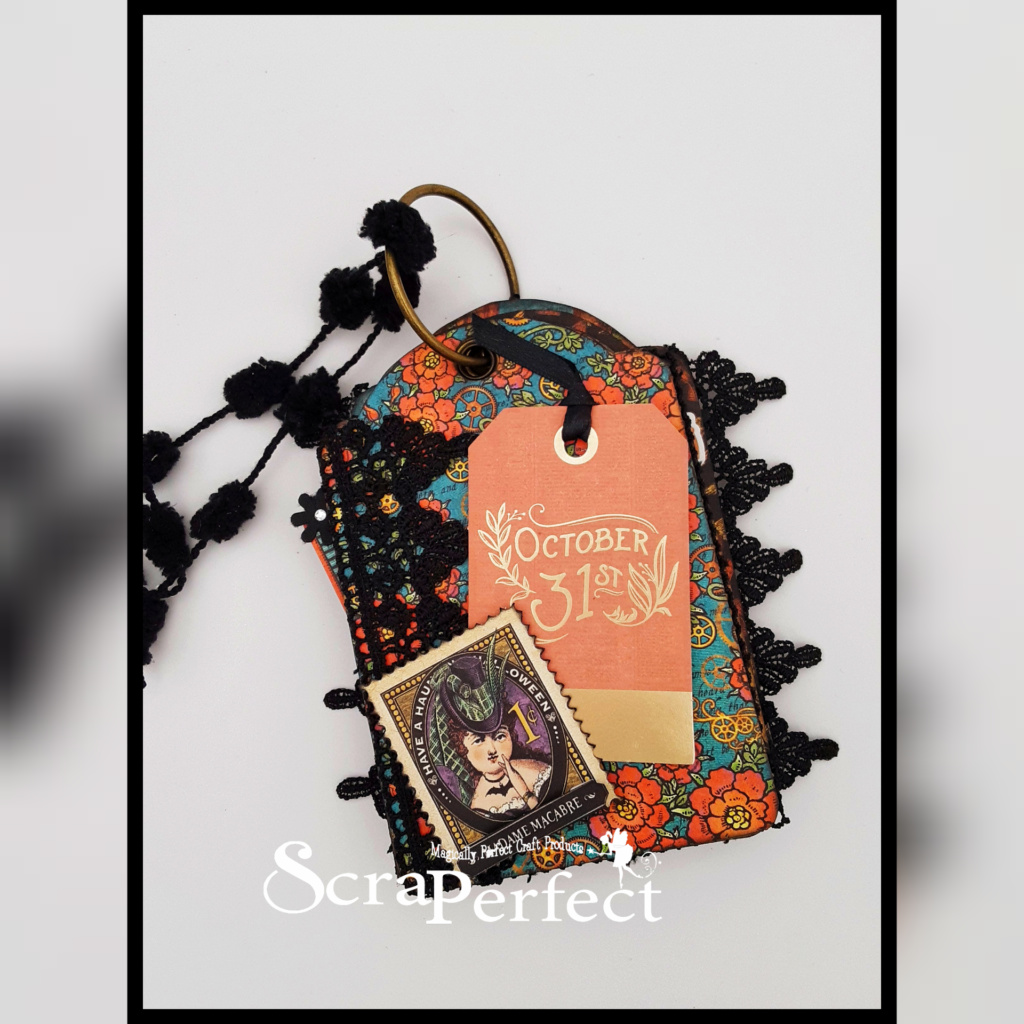
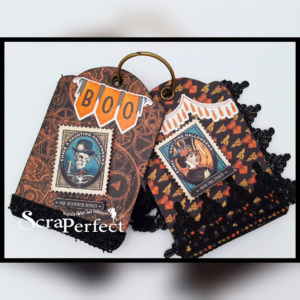
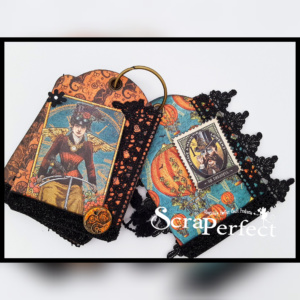
Hi crafty friends! Jeanne here back this week to share with you a quick project I created using a couple of great products from ScraPerfect. Since it’s a day away from Halloween I figured I would create something using this theme before I put away my Halloween themed supplies till next year. With that said I decided I would finally use an 8×8 paper pad of Graphic 45 Steampunk Spells that I honestly have had in my hoard vault for quite a few years now. I figure I better start using supplies in my hoard vault before it starts of over flow. So here is what I came up with, I hope you like it. #TagalongwithScraPerfect
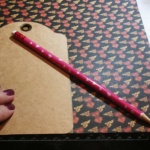
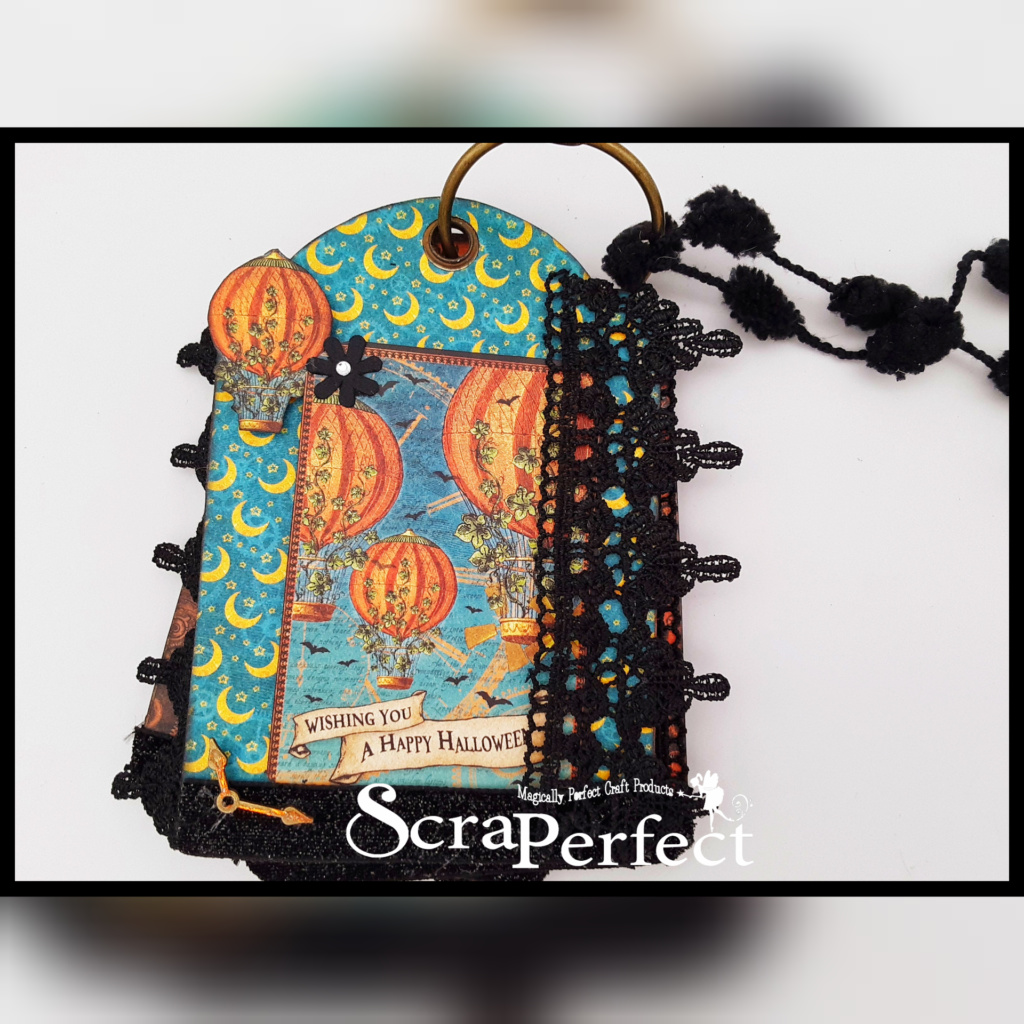
I had a package of the Graphic 45 Tag Album Kraft color, I began by tracing the tags onto the papers that I chose, you can also adhere the paper directly onto the tag but my reason for not doing this is because I wanted to make sure that I would be able to use my .5 in circle punch to make the hole precise.
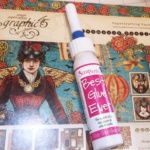
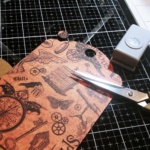
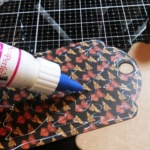
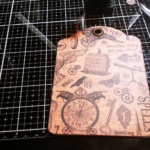
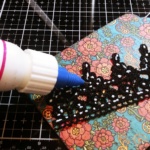
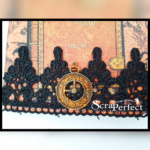
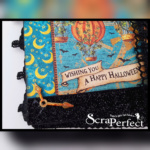
Once I traced out my tag, I then cut it and I used my .5 in circle punch, which makes a pretty close cut, you just have to make sure you cut a very thin half moon shaped piece after you have punched the initial circle. I then used Tim Holtz Distress Ink around all of the edges of the Kraft Tags as well as the tag I have cut out. I then used just barely any of the ScraPerfect Best Glue Ever on all of the papers that were adhered onto the tags. Once I had all of my design papers adhered to the kraft tags, I then began embellishing them using some cut outs from the Steampunk Spells paper pad. I added some black laces and black glitter ribbon on my tags . Some are used as tuck spots for the bigger cut outs to be inserted into.
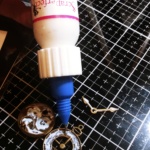

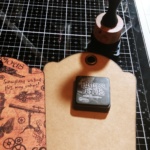
Lastly on some of the metal embellishments that I wanted to add, I wanted to try out the Foil Transfers from ScraPerfect. I began by adding some of the ScraPerfect Best Glue Ever, I then let it dry just a little bit, from when it goes on white and its starting to clear, I added the foil I picked out which was the orange colored one, when you order this foil, you get a variety pack of different colors. When applying it to what ever base you wish to foil, make sure you have the color side up , apply it to the embellishment, rub it in , not too hard where it might tear, but just enough, since some of the metal pieces I wanted to foil had some detailed indentions, I rubbed the using my bone folder. Then I pulled the foil back to reveal where my pieces got foiled. I hope you understand this part. I would have had a photo but I didn’t realize I didn’t take a photo of the actual foil on the metal after I applied the glue. I apologize for that. I will do a better tutorial on this again showing how I did it, but you can also find some of the other designers that have done this process before.


I hope that you have enjoyed what I came up with this week. I hope you will keep your eyes peeled for the rest of the ScraPerfect Design Team that bring to you their beautiful projects using different products from ScraPerfect.
Till next time crafty friends, keep safe, keep crafting!
Hugs,
Jeanne
Here are the ScraPerfect Products I used:
Also check out the rest of ScraPerfect Social Media Sites:
