Are you as fascinated with shaker cards as I am? It’s Ro here today and I’m going to show you just how easy it is to create a simple shaker card using ScraPerfect products. You’ll be as hooked as I am when you see how easily they come together!
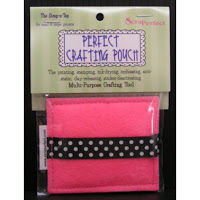
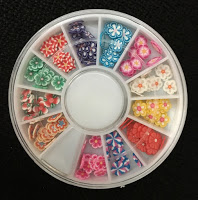
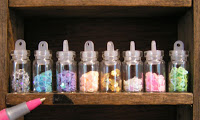
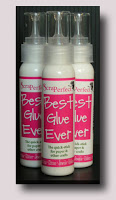
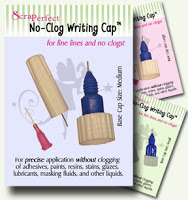
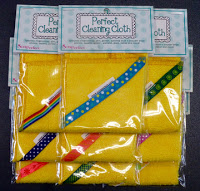
You’ll need the following supplies: ScraPerfect Best Ever Glue with a No Clog Cap, ScraPerfect Crafting Pouch, ScraPerfect Cleaning Cloth, Tiny Short Bottles of Embellies, Wheels of Embellies, Cardstock, Craft Foam, a piece of acetate, circle dies, and some foam tape.
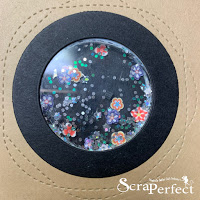
Like I said, I love shaker cards. And there is something so satisfying about seeing one you’ve created…watching all the little embellishments jiggling around the little capsule you created for your card. Guaranteed to brighten anyone’s day. Here is the card I created:
They aren’t as difficult to create as you may think. Here is how it went together. First, I started with an A2 card base of black cardstock. I then trimmed down a piece of Kraft cardstock to 4“ x 5.14″.
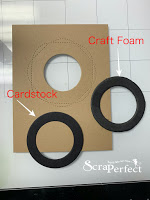
Using two circle dies, I cut a hole in the Kraft cardstock. This will be the window for the shakers to be seen.
I then cut a black “frame” using circle dies, and cut two pieces of craft foam with the frame set-up.
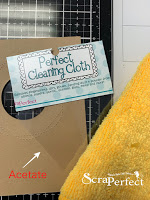
For the acetate panel, I cut it to size, glued it on the reverse side of the panel. I wiped it with the Perfect Cleaning Cloth to remove any oils from my fingerprints and gave it a once-over with the ScraPerfect Crafting Pouch which ensured that there wasn’t any static “sticking” the embellies to the acetate.
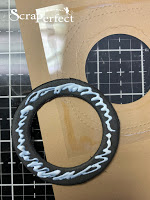
I then stacked and adhered the foam frames using ScraPerfect Best Ever Glue, making sure I had ample glue so there would be no gaps for the “shaker bits” to escape. I use a large acrylic block with a pretty rock to add pressure to items while glue dries…but you can use anything with a little weight. The little extra pressure ensures a good seal.
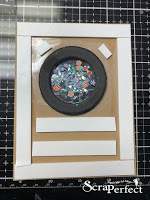
Once the glue had dried, I added some Embellies from the Tiny Short Bottles of Embellies and Embellies Wheel, and a little random glitter in the center “well”. I added foam tape to the panel. I then adhered a black piece of cardstock cut slightly smaller than the Kraft panel onto the foam taped area. Foam tape is necessary since the foam panels creating the well are too deep for glue.
Just look at how adorable those little embellies are in that shaker window! Are they not fun?!
For the final touch, I stamped a sentiment (Technique Junkies) beneath the shaker window, added more foam tape the the back of the panel, and adhered that to my card base.
Now wasn’t that easy? They look so complicated, but they aren’t. And who doesn’t love playing with shaker cards. They are so animated. And this card, even though it is a very clean and simple layout, has so much pizzazz with that little shaker window.
Thanks to the ScraPerfect products used, this card came together seamlessly, and I don’t have to worry about it falling apart with all the shaking the recipient is bound to do. Shaker cards are just so fun!
I hope you enjoyed my tutorial today. Thank for stopping by to visit. See you soon!
Til next time,
Keepin’ it inky.


