
Hello, ScraPerfect Fans…it’s Ro here today to show you two simple ways to add dimension to your projects without adding bulk. And it’s super simple! This is the card I created for this project:
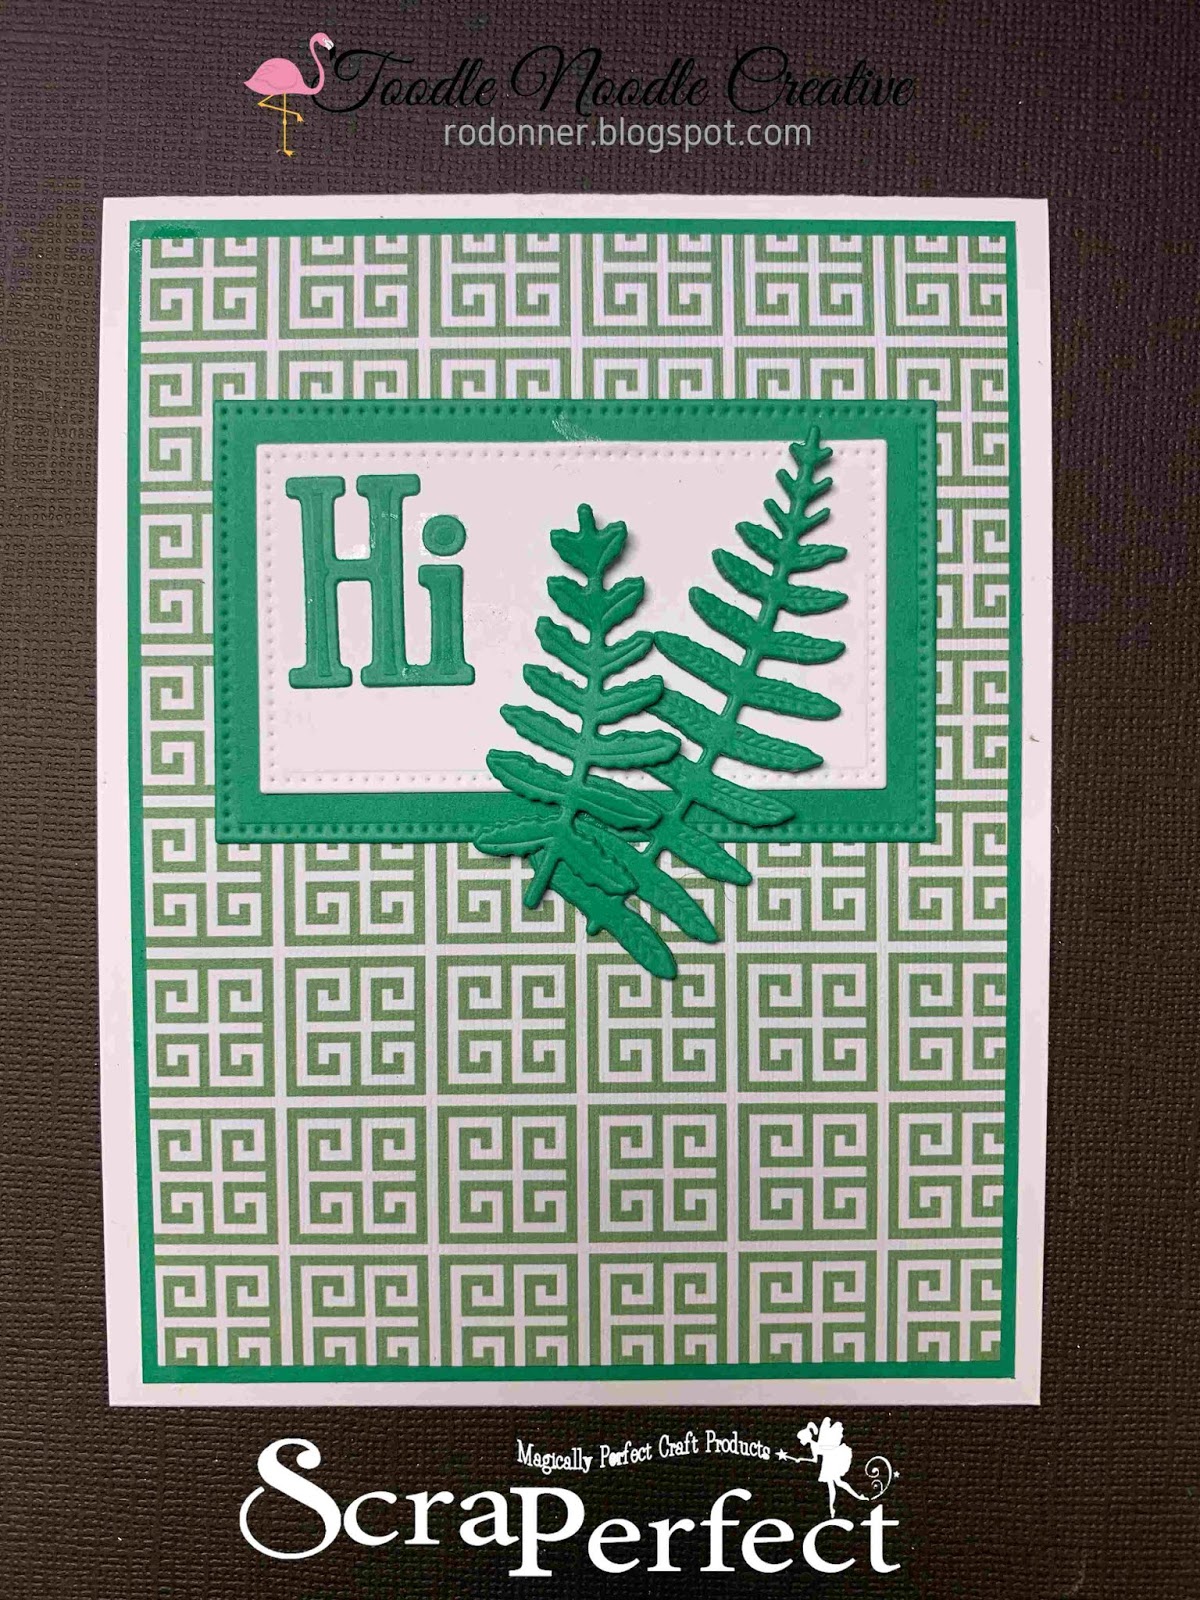
If you look closely at the photo below, you can see the difference between the “Hi” and the leaves. The “Hi” is very flat, but the leaves are thicker and add a lot more dimension.

It’s very simple to create this dimension using ScraPerfect Best Glue Ever. Let me show you how.

I began by die cutting multiples of the shapes I wanted to use. I ended up not using all the shapes on this card, but now I have a few already completed for another project!
Using the SP Best Glue Ever, I added dots to the back of one of the leaves, lined it up with another leaf, and put it under my block (you’ll see a photo my block later in the post). It only takes a few seconds for the glue to set up. Once it set for a few seconds, I repeated the process adding the rest of the layers.
I repeated the same process for the smaller leaf, with one less layer, and then again with the other leaf with only three layers.
If you look at the final picture, you can see the difference in the dimensions. Notice how flat the single layer is.
Now while these stacked dies add dimension, they are not particularly bulky, so sending a card in the mail or adding something like this to your scrapbook page won’t create any mailing or storage issues.
To create the card, I simply adhered all the layers together using SP Best Glue Ever.
Now, I know a lot of folks like the dimensional/foam tape. I have a little secret….you don’t have to buy it. You can create something practically free that works just as well using some scraps and our trusty Best Glue Ever. Here’s how.

I started with a couple of scrap strips of cardstock that I would have otherwise thrown away. I accordion-folded it a few times, then trimmed off the remainder. I was able to get four accordions from one strip of cardstock. I would have used matching cardstock for my project, but I purposely wanted them to show for photo purposes.
I added a couple drops of glue to each valley fold on both sides of the cardstock and pinched it together.
I couple of little clothespins held them together while they dried.
Once dry, I glued them to the back of my die cut panel.
I glued the panel to my card base and placed it under my “rock block” (isn’t my lil rock pretty?) to let it dry for a few minutes.
You can see in the final picture how they lifted the panel up from the card giving the piece dimension and shadows. Easy-peasy and practically free!

For my projects today, I used the Best Glue Ever with the No-Clog Writing Cap. The tips make it so easy to glue tiny pieces (like leaves) together without a mess. And since the glue dries clear, there is no fear of having a sloppy looking project. And the cap has a pin that inserts into the tip, keeping it clog-free! I love this glue, and I think you will too, if you haven’t already tried it!
 |
| BEST GLUE EVER |
 |
| NO CLOG WRITING CAPS |
Well, I hope you learned a trick or two today. Happy crafting!
Til next time,
Keepin’ it inky!

