For me, a page just isn’t done until the TITLE is done. It puts it in place. It sets it in Time. it gives it a sense of importance. I like to design with my computer and printer, I like to play on words, I like to change up materials, and textures and I like to use store bought, too!
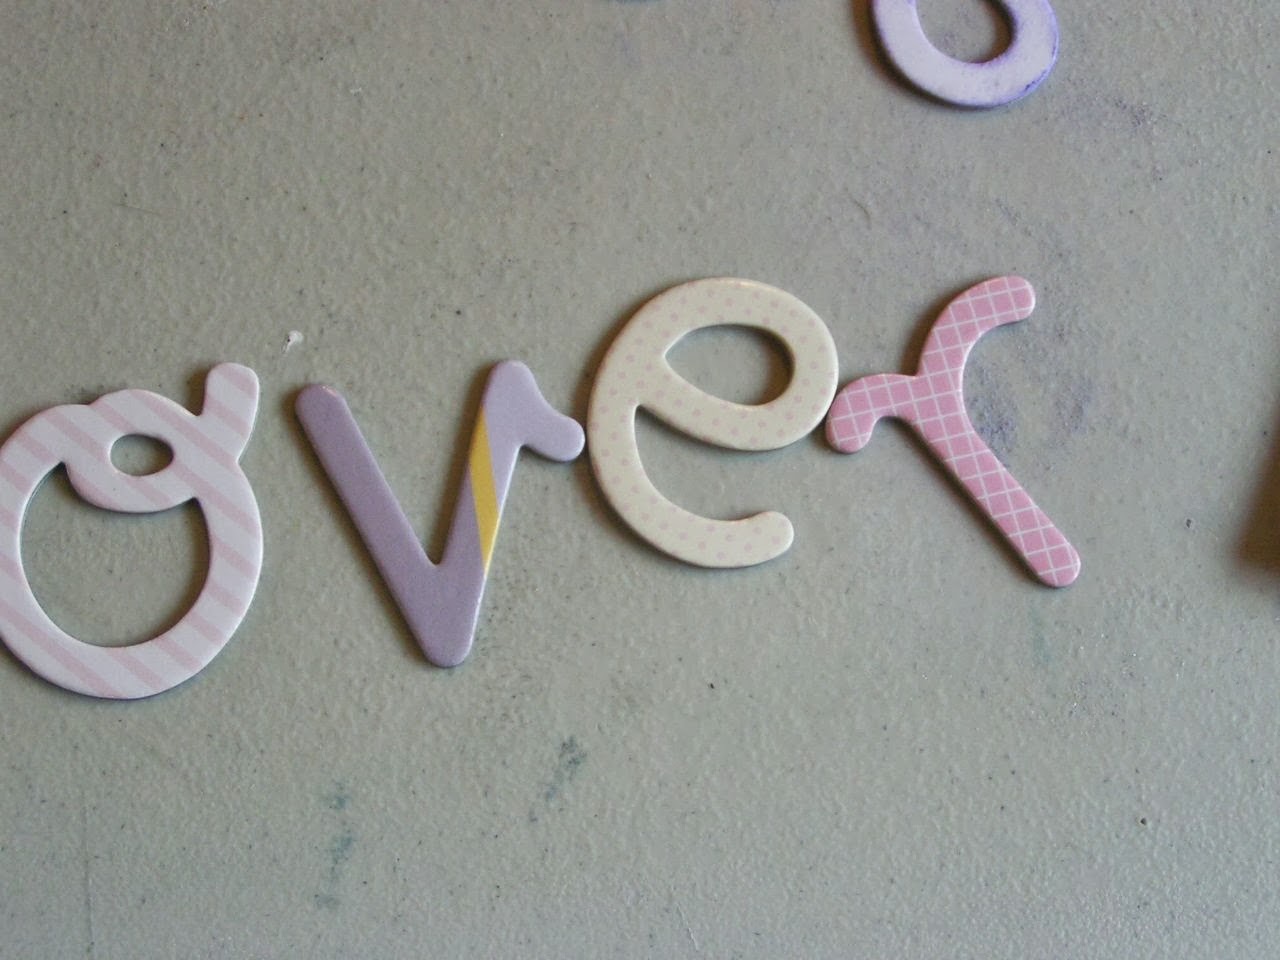
But when the store bought doesn’t fit with my color or patterns OR I’ve run out of letters and have to use un-matching pieces from different sets…I simply alter them to make them match!
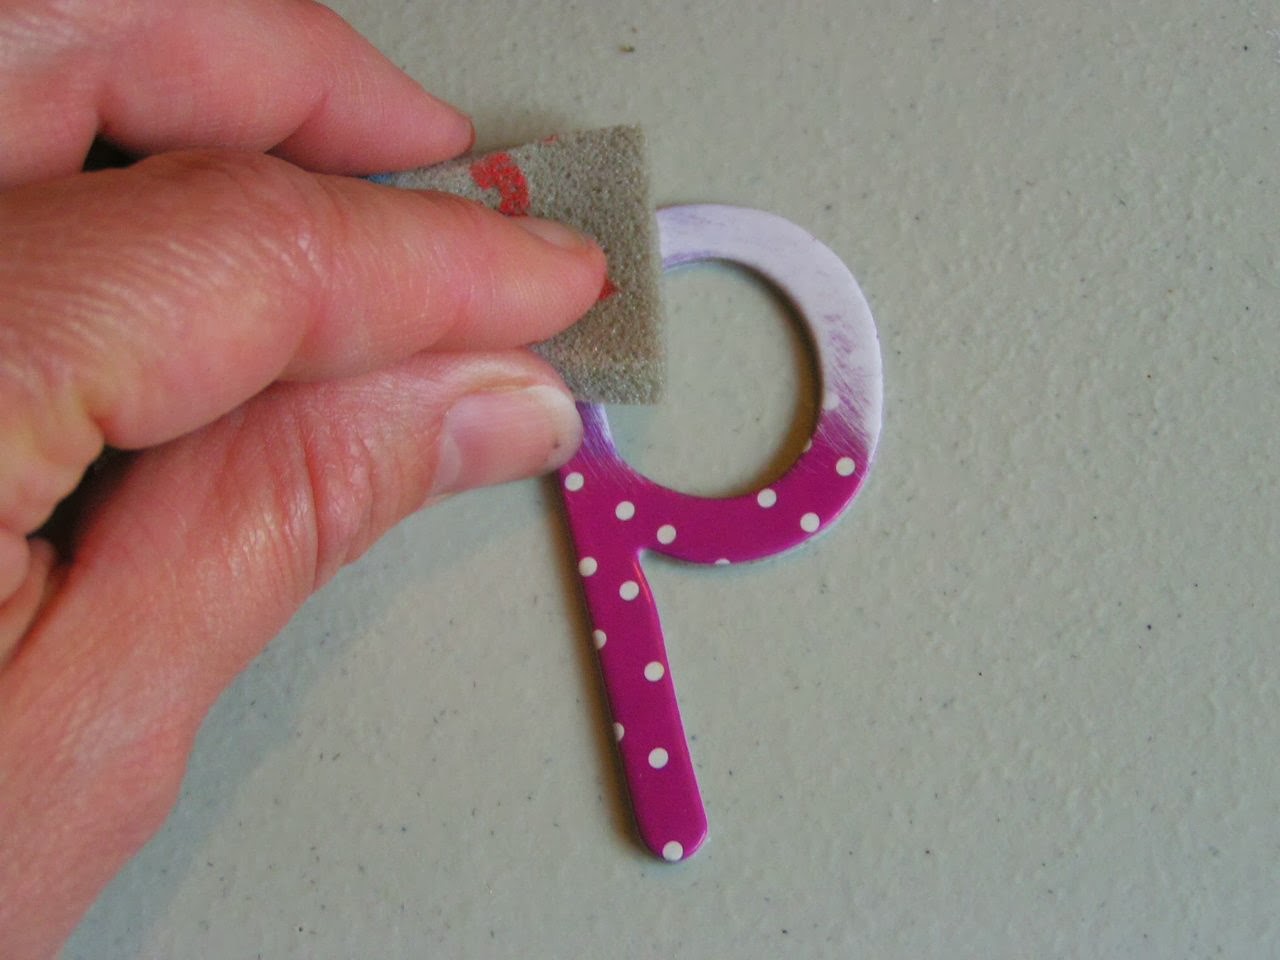
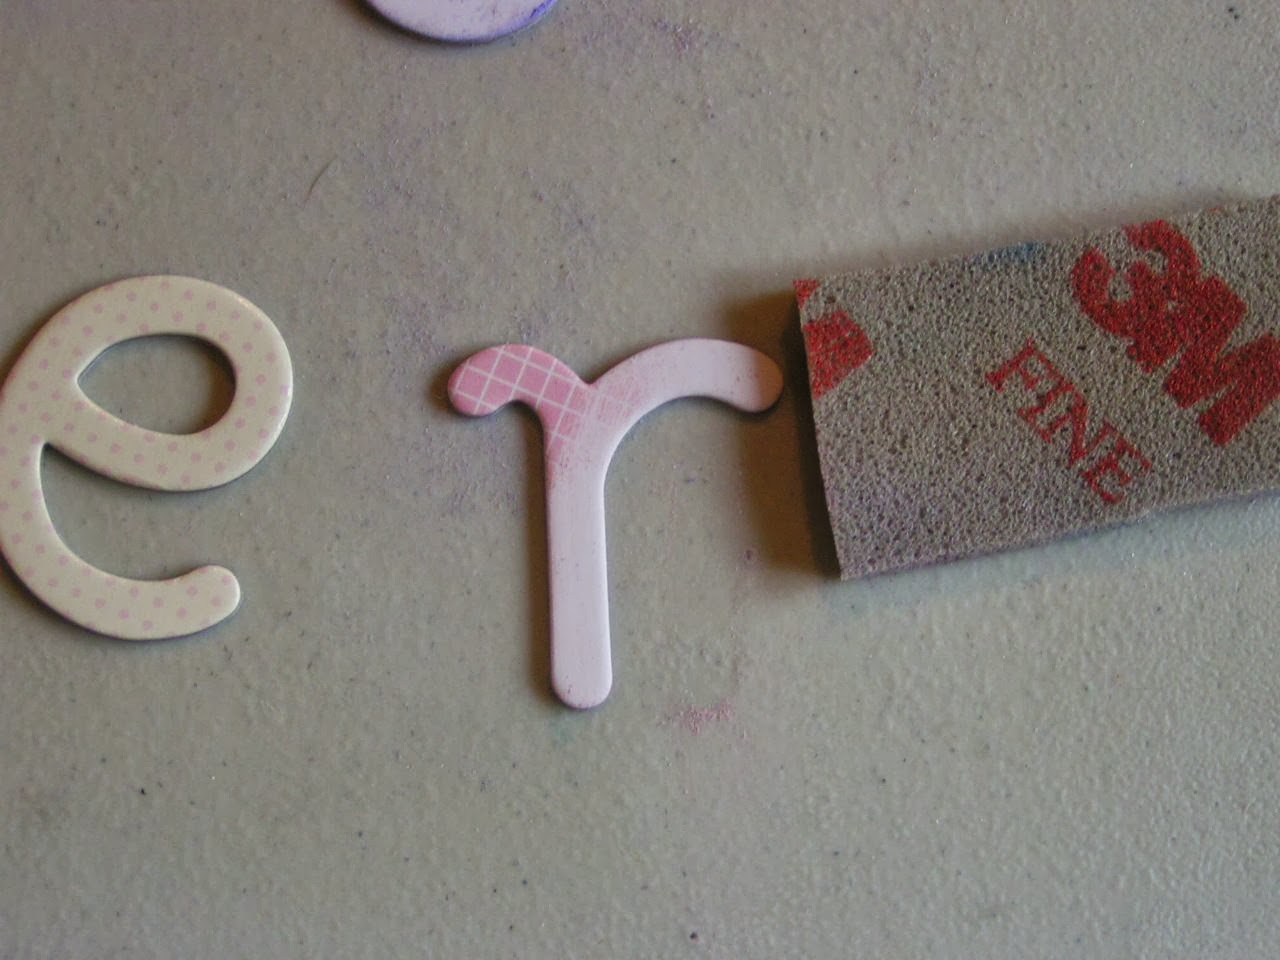
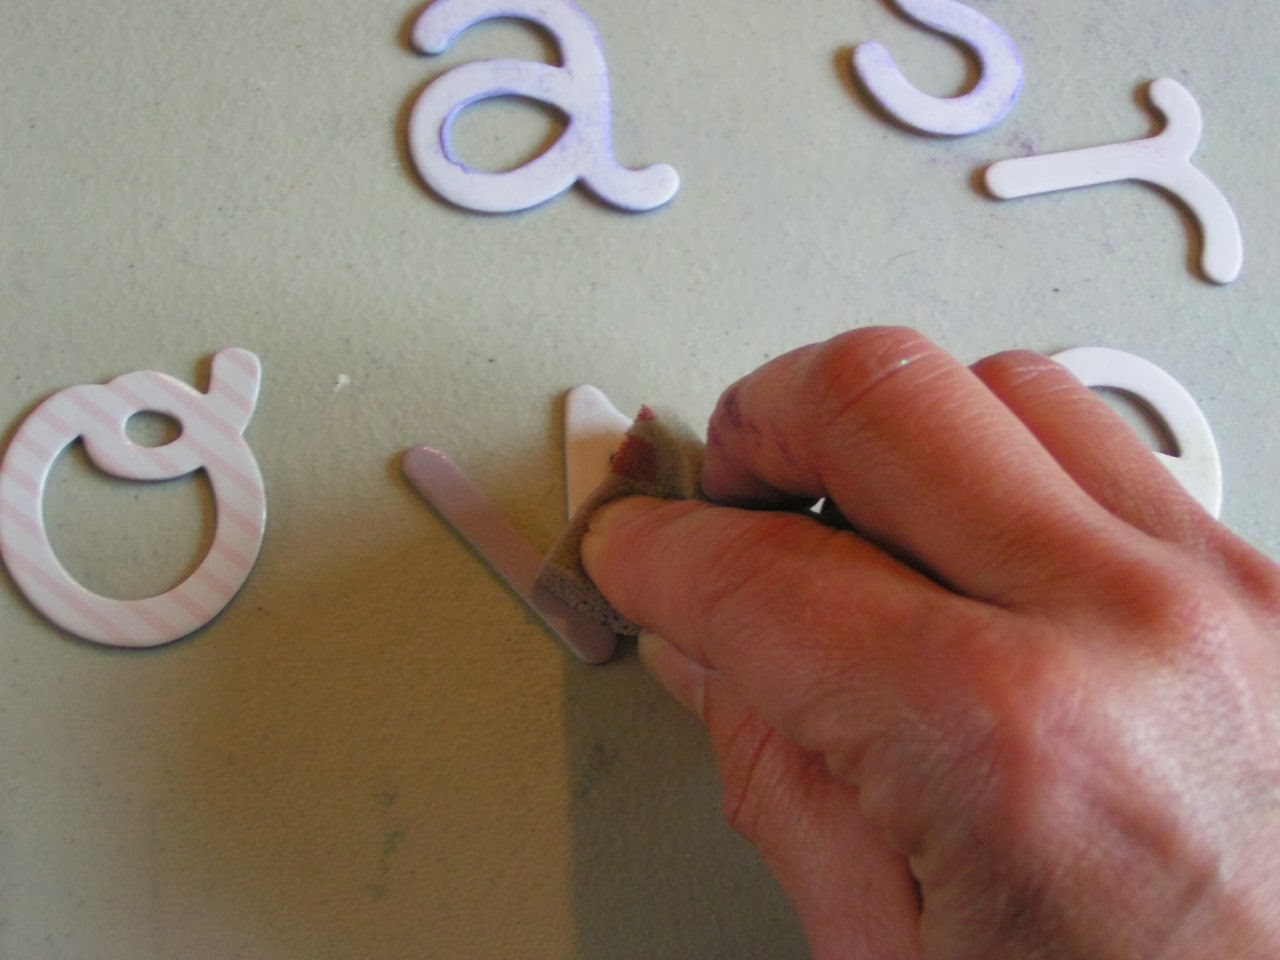
I rubbed it very gently with a sanding sponge. You can use regular sand
paper, of course, but this one little guy from 3M found in the hardware department lasts and lasts. (It’s
even washable!) I just cut it up to make it easy for crafts.
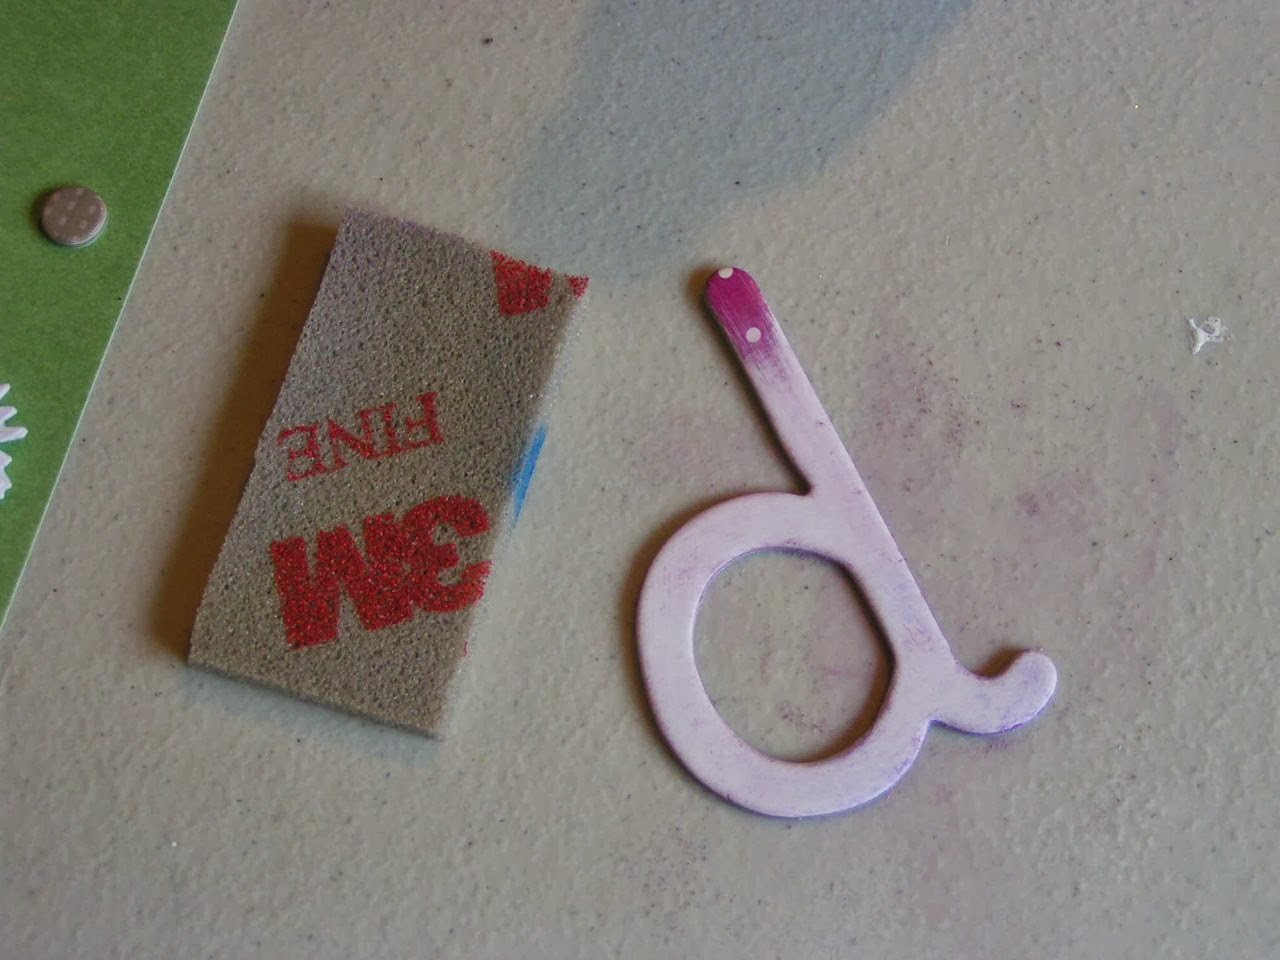
The ink just came right off and left a solid white background,–not even the raw grey chipboard. Boy was I surprised!
(If the grey raw chipboard has been exposed, I would have simply painted
a solid color background, let it dry and then add whatever colorants or
stamping I wanted.
YIKES!!! I was busy crafting and taking pics, and didn’t notice that the P from “Pass” was not in the photo!
I wish you could see how simple it was to remove the original color!
Just a few light rubs was all it took. And no, I didn’t have to be extra careful not to remove too much. It was soooo easy!
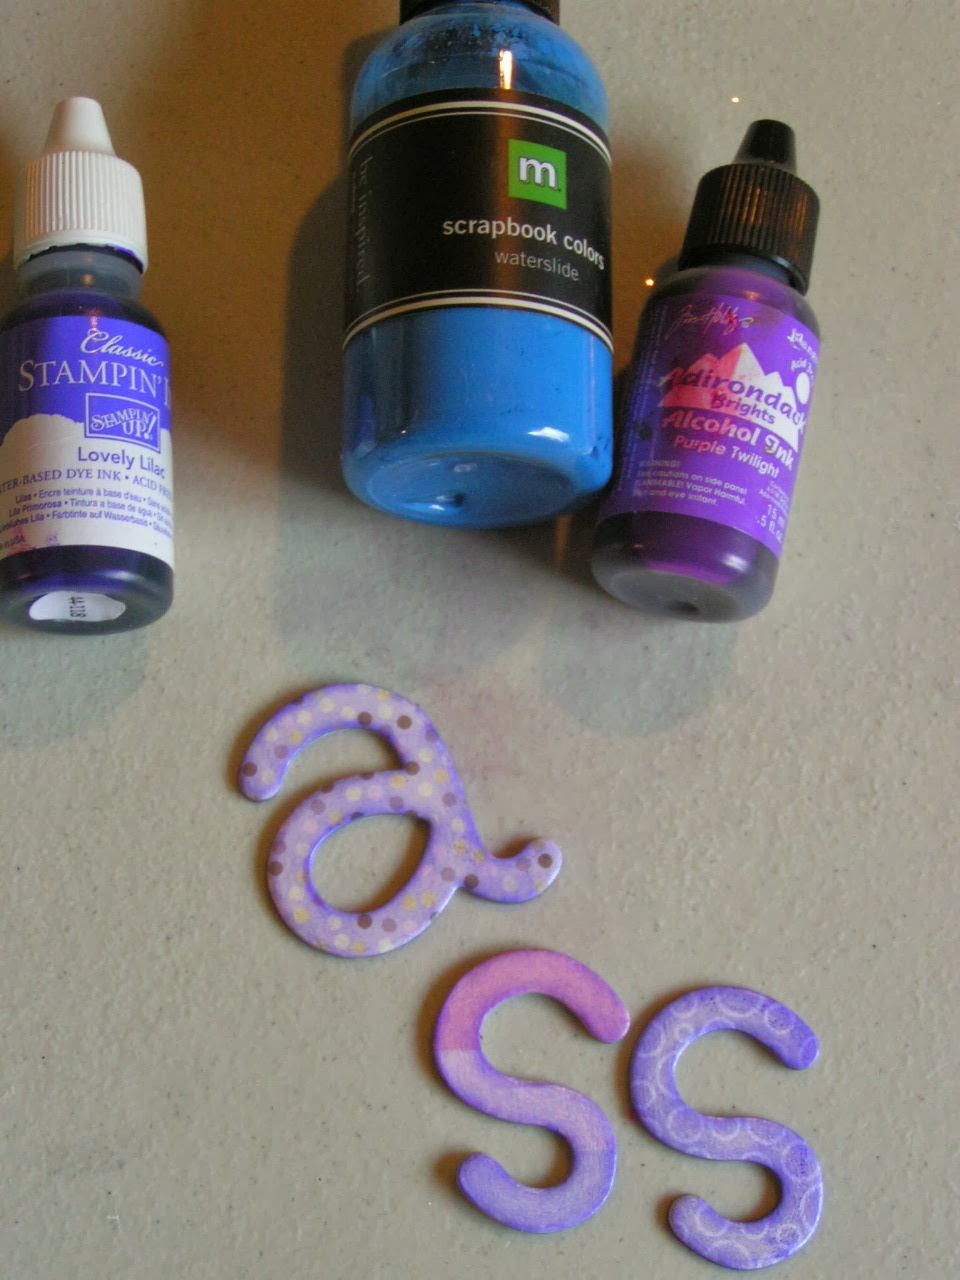
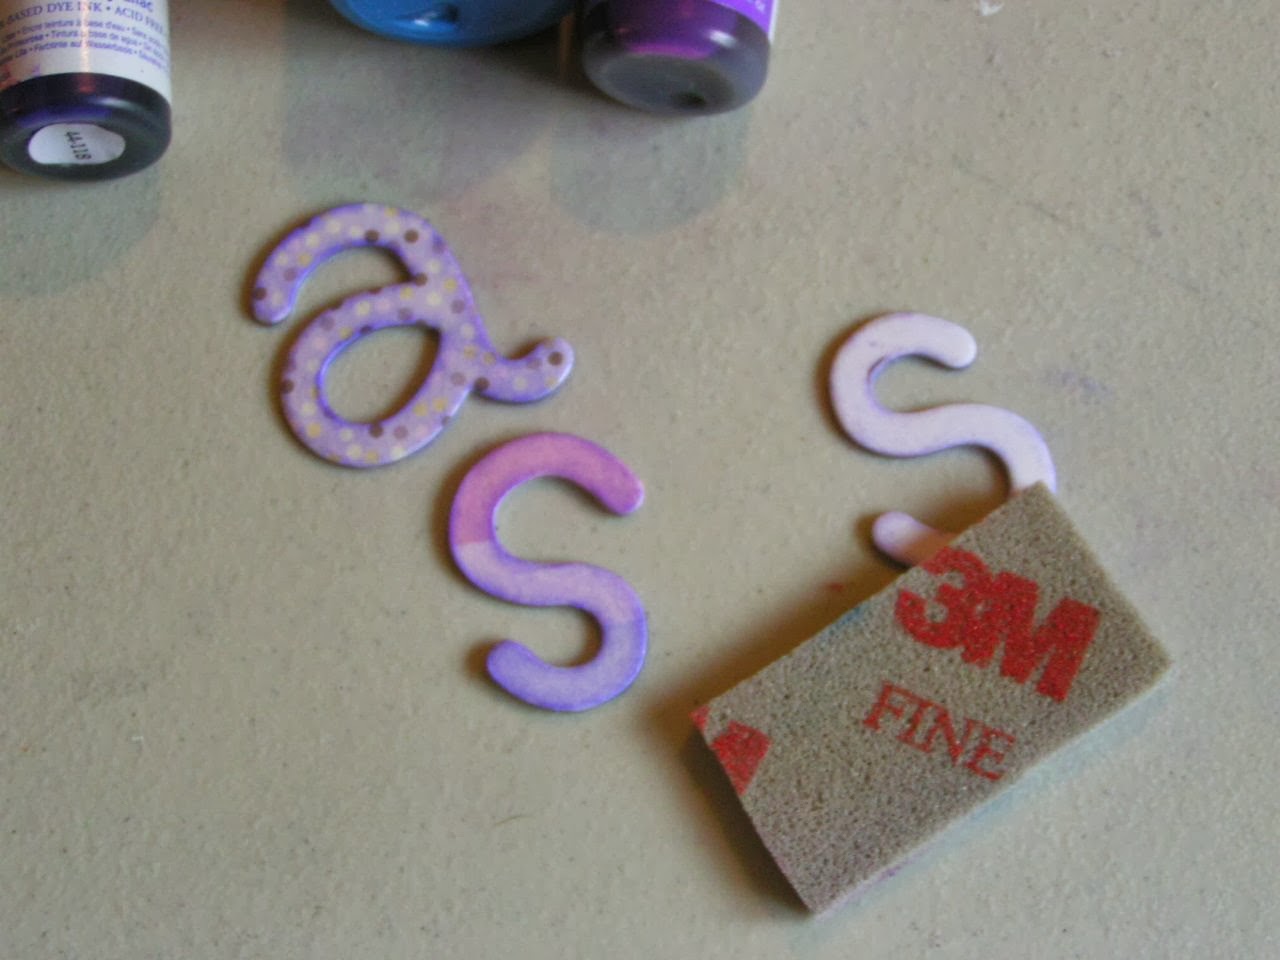
Use whatever colorants you want to turn it to the color scheme you need. As it was, I just dabbed a bit of purple alcohol ink to the “Pass” and left the “over” white.
PS– EVEN if they have adhesive on the back, I ALWAYS glue them down with the Best Glue Ever™. I’ve just had too many self-adhesive embellishments fall off if I didn’t secure them with a bit of glue!
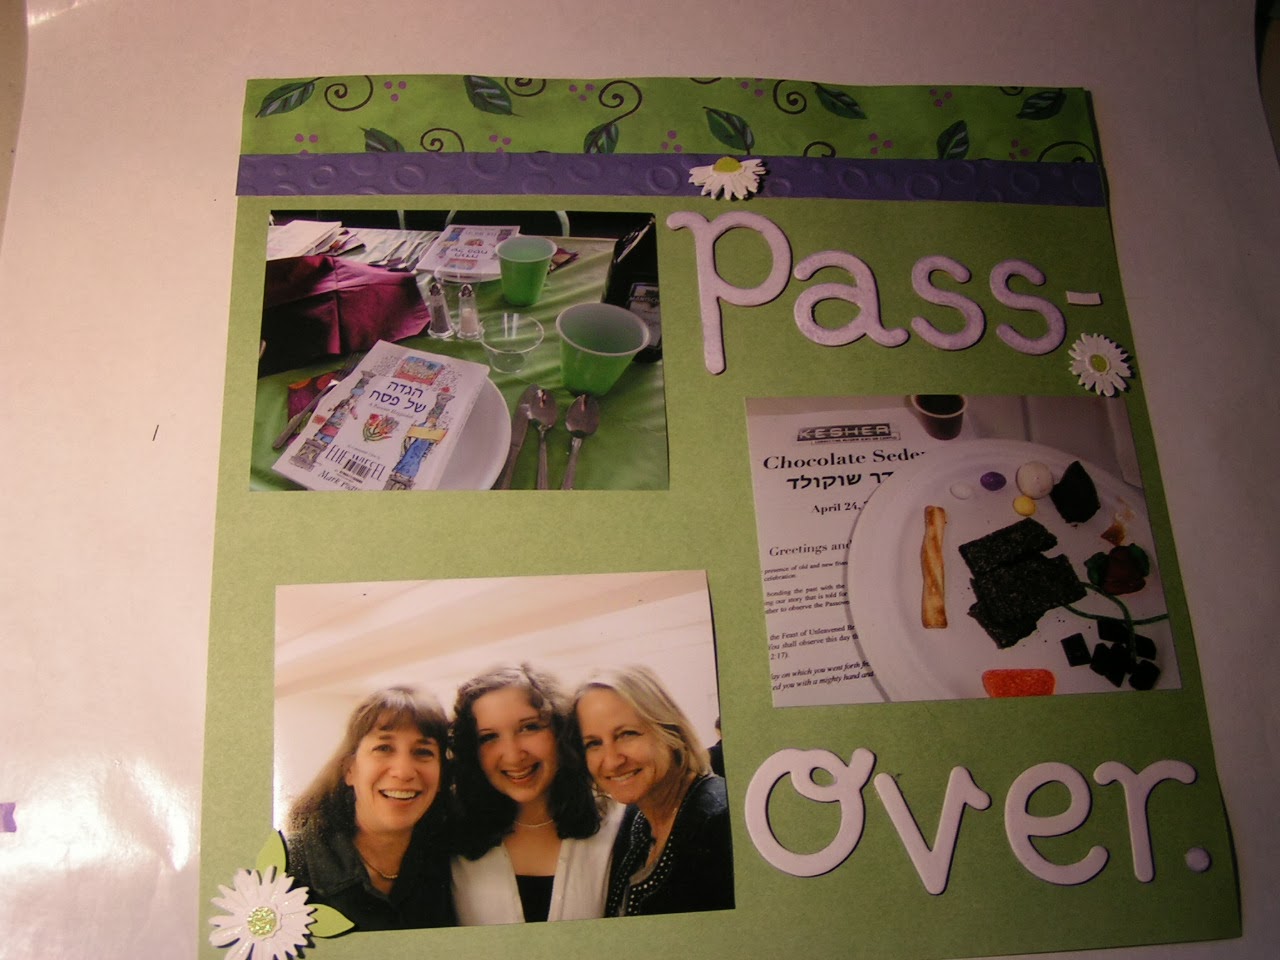
Here’s the left half of the finished two-page layout. Photos, paper, a tiny embellie or two and the title makes the page complete–Oh and at least for me, I must have the journaling. (My journaling is on the right hand page…)


