Vintage and Shabby Chic Holiday Gift Set With ScraPerfect

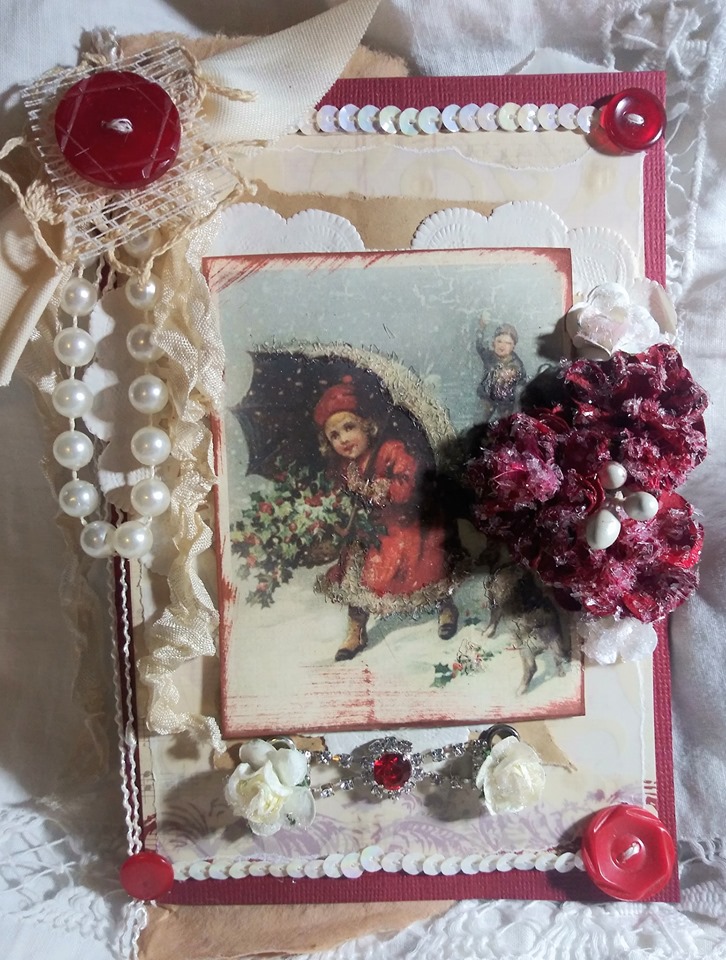
Hello again, Kim Lippincott here today for ScraPerfect to share one of my latest projects with you and it will get you in the holiday spirit!  I am thinking about gift giving and designed a card that will make a great Christmas gift.  Here is a photo of my vintage inspired shabby chic holiday card:

To make this card, I gathered my supplies and my bottle of the Best Glue Ever with the large
No Clog Writing Cap on top and got started.  I used tiny dots of the Best Glue Ever on the back of each piece of background paper I selected and secured them to my red textured card base in layers.  My layers included: printed card stock, torn coffee dyed paper, printed vellum, and a white heart shaped paper doily.

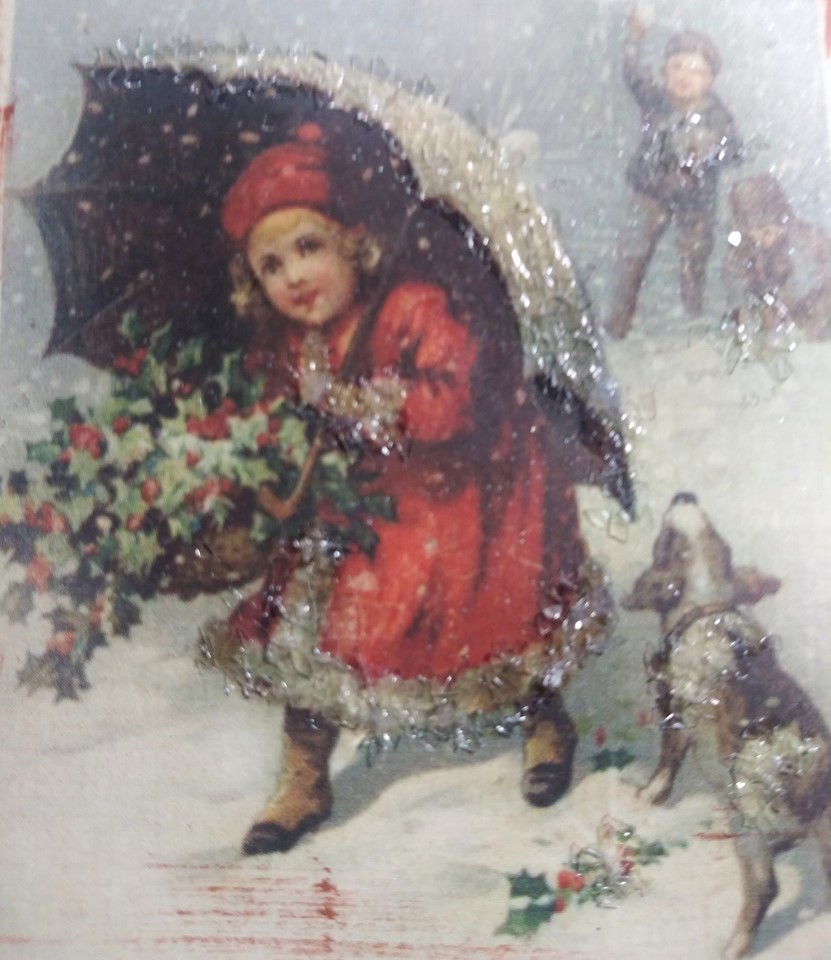
Next, I placed foam dots on the back of the image I chose (which I swiped with ink) for dimension and attached to the center of my card.

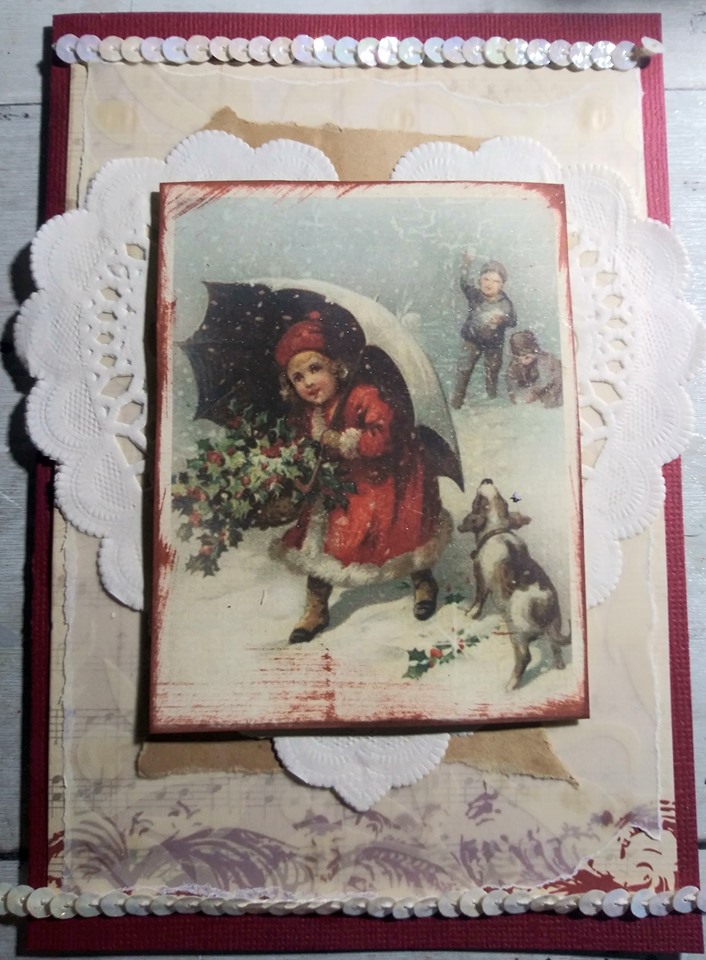
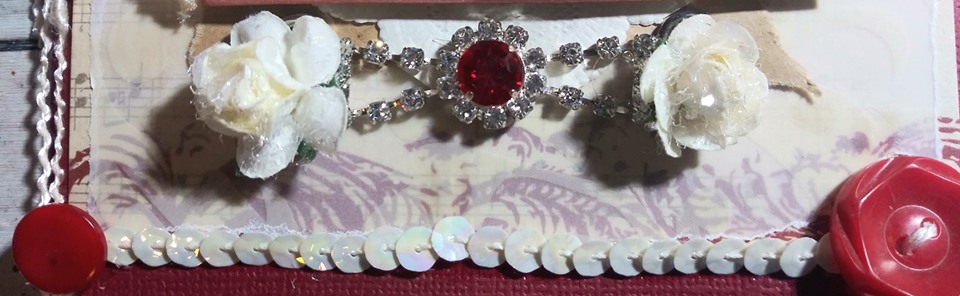
Now is my favorite part, time to add embellishments!  I used a thin solid line of the Best Glue Ever along the top and bottom edges of my layered papers and then added vintage white sequin trim.
I used a brush to add glossy accents to parts of the image that I wanted to give an extra winter flair too and dusted those areas with diamond glitter glass to resemble snow.  After tapping off the excess, I added red threaded vintage buttons to the corners of my card by using a small glue dot made from the Best Glue Ever.  When using glue dots, always wait a few minutes for them to cure and become clear before adding your embellishments for maximum hold.

I wanted to add some dangles to my card, so I used some ivory seam binding, ribbon, textured thread, and some pearls with medium sized glue dots made from the Best Glue Ever. A piece of sheer fabric and another threaded vintage red button were added next.  Now I wanted to add some sparkle, so choose a rhinestone and red piece of bling and attached it to the bottom center of my card with a medium glue dot made from the Best Glue Ever.  The only thing left to do was to take some mulberry paper flowers and repeat the process I used previously with glossy accents and diamond glitter glass to make them snowy too.  I waited about 10 minutes for them to dry a bit and them used glue dots to secure them to the center right side of my card.  My final step in making this card, was to add some special touches to the inside.  Using the Best Glue Ever, I added a coffee dyed coffee filter that I tore the edges of and folded in half to the inside crease of my card.  Then I added more of the printed card stock used on the front, more printed vellum, a piece of torn coffee dyed paper with the stamped sentiment “Merry Christmas”, and another threaded red vintage button.
I am very pleased with how it turned out!  Since it is chunky, I plan to decorate a box with the same theme and use the altered box to give the card in as a holiday gift.  Here are some close ups of the details of my creation:
I hope you feel inspired to make a box card to give as a gift for someone special this holiday season.  Head over to ScraPerfect and get your supplies, and be sure to follow them on social media too!  I will be back later in the month with another project.
Holiday Blessings,
Kim Lippincott

Designer

Sign up for important notifications by email for Coupons, Events, Special Offers, plus ScraPerfect's tips, ideas and news!

Your information will *never* be shared or sold to a 3rd party.

Sign up for important notifications by email for Coupons, Events, Special Offers, plus ScraPerfect's tips, ideas and news!

Your information will *never* be shared or sold to a 3rd party.